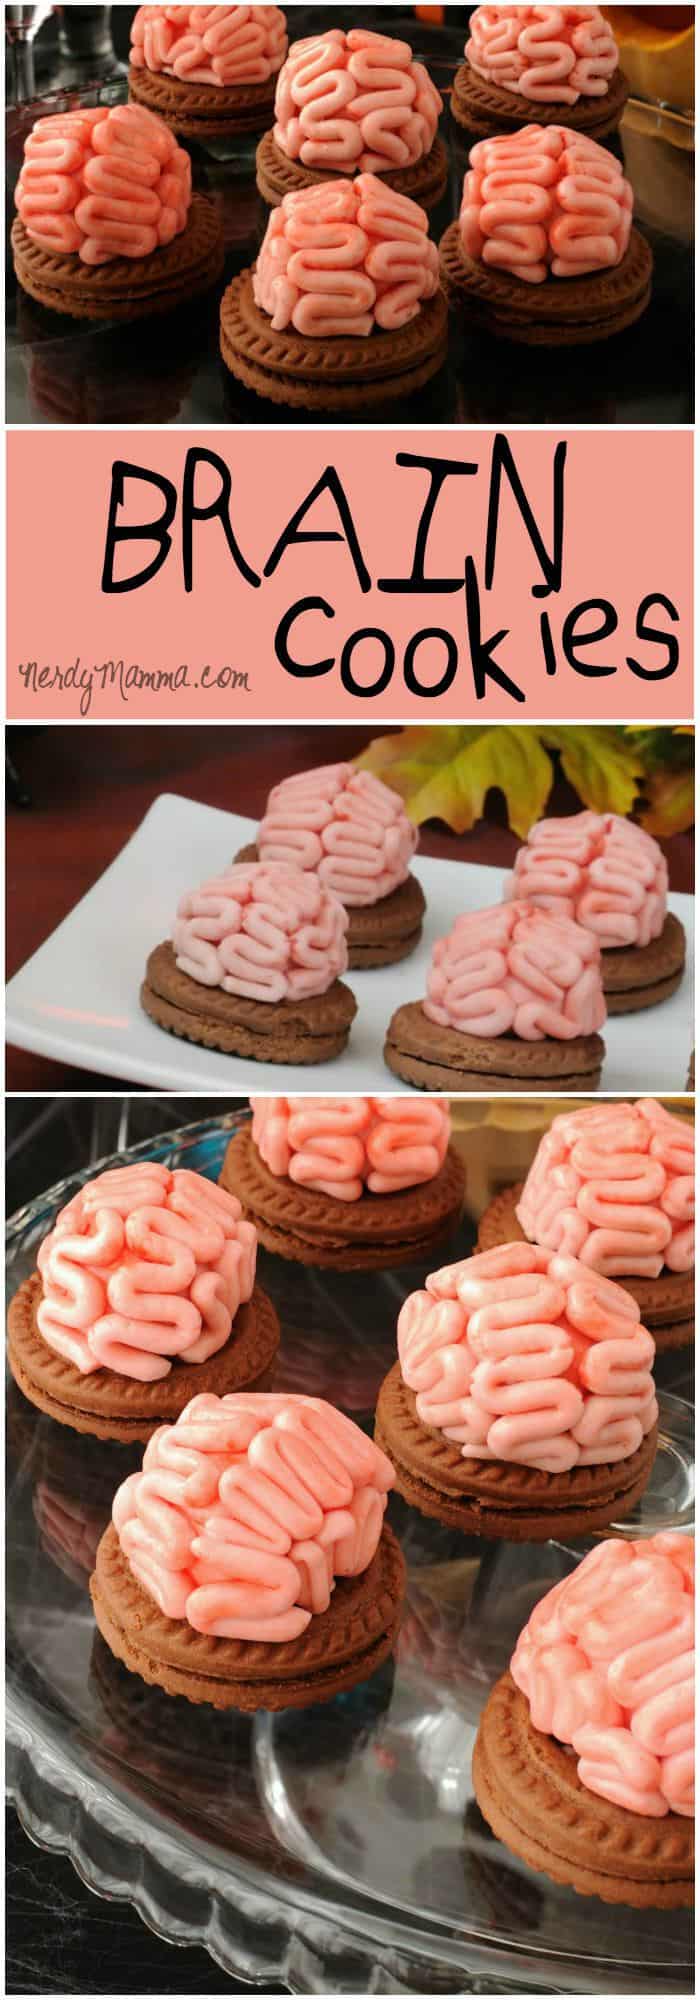
No, they’re not real brains. So, the zombies out there can stop drooling and the normal “alive” people can start salivating. Quickly-made before a kid’s halloween party, these Zombie Brain Cookies also double as snacks in the event of a zombie apocalypse. Technically, these are vegan, since they’re egg-free and dairy-free, so you can take them to the kid’s school party, feeling sure that there’s no issue serving these to kiddos who might have a mild egg or milk allergy. (Did you know Oreos are vegan–except for some minor milk cross-contamination?!). Hold-up, I think I see some creepers coming for a batch of these–oh, wait, it’s just my kids.
Ingredients for Zombie Brain Cookies
One box of your favorite cream-filled cookies. Technically, Oreos don’t have any milk or egg in them, so you can go with those, but all I had on hand was off-brand. Whatever. You choose–whatever your needs are. Just pick a darn cookie or even make your own. Honestly, this is the least important part of this recipe. It could be on a cracker and kids would still love it. LOL!
Icing (for the squiggly brainy part of the brains)
- 1 can coconut milk, refrigerated for at least 2 hours
- 1/2 cup powdered sugar
- 1 tspn vanilla extract
- 1/2 drop red food coloring (I prefer gel because it makes for brighter, richer colors, but that’s just me)
- 1 drop pink food coloring
Cookie Dough (this is for the bulbous center of the brain–to give it some heft and yum)
- 1/2 cup loose brown sugar
- 1/2 cup granulated white sugar
- 2 tblspn coconut milk (the kind you use for cereal, not the canned kind, unless that’s all you’ve got, but really at that point, don’t open a whole can to do this…just put some water in the milk’s place and see how it works out)
- 1 tsp vanilla
- 1/2 tsp salt
- 1/2 cup coconut oil, room temperature
- 1 cup oat flour (or, you can be cheap and lazy like me and just use baby oatmeal cereal)
- 1/2 cup chocolate chips (these are totally optional–I decided not to do this)
How to Make Zombie Brain Cookies
First, make the cookie dough:
- Cream the coconut oil and sugars together.
- Add vanilla, milk and salt and mix thoroughly.
- Mix-in the oat flour in small increments until mixture is smooth.
- Stir-in chocolate chips, if that’s how you’re going to roll.
- Using a melon baller, make scoops with a flat bottom. Place scoops onto a cookie sheet covered in wax paper (this is for easy clean-up, not for any real purpose). Make as many scoops as you are going to make cookies. My recipe will make about 15, maybe more, maybe less, depending on the size of your melon baller.
- Place in the refrigerator for about 10 minutes to allow the shape to “set”.
While that’s in the fridge, make the icing for the brainy part of the brains:
- Open your can of coconut milk and scoop the thick cream part into a bowl, trying to get as little of the coconut water as possible. Discard coconut water or just set aside for chugging later, whatever.
- Add the powdered sugar and vanilla to the coconut cream.
- Mix on high 2-3 minutes with a hand mixer until it becomes stiff and fluffy.
- Fold-in the pink and red food coloring. Don’t worry about mixing it in too much, just get it pinky-red and call it. Its ok if it’s kind of streaky–it’ll look cool that way.
- Place bowl in fridge until you’re ready to use it.
Putting your Zombie Brain Cookies Together
- Lay your cookies out on a cookie sheet. You’re not baking them, so you can place them close together, this is just for ease of grabbing/placing.
- Take your cookie dough balls and place each one on a cookie. Mush them down onto the cookie just slightly so as to make the two stick together. It’s ok if this makes the cookie dough less round–brains aren’t perfectly round after all.
- Take your icing and put it in a pastry bag with a tiny round piping tip. I used the very smallest I had, which was like teeny-tiny looking, but turned-out to look giant on the cookies, so it worked out. Feel free to do the same experimentation in your kitchen.
- Using a spoon or knife or whatever, put a thin coat of the icing over each of the cookie dough balls–you don’t want your brain-matter confused with cookie dough…
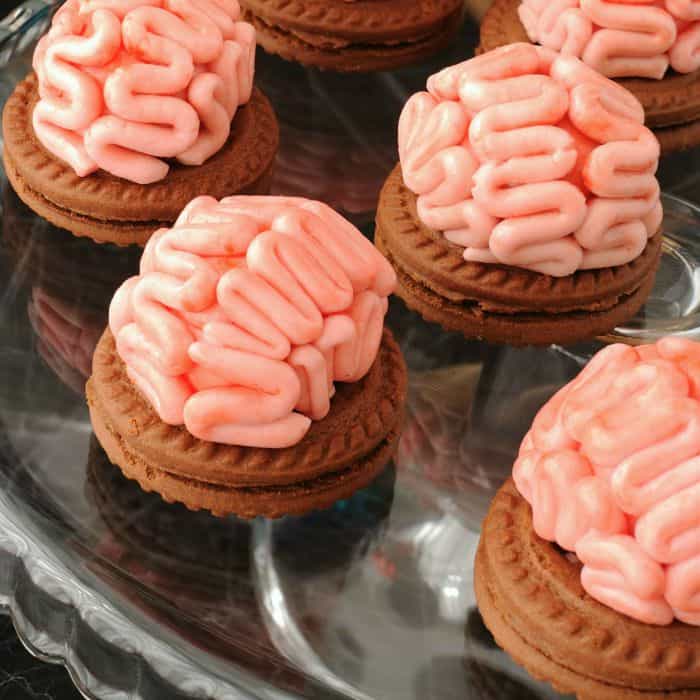
- Next, I recommend you pick-up a cookie and, with your dominant hand, slowly pipe 4 rows of squiggles on each cookie dough ball, making sure to keep the squiggles tight and equally spaced. BUT, if you make a mistake, just pipe a little more and fix it–or scrape it off and start over. I had to experiment a little and I think I gave-up 3 times (and ate the cookie) before finding my groove.
- Now, this is the hardest part: Put these cookies on a nice plate and RUN because here come the zombies to eat them!
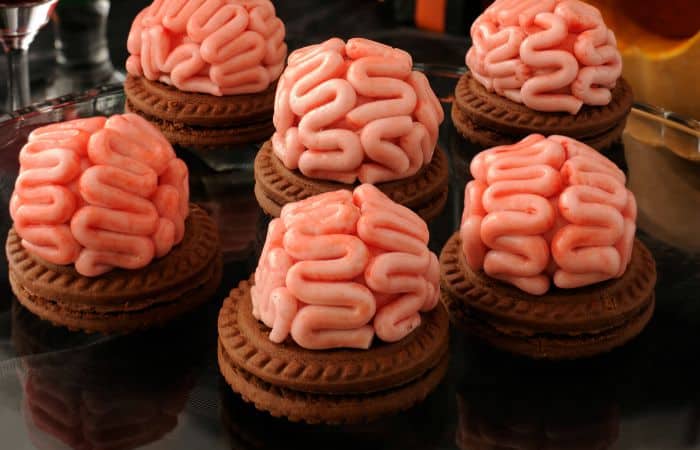
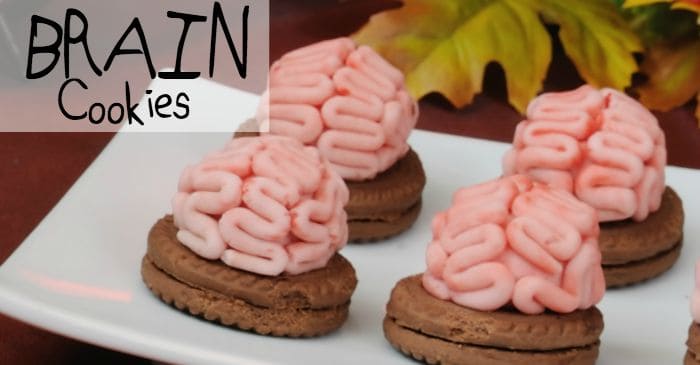
Zombie Brain Cookies
Gimme a break, you know you want to make these crazy brain cookies. Not only will the kids love 'em, you will too. And, the best part is: when the zombie apocalypse comes, you'll totally have snacks to pass out. LOL!
Ingredients
- One box of your favorite cream-filled cookies. Technically, Oreos don't have any milk or egg in them, so you can go with those, but all I had on hand was off-brand. Whatever. You choose--whatever your needs are. Just pick a darn cookie or even make your own. Honestly, this is the least important part of this recipe. It could be on a cracker and kids would still love it. LOL!
- Icing, for the squiggly brainy part of the brains
- 1 can coconut milk, refrigerated for at least 2 hours
- 1/2 cup powdered sugar
- 1 tspn vanilla extract
- 1/2 drop red food coloring, I prefer gel because it makes for brighter, richer colors, but that's just me
- 1 drop pink food coloring
- Cookie Dough, this is for the bulbous center of the brain--to give it some heft and yum
- 1/2 cup loose brown sugar
- 1/2 cup granulated white sugar
- 2 tblspn milk, the kind you use for cereal, not the canned kind, unless that’s all you’ve got, but really at that point, don’t open a whole can to do this…just put some water in the milk’s place and see how it works out
- 1 tsp vanilla
- 1/2 tsp salt
- 1/2 cup coconut oil, room temperature
- 1 cup oat flour, or, you can be cheap and lazy like me and just use baby oatmeal cereal
- 1/2 cup chocolate chips, these are totally optional--I decided not to do this
Instructions
- First, make the cookie dough:
- Cream the coconut oil and sugars together.
- Add vanilla, milk and salt and mix thoroughly.
- Mix-in the oat flour in small increments until mixture is smooth.
- Stir-in chocolate chips, if that’s how you’re going to roll.
- Using a melon baller, make scoops with a flat bottom. Place scoops onto a cookie sheet covered in wax paper (this is for easy clean-up, not for any real purpose). Make as many scoops as you are going to make cookies. My recipe will make about 15, maybe more, maybe less, depending on the size of your melon baller.
- Place in the refrigerator for about 10 minutes to allow the shape to “set”.
- While that’s in the fridge, make the icing for the brainy part of the brains:
- Open your can of coconut milk and scoop the thick cream part into a bowl, trying to get as little of the coconut water as possible. Discard coconut water or just set aside for chugging later, whatever.
- Add the powdered sugar and vanilla to the coconut cream.
- Mix on high 2-3 minutes with a hand mixer until it becomes stiff and fluffy.
- Fold-in the pink and red food coloring. Don’t worry about mixing it in too much, just get it pinky-red and call it. Its ok if it’s kind of streaky–it’ll look cool that way.
- Place bowl in fridge until you’re ready to use it.
- To put your Zombie Brain Cookies together:
- Lay your cookies out on a cookie sheet. You’re not baking them, so you can place them close together, this is just for ease of grabbing/placing.
- Take your cookie dough balls and place each one on a cookie. Mush them down onto the cookie just slightly so as to make the two stick together. It’s ok if this makes the cookie dough less round–brains aren’t perfectly round after all.
- Take your icing and put it in a pastry bag with a tiny round piping tip. I used the very smallest I had, which was like teeny-tiny looking, but turned-out to look giant on the cookies, so it worked out. Feel free to do the same experimentation in your kitchen.
- Using a spoon or knife or whatever, put a thin coat of the icing over each of the cookie dough balls–you don’t want your brain-matter confused with cookie dough…
- Next, I recommend you pick-up a cookie and, with your dominant hand, slowly pipe 4 rows of squiggles on each cookie dough ball, making sure to keep the squiggles tight and equally spaced. BUT, if you make a mistake, just pipe a little more and fix it–or scrape it off and start over. I had to experiment a little and I think I gave-up 3 times (and ate the cookie) before finding my groove.
- Now, this is the hardest part: Put these cookies on a nice plate and RUN because here come the zombies to eat them!
Try These Halloween Treats:
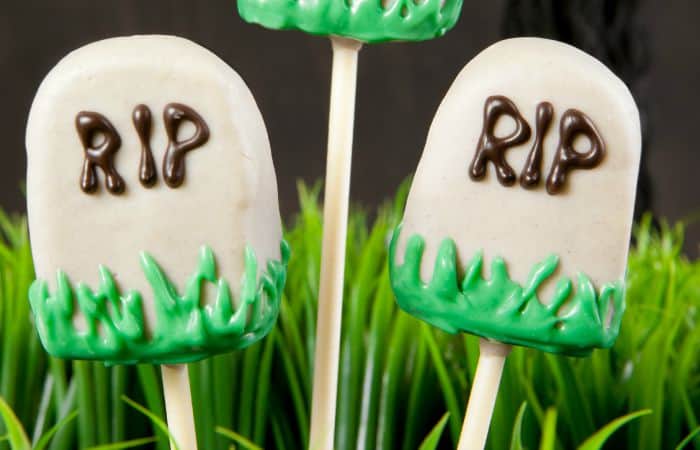
Vegan Tombstone Cake Pops
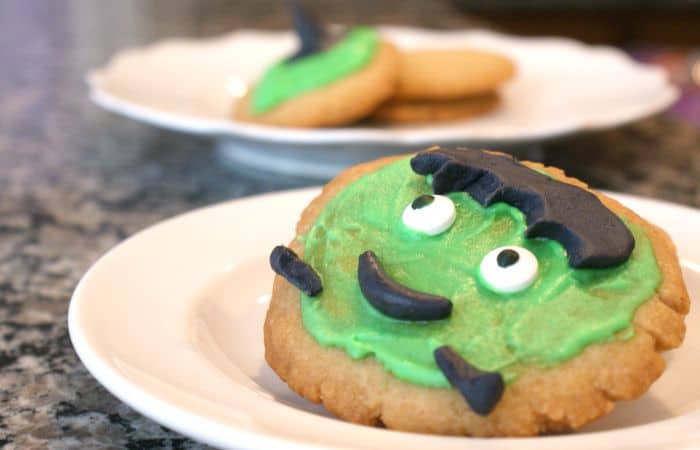
Easy Frankenstein Cookies
Candy Corn Ice Cream