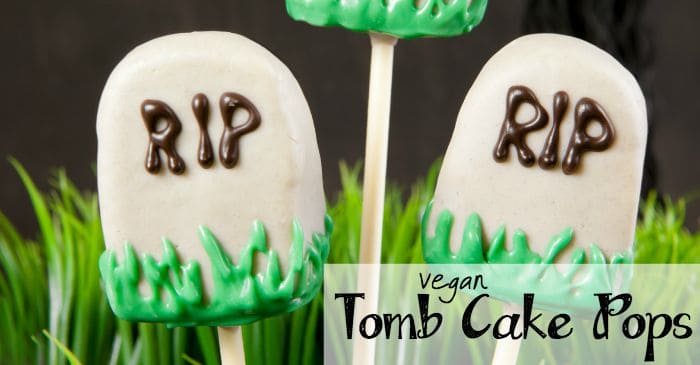
So, my mom and I were talking about fun snacks we could make for the kids for Halloween, but that weren’t candy. You know, something they could have at home in the day or two before trick-0r-treating. Kind of a build-up to, you could say. And I thought we might do cake pops. But she thought we needed headstones. There was an argument. Flour was thrown, chocolate (vegan, of course) was drizzled and somehow, from somewhere, these cute little Tombstone Cake Pops were conceived. Then made. Then eaten. (Because we’d never made cake pops before and weren’t sure if they were even good–right? Riiiiight.) So, enjoy these dairy-free, delicious treats from the cemetery. They won’t put you 6-feet under, but they will make you giggle.
Ingredients for Vegan Tombstone Cake Pops
- 1 – 8-inch round cooked cake. For a fun, fast, vegan cake recipe, check mine out here. Although, you can leave-out the food coloring. Unless you want the inside of your cake pops to be teal. Might be cool.
- 1/4 cup cream from canned coconut milk. For maximum separation, refrigerate coconut milk in the can overnight.
- 1 cup powdered sugar
- 1 cup vegan white chocolate*
- 5 drops black food coloring
- 2 drops green food coloring
- 12 candy/baking sticks
- Pastry bag and icing writing tip
How to Make Vegan Tombstone Cake Pops
- Mix coconut cream and powdered sugar in a medium mixing bowl until well blended.
- Crumble your cake (I know, all that beautiful cake being crumbled–a shame!) into the bowl.
- Stir until the cream mixture and cake are thoroughly blended.
- Using your hands, shape the tombstones by making a ball of the cake, then mushing it between your palms and kind of just shaping it into a rectangle with one rounded end. I can’t really super explain it better than that. Just make the darn things flat with a rounded top and flat bottom like the picture. It wasn’t hard. Make 12.
- Place headstones in the freezer for about 20 minutes.
- While that the headstones are chilling, melt your white chocolate in the microwave in 20-second increments. Stir well–no lumps should remain.
- Separate approximately 1/4 of the chocolate into a second bowl and add in the green food coloring. Mix well and set aside.
- Separate approximately 1/8 of the chocolate into a third bowl and add in 4 drops of black food coloring. Mix well and set aside.
- In the bowl with the larger amount of chocolate, add 1/2 to 1 drop of black food coloring (you’re just going for grey here, so you could just wave the black food coloring over it, if you needed to). Mix well and set aside.
- Remove the headstones from the freezer.
- Coat one end of a candy/baking stick in the grey chocolate.
- Stick the coated-end of the stick into the flat end of a headstone.
- Repeat until all headstones have sticks.
- Place headstones in the freezer for about 10 minutes or until headstones will not twist on pop sticks.
- Remove headstones from the freezer.
- Carefully dip and twirl the headstones in the grey chocolate, tapping and swirling to obtain a smooth coat. At least on one side. I missed a spot on the back of mine…
- Allow to stand (recommend a foam block for this) for about 15 minutes, or until chocolate is dry-ish, before decorating. I ended-up letting mine stand overnight by accident, just FYI.
- Using pastry bag and writing tip, decorate with grass and lettering using green and black chocolate, as desired.
- EAT!
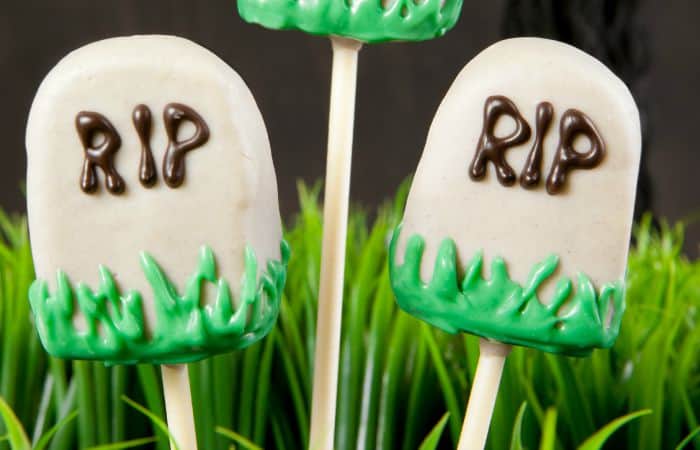
Vegan Tombstone Cake Pops
Flour was thrown, chocolate (vegan, of course) was drizzled and somehow, from somewhere, these cute little Tombstone Cake Pops were conceived. Then made. Then eaten.
Ingredients
- 1 – 8-inch round cooked cake. For a fun, fast, vegan cake recipe, check mine out here. Although, you can leave-out the food coloring. Unless you want the inside of your cake pops to be teal. Might be cool.
- 1/4 cup cream from canned coconut milk. For maximum separation, refrigerate coconut milk in the can overnight.
- 1 cup powdered sugar
- 1 cup vegan white chocolate*
- 5 drops black food coloring
- 2 drops green food coloring
- 12 candy/baking sticks
- Pastry bag and icing writing tip
Instructions
- Mix coconut cream and powdered sugar in a medium mixing bowl until well blended.
- Crumble your cake (I know, all that beautiful cake being crumbled–a shame!) into the bowl.
- Stir until the cream mixture and cake are thoroughly blended.
- Using your hands, shape the tombstones by making a ball of the cake, then mushing it between your palms and kind of just shaping it into a rectangle with one rounded end. I can’t really super explain it better than that. Just make the darn things flat with a rounded top and flat bottom like the picture. It wasn’t hard. Make 12.
- Place headstones in the freezer for about 20 minutes.
- While that the headstones are chilling, melt your white chocolate in the microwave in 20-second increments. Stir well–no lumps should remain.
- Separate approximately 1/4 of the chocolate into a second bowl and add in the green food coloring. Mix well and set aside.
- Separate approximately 1/8 of the chocolate into a third bowl and add in 4 drops of black food coloring. Mix well and set aside.
- In the bowl with the larger amount of chocolate, add 1/2 to 1 drop of black food coloring (you’re just going for grey here, so you could just wave the black food coloring over it, if you needed to). Mix well and set aside.
- Remove the headstones from the freezer.
- Coat one end of a candy/baking stick in the grey chocolate.
- Stick the coated-end of the stick into the flat end of a headstone.
- Repeat until all headstones have sticks.
- Place headstones in the freezer for about 10 minutes or until headstones will not twist on pop sticks.
- Remove headstones from the freezer.
- Carefully dip and twirl the headstones in the grey chocolate, tapping and swirling to obtain a smooth coat. At least on one side. I missed a spot on the back of mine…
- Allow to stand (recommend a foam block for this) for about 15 minutes, or until chocolate is dry-ish, before decorating. I ended-up letting mine stand overnight by accident, just FYI.
- Using pastry bag and writing tip, decorate with grass and lettering using green and black chocolate, as desired.
- EAT!
*this post contains affiliate links.
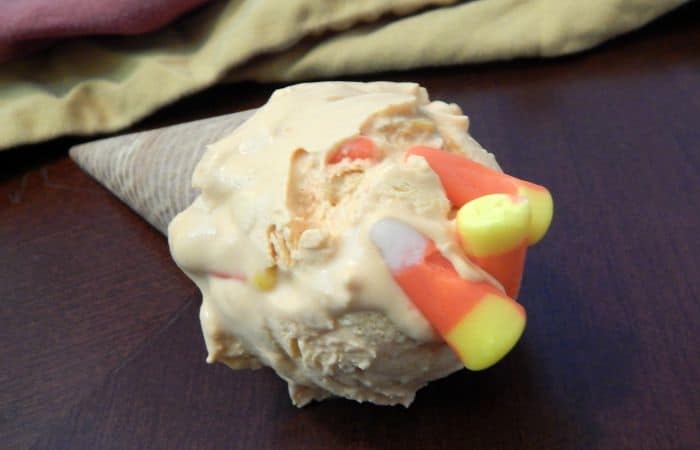
Candy Corn Ice Cream
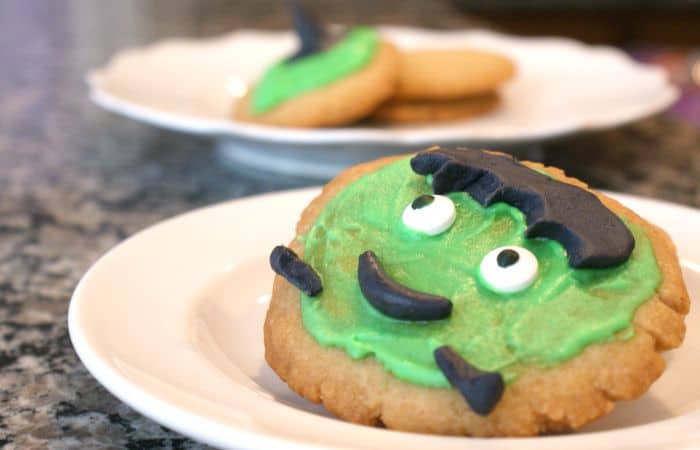
Easy Frankenstein Cookies
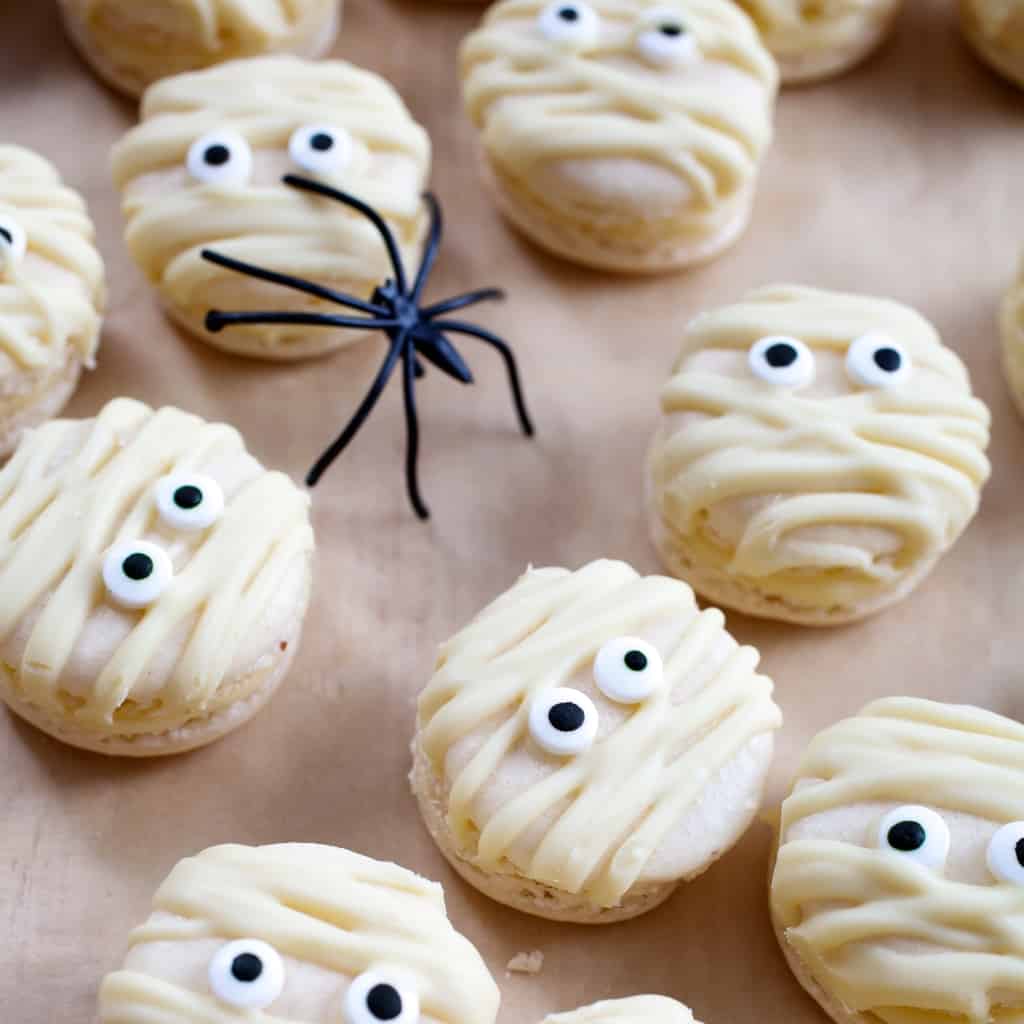
Mummy Macarons
