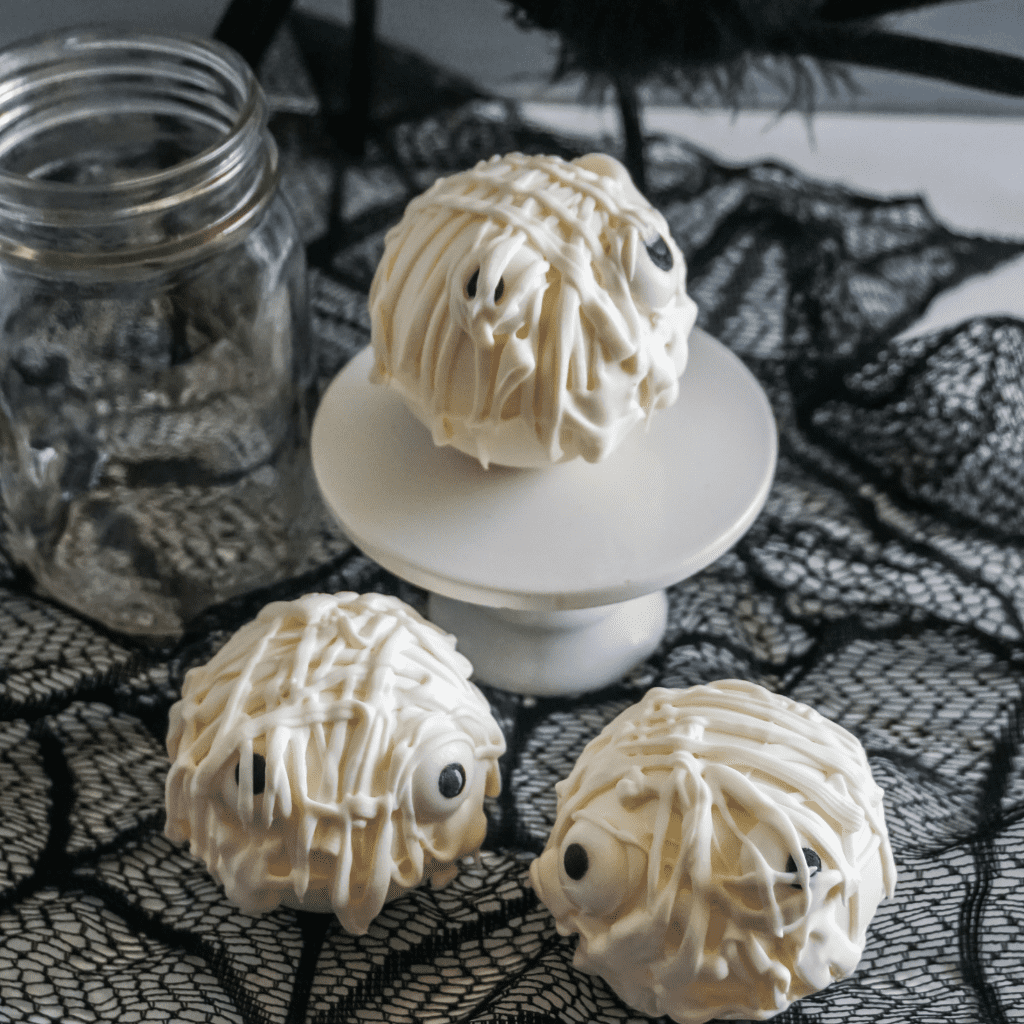
I kind of got all sorts of crazy this weekend and made mummy macarons instead of “regular” halloween cookies (whatever that is) and now I’m OBSESSED!
Seriously, these are ridiculously easy to make and they’re stunning. STUNNING.
But, the thing is, they do disappear pretty quickly. It’s a mystery around our house, but I’m pretty sure it has something to do with the two little girls who are tall enough now to reach the counter and do little drive-by-snack-attacks.
Maybe.
We’ll never know.
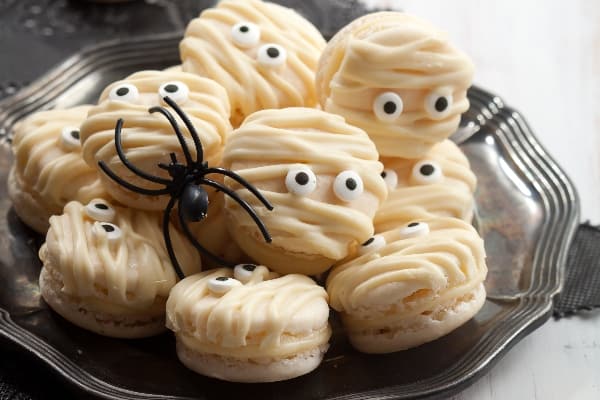
But, at the end of the day, this fun halloween dessert recipe for Mummy Macaron Cookies is such a cool treat that you won’t be getting any tricks this year.
Plus, I made it dairy-free! So yay for me!
I’ve never had really good luck replacing the eggs in macaron cookies because, well, that’s the big part of the whole macaron thing, and while aquafaba is great, it just doesn’t do the job. Oh well, these were wonderful, even if they weren’t vegan macarons.
Now let’s get baking!
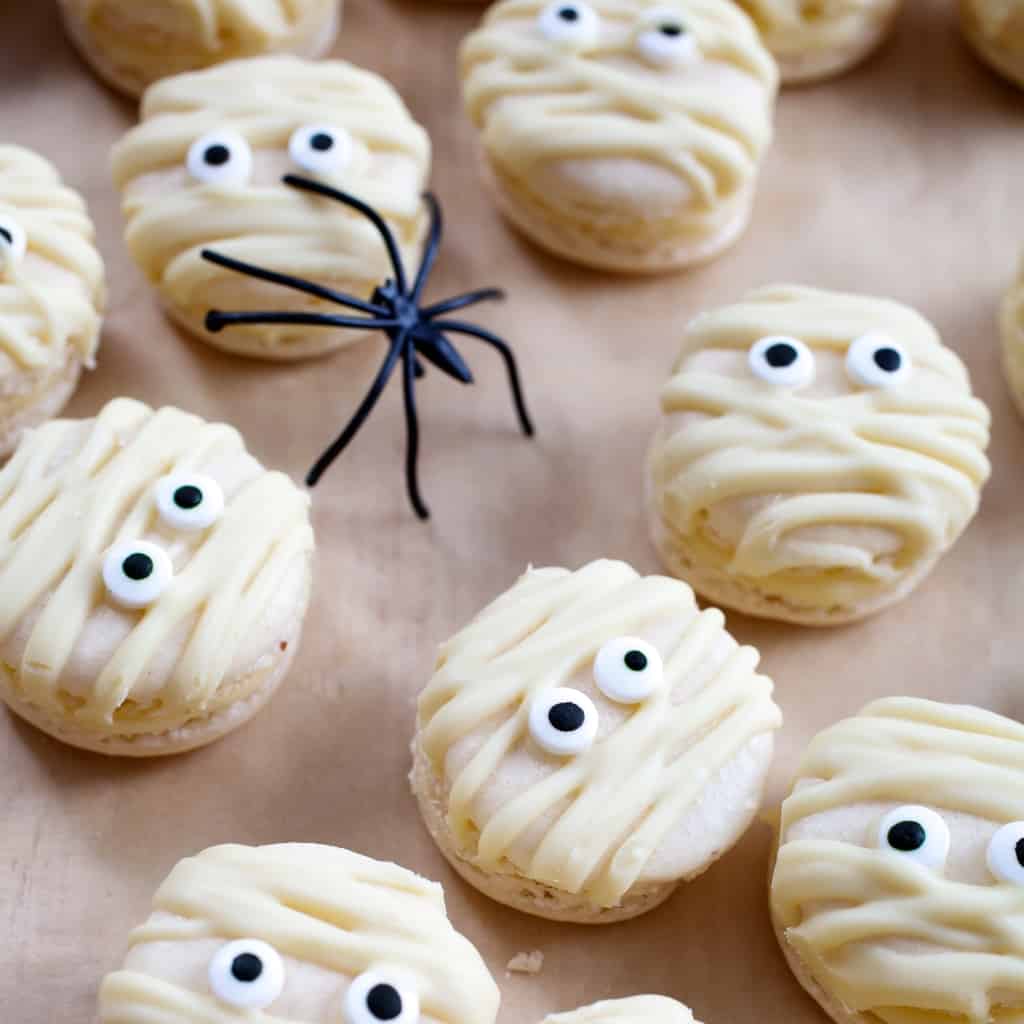
What You Need to make this Halloween Dessert
You don’t have to have any special tools to make these Cookie Dough Macarons, not really, not even a food processor, I promise.
But one thing that’s a total must is the food scale–no just for cookie dough macarons, but for ANY french macaron cookie-making adventure.
Yeah, I didn’t have one, either, until I started making macarons–then I found out that I really had to have one in order to get the cookies to work right. So I snagged this really simple, flat digital scale (paid link)–it’s easy to use and I like it, so there’s that.
And then you need a template so you know about how much to put out on your silicone mat (paid link)–and thus how big your french macaron cookies will be.
So, no real tools, just a couple of thing and it really is simple to whip up a big batch of Cookie Dough Macarons.
Oh, and don’t forget to look over these 12 Tips for Perfect Macarons–because, you know, preparedness is key before you rush off to make any French Macarons, not just these Cookie Dough Macarons.
How to Make Halloween Macarons
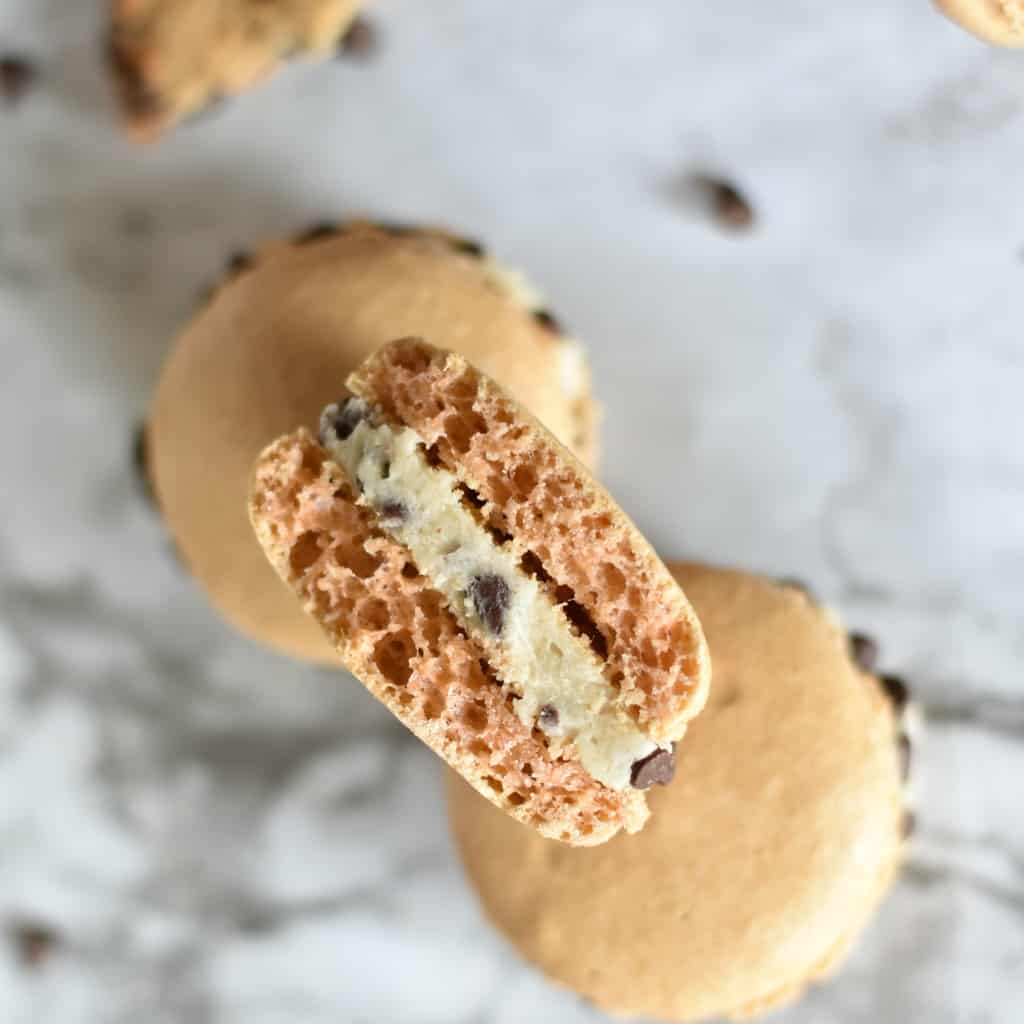
Ok. So, to break this down, I’m going to run through how to make french macaron cookies with chocolate chips because it really is easy, but I’ve gotten some questions.
First, you’re going to make your almond flour mixture. Measure everything out. You know, with the scale like we talked about.
Then just combine the confectioners sugar (powdered sugar or superfine sugar, just not granulated sugar–you know the stuff) with the almond flour.
These are your “dry ingredients”.
Then it’s time to whip your egg whites into stiff peaks in your stand mixer. Whip whip whip whip whip and whip some more.
Gently fold those two together, add your gel food coloring to make the shells a little brown and scrape down the sides with a rubber spatula, get it to the ribbon stage (where you can make a swirl of it dripping off your spatula and “draw” a figure 8 without the dough breaking).
Once there, fill a piping bag fitted with NO tip (I know–I had you there), and make with the circles of dough on the baking sheet.
Once you have those piped on the cookie sheet, bang them about 10-20 times on the counter to pop all the air bubbles possible and just bake your macaron shells.
Pull them out and remove them to a rack to cool completely.
Fill with your buttercream and vanilla mixture (you could add peanut butter or anything, really, it’s just a filling). You can even color this buttercream with gel food coloring to make it brown, but whatever.
And then let them rest for a day or so to mature–then eat your heart out!
Now, go ahead and pin this so you know where to find it again when you get your food scale!
No-Fail French Macaron Cookie Tips
- Don’t over-mix. When you’re combining your wet and dry ingredients, only mix until the ribbon stage. Do not go past it. If you don’t get to the ribbon stage, you have to keep going, but if you have reached ribbon-satisfaction, STOP!
- If you don’t have a stand mixer, don’t fret! You can use a hand mixer, but like with everything, you’re going to spend a little bit more time putting elbow grease into these cookies.
- Always always weigh all your ingredients. Because this is kind of a finiky recipe, you do have to weigh the ingredients–there might be more moisture in your almond flour than was in mine, you never know! And that kind of thing can throw off french macaron cookies in a heartbeat.
How Long do Macaron Cookies Last?
Oh, that’s a fun question. The answer is: not long in my house.
But the truth is that, if you keep them refrigerated in an airtight container, you can expect your macaron cookies to last for at least 2 weeks without them starting to dry out and not be so great.
They’ll still taste good even after this, but the drying out always gets me.
Can You Freeze Macaron Cookies?
Yes! Absolutely. Just wrap them in plastic wrap and then in an airtight container. You can put those in the freezer just like that.
Then, when you’re ready for a french macaron cookie treat, you just go grab one, let it sit out on the counter for a bit, and it’ll defrost.
You enjoy as soon as it’s not frozen inside. Or you can let it defrost in the fridge overnight. Whatever.
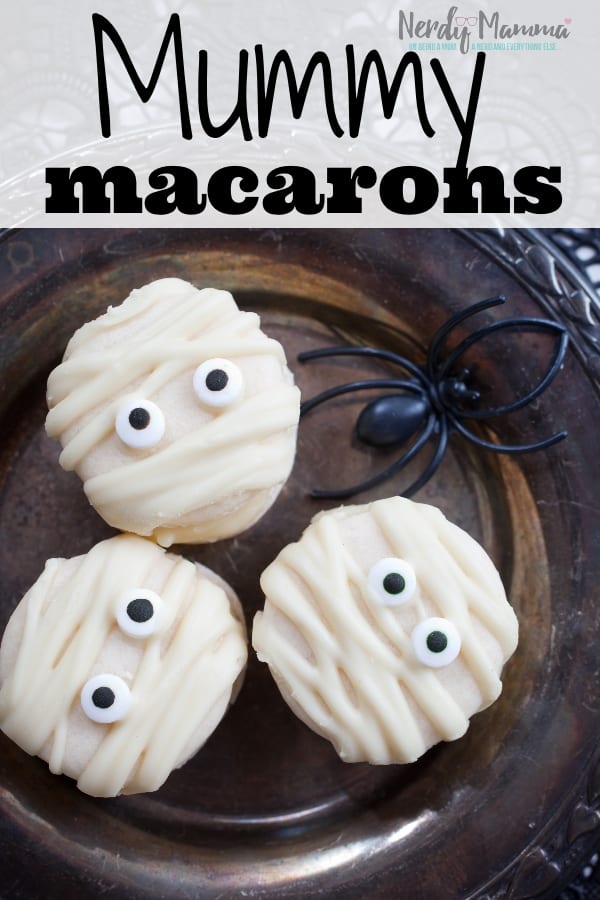
How to Make Mummy Macarons
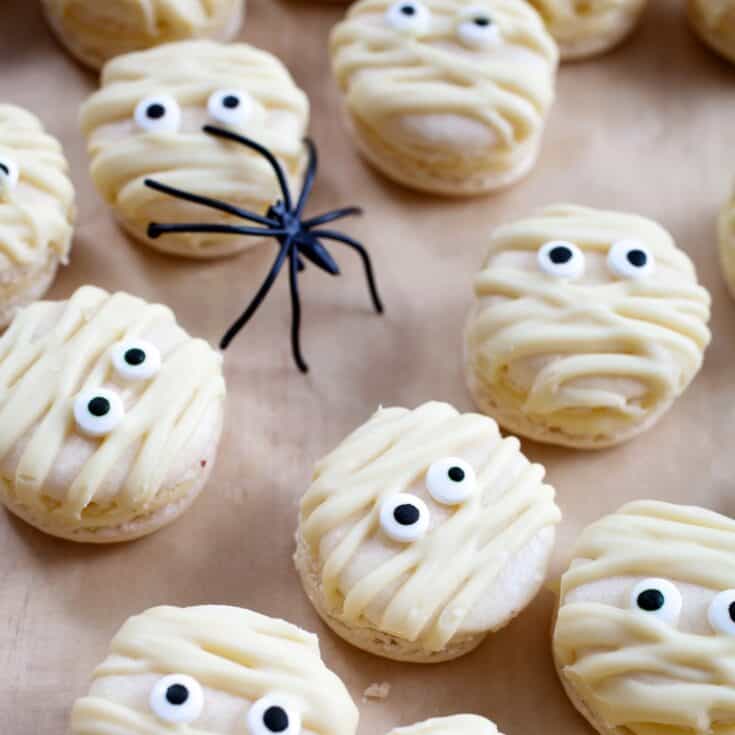
Mummy Macarons
I can't wait to make a second batch of these easy mummy macarons. They're the funnest little french macaron cookies for halloween. And, yeah, I need a second batch because I ate the first. Ooops.
Ingredients
Cookie
- 4 oz. confectioners sugar
- 2 oz. almond flour I recommend Bob’s Red Mill
- 1 oz granulated sugar
- 1/4 tsp salt
- 2 oz. egg whites roughly two eggs at room temperature
- 1 tsp vanilla optional or you can use your favorite extract
- 1/4 tsp salt
Mummy Wraps
- 1/2 cup white chocolate chips (I used dairy-free ones)
- 48 mini-candy eyeballs
Filling
- 1 stick softened butter (I used a vegan buttery stick)
- 1 cup powdered sugar
- 1 tsp vanilla extract
Instructions
- First, weigh out all of your ingredients.
- Next, sift together your almond flour and powdered sugar in a large bowl and set aside.
- Add your egg whites to the bowl of your mixer and start mixing on a medium speed until they get frothy. Add in the salt.
- Gradually add in your sugar to the egg whites and mix on a medium speed until you get a soft peak consistency.
- After the egg whites are the right consistency, add about 1/3 of the dry mixture to the egg whites and fold in until there are no dry spots left.
- Add in the remaining dry mixture to the meringue and fold in until there are no dry spots. Begin to check for the “ribbon” stage, where the batter falls off in ribbons and you can make a figure 8 without it breaking off. Once you get to this consistency stop folding.
- Prepare your piping bag with a medium round tip. Place your bag in a large cup to make it easier to add your batter. Slowly add in your batter.
- Place the macaron template under a silicon mat on a baking sheet.
- Hold your piping bag completely vertical when piping and lift straight up. Making about 1 1/2 to 2 inch circles.
- After you have piped all the batter, bang the baking sheet on the counter 10-20 times (seriously) to remove all air bubbles. Use a toothpick or something sharp to pop them.
- Now it is time to let them dry. Leave them sitting on the counter for 30-60 minutes until you can touch them and you can feel a “shell” form over them. No batter should come off on your finger.
- Preheat your oven to 300 degrees F. and bake your macarons for 10-15 minutes or until lightly browned. When you touch the top of the macaron it should not wiggle around on the “feet”.
- Allow them to cool COMPLETELY before taking them off the baking sheet.
- To make the buttercream:
- Cream the butter and vanilla in the bowl of a stand mixer or using a hand mixer. Add in the powdered sugar slowly with the mixer on a low speed and mix until completely combined. Mix until light and fluffy, about 2-3 minutes.
- Place the frosting in a piping bag with no tip. Pipe a generous amount on half of the macaron shells.
- Sandwich them with the remaining macaron shells.
- Microwave the white chocolate chips in a microwave-safe bowl in 30-second increments, stirring between each increment, until completely melted.
- Using a large spoon, drizzle white chocolate over the top of the macarons in large, fat strings, about 8-10 times per macaron cookie. Be sure to leave a little space for the eyes.
- Dip the back of each candy eyeball in the white chocolate and place two on each macaron.
- Allow to chill in the refrigerator for 10 minutes or until chocolate is set.
- Keep in an airtight container in the refrigerator for 24-48 hours to allow them to “mature”.
- Enjoy!
Nutrition Information:
Yield:
24Serving Size:
1Amount Per Serving: Calories: 163Total Fat: 7gSaturated Fat: 3gTrans Fat: 0gUnsaturated Fat: 3gCholesterol: 26mgSodium: 97mgCarbohydrates: 25gFiber: 0gSugar: 20gProtein: 2g
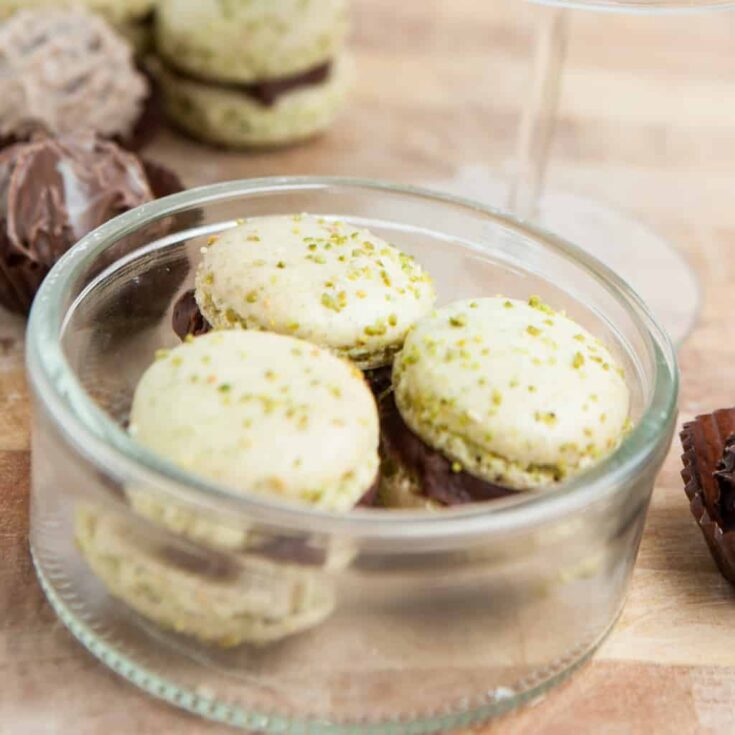
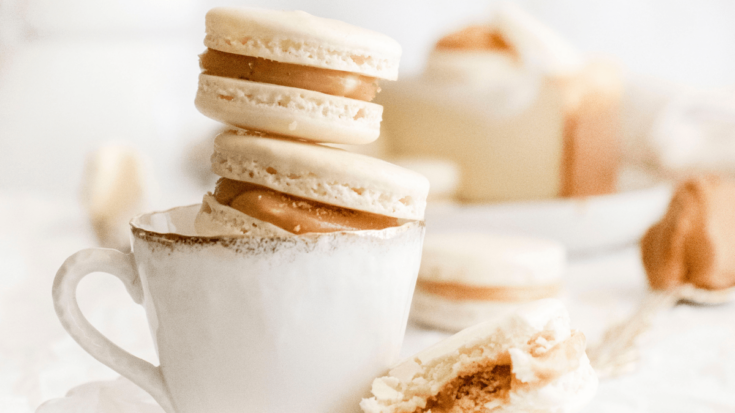
Oh and one more thing, if you really love this recipe for mummy macarons, be sure to check out these other amazing macaron cookie recipes.
They’re all really easy (seriously, I’m no master baker) and they’re totally worth the time it takes to assemble.
Best Macaron Recipes on Nerdy Mamma
Because you LOVED these Mummy Macarons, try these other Halloween treats:
Easy Halloween Macarons
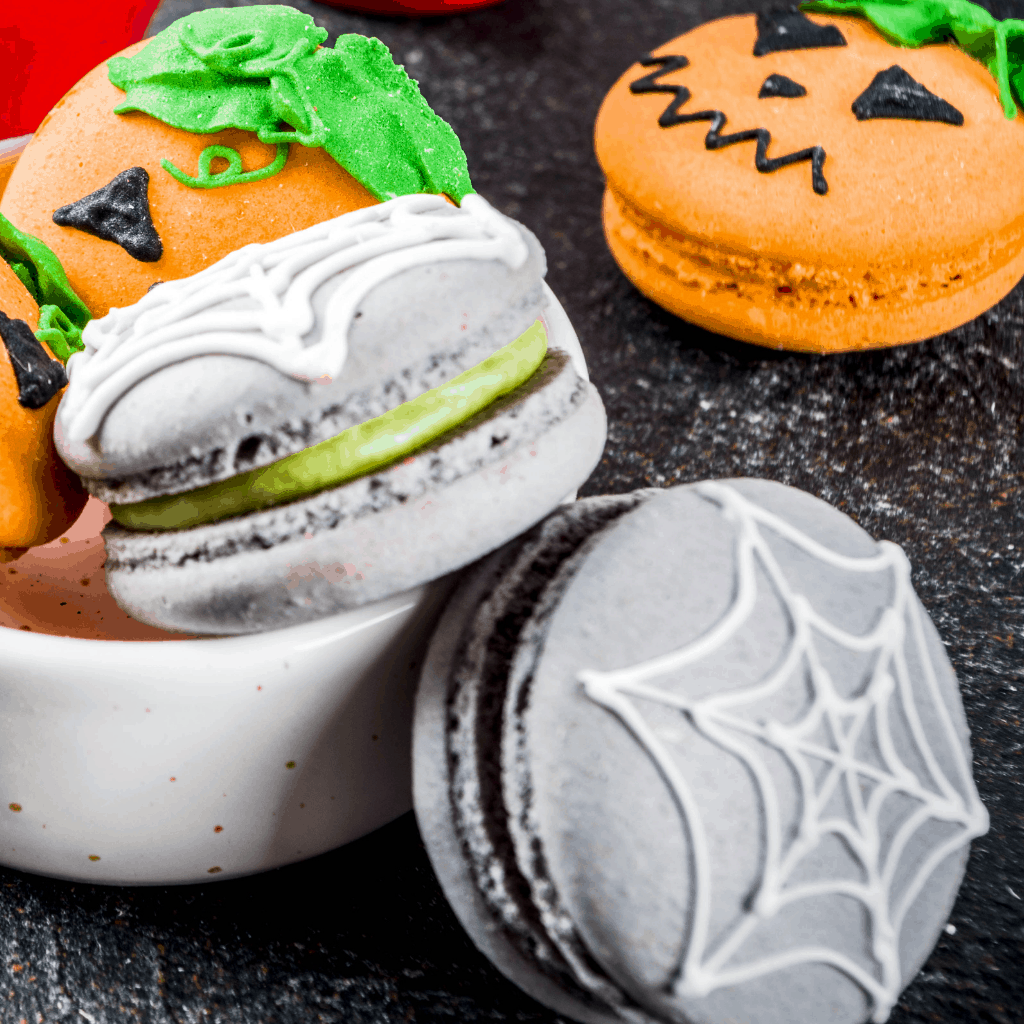
Jack-O-Lantern Macarons
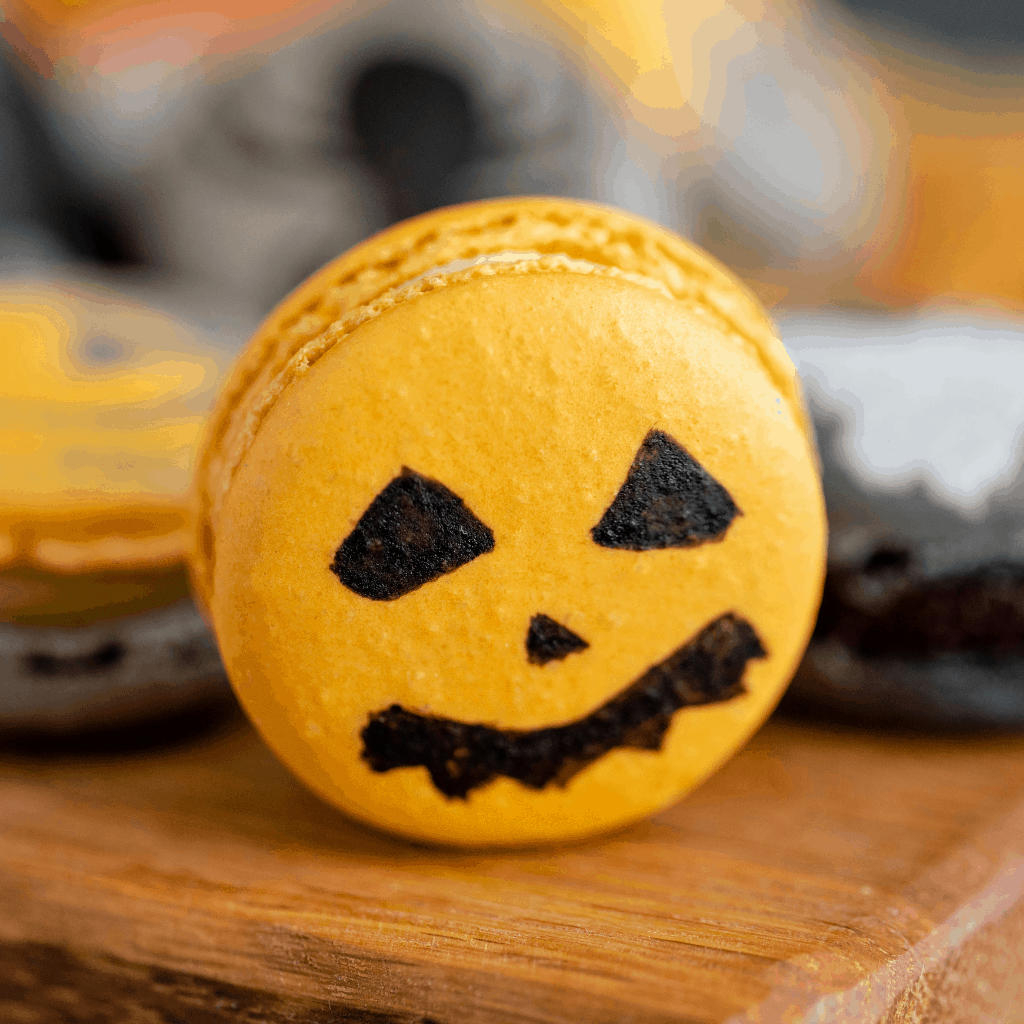
Mummy Hot Cocoa Bombs
