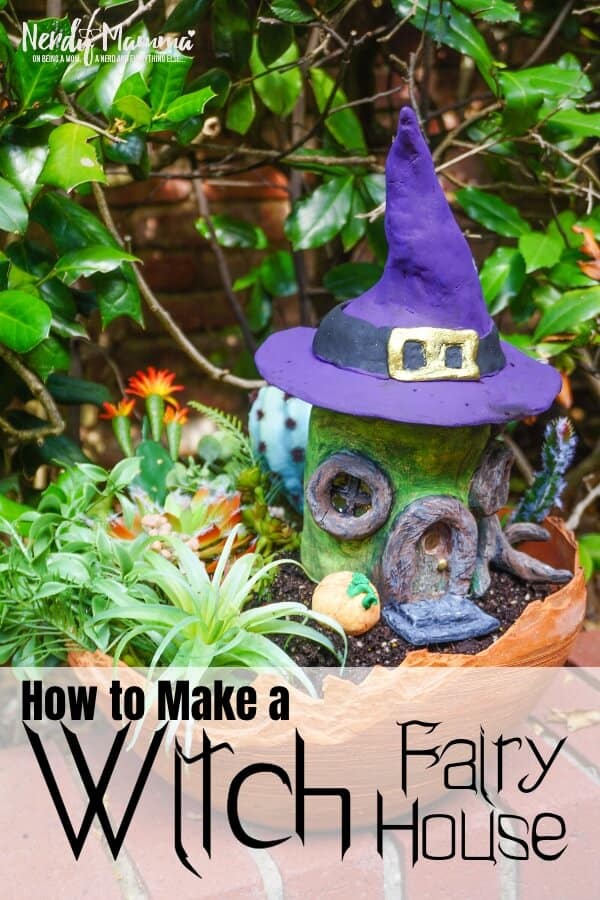
Ever dreamed of crafting a tiny magical hideaway that mixes the charm of a fairy house with the enchantment of a witch’s lair? Say hello to the whimsical world of DIY with our guide on how to make an easy Witch’s Fairy House!
Perfect for Halloween or any time you want to sprinkle a little enchantment into your decor, this project invites you to unleash your creativity and imagination.
This is more than just a DIY project—it’s an invitation to create a spellbinding centerpiece that will captivate anyone who sees it. Want to see a world where fairies meet witchy wonders? Grab your crafting supplies and let the magic begin!

What is a Witch’s Fairy House?
A Witch’s Fairy House is a captivating arts and crafts project that combines the alluring charm of a fairy dwelling with the mystical elements of a witch’s abode.
Imagine a miniature world where fairies and witches coexist, each detail meticulously crafted to reflect the enchantment of both realms. It’s a perfect venture for those who relish in the mysterious and the magical, providing a canvas for your imagination to run wild.
The project not only allows for artistic expression but also offers a delightful escape into a fantastical world, making it a perfect activity for both Halloween decor and a charming, year-round display.
Materials Needed for Witch’s Fairy House
Old Pickle Jar – This forms the base of your fairy house, making it a great upcycling project while adding a touch of whimsy to your crafts.
Foil – Use foil to shape the basic structure of the house, it’s flexible and easy to manipulate to create fantastical shapes and forms.
Paper Clay – Paper Clay is fantastic for forming the exterior of our witch’s fairy house. It gives the project an earthy, rustic appeal that’s easy to mold and carve for a magical touch.
Water Colors – Brighten up your witch’s fairy house with watercolors. They offer a multitude of shades to play with and bring out the intricate details of your fairy house beautifully.
Hot Glue Gun and Glue – The ultimate binding agent in your craft project. The hot glue gun ensures all your creative elements stay in place, giving your project durability and longevity.
Clay Working Tools (optional) – These are great for adding fine details to your witch’s fairy house, enhancing the overall appearance, and making your project truly unique.

How to Make Witch’s Fairy House
Transform an old pickle jar into a whimsical piece of art by following these simple steps:
- Start by meticulously cleaning your old pickle jar using soap and water, followed by a good wipe-down with rubbing alcohol. This ensures any remaining labels or glue residues are completely removed.
- Take some aluminum foil and form a ball. Proceed to hot glue your foil ball to the top of the pickle jar’s lid.
- Create a slim foil snake and coil it around the top half of your foil ball, shaping a cone at one end while ensuring the other end lies flat on the same plane as the jar’s lid. Hot glue this firmly into place. Use as much foil as needed to shape your witch’s hat.
- Attach the lid back onto the jar to make sure everything fits into place perfectly.
- Make another skinny foil snake to represent a tree, and hot glue it onto the jar’s side.
- For the door threshold, repeat step 5 but glue this onto the front of the jar.
- Create foil snakes for the window seals and securely hot glue these on either side of the door.
- Use foil to shape small, thick sheets forming the steps to the door, and glue these into position.
- Break your paper clay into small bits for easier management.
- Neatly cover the witch’s hat with clay, ensuring a smooth finish.
- Subsequently, cover any exposed parts of the glass jar with clay.
- With the aid of your clay working tools, add intricate details to the door.
- Lastly, cover any remaining areas raised with aluminum foil using clay, adding finer details like wood grain and bark on the tree.

Tips for Making Fairy Houses
- Cleanliness matters. The cleaner your materials, the better your end result. Make sure to thoroughly clean your old pickle jar, especially any residual labels and glue. A bit of rubbing alcohol can be a great help!
- Play with shapes. Your fairy house can come in any shape you like. Experiment with foil shapes – a ball for the roof, snakes for the tree, and window seals. Remember, there’s no ‘right’ shape in fairyland!
- Precision is key. Position your elements carefully. For example, put the lid back on the jar to find the right spots for your foil elements like the tree and door.
- Take it step by step. Don’t rush your work. Quality takes time. Craft each element separately and attach them carefully for the best results.
- Your clay is your canvas. The sky’s the limit when it comes to adding detail to your clay. From the texture of the hat to the wood grains in the tree, let your imagination run wild!

Frequently Asked Questions
How can I make my Witch’s Fairy House unique?
Personalization is the key! You can customize your fairy house by painting it in magical colors like deep purples and greens or adding glitter for a sparkly effect.
Incorporate thematic elements like tiny potion bottles or custom signs with magical sayings to give it a personal touch.
What are some creative tips for assembling the Witch’s Fairy House?
Start by sketching a simple design to guide your construction. Use hot glue for quick assembly and to secure delicate pieces. Layer different textures like moss and bark to add depth and visual interest.
Don’t hesitate to experiment with lighting, such as adding a battery-operated tea light for an enchanting glow.
How do I troubleshoot common issues like pieces not sticking together?
If pieces aren’t sticking, make sure you’re using the right type of glue for the materials. Hot glue works well for most natural elements, while a stronger adhesive might be needed for heavier items.
Ensure the surfaces are clean and dry before applying glue for better adhesion.
Can I involve kids in making the Witch’s Fairy House?
Absolutely! This project is a wonderful way to engage children in creative play. Just make sure to supervise them, especially when using tools like hot glue guns.
Encourage them to collect materials from nature, like leaves and acorns, to use as natural decorations.
How can I display my Witch’s Fairy House once it’s complete?
Display your creation in a place of honor, such as a mantelpiece or a cozy corner in your home. Consider incorporating it into a seasonal display with pumpkins and autumn leaves for a Halloween theme.
For a year-round fairy tale vibe, place it in your garden or on a windowsill.
Conclusion
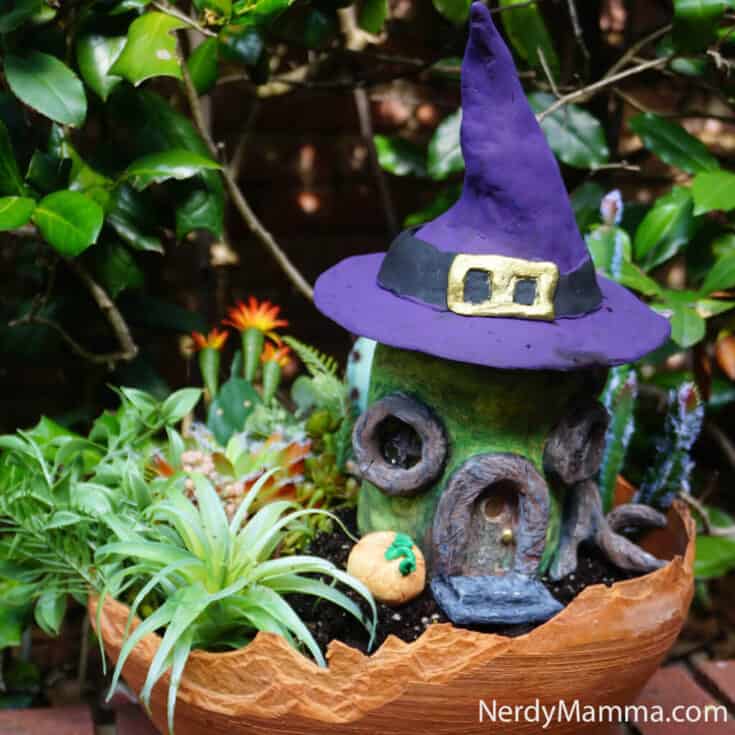
We hope you enjoyed creating this whimsical art project from an old pickle jar! The transformation of an everyday item into a piece of art is truly magical.
Remember, art is all about creativity and expression, so don’t worry if your creation doesn’t look exactly like the picture – it’s your unique interpretation that matters most.
Please don’t forget to share a picture of your finished project, we would love to see it. Your feedback is important to us, so please rate this project and share your thoughts.
The experience and insights you provide can inspire and aid others in their artistic journey. Happy crafting!
Witch Fairy House
Learn how to make an easy witch fairy house with this DIY guide! Create a magical fairy witch house perfect for Halloween or garden decor!
Materials
- Old Pickle Jar
- Foil
- Paper Clay
- Water Colors
- Hot Glue Gun and Glue
- Clay Working Tools (optional)
Instructions
- Clean your old pickle jar well with soap and water and then with some rubbing alcohol. You want any labels and glue from the labels cleaned off VERY well.
- Make a ball of foil and hot glue it on top of the lid of the jar.
- Make a skinny snake of aluminum foil and twist it around the top half of the ball of foil, forming a cone on one end and leaving the edge flat out in the same plane as the lid. Hot glue this in place. Use as much aluminum foil as you want to make this the shape of your witch's hat.
- Put the lid on the jar so you know where to position everything else.
- Make a skinny snake of foil to form the tree and hot glue it on the side of the jar.
- Make a skinny snake of foil to form the door threshold and glue that in place on the front of the jar.
- Make a skinny snake of foil to form the window seals and hot glue those to either side of the door.
- Fold foil into small, thick sheets to form the steps to the door and glue those in place.
- Work with a small portion of clay at a time.
- Cover the hat in clay, making it as smooth as possible.
- Cover the exposed glass parts of the jar in clay.
- Add details to the door with your clay working tools.
- Cover the remaining areas that are raised with the aluminum foil with the clay and add details like wood grain and bark on the tree.
- Allow the clay to dry fully. While this is drying you can make your fairy garden accessories. I made a pumpkin and a belt buckle for the hat, but you could make anything--a black cat, a broom, anything. Think about what you'd see in a doll house for a witch...I don't know. LOL!
- Sand the witch's cabin to make the clay smooth.
- Paint the house yellow, then green, wiping off excess as you go, to create the desired finish.
- Paint the tree and door black and then dry brush with various shades of brown and grey.
- Paint the witch's hat black and then purple. Paint the buckle gold.
- Allow the paint to dry fully.
- Enjoy!
Since you enjoyed this Witch’s Fairy House craft, you will want to try these other Halloween crafts, too:
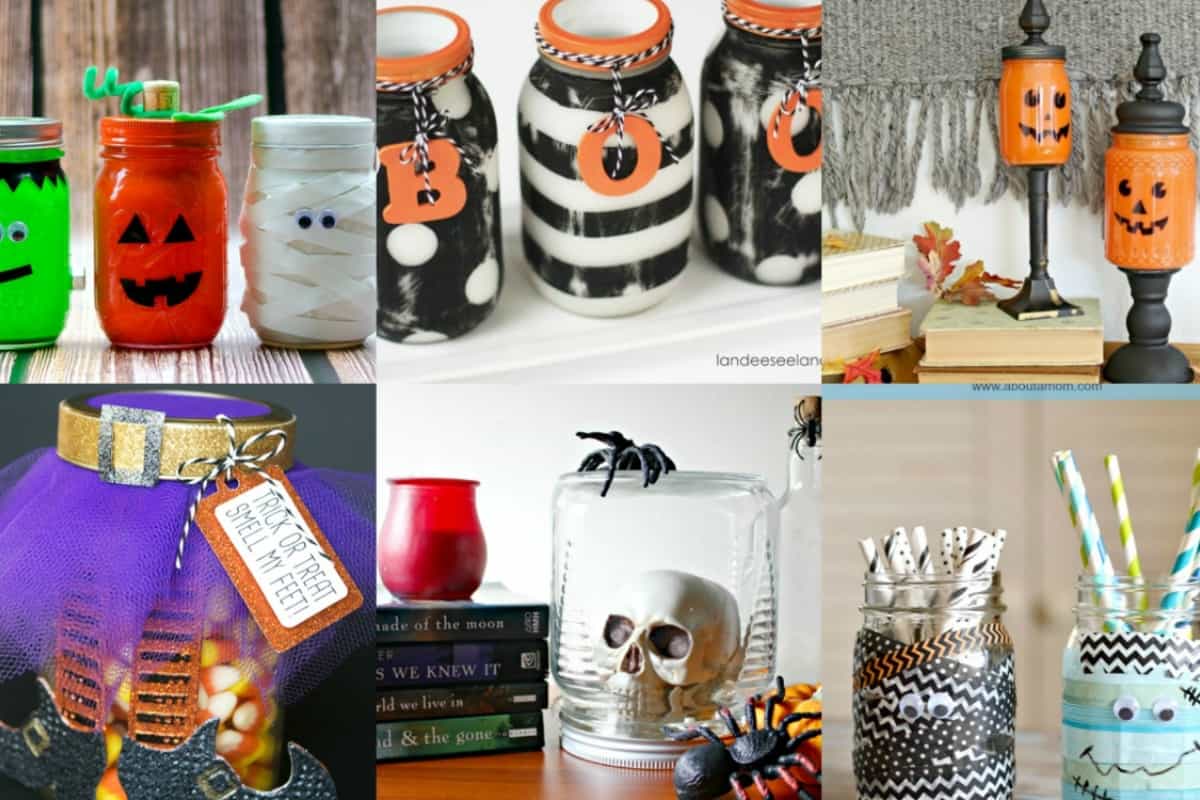
15 Halloween Mason Jar Crafts
Free Printable Halloween Lunchbox Notes
Monster Play Dough Non-Food Halloween Treat