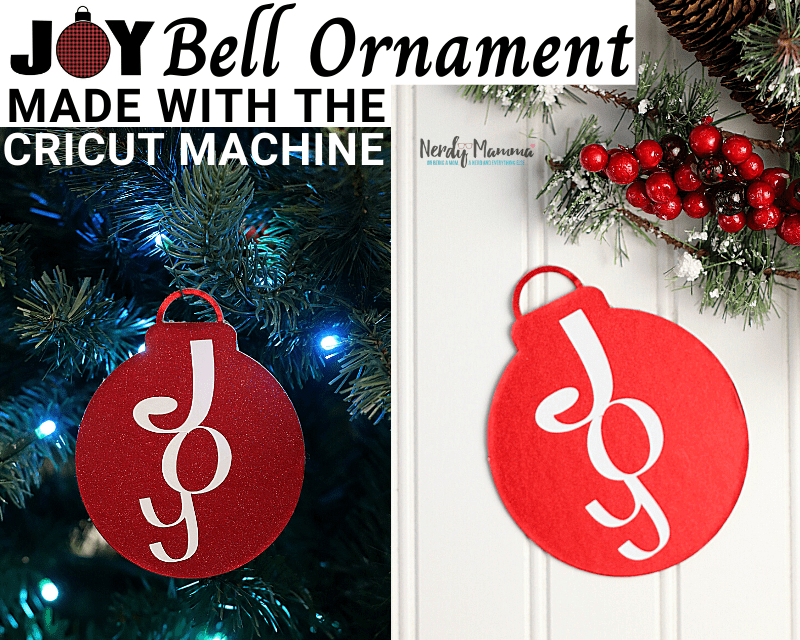
I am so excited about the Cricut Machine that I just acquired. I am going to use it for my next project. This is going to be another ornament since Christmas Season is fast approaching. It’s the Joy Bell Ornament made with the Cricut Machine.
For some of you who don’t know what is Cricut machine. This is a machine where a computer or a smart mobile is used to control it to create cutouts made of paper, boards, cloth, felt, vinyl, and even certain woods to make crafts.
For more information about what a Cricut machine is and what it does, click this link.
This Joy Bell Ornament made with the Cricut Machine is super easy. Besides ornaments, you can definitely make other cutout designs when you get used to the machine. I think I’m going to include this among the Craft and Gift Ideas.

How to make Joy Bell Ornament made with the Cricut Machine.
I assume you have read the manuals or tutorials on how to use your Cricut machine.
By the way, you can check click on this link for recommendations on where to get free and paid SVG designs for downloads.
But if you are already good at creating designs using Design Space and other apps, then you probably don’t need these.
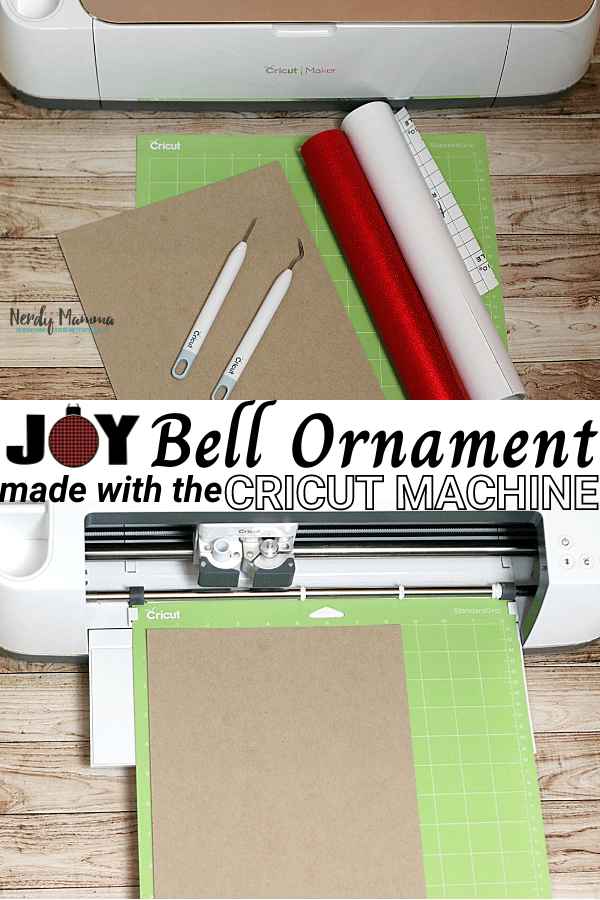
To start with, let’s gather the materials needed for the craft first.
Materials:
- Maker Cricut Cutting Machine
- 1 piece of .024” thick (approximately) chipboard
- Red sparkle vinyl
- White vinyl
- Cricut weeding tools
- Cricut mat
- Ribbon
INSTRUCTIONS:
From your Design Space, load your file for the bell, place your chipboard on the mat, and cut.
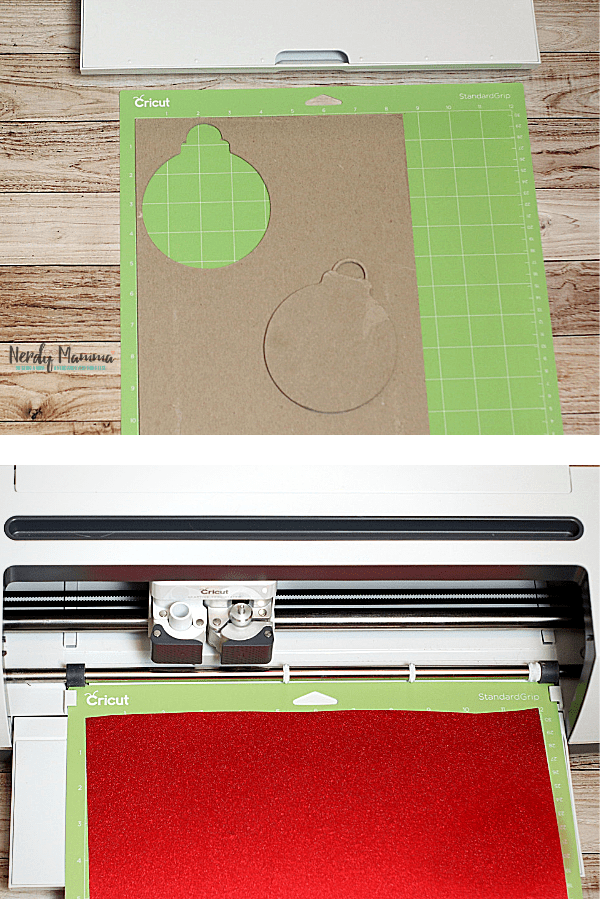
Cut a piece of the red vinyl to accommodate the size you chose for your bell. Attach to the mat and cut. Peel off and smooth over your chipboard bell.
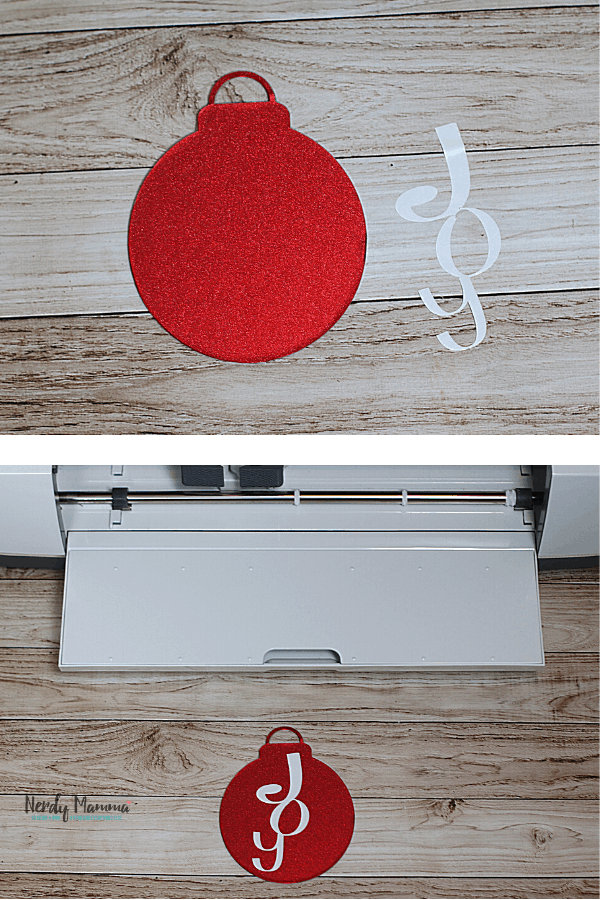
Load your file for the “Joy” (You may use a different font of course). Cut a piece of the white vinyl to accommodate the size you want to cut your text. Cut your text. Peel off the mat.

Finally, line up the text where you would like it to be placed on your ornament and smooth over the ornament.
Joy Bell Ornament Made with the Cricut Machine
Materials
Tools
Instructions
INSTRUCTIONS:
Steps 1-2: Load your file for the bell, place your chipboard on the mat, and cut.
Steps 3-4: Cut a piece of the red vinyl to accommodate the size you chose for your bell. Attach to the mat and cut. Peel off and smooth over your chipboard bell.
Steps 5-6: Load your file for the “Noel”. Cut a piece of the white vinyl to accommodate the size you want to cut your text. Cut your text. Peel off the mat.
Step 7: Line up the text where you would like it to be placed on your ornament and smooth over the ornament.
Notes
- Please note, the Amazon links are not my affiliate links, but are grabbed from the Amazon site for your convenience to locate the items we used and to insert your own affiliate links if you have them.
- The file for the “Noel” was created by our team and we are providing that to share with your readers. If you would like to sell that file, please contact us
Well? How do you like it? Then, Pin this into your Pinterest board to easily get back to this again. And it will be great to share, too.
Try these other crafts, too:
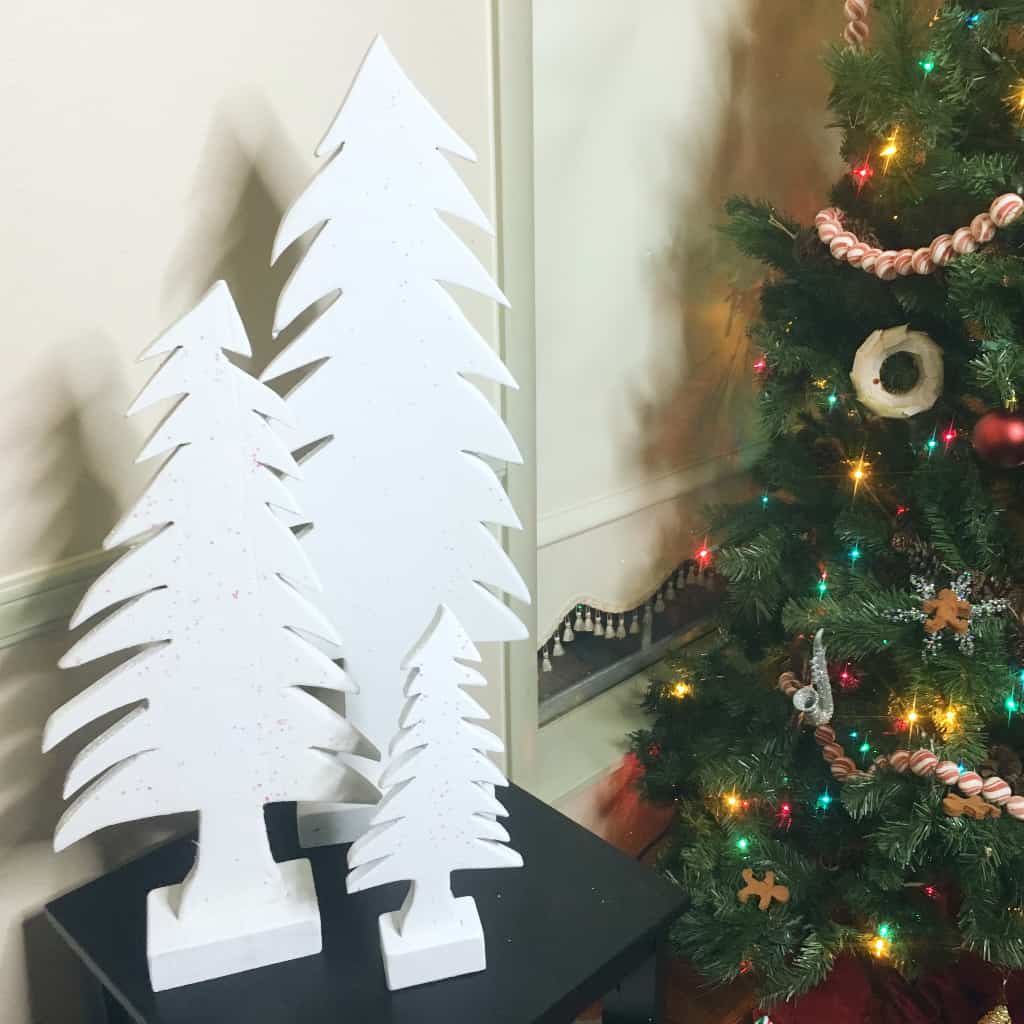
How to Make Simple Farmhouse Christmas Tree Decorations
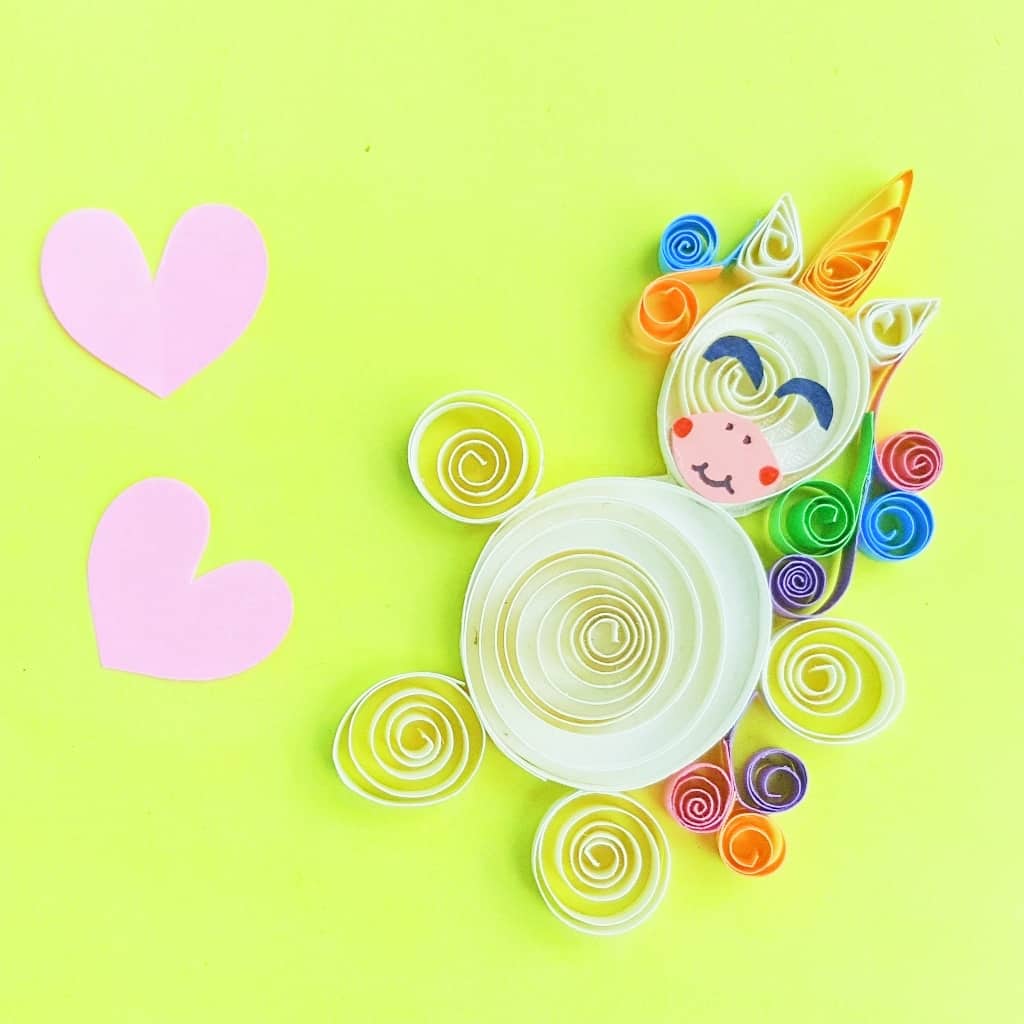
Paper Quilled Unicorn Craft
Unicorn Favor Bag for a Unicorn Party with Free Printable Template