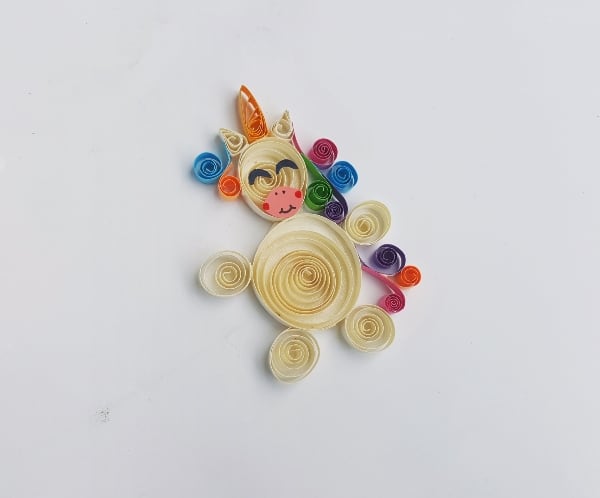
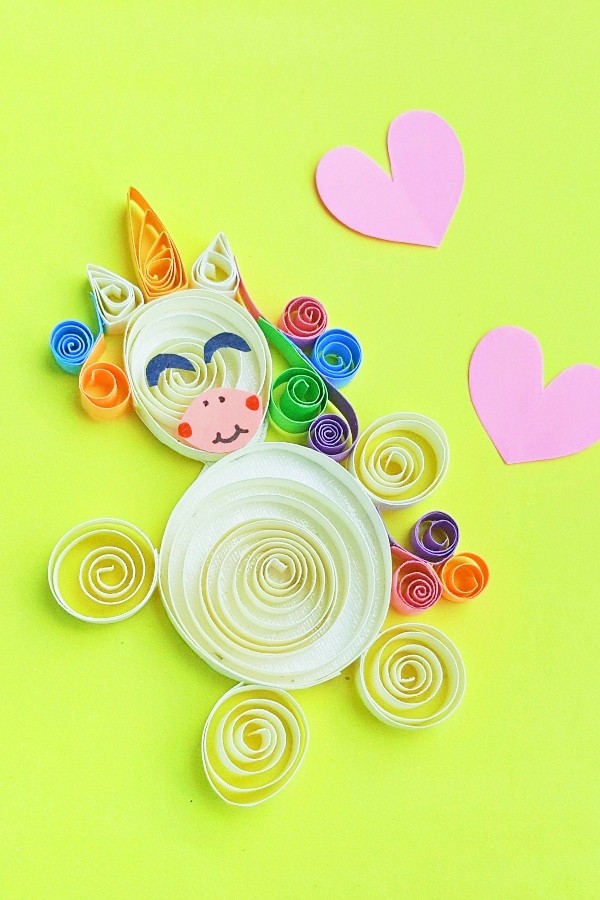
First, let me start by saying, I absolutely loved making this Paper Quilled Unicorn Craft. Simple, fun and way easier than I thought–it’s such a cool result, I’m going to quill EVERYTHING.
I don’t know if you did this in school, but I totally used to twirl little strips of paper around and make little things.
I’d forgotten how fun this was–and didn’t know that it was a legitimate thing until I saw some art my friend had made at her house.
Dudes, I was so inspired to immediately rush home and make this Paper Quilled Unicorn Craft as soon as our playdate was over.
The funnest part about quilling is that you can basically make anything.
I started really small and worked my way up to making this Paper Quilled Unicorn Craft.
But, as you can see in the below video, it’s just a few pieces of twirled paper…
[adthrive-in-post-video-player video-id=”mFOngm8m” upload-date=”2019-04-02T15:00:00.000Z” name=”Paper Quilled Unicorn Craft” description=”Simple paper craft using craft paper, scissors, craft glue and quilling paper.”]
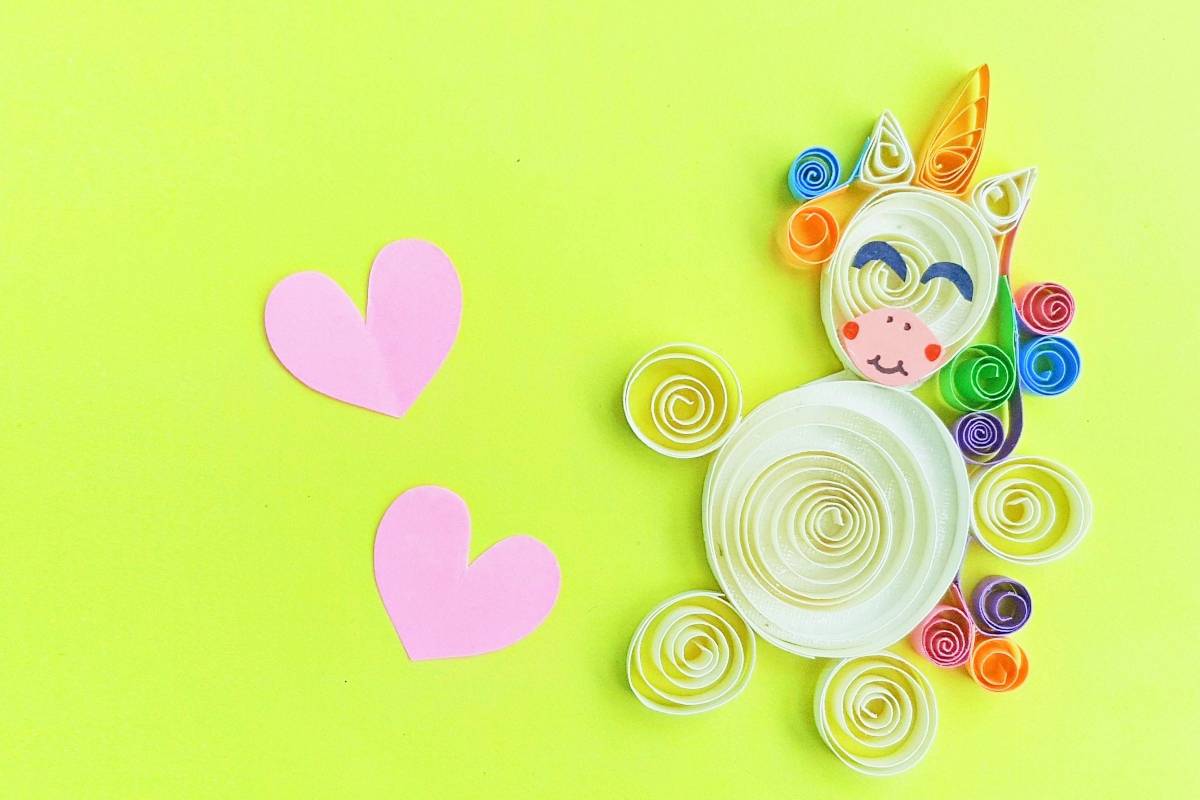
But the result…
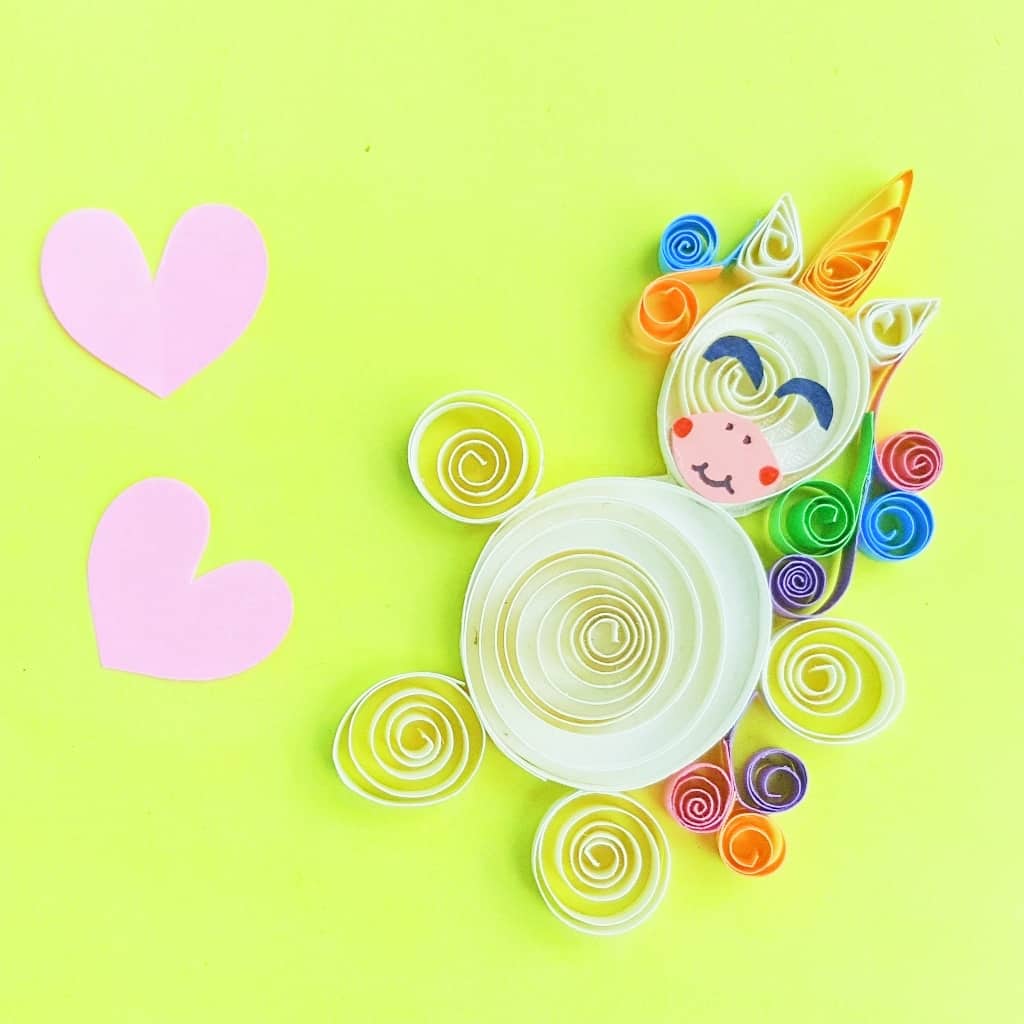
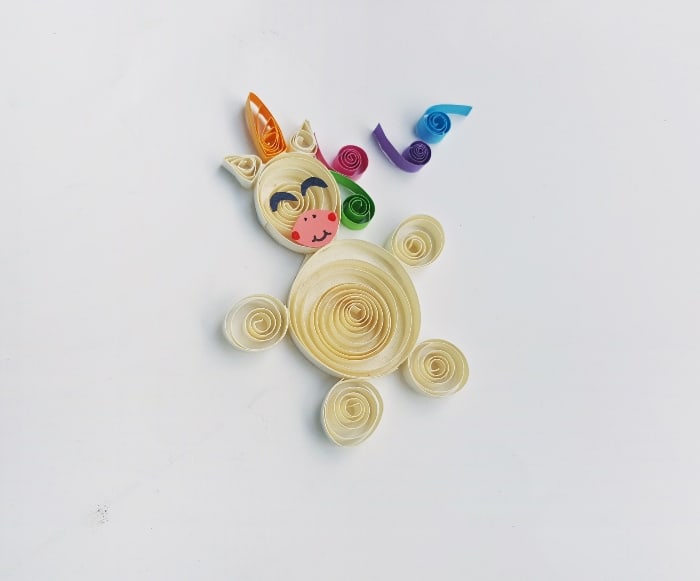
Dude, I am seriously in love with this Paper Quilled Unicorn Craft.
That is all. LOL!
If you’re digging this Paper Quilled Unicorn Craft, but don’t have your paper ready, don’t sweat it.
Just pin this to your favorite unicorn craft board so you can find it when you’re ready!
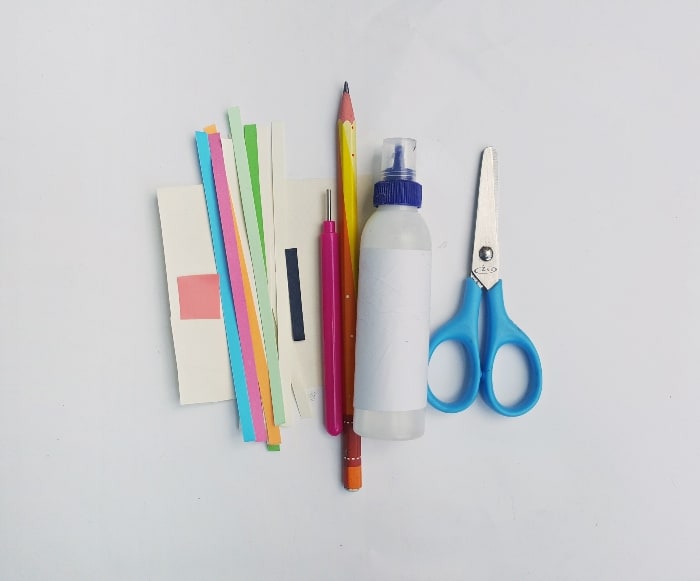
What You Need to Make a Paper Quilled Unicorn Craft
- Quilling paper strips
- Craft paper – black , cream (or white) and pink
- Craft glue
- Slotted quilling tool
- Scissors
How to Make This Paper Quilled Unicorn Craft
-
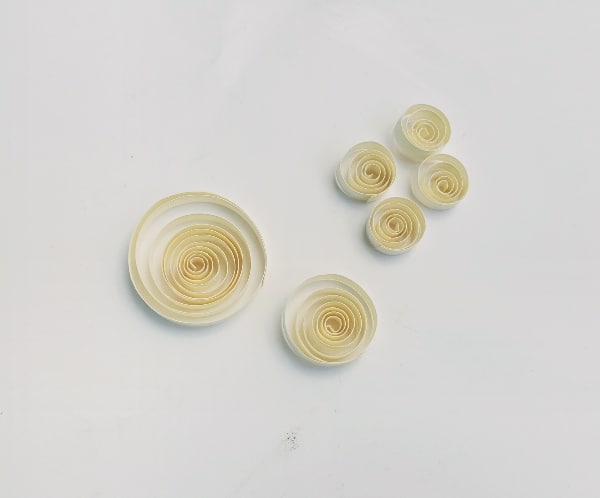
Make 6 quilling strips of the following sizes from the white or cream paper: one 20 inches, one 12 inches and four 5-inch strips.
-
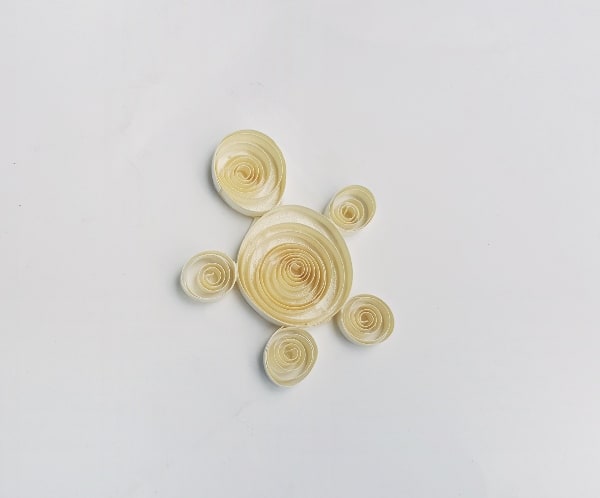
Create loose coils with the cream/white strips. The biggest coil will be your body, the medium coil will end up being the head and the 4 smallest coils (make them all about the same size and shape) will be the legs of the unicorn.
-
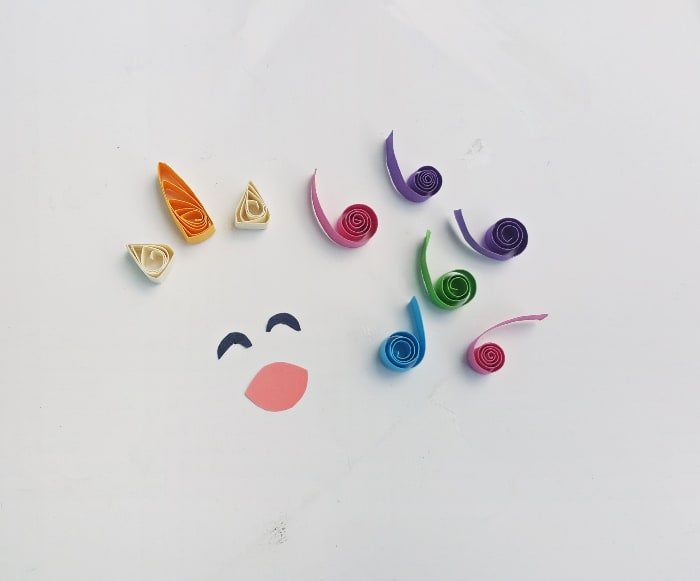
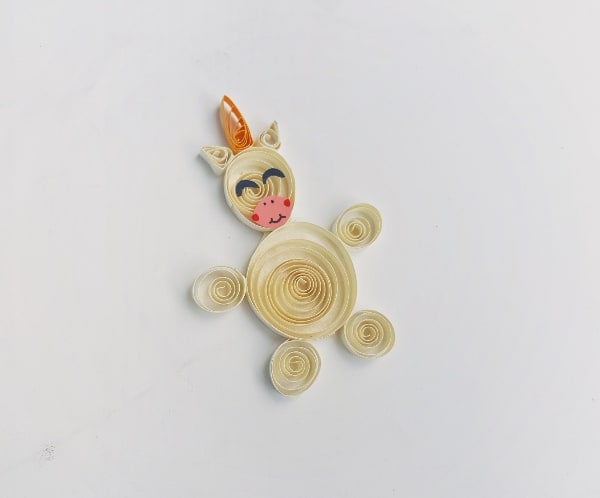
With your different brightly-colored strips (about 1 1/2 – 2 inches long), create curled pieces for the mane and tail of your unicorn. Just coil the strips, keeping one end of each strip open/loose. To create your ears, use the cream/white quilling strips (about 2 inches long) to create two small triangle shapes. Then make the horn with a different color strip by creating a stretched triangle. Finally, cut-out a lens shape to form the muzzle from your pink craft paper and 2 semi-circles to make closed eyes from black craft paper.
-
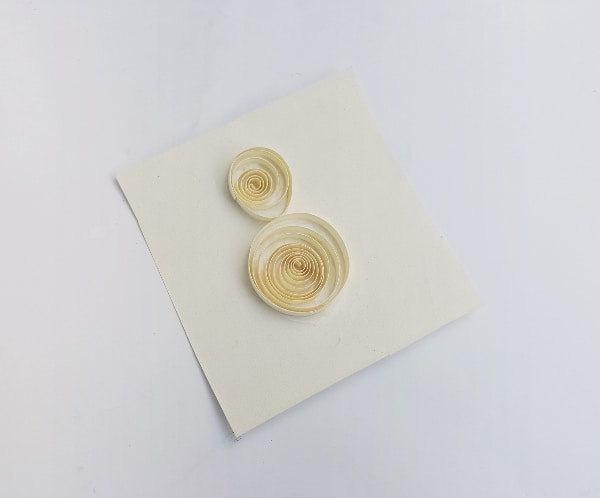
Cut out a small piece of cream colored craft paper big enough to cover the entire body and head of the unicorn. Glue the big and the medium loose coils onto the paper, placing the coils beside each other.
-
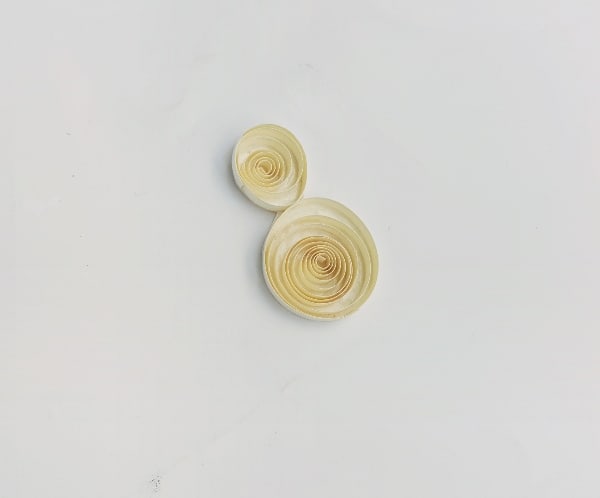
Use scissors to trim the paper close to the glued coils.
-
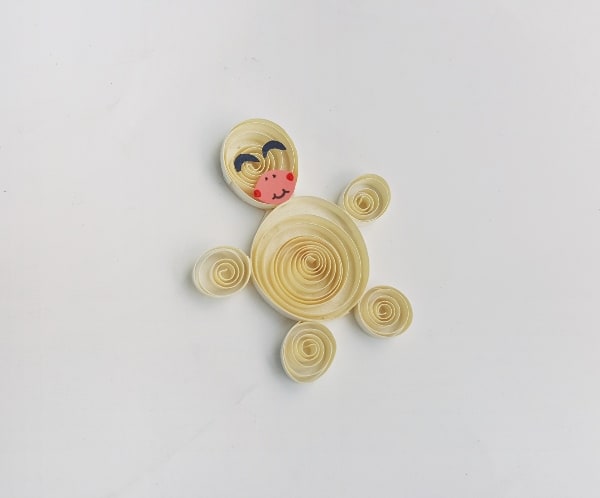
Glue 2 of the smaller coils to the bottom side of the large coil, and the other two on both sides of it, forming the legs and arms.
-
Glue the muzzle and the eyes to the head part.
-
Attach the ears and horn to the top of the head.
-
This is the best and fun part! Attach the multi-colored curled strips on any one side of the head, near the ear and also attaching other pieces towards the body of the unicorn.
-
Allow the glue to dry completely.
-
All done!
I love making these little quilled projects. They’re so super cute!
And they come together surprisingly fast.
If you love this tutorial for a Quilled Paper Unicorn, too, be sure to pin it to your favorite unicorn crafts board!

