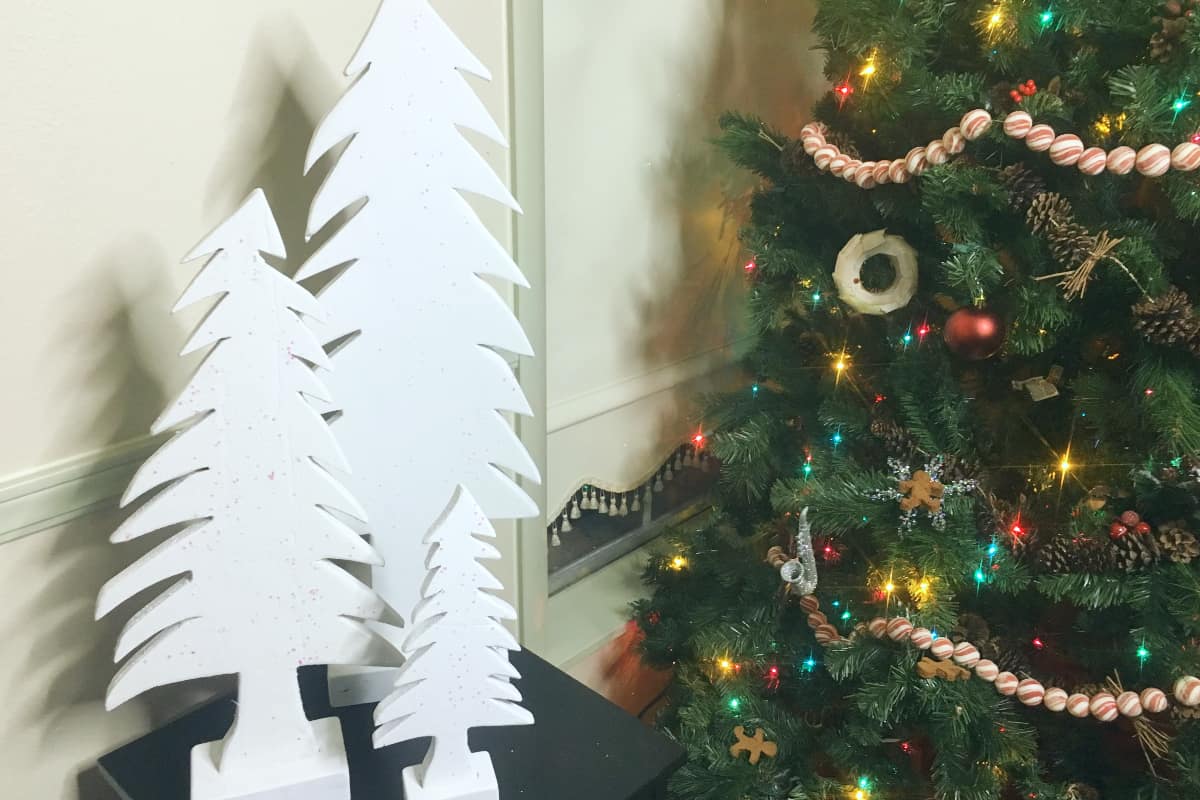
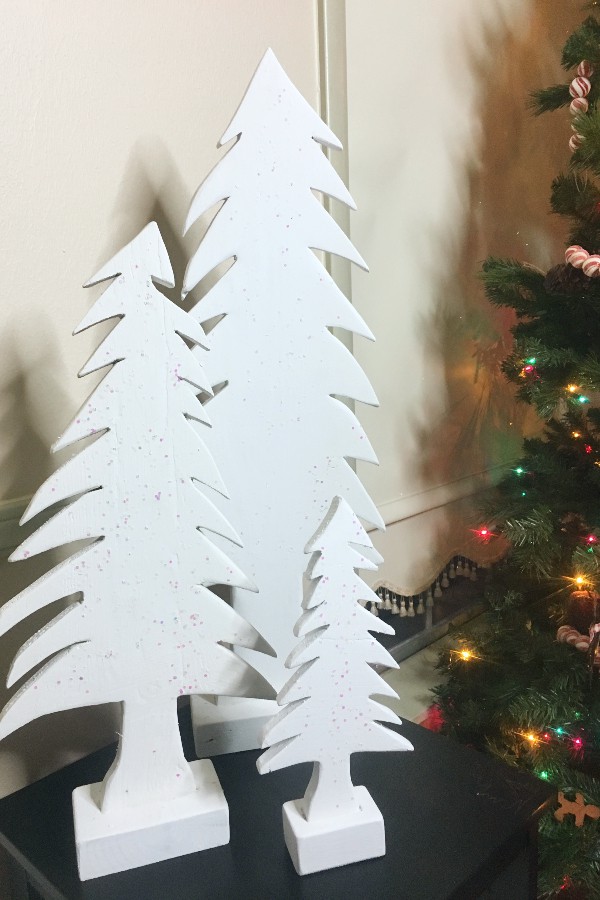
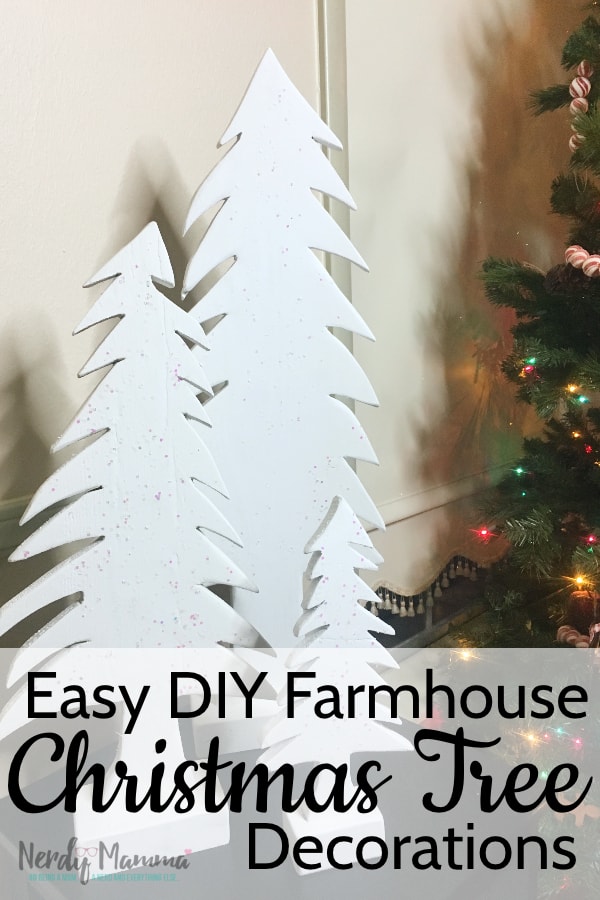
(Inside: I decided to do a DIY project for a Christmas gift. Something simple, but that I knew my friend would love in her farmhouse-design home. This is How to Make Simple Farmhouse Christmas Tree Decorations. Super easy and fun.)
I had a friend coming to visit from the east coast. We never get a chance to see each other around the holidays–and she mentioned that she was bringing me a gift.
Panicked, I decided to put together a quick DIY project for her Christmas gift–because I did NOT think to buy her anything…oops.
But, a couple hours later–well, I was very impressed with the results.
So I decided to share How to Make Simple Farmhouse Christmas Tree Decorations that you can make, too!
Check out the video I made for How to Make Simple Farmhouse Christmas Tree Decorations–so simple and yet, so cool!
And don’t forget to subscribe to my channel.
Supplies You Need to Make Simple Farmhouse Christmas Tree Decorations
- Free Printable Christmas Tree Templates
- 3 – 1/2-inch thick (approximately) Scrap Wood Pieces in these lengths:
- 3-feet
- 1 1/2 feet
- 1 foot
- 1 – 12-inch wide, 1-inch or thicker piece of wood for the bases
- Glue Stick
- Jig Saw or Hand Saw (although that’s a lot of hand sawing)
- Miter Saw/Chop Saw
- Square
- Hand Sander
- Sandpaper
- Chisel
- Drill
- Forstner Bit
- Hammer
- 6 Screws
- Screwdriver
- White Paint
- Glitter
How to Make Simple Farmhouse Christmas Tree Decorations
- Print out the templates.
- Using the glue stick, glue the templates to your scrap wood pieces.
- With the jigsaw, cut the Christmas tree shapes along the lines of the templates–but the ends of the branches aren’t on the template, you have to make it up as you go a little. But that’s ok because it makes each tree unique.
- Sand each tree and branch, rounding over every edge.
- Using the chisel, bang on the trees randomly to make them have some “character”. Or whatever.
- With the trees as your guide, cut the wood set aside for the bases to estimate what size base you want for each tree.
- Cut the wood to size for the bases, with the miter saw/chop saw.
- Using the trees as your guide and your square, mark where you want your slots for the trees to fit into the bases.
- Using your drill with the forstner bit, drill out most of the wood in the slots.
- With the chisel and hammer, finish cleaning out the slots in each base.
- Sand the bases, rounding every edge.
- Insert the trees into the bases.
- Pre-drill holes in the bases and then screw them together.
- Paint every surface.
- Allow to dry.
- Do a second coat of paint and throw glitter on each tree while this coat is still wet.
- Allow to dry.
- Wrap as a gift.
If you loved this post, be sure to subscribe to my YouTube channel and pin this so that you can find it again when you’re ready to make your own Simple Farmhouse Christmas Tree Decorations.
Try These Christmas Decoration Ideas, too:
Mason Jar Snow Globes

Harry Potter Snitch Ornaments

No-Sew and Cheap Way to Make Elf-on-the-Shelf Posable


