Every time I thought of this classic Disney movie makes me smile always. Beauty and the Beast is one of my favorite Disney movies ever since my younger years. That’s why when I learned about this DIY Beauty and the Beast Ornament, I wanted to make this ASAP.
Do any of you have the theme song playing in your mind all of a sudden? Or every time something reminds you of Beauty and the Beast? It always happens to me and I even sing it suddenly. Then, it is not surprising now if you hear me sing this song while making this Beauty and the Beast Ornament.
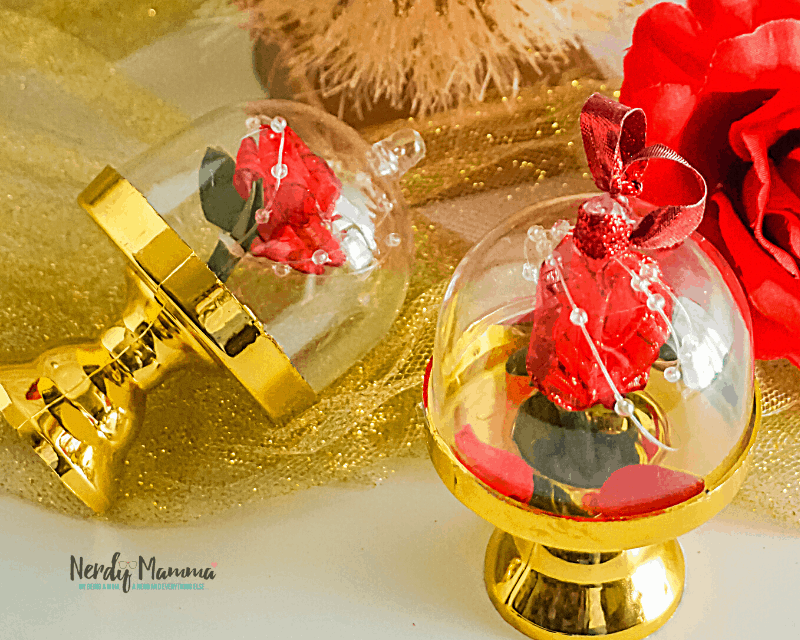
By the way, this ornament that we are going to do is non-other than the Enchanted Rose. The one that was enclosed in a glass dome.
I’m sure you all know the story behind that rose. It is really funny if you see me doing this ornament. It’s either I smile suddenly or sing the theme song. Oh boy! I really can’t get over that movie or even the original story.
Here’s a trivia: The original story is written by French novelist Gabrielle-Suzanne Barbot de Villeneuve with the title La Belle et la Bête and published in 1740 and then translated into English as Beauty and the Beast in 1957.
That’s how old and classic it is. And yet we still love the story and the moral lesson behind it.
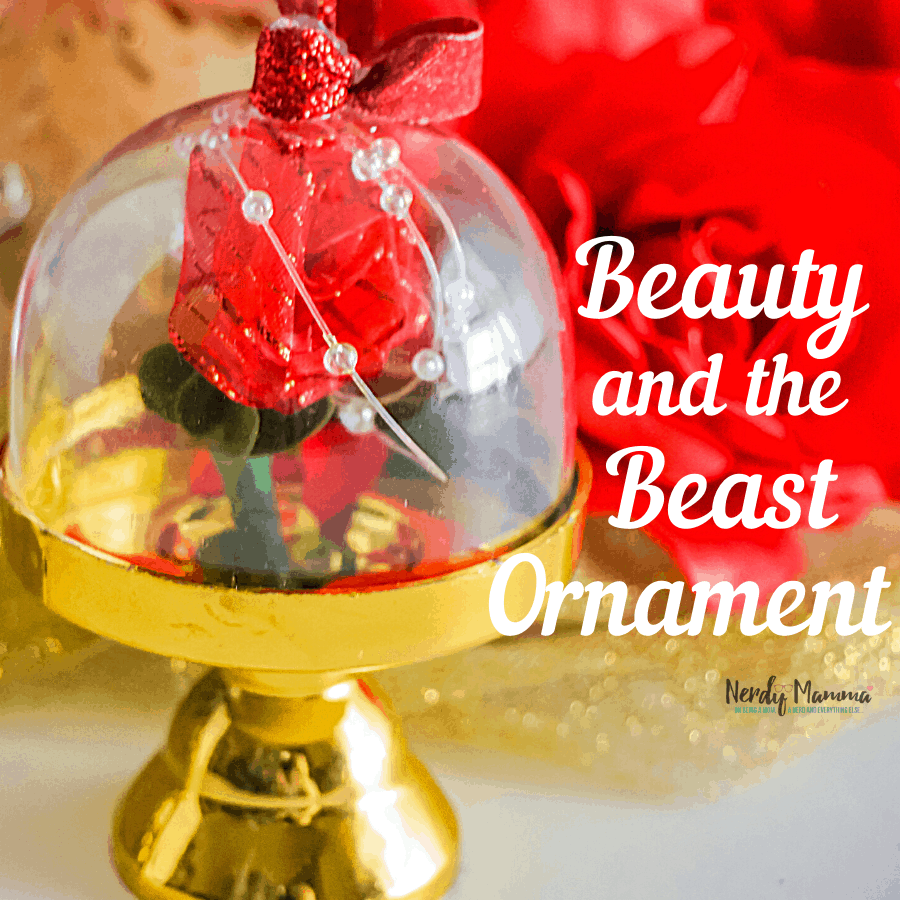
Ok. I have enough chattering. Let’s go back to the making of Beauty and the Beast Ornament.
Here’s How to Make the Beauty and the Beast Ornament
Making this Beauty and the Beast Ornament is super easy and we only need a few supplies and at least 3 tools.
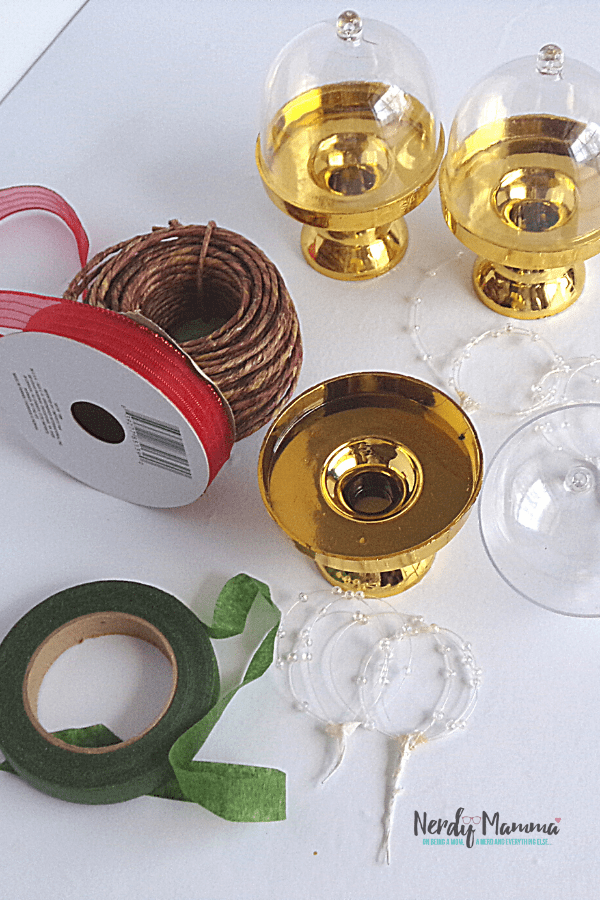
The supplies that we are going to need are:
- Dome Topped Cupcake Cake Plate
- ¼-inch Red Ribbon
- Green Floral Tape
- Floral Wire
- Beaded Ribbon
- Aluminum Wire 20 gauge or thinner (optional)
Some of you may have difficulty finding the last 2 items. I found them on Amazon. To make it easier for you, I put the links where you can get them.
To put these together, you’ll need a pair of scissors, a hot glue gun, with some glue sticks and wire cutters or needle nose plier.
I’m really excited now. I suddenly thought that this Beauty and the Beast Ornament is nice to be paired with the Beauty and the Beast Rose Oreo for the Beauty and the Beast Inspired party. Hmmm. What do you think?
Assembling the Ornament
To begin with, make the stem by cutting a 1-inch length of floral wire and wrapping it with the floral tape. Set it aside for a while.
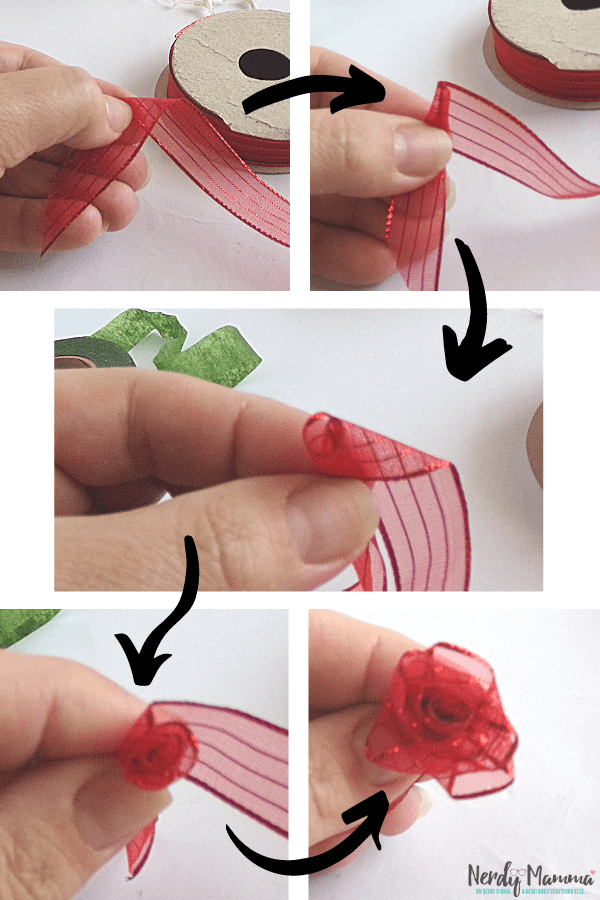
Next, cut the red ribbon of about 3 inches in length. Then fold one of the short sides inward about ⅛ inch. See the first image. Using that fold as your starting point, roll the ribbon in on itself, pinching one side tighter than the other. Fold the ribbon back every quarter turn as you are turning the rose to add more petals.
Hot glue the tighter side in a snug point. (Careful with the glue gun though. Avoid burning yourself). You may have to practice a time or two to get this right–I have to practice every time I roll ribbon roses.
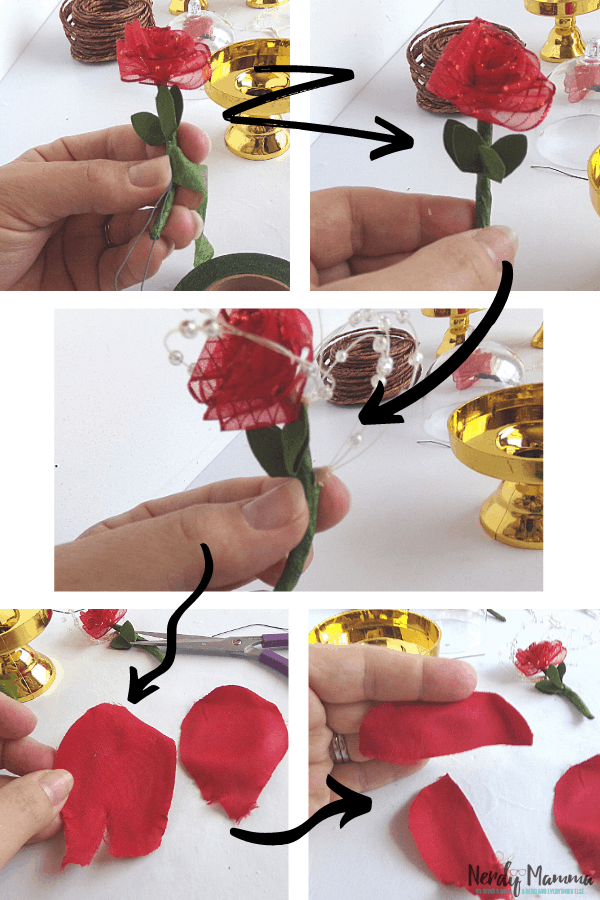
Then hot glue the floral tape wrapped piece of floral wire to the tight end of the rolled ribbon rose.

Make a pair of leaves by cutting the green floral tape that will look like a 4-petal flower. Then fold in the middle. (See the picture above with the leaves shape)
And also, cut a 2-inch aluminum wire, wrap it in the middle of the green floral tape, and twist a bit. It will look like 2 small leaves.
Then attach to the stem by wrapping the wire around it. Wrap with floral tape to hide the wire using hot glue to secure the tape.
However, if the aluminum wire is not available (an option), cut a 1-inch long piece of floral tape. Fold it over onto itself, sticky-side to sticky-side. Then cut out 2-3 leaf shapes from this floral tape and hot glue them in place on the stem of the rose.
Remove the dome top of the cupcake cake plate, then carefully hot glue the flower into the center of the cake plate, holding it in place upright until the hot glue is completely cooled.
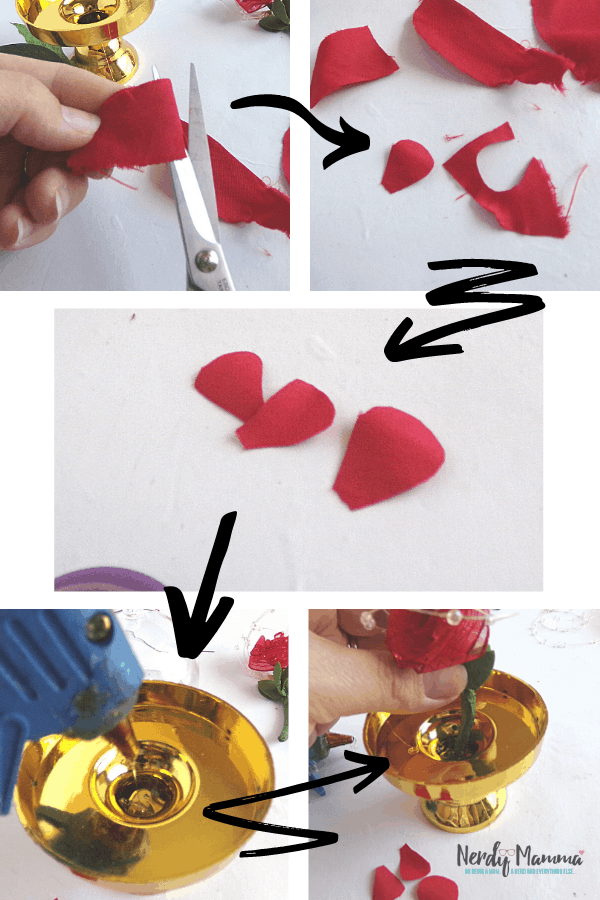
Cut 2-3 ¼-inch ovals of red ribbon and place these on the cake plate randomly. You have to hot gluing them in place.
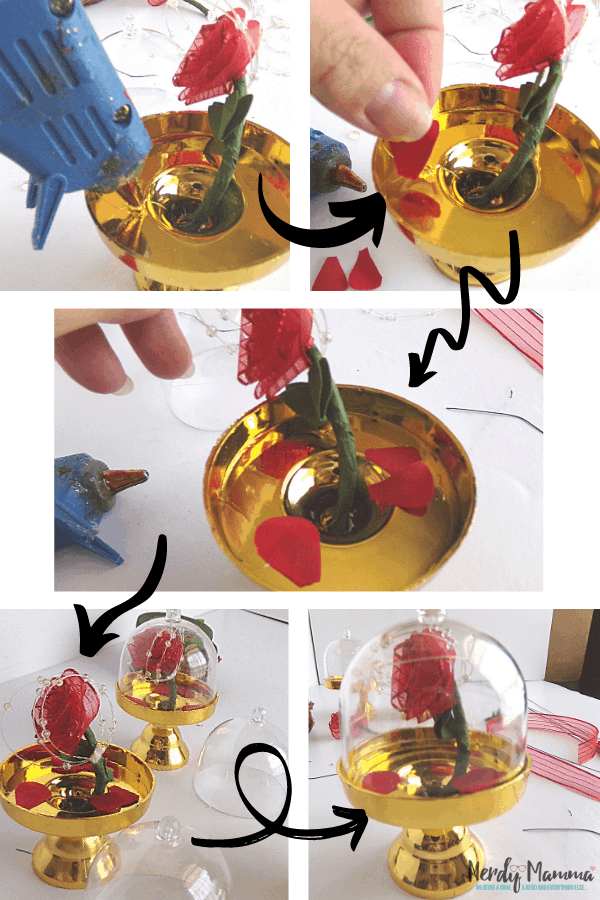
Then hot glue the dome lid back onto the cupcake plate and hot glue in place.
Lastly, wrap a 4-inch length of ribbon around the top of the dome and hot glue it in place to make a hanger.
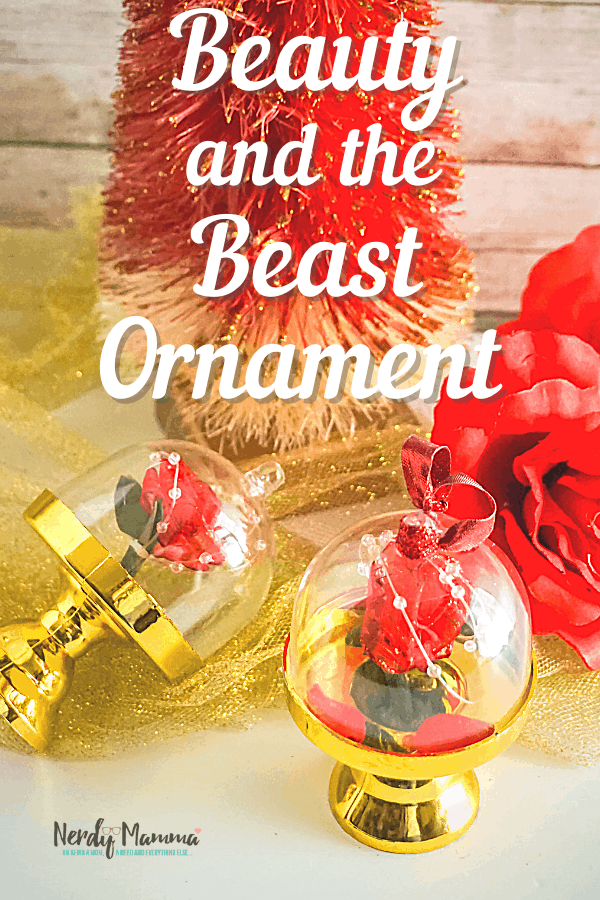
See! It’s not really that difficult. You’ll enjoy making this craft for sure. And also, just to make sure that you can get back to check on this craft, Pin this into your Craft Pinterest Board. Don’t forget that.
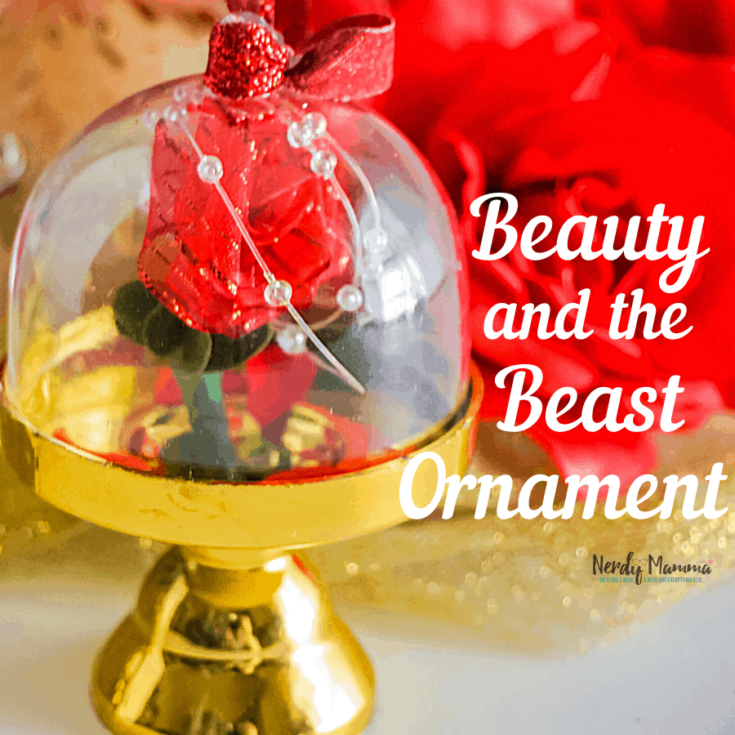
BEAUTY AND THE BEAST ORNAMENT
Materials
- Dome Topped Cupcake Cake Plate
- ¼-inch Red Ribbon
- Green Floral Tape
- Floral Wire
- Beaded Ribbon
Tools
- Scissors
- Hot Glue Gun & Glue
- Wire Cutters/Needle Nose Pliers
Instructions
- Start by cutting a 1-inch length of floral wire and wrapping it with the floral tape, making your stem.
- Cut a 3-inch length of red ribbon, fold one of the short sides inward about ⅛ inch. Using that fold as your starting point, roll the ribbon in on itself, pinching one side tighter than the other. Hot glue the tighter side in a snug point. You may have to practice a time or two to get this right--I have to practice every time I roll ribbon roses.
- Hot glue the floral tape wrapped piece of floral wire to the tight end of the rolled ribbon rose.
- Remove the dome top of the cupcake cake plate, then hot glue the flower into the center of the cake plate, holding it in place upright until the hot glue is completely cooled.
- Cut 2-3 ¼-inch ovals of red ribbon and place these on the cake plate randomly, hot gluing them in place.
- Cut a 1-inch long piece of floral tape. Fold it over onto itself, sticky-side to sticky-side. Cut out 2-3 leaf shapes from this floral tape and hot glue them in place on the stem of the rose.
- Wrap a 3-4 inch long beaded ribbon around the flower to add some “magic.”
- Hot glue the dome lid back onto the cupcake plate and hot glue in place.
- Wrap a 4-inch length of ribbon around the top of the dome and hot glue it in place to make a hanger.
If you are looking for more ornaments, check these DIY crafts, too
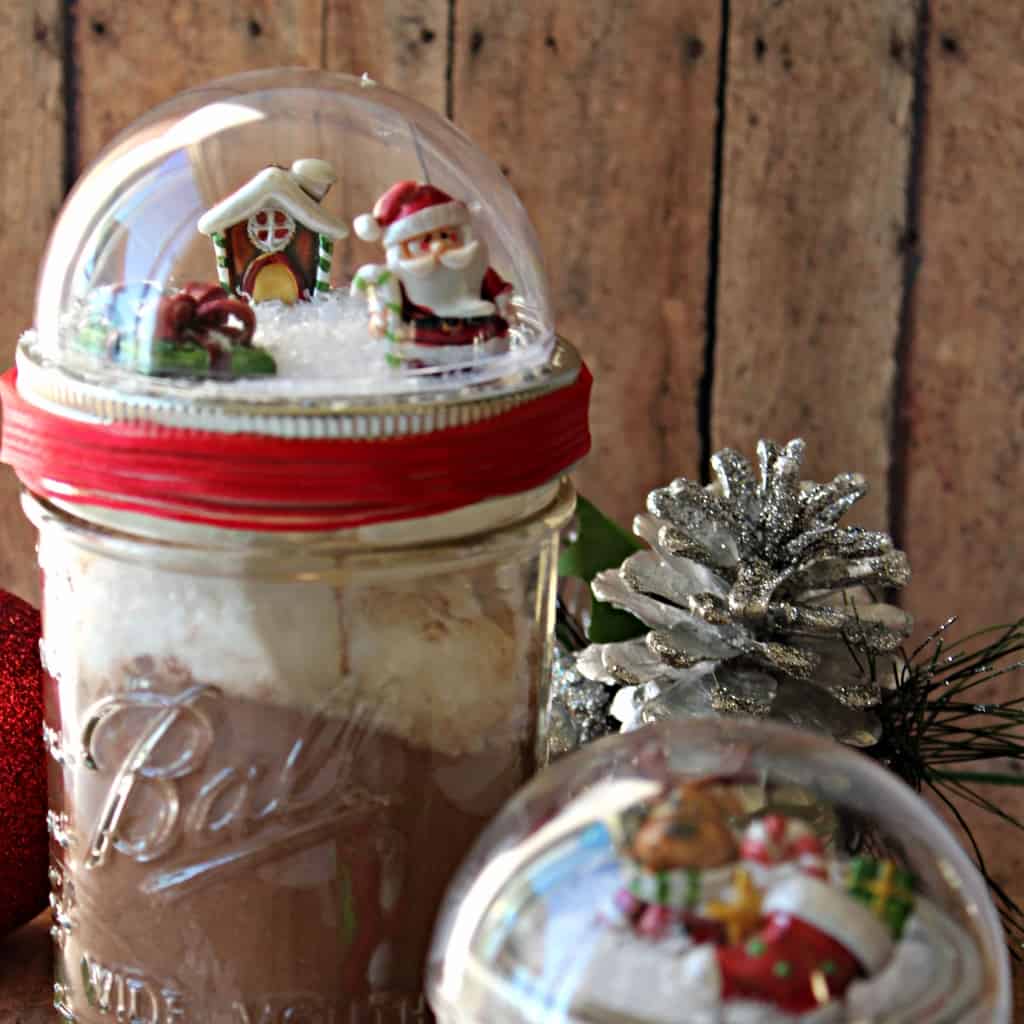
Mason Jar Snow Globes
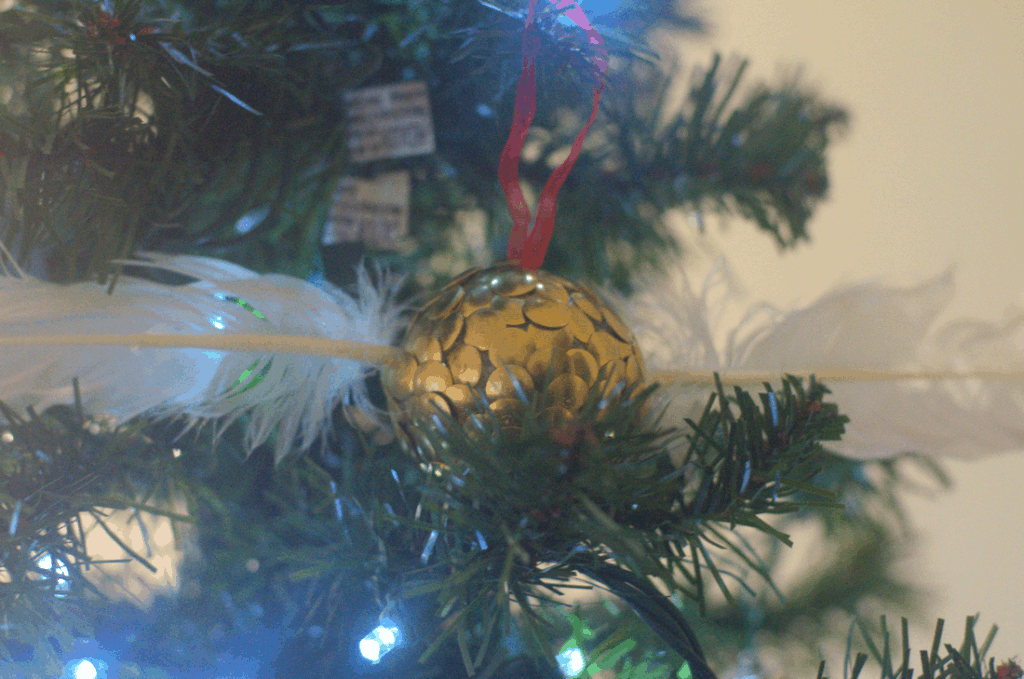
Harry Potter Snitch Ornaments
How to Make an Easy Witch’s Fairy House
DIY Paper Lavender Flowers
