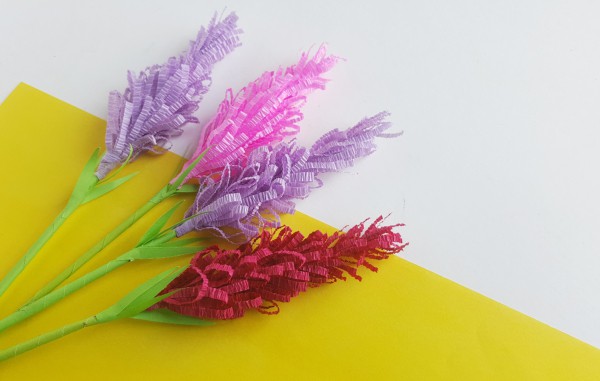
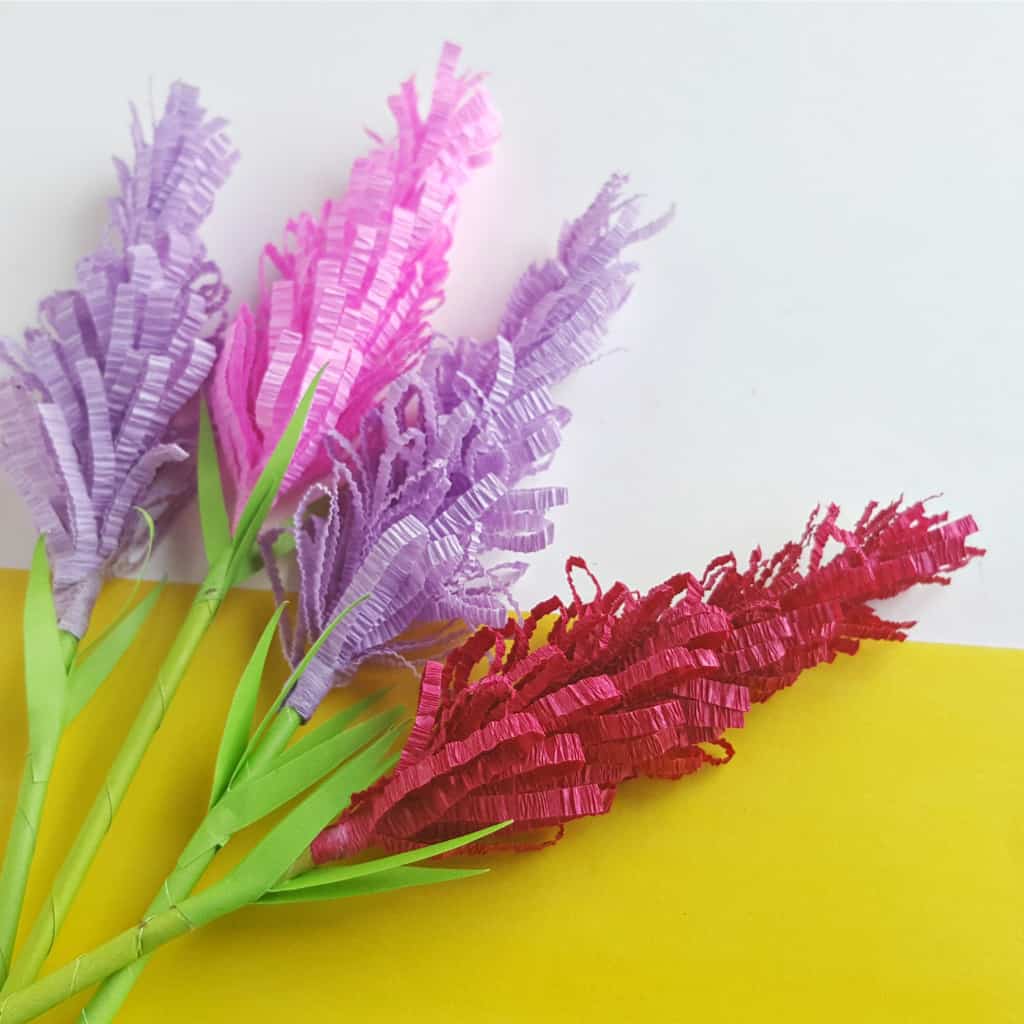
(Inside: Bored with a corner of your bathroom? I was. So I totally made some DIY Paper Lavender Flowers. You can call them paper flowers. Or lavender paper flowers. Or anything–and you can make them in any color. Just make them, pot them and put them in your boring bathroom corner. Done.)
You know, sometimes you just get a wild idea and you’re like: I want to make some paper flowers.
Just handful of pretty paper flowers to, you know, dress up that boring corner of the bathroom wall that has nothing and is just, you know, boring.
So, you grab a few sheets of paper and BAM! You’re looking at the cutest set of DIY Paper Lavender Flowers you can possibly imagine.
Well, ok. Maybe that’s an exaggeration, but they’re pretty darn cute and they’re totally easy to make.
So, let the good times flow and let’s get you your own set of DIY Paper Lavender Flowers going.
Because what’s not to love?!
Oh, and before you go much further, be sure to pin this amazing tutorial for these DIY Paper Lavender Flowers so you’ve got them the next time you’ve got a hankering to fill that boring, boring space in the bathroom that just keeps nagging you.
Supplies for Your DIY Paper Lavender Flowers
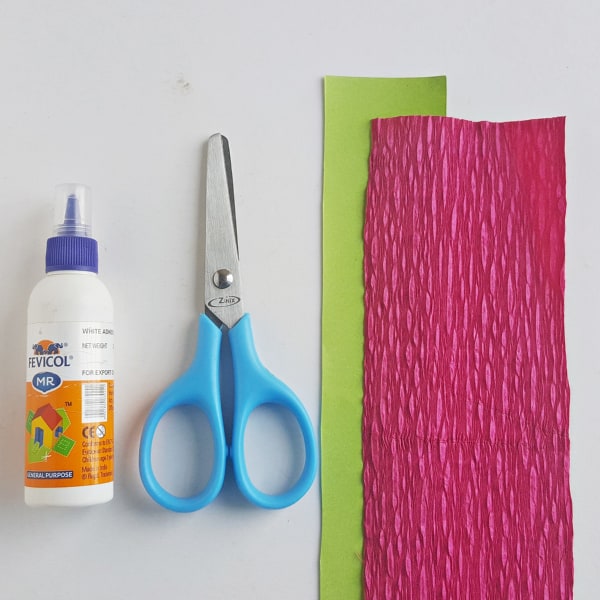
- Crepe paper – color of your choice
- Craft paper – green
- Scissors
- Craft glue
How to Make Your DIY Paper Lavender Flowers
- Cut out a strip of 2 inches X 8 inches from the green craft paper.
- Start to roll the green strip from a corner. Roll the strip diagonally from that corner.
- Continue to roll until reaching the other end. Once it reaches the other end apply a small amount of glue at the end to secure the roll. The stem is ready!
- You can do a free hand paper cutting or use my template here. You will need to cut out 2 pieces out of the crepe paper.
- Cut small and even fringe on the small piece of crepe paper
- Apply glue along any one side (lengthwise) of the large piece of crepe paper.
- Fold the large piece into half lengthwise and joining both sides.
- Cut small and even fringe along the folded side (not the glued side). Keep in mind to start by cutting larger fringes and cutting the fringes smaller while moving towards the other end.
- Now we have the stem, the small fringe and the large fringe ready. Apply glue along the intact part of both fringed papers.
- Take the small fringe first; Start to wrap the glued area of the small fringed paper around the stem, starting from the top of the stem and carefully rolling it towards the bottom.
- Keep rolling until the paper ends.
- Now take the large fringed paper and start to wrap it around the stem from where the previous fringed paper ended.
- Roll the paper until it ends.
- Cut out the leaf pattern from a green craft paper. Trace the leaf pattern from the template on a green craft paper and cut out nicely.
- Glue the leaves around the stem, below the flower.
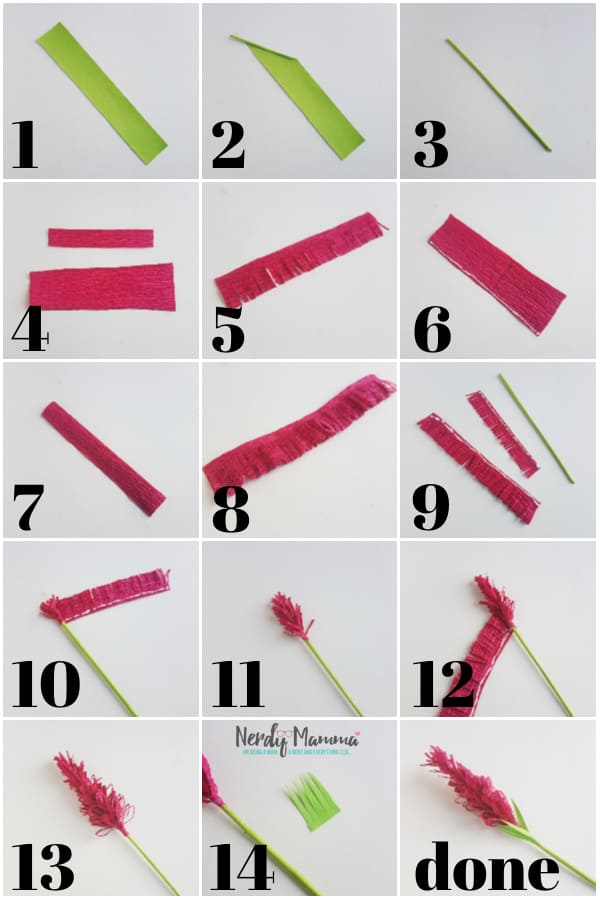
Hey, would it be easier if I did a photo tutorial for you?
Cool. Because I did.
Now, that being said, you can do anything you’d like with these.
Any color, any location, you name it.
Have fun.
Since You Loved the Paper Flowers, You’ll Need to Try These Ideas, too:
Easy DIY Harry Potter Wand Pencils
Easy DIY Mermaid Crayons
How to Make an Easy Witch’s Fairy House
