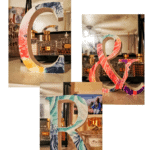
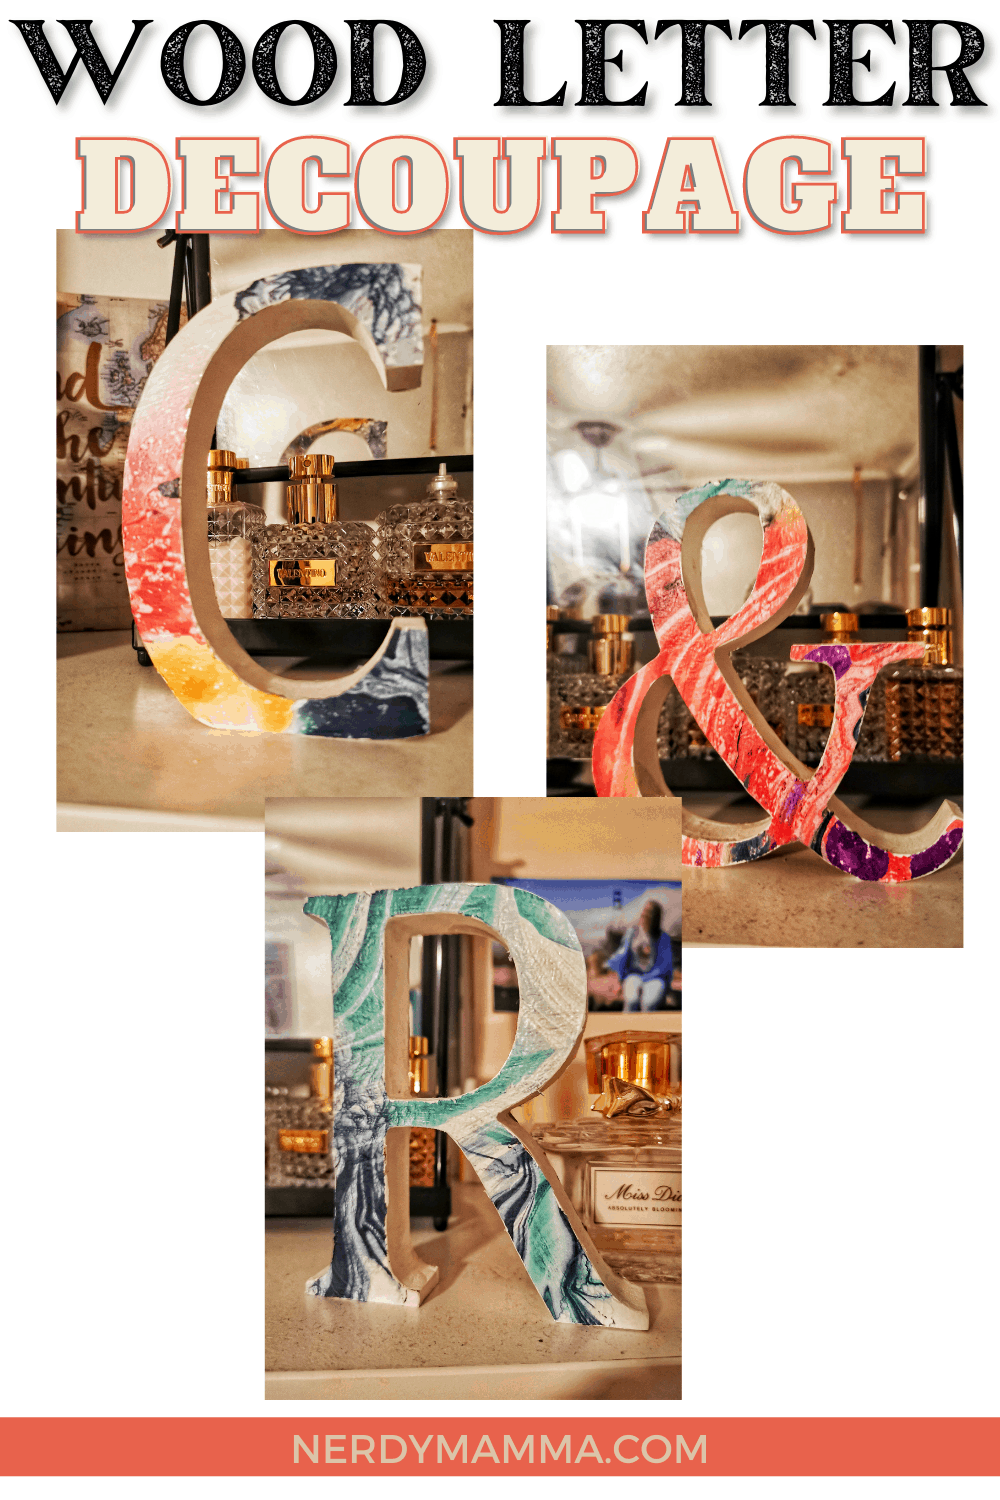
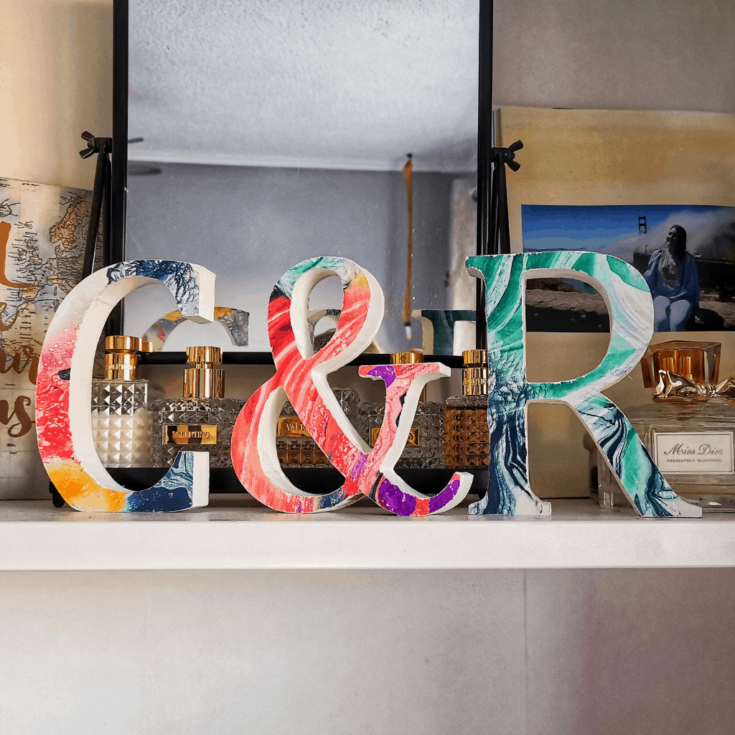
This Wood Letter Decoupage Craft can be a perfect gift!. Create the initials, then glue that favorite patterned paper or colors. That’s it! You can see how gorgeous those letters are.
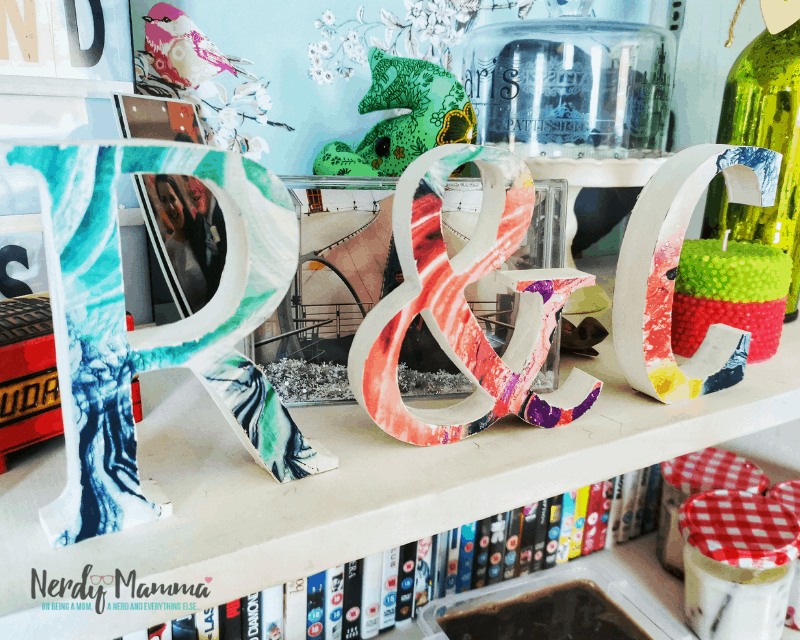
If you are looking for a reasonably priced, yet unique and thoughtful gift, this is perfect for a new house or even a wood and paper anniversary gift! You can do single letters or complete words. Then let them sit on a table or shelf. Or maybe hang them on the wall, or door. How cute would this be in a newborn’s room? Or a seasonal word on your mantlepiece?
You can include these pretty DIY Paper lavender Flowers, too. They look cool together. Well, actually, it’s my daughter’s idea! She still got those flowers that we made again. She said, “Mom! Let’s put my colorful wood letters beside my lavender flowers. The letters will love my flowers!” She really is smart!

The wood letter decoupage craft is really cool. The possibilities are endless!
This tutorial is great for those who have decoupaged using scraps and now wish to learn to use whole sheets. It will tell you how to prepare the letters, which paper type to use and how to decoupage them to perfection!
It’s easy to make, and difficult to make mistakes. I also put the links on where you can get the materials you’ll need just in case you don’t find them in your area. So with that in mind, let’s get to it.
The Materials You Need
Paid Links:
- Wooden letters of your choice
- Decoupage paper
- PVA Glue (Modpodge recommended)
- Small paintbrush
- Craft Knife
- Cutting Board
- Paint to match the paper

Choosing your paper
For this project, I would recommend using decoupage paper rather than paper napkins. Napkins make it difficult to get a clean edge as they can wrinkle and rip. Decoupage paper will make it easier to look like a pro!
Think about the decor of the room the letters will go in, is there a theme like Marvel or beach? You can buy decoupage paper and letters from lots of places in lots of designs, the materials used in this project are from Hobbycraft
Painting the Letters
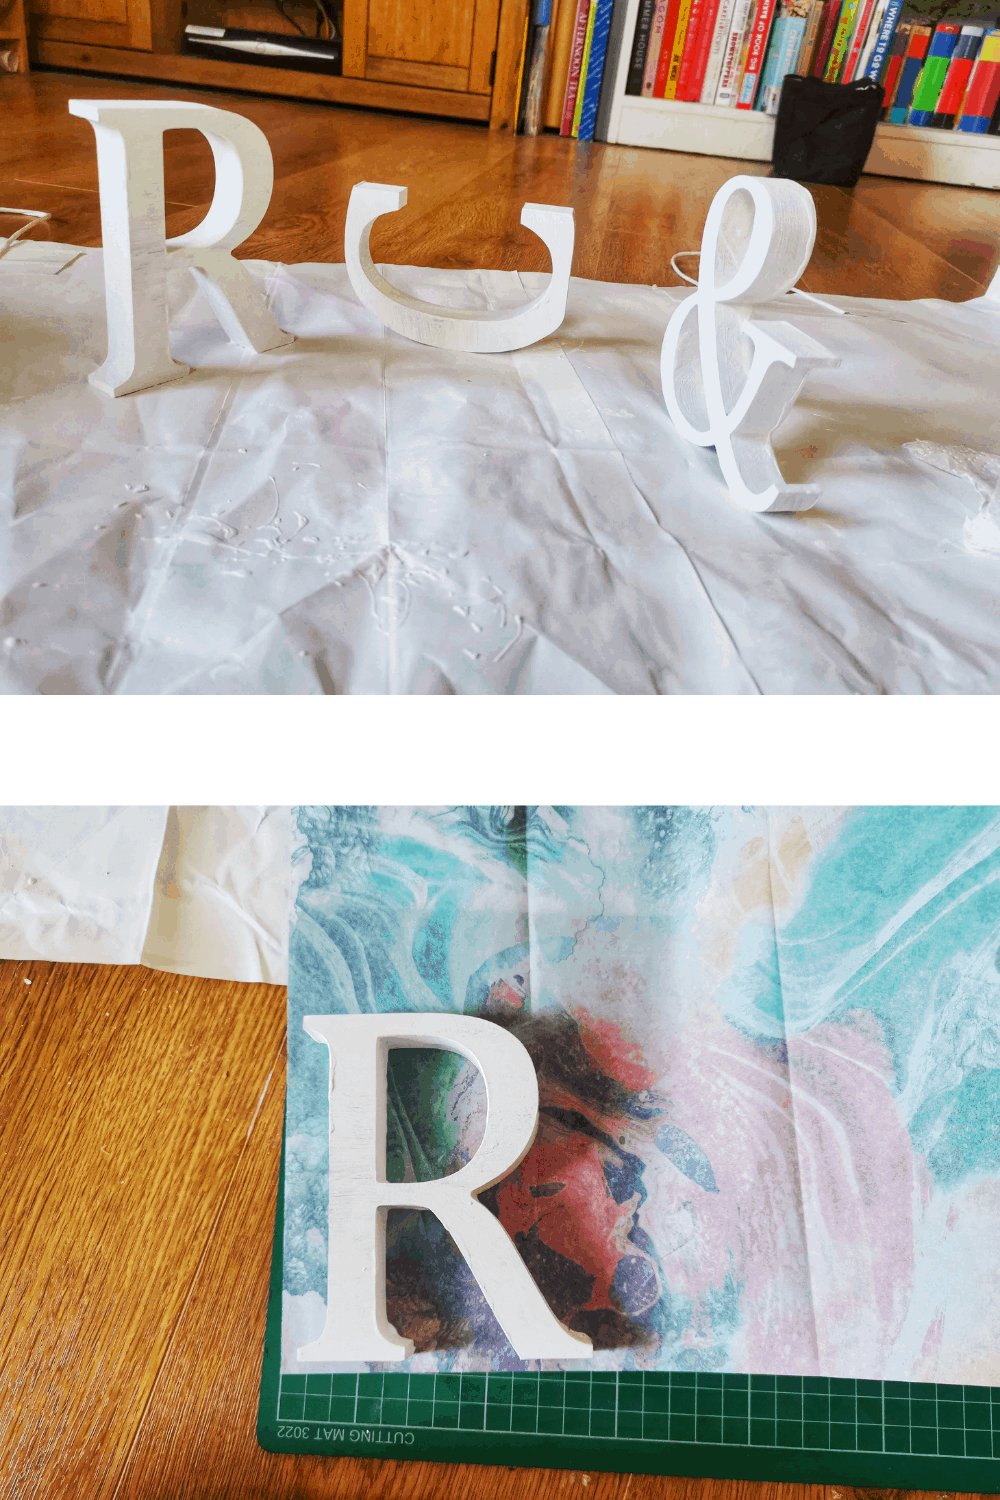
These letters aren’t decorated on every side. To keep a professional finish, it’s easier to leave the sides blank. You can choose whatever color you like, it could be one of the colors featured in your paper design, or to keep the decor from being too overwhelming, you could go for a neutral shade. You can either paint the letters completely or just the sides. Make sure you’ve done as many coats as you need and it’s fully dried before you begin the decoupage.
Decorating the Letters
Once the letters have dried, it’s time to get your glue, brush, paper, cutting board, and scalpel! Paint a thin layer of glue onto the front of one of the letters. Make sure the whole surface is covered to the edges, otherwise you’ll get patches that don’t stick.

Before the glue has dried, lay it glue side down onto the non-patterned side of the paper. Keep it close to the edge to avoid wastage.
Press the letter down to make sure it’s stuck, then turn it over so it can get some air and dry.
Once it’s dry, it shouldn’t take long, put the paper side down onto the cutting board. Carefully use the scalpel to cut the paper around the wood. Stay as close to the wood as possible to get a great finish.
Repeat this with the front and back of each letter. Be sure to wait until each side is relatively dry before going onto the other, this craft requires patience!
And there you have it!
Once you’ve finished each letter, be sure to let it dry overnight before wrapping or gifting them.
Wood Letter Decoupage Craft
Create a word, name, or initials with your favorite patterned paper of colors. This Wood Letter Decoupage Craft is amazing, and the possibilities are endless.
Materials
- Wooden letters of your choice
- Decoupage paper
- PVA Glue (Modpodge recommended)
- Small paintbrush
- Scalpel
- Cutting Board
- Paint to match the paper
Instructions
Choosing your paper
For this project, I would recommend using decoupage paper rather than paper napkins. Napkins make it difficult to get a clean edge as they can wrinkle and rip. Decoupage paper will make it easier to look like a pro!
Think about the decor of the room the letters will go in, is there a theme like Marvel or beach? You can buy decoupage paper and letters from lots of places in lots of designs, the materials used in this project are from Hobbycraft
Painting the Letters
These letters aren’t decorated on every side. To keep a professional finish, it’s easier to leave the sides blank. You can choose whatever color you like, it could be one of the colors featured in your paper design, or to keep the decor from being too overwhelming, you could go for a neutral shade. You can either paint the letters completely or just the sides. Make sure you’ve done as many coats as you need and it’s fully dried before you begin the decoupage.
Decorating the Letters
Once the letters have dried, it’s time to get your glue, brush, paper, cutting board and scalpel! Paint a thin layer of glue onto the front of one of the letters. Make sure the whole surface is covered to the edges, otherwise you’ll get patches that don’t stick.
Before the glue has dried, lay it glue side down onto the non-patterned side of the paper. Keep it close to the edge to avoid wastage.
Press the letter down to make sure it’s stuck, then turn it over so it can get some air and dry.
Once it’s dry, it shouldn’t take long, put the paper side down onto the cutting board. Carefully use the scalpel to cut the paper around the wood. Stay as close to the wood as possible to get a great finish.
Repeat this with the front and back of each letter. Be sure to wait until each side is relatively dry before going onto the other, this craft requires patience!
Notes
Here are the materials again with the links to where to get them:
Well, it doesn’t cost that much. If you want to spend a little more, add a bottle of wine and you’ve got yourself a unique, thoughtful, affordable housewarming gift!
Try these other crafts, too. They are very easy and equally awesome!
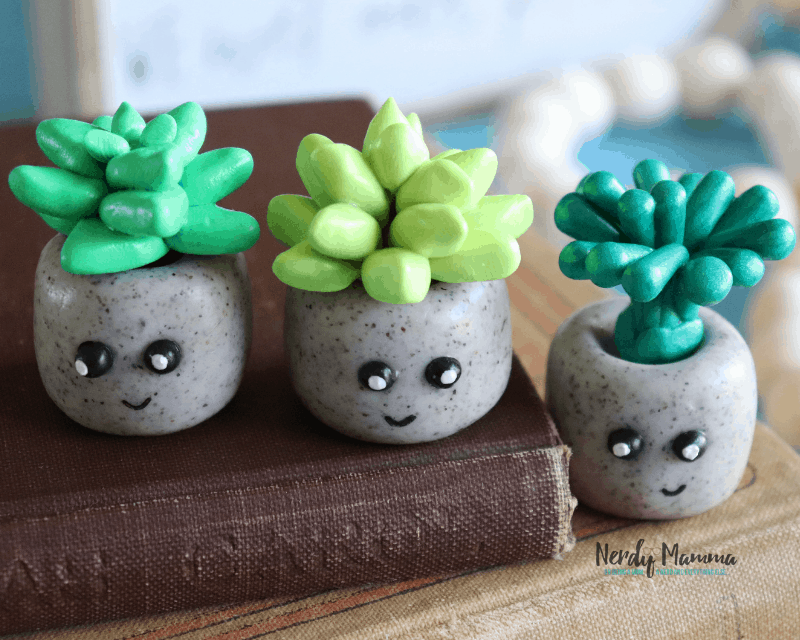
Clay Succulents Craft
Pencil, Paper, and Crayon Painted Jar Craft

Origami Butterfly – The Easiest and Best Way to Make It