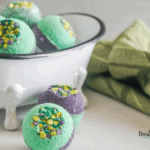
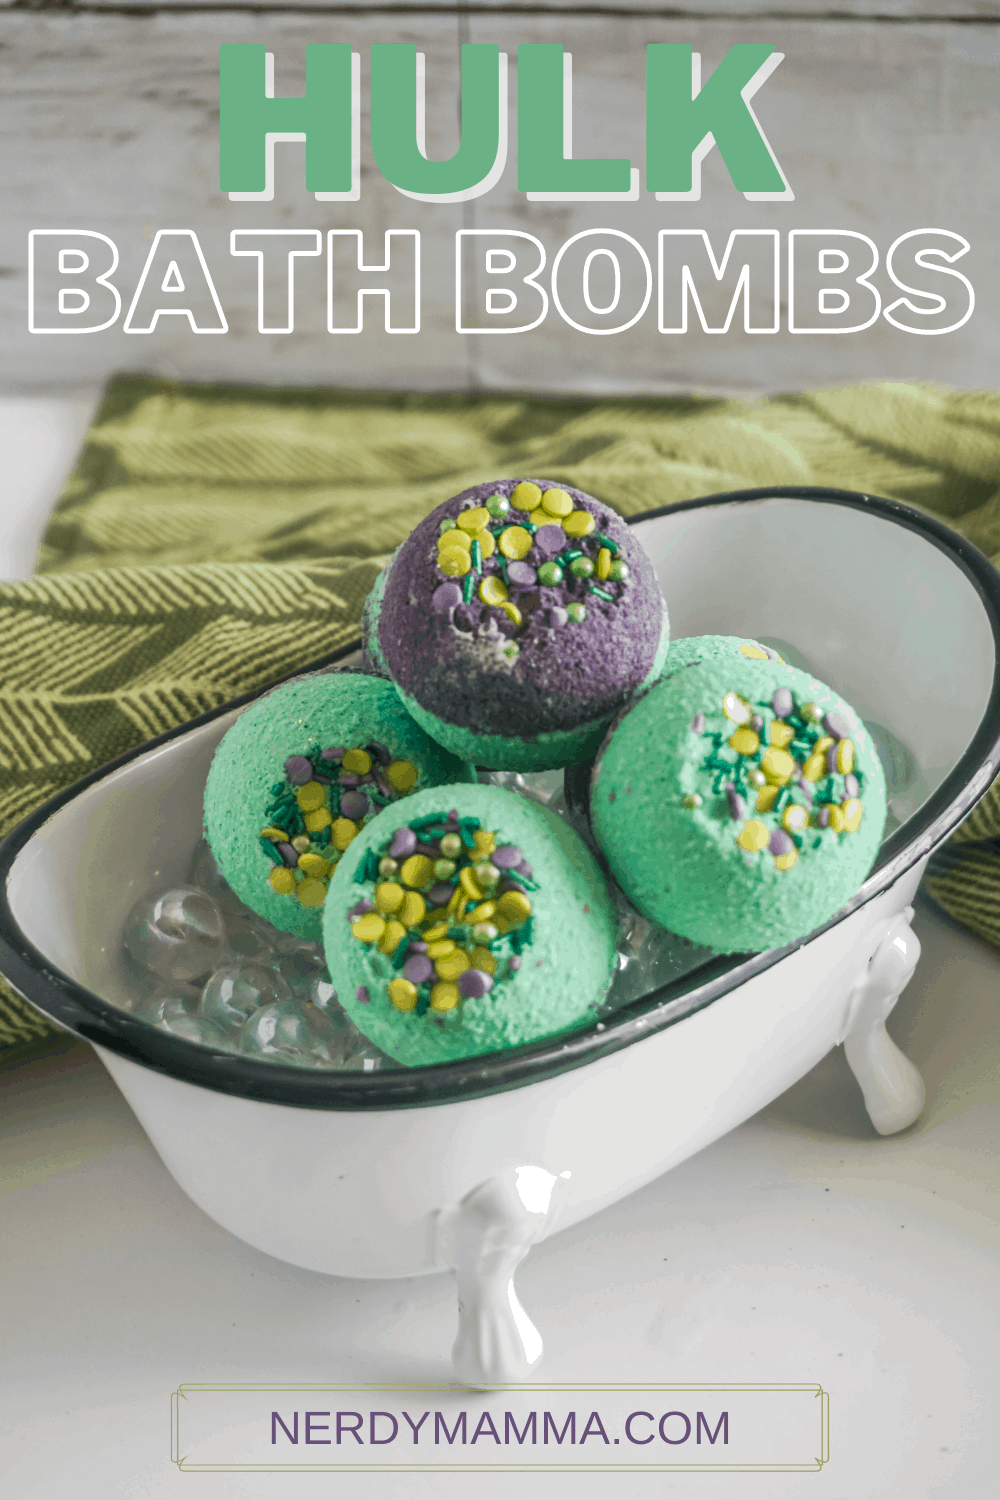
The green, enormous but adorable guy in the Avengers team can be a great theme for the bath bombs, too. Just like these Hulk Bath Bombs.

Bath bombs are such an enjoyable company as you bathe. Relaxing into your bathtub with warm and scented water is rewarding after a hectic day.
Getting the bath bombs into a character is fun, too. If you are a fan of the incredible hulk, then, these Hulk Bath Bombs are for you. If your favorite color is green, you must have these, too! Plants are not the only thing green; you know. Don’t get me wrong. I love plants, too.
But here is something that you should know… Kids love the Hulk! Uh huh! They think it’s fun when the Hulk starts to smash. Next time to let your kid have the hulk bath bombs, don’t be surprised when you hear your kid shouts Smash! And hear water splashing! I love it when they’re having fun! LOL!
Making the Hulk Bath Bombs
Making these bath bombs are very easy. Even if you are a beginner, there’s no way you’re gonna make mistakes.
You’ll need to gather the supplies mentioned below. They are easy to find. Don’t worry. I also have the link for some of the ingredients if you don’t know where to get them.
Supplies
- 1 1/2 cup baking soda
- 3/4 cup citric acid
- 1 tbsp bentonite clay
- 1 tbsp Epsom salts
- 2 tbsp melted coconut oil
- 1/2 tsp essential oil blend desired (or pumpkin spice extract, since that’s what I wanted: )
- 1/2 tbsp polysorbate 80 (to keep the colorant from sticking to the bathtub)
- 1 tsp purple mica powder
- 1 tsp green mica powder
- 2-4 tablespoons green and purple sprinkles blend
- 1/2 tsp alcohol (to wet the mixture if necessary at the end of the mixing if it dries out while putting the mixture into the molds)
- 1/2 tsp cornstarch
Tools
- 4-5 bath bomb molds (I used mini bath bomb molds)
Instructions
Whisk together the baking soda, citric acid, clay, and Epsom salts.
In a second bowl, combine the melted coconut oil, essential oil blend, and polysorbate 80 together, mixing well.
Add liquid ingredients 1 tsp at a time to the dry ingredients, mixing it together slowly so as not to start the fizzy reaction.
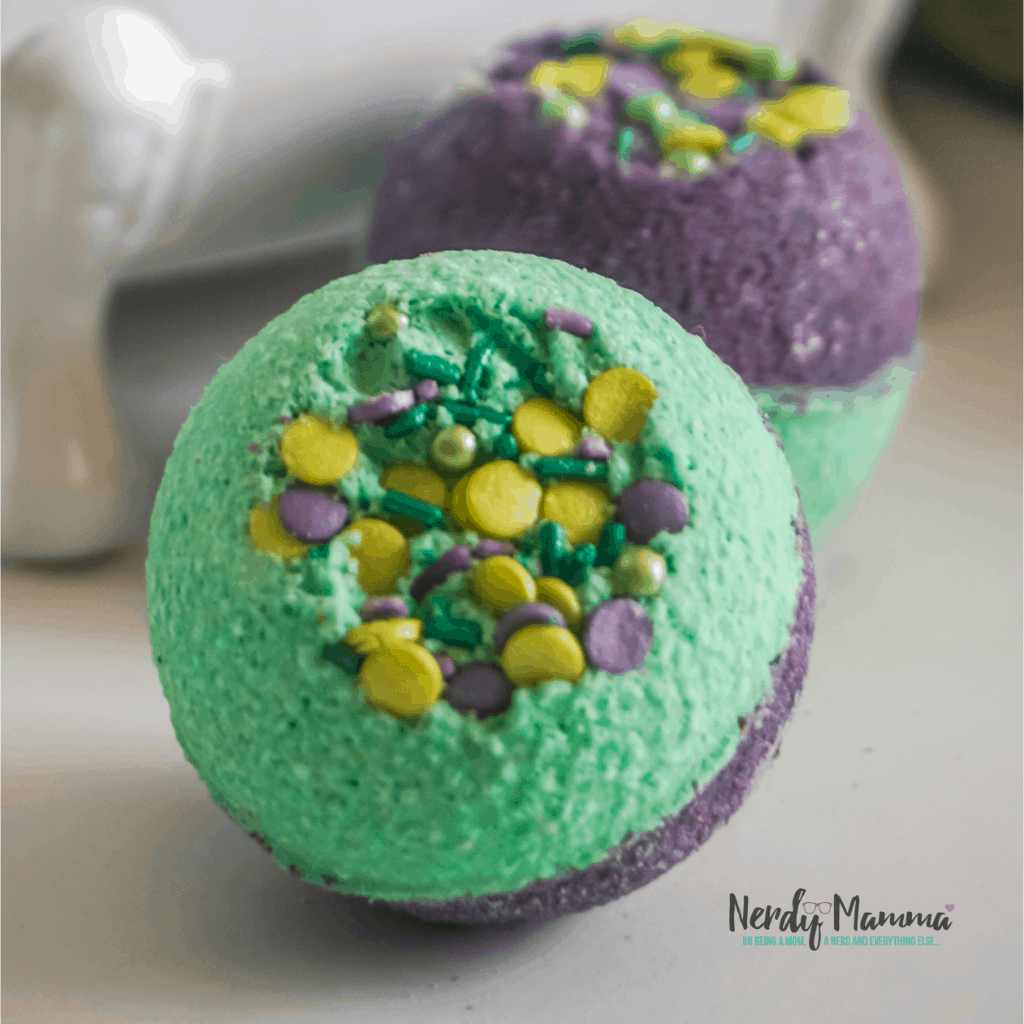
Split the mixture into two bowls and, to one bowl, add the green mica powder and stir until the color is consistent throughout. If you would like more intense color, add more mica powder in 1 tsp increments, stirring between each increment until you have a dark color. Keep in mind that the color will fade a little when the mixture dries.
To the second bowl, add the purple mica powder and stir until the color is consistent throughout. If you would like more intense color, add more mica powder in 1 tsp increments, stirring between each increment until you have a dark color. Keep in mind that the color will fade a little when the mixture dries.

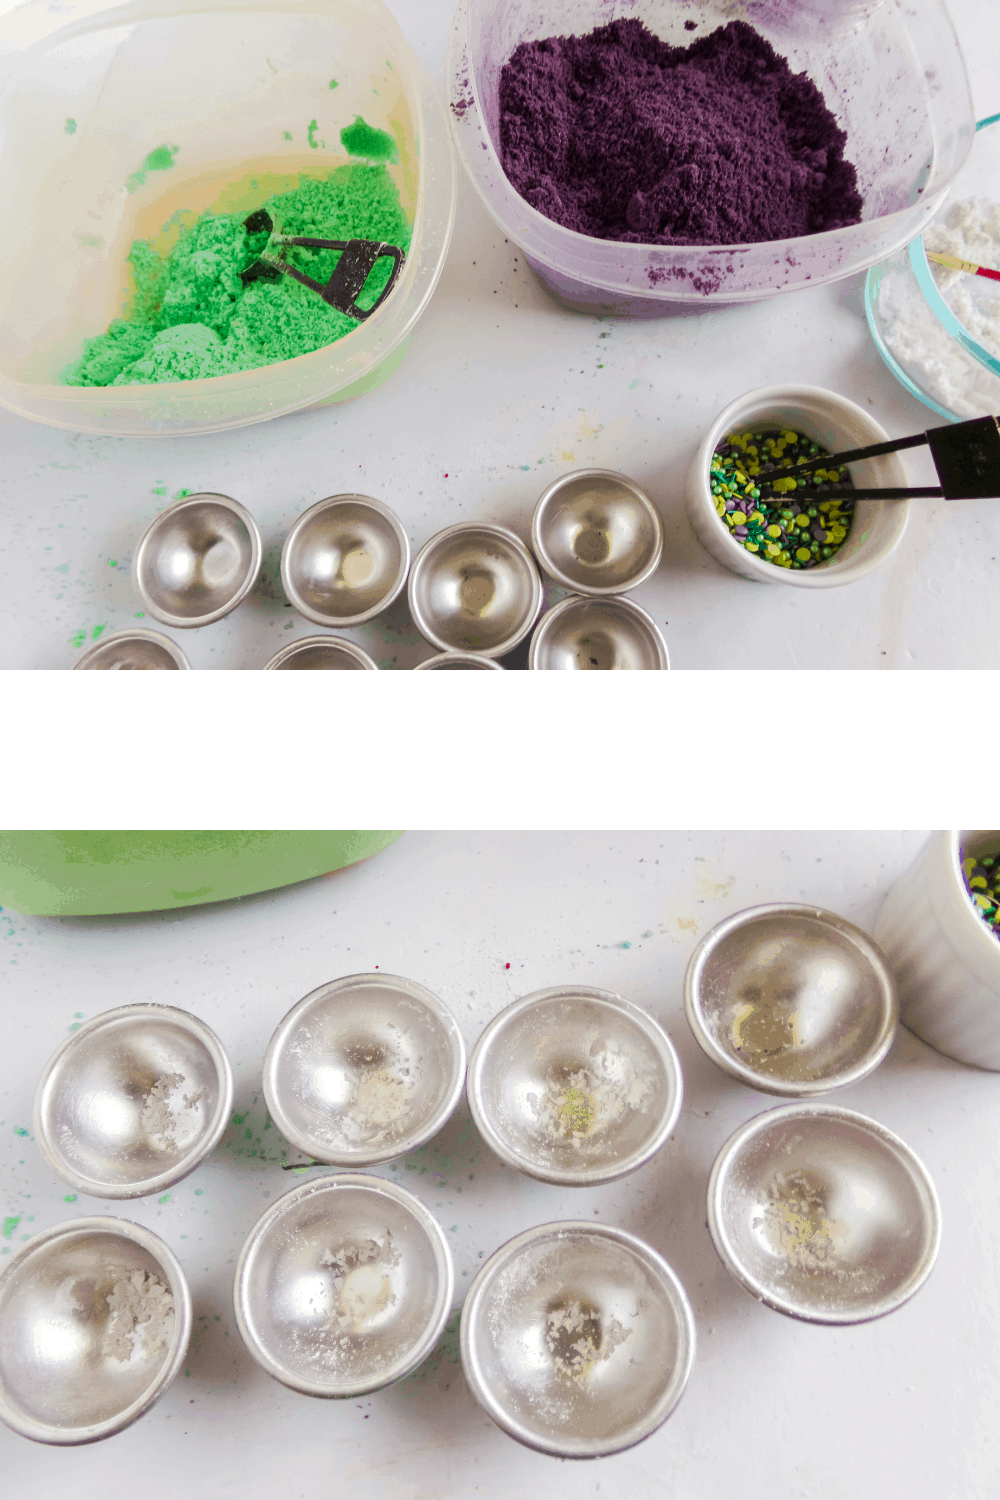
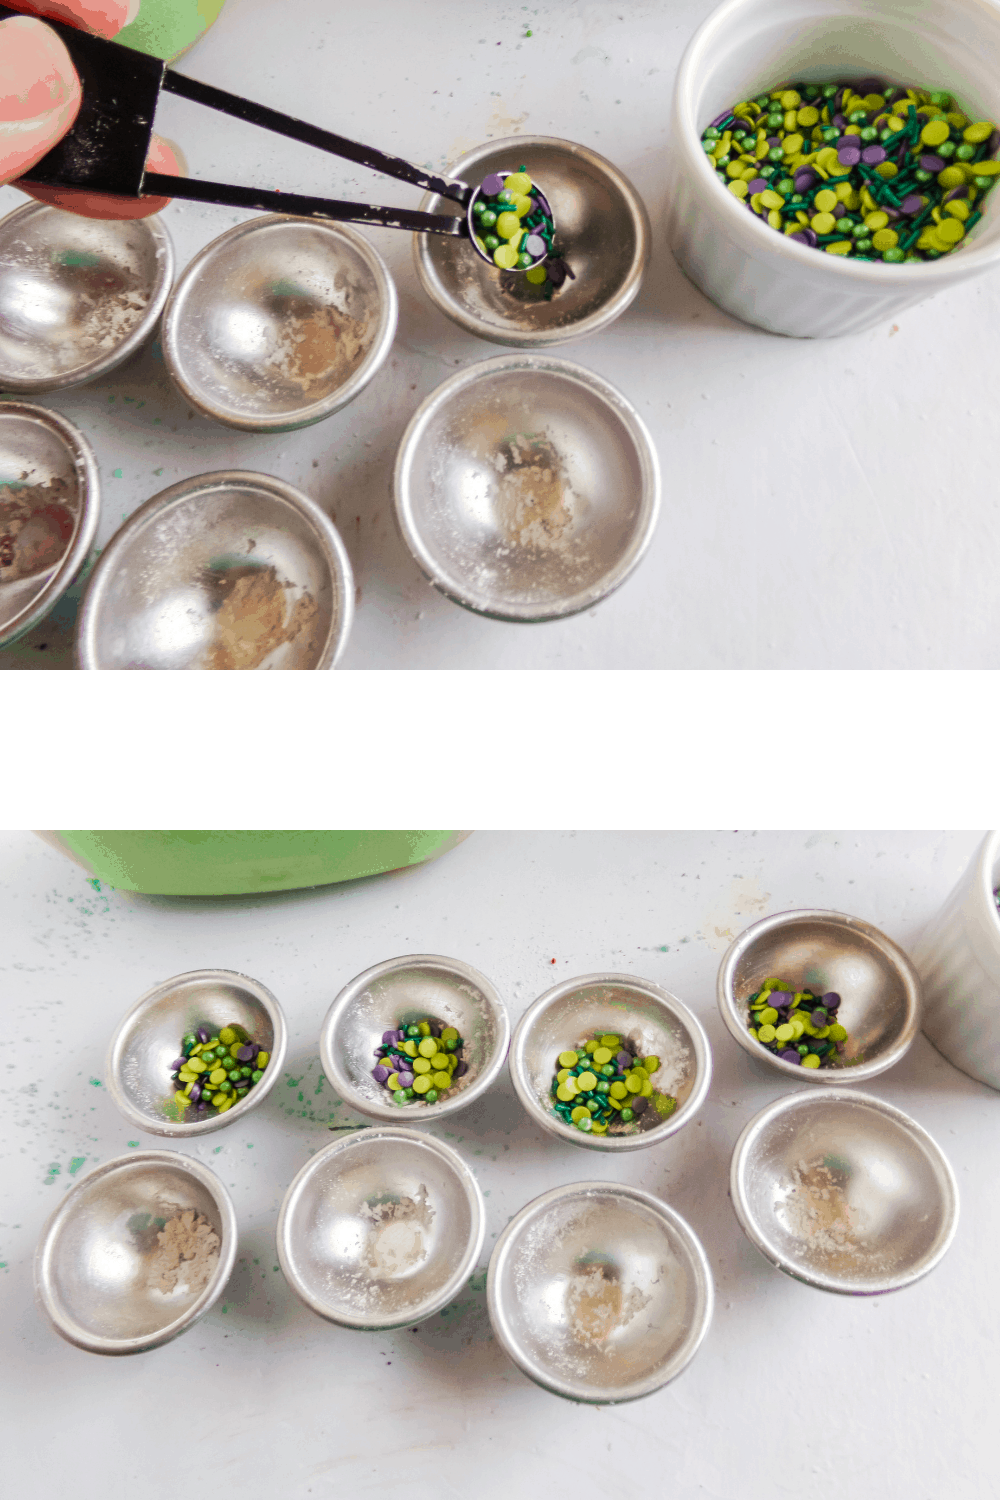
Dust the bottom of one side of the bath bomb mold with cornstarch. The sprinkle side tends to come out on its own, so you don’t need to dust that side with cornstarch, but I do just in case.
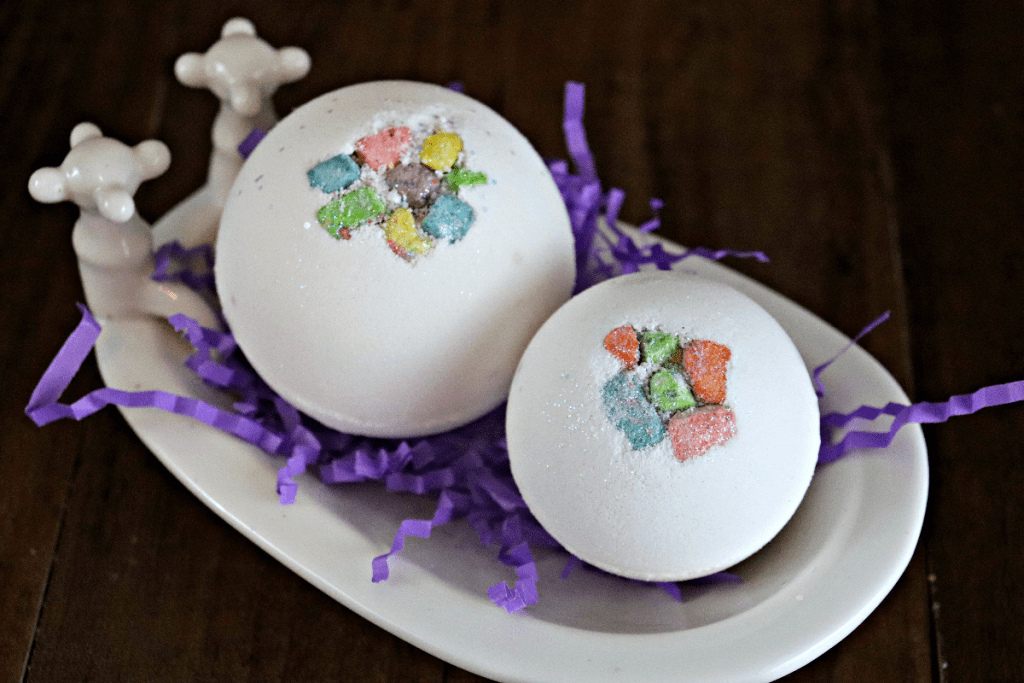
Place about 1 tsp of sprinkles on the non-dusted side of the bath bomb mold.
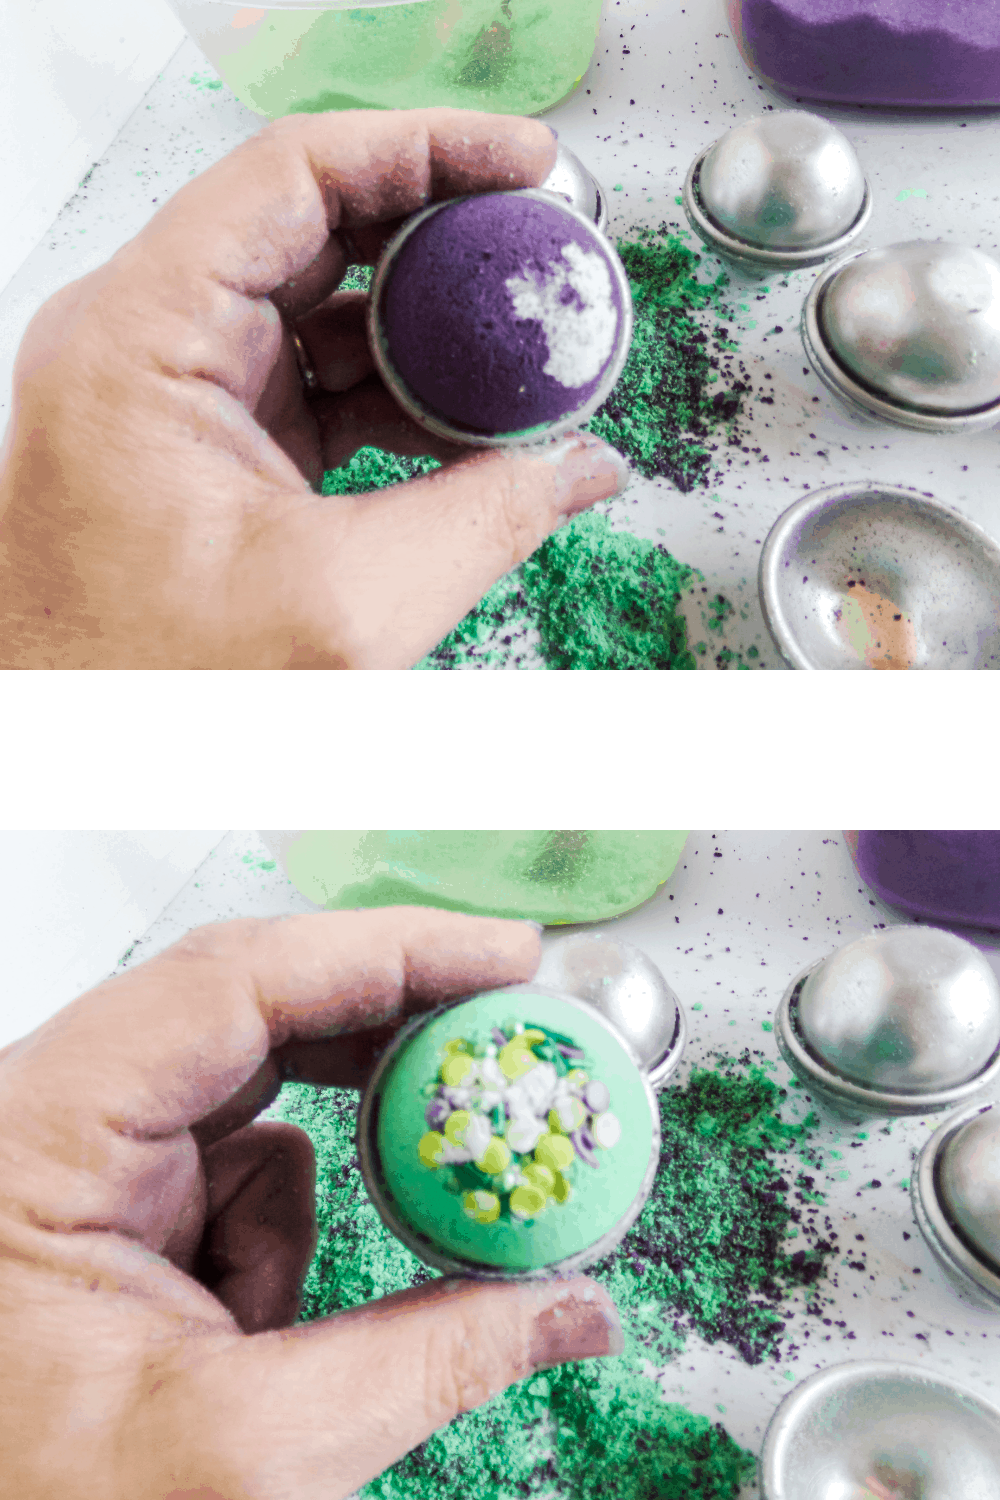
Immediately pack each side of the bath bomb mold with the mixture. Pack extra bath bomb mixture between the two molds, then press the two sides together, grinding and pressing them to force the two together.
Allow the bath bombs to rest in the mold for up to 1-24 hours before gently tapping the top and side of the mold to release the bombs.
Use your bath bombs immediately or store them in an airtight container until you’re ready to use!
And, while you are still completing the supplies, be sure to pin this recipe into your Amazing Bath Bombs Pinterest board so that you can find it again when you get your goodies on hand.

Hulk Bath Bombs - Bath Bomb that Smash
How fun it would be to have the green, humongous but adorable guy in the Avengers to be a bath bomb. Well, these Hulk Bath Bombs are a smash!
Materials
- 1 1/2 cup baking soda
- 3/4 cup citric acid
- 1 tbsp bentonite clay
- 1 tbsp Epsom salts
- 2 tbsp melted coconut oil
- 1/2 tsp essential oil blend desired (or pumpkin spice extract, since that’s what I wanted: )
- 1/2 tbsp polysorbate 80 (to keep the colorant from sticking to the bathtub)
- 1 tsp purple mica powder
- 1 tsp green mica powder
- 2-4 tablespoons green and purple sprinkles blend
- 1/2 tsp alcohol (to wet the mixture if necessary at the end of the mixing if it dries out while putting the mixture into the molds)
- 1/2 tsp cornstarch
Tools
- 4-5 bath bomb molds (I used mini bath bomb molds)
Instructions
- Whisk together the baking soda, citric acid, clay, and Epsom salts.
- In a second bowl, combine the melted coconut oil, essential oil blend, and polysorbate 80 together, mixing well.
- Add liquid ingredients 1 tsp at a time to the dry ingredients, mixing them together slowly so as not to start the fizzy reaction.
- Split the mixture into two bowls and, to one bowl, add the green mica powder and stir until the color is consistent throughout. If you would like more intense color, add more mica powder in 1 tsp increments, stirring between each increment until you have a dark color. Keep in mind that the color will fade a little when the mixture dries.
- To the second bowl, add the purple mica powder and stir until the color is consistent throughout. If you would like more intense color, add more mica powder in 1 tsp increments, stirring between each increment until you have a dark color. Keep in mind that the color will fade a little when the mixture dries.
- Dust the bottom of one side of the bath bomb mold with cornstarch. The sprinkle side tends to come out on its own, so do not bother to dust that side with cornstarch.
- Place about 1 tsp of sprinkles on the non-dusted side of the bath bomb mold.
- Immediately pack each side of the bath bomb mold with the mixture. Pack extra bath bomb mixture between the two molds, then press the two sides together, grinding and pressing them to force the two together.
- Allow the bath bombs to rest in the mold for up to 24 hours before gently tapping the top and side of the mold to release the bombs.
- Use your bath bombs immediately or store them in an airtight container until you’re ready to use!
Why don’t you check these other bath bombs, too?
Unicorn Horn Bath Bombs
Marshmallow Bath Bombs
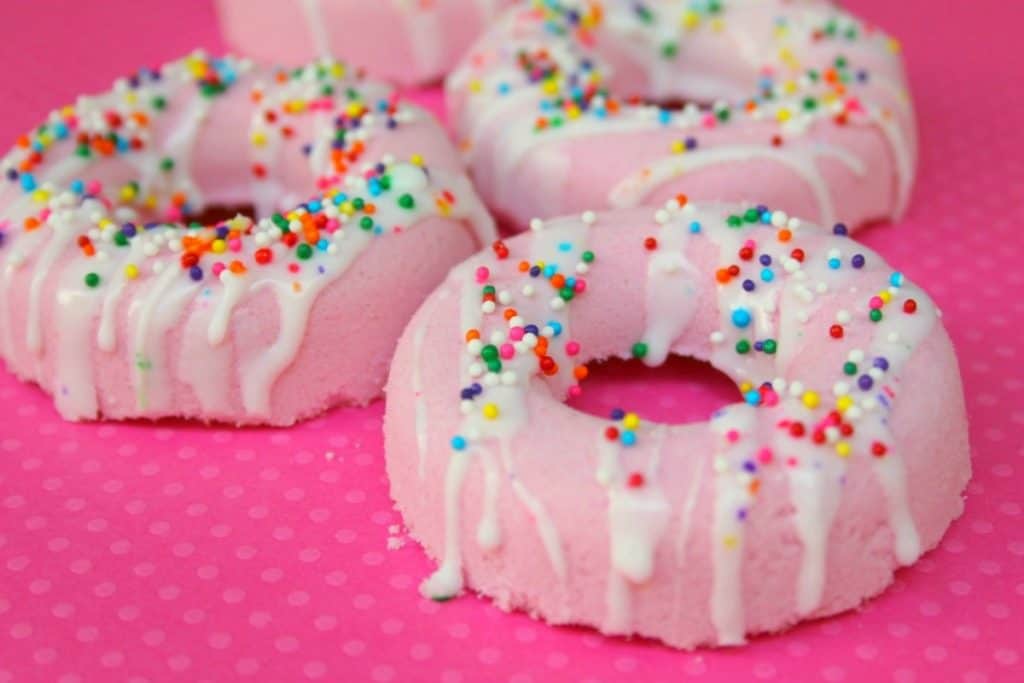
Donut Bath Bombs with Soap Glaze