Mason Jars have so many uses. When it comes to crafts, mason jars are also a winner as you can make so much from them. Another awesome craft is the Stamped Mason Jar Ring Coasters.
These coasters are unique and cute. They are handy, too. You can use it as the cover of a mason jar where you have some food or drink in it. You don’t want dust or bugs checking in on what’s inside of your mason jar especially if you are outside having some picnic or something. Then serve as the coaster for that same jar.
These are customizable, too. Just use the right stamp or stamp your desired designs. That’s why these are also great as gift or party favors.
Next time you have extra mason jar rings and you have no idea what to do with them, turn them into really some nice coasters. Rather than tossing them into your waste bin, make them into something useful.
How to Make the Stamped Mason Jar Ring Coasters Craft.
As long as you have the supplies needed, they are simple to make. It’s a fun activity! If you are not sure where to get these supplies, I have the links to help you out find them.
The supplies are (paid links)
- 3-wide mouth mason jar rings & lids
- Permanent waterproof solvent ink pad
- Rubber stamps
- Non-toxic acrylic paint
- Craft foam brushes
- Mod Podge
- Cork
- Pencil
- Scissors
- Hot glue gun
*The Amazon links are non-affiliate links. They are for your convenience only.

This is how you make the DIY Stamped Mason Jar Ring Coasters.
Take one of your mason jar lids and using your pencil, trace it around the cork and cut. Repeat for each coaster you plan to make.
Lay your cork circles on some parchment paper and using a brush, paint an even coat of paint and allow to dry completely. I suggest at least 30-60 minutes. If the color isn’t solid as desired, apply one additional thin, even layer and allow to dry COMPLETELY! At least 60 minutes, or even overnight. If not, your ink could streak.
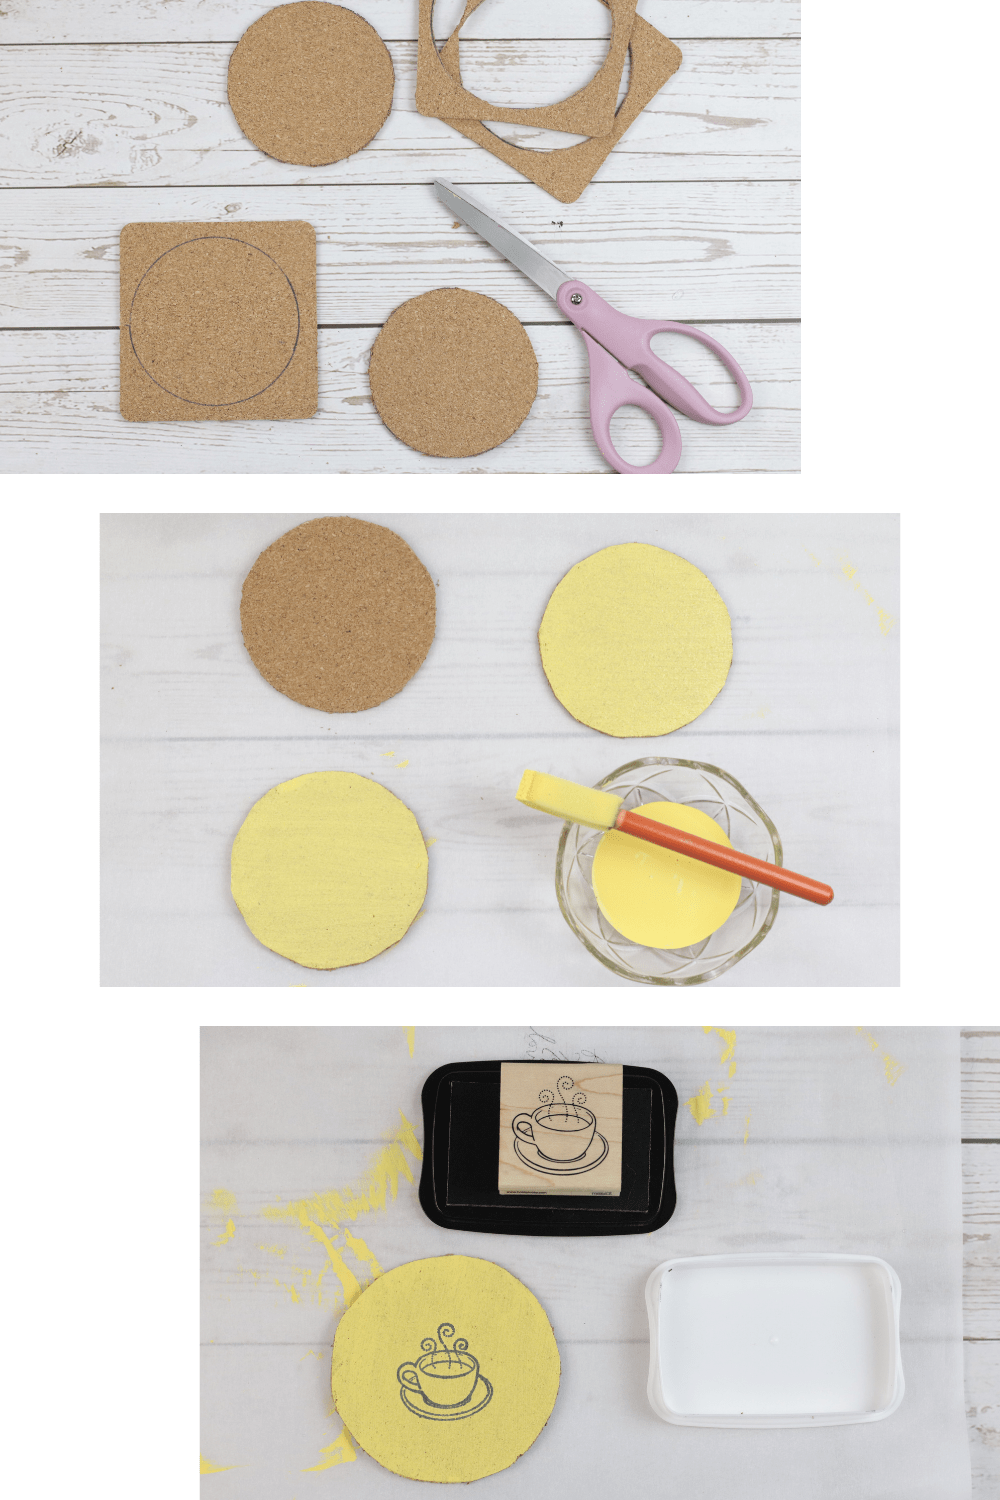
Once your paint is dry, apply a solid layer of ink to the stamp. Center the stamp onto the cork circle and press and hold for a few seconds and lift. Although this says waterproof and permanent, you still need to let this ink dry COMPLETELY before moving onto the next step. We waited 60 minutes.
Using a clean brush, completely cover each cork circle with a thin, even layer of Mod Podge and allow to dry to completely (I suggest at least 60 minutes). Be sure to coat both sides 😊 I suggest giving each one two coats.
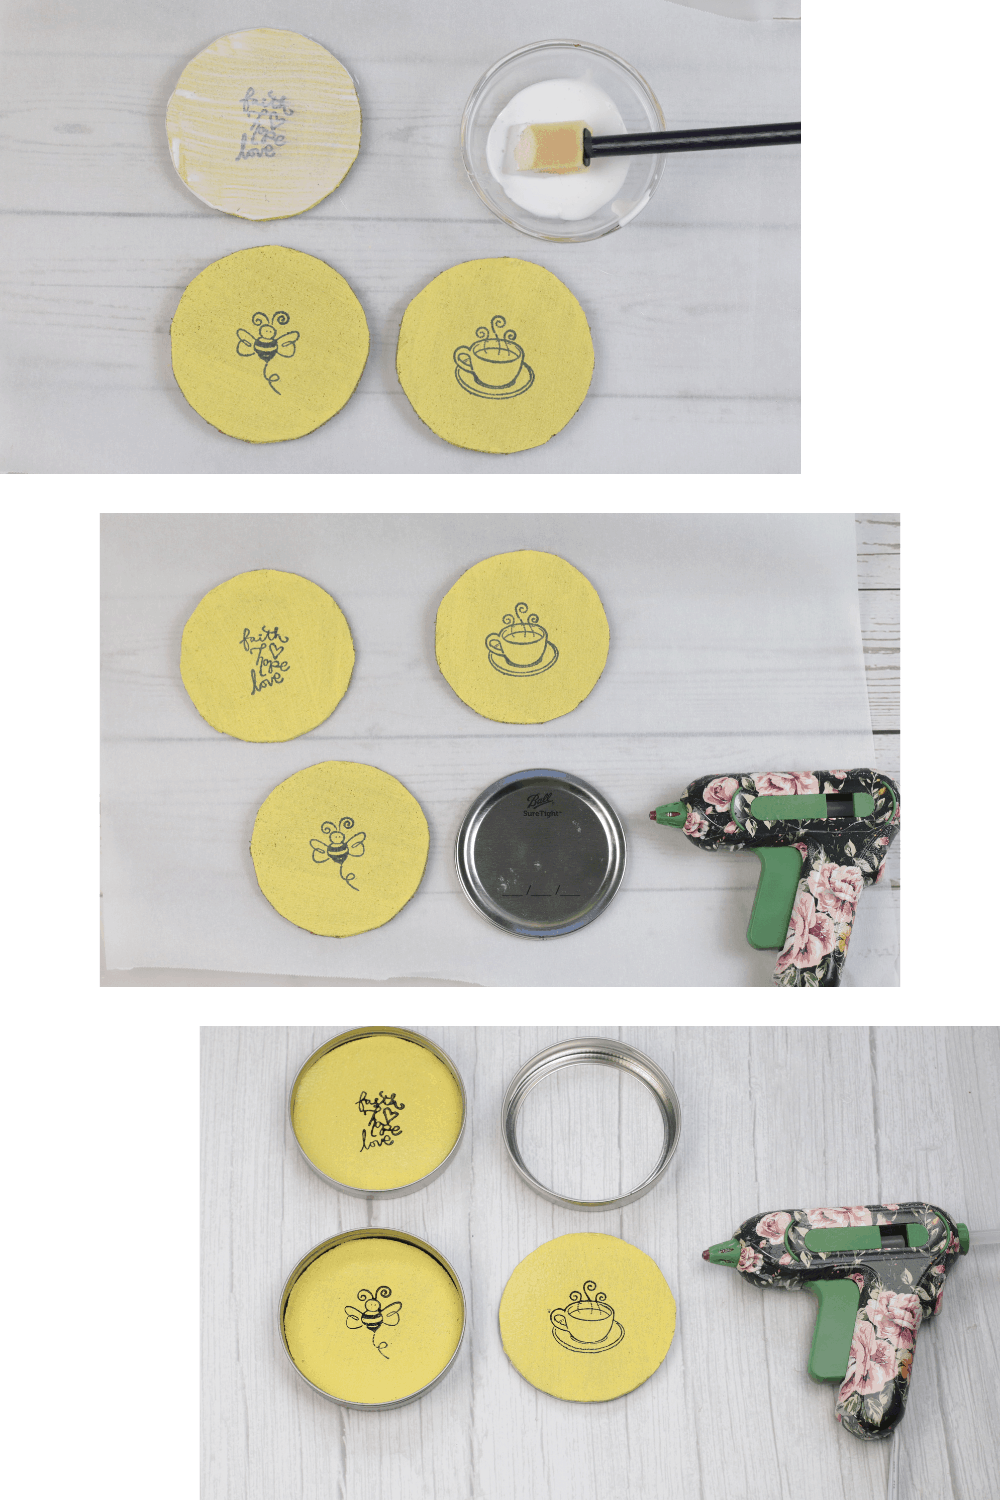
Plugin your hot glue gun and allow it to warm up before using. Using your hot glue gun, attach each of the cork circles, stamped side up, to the inside of each of the mason jar lids.
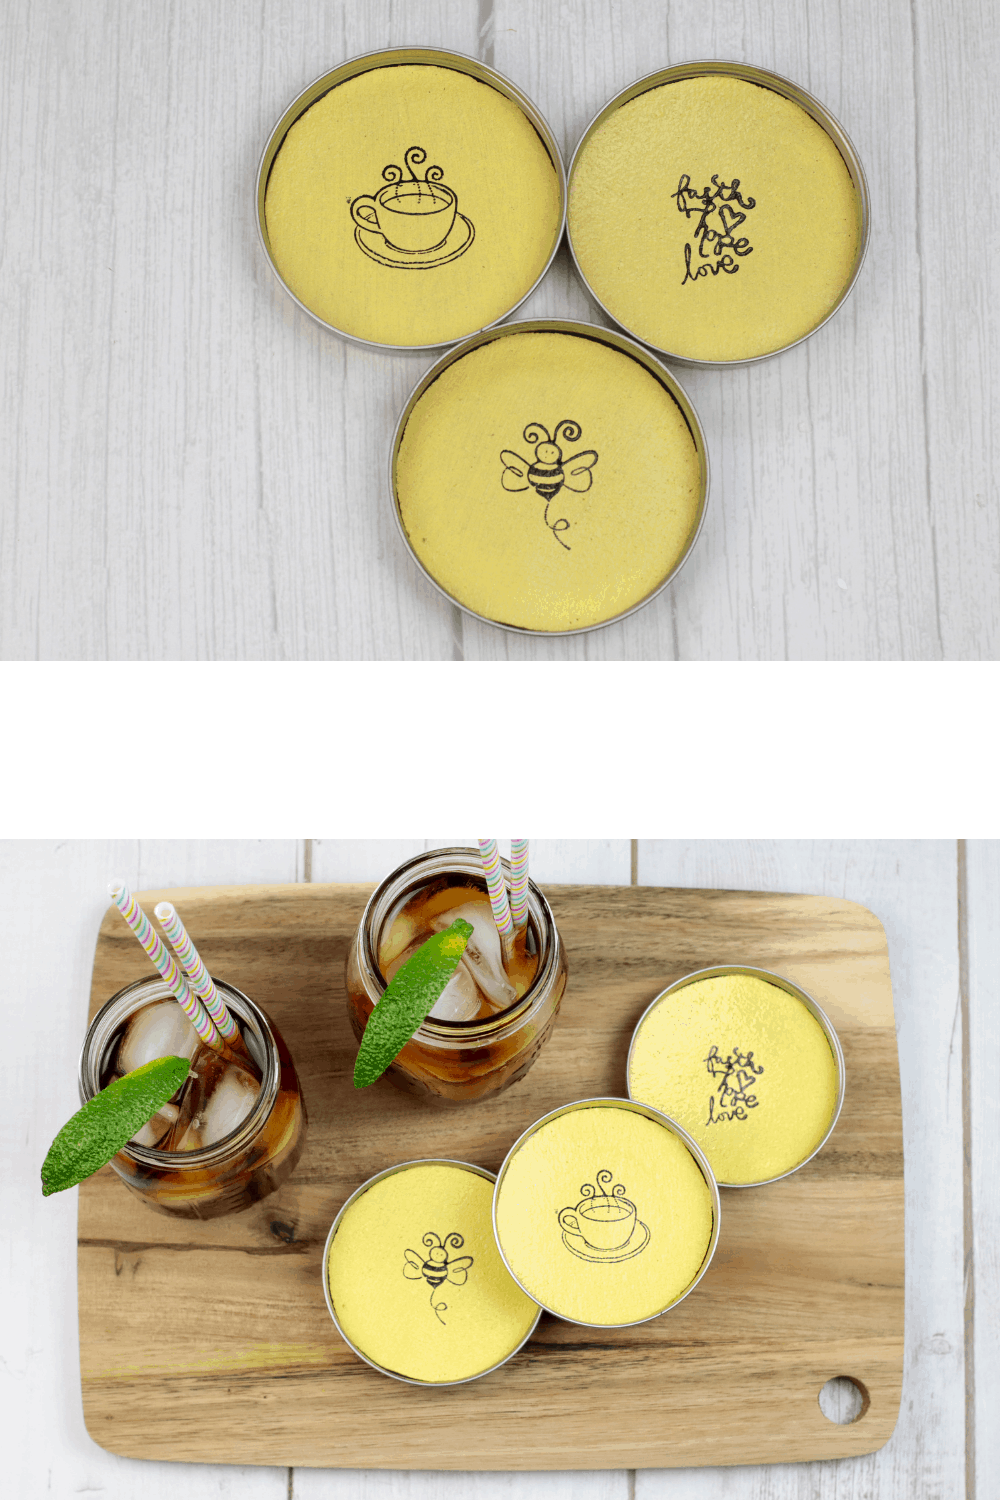
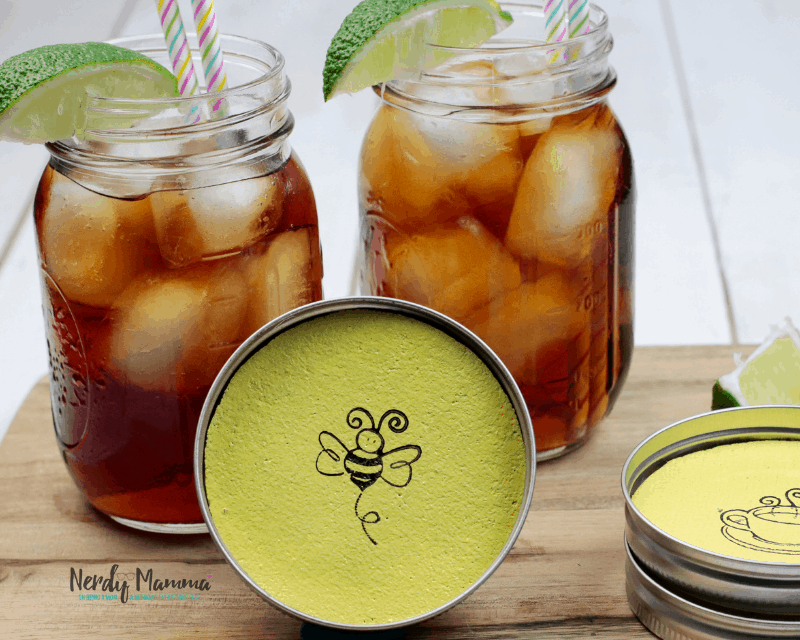
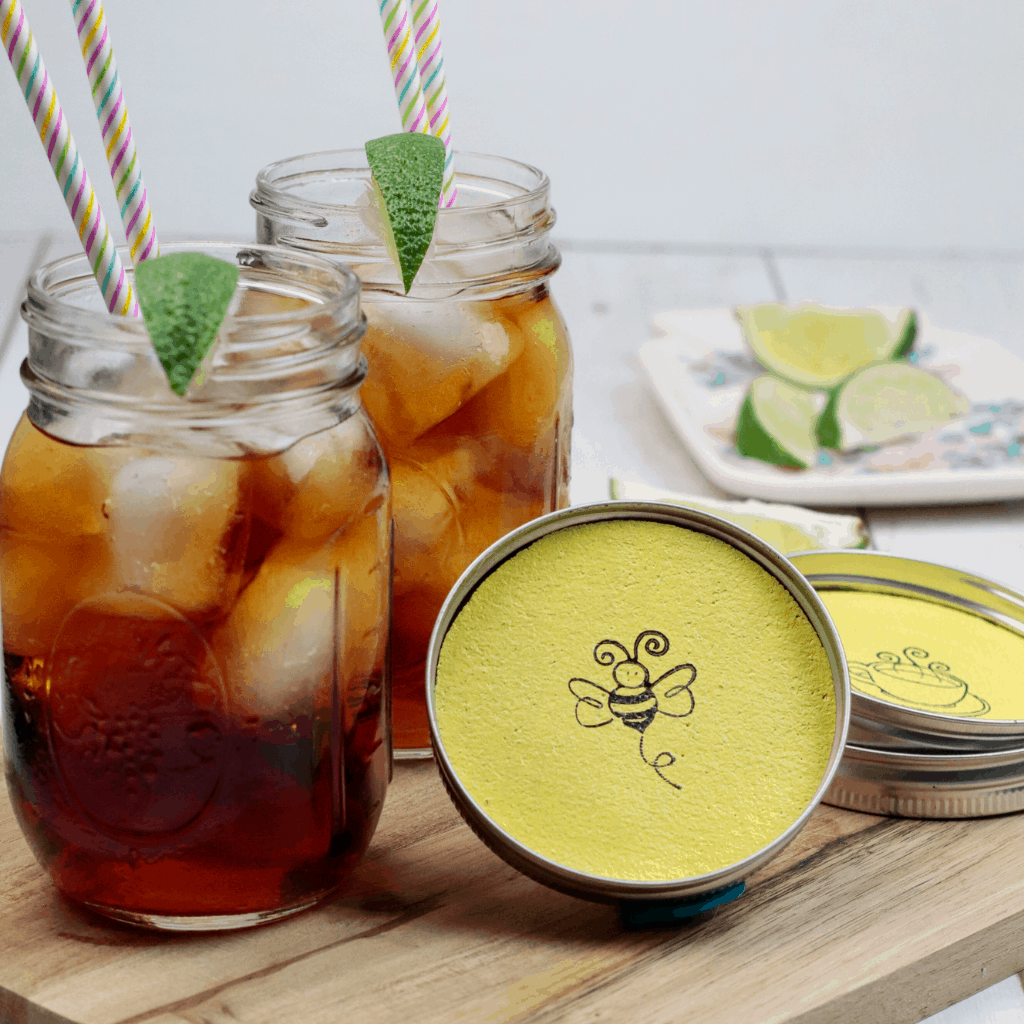
Wait about a minute and you are now ready to enjoy your new DIY Stamped Mason Jar Ring Coasters!

DIY Stamped Mason Jar Ring Coasters Craft
When it comes to crafts, mason jars are a winner. You can make so much from them. Just like this awesome craft, the Stamped Mason Jar Ring Coasters.
Materials
- 3-wide mouth mason jar rings & lids
- Permanent waterproof solvent ink pad
- Rubber stamps
- Non-toxic acrylic paint
- Craft foam brushes
- Mod Podge
- Cork
Tools
- Pencil
- Scissors
- Hot glue gun
Instructions
- Take one of your mason jar lids and using your pencil, trace it around the cork and cut. Repeat for each coaster you plan to make.
- Lay your cork circles on some parchment paper and using a brush, paint an even coat of paint and allow to dry completely. I suggest at least 30-60 minutes. If the color isn’t solid as desired, apply one additional thin, even layer and allow to dry COMPLETELY! At least 60 minutes, or even overnight. If not, your ink could streak.
- Once your paint is dry, apply a solid layer of ink to the stamp. Center the stamp onto the cork circle and press and hold for a few seconds and lift. Although this says waterproof and permanent, you still need to let this ink dry COMPLETELY before moving onto the next step. We waited 60 minutes.
- Using a clean brush, completely cover each cork circle with a thin, even layer of Mod Podge and allow to dry completely (I suggest at least 60 minutes). Be sure to coat both sides 😊 I suggest giving each one-two coats.
- Plugin your hot glue gun and allow it to warm up before using. Using your hot glue gun, attach each of the cork circles, stamped side up, to the inside of each of the mason jar lids.
- Wait about a minute and you are now ready to enjoy your new DIY Stamped Mason Jar Ring Coasters!
Notes
- Wide mouth mason jar rings & lids (You can find it here on Amazon)
- Permanent waterproof solvent ink pad (You can find it on Amazon)
- Rubber stamps (You can find them here on Amazon)
- Non-toxic acrylic paint (You can find it on Amazon)
- Craft foam brushes (You can find them here on Amazon)
- Mod Podge (You can find it here on Amazon)
- Cork (I got these cork coasters from Hobby Lobby but you can also get sheets from Amazon which is a much better deal)
*The Amazon links are non-affiliate links. They are for your convenience only
Have fun!
Did you enjoy it? Don’t forget to Pin the craft into your Simple Crafts Pinterest Boards to make it easy for you to check back again.
Here are more mason jar crafts you will like to try too.
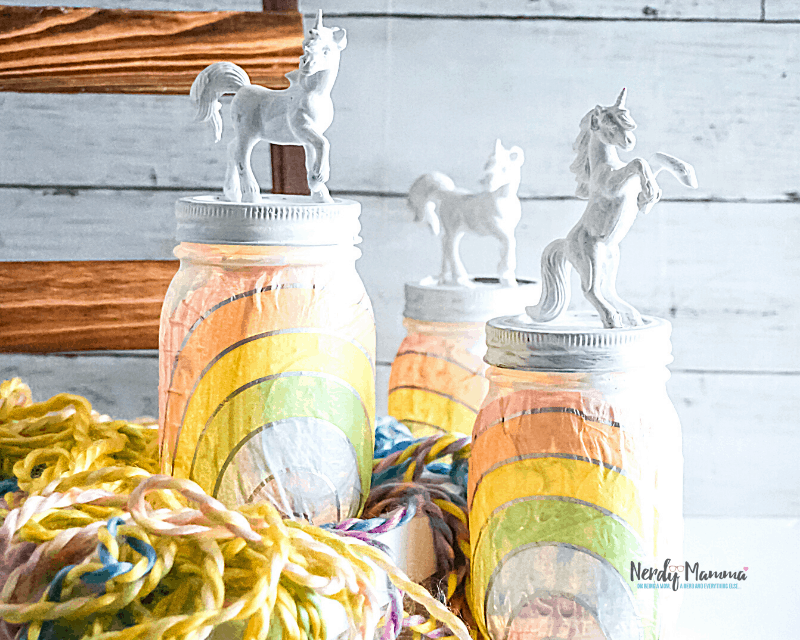
Rainbow Unicorn Mason Jar Night Lights
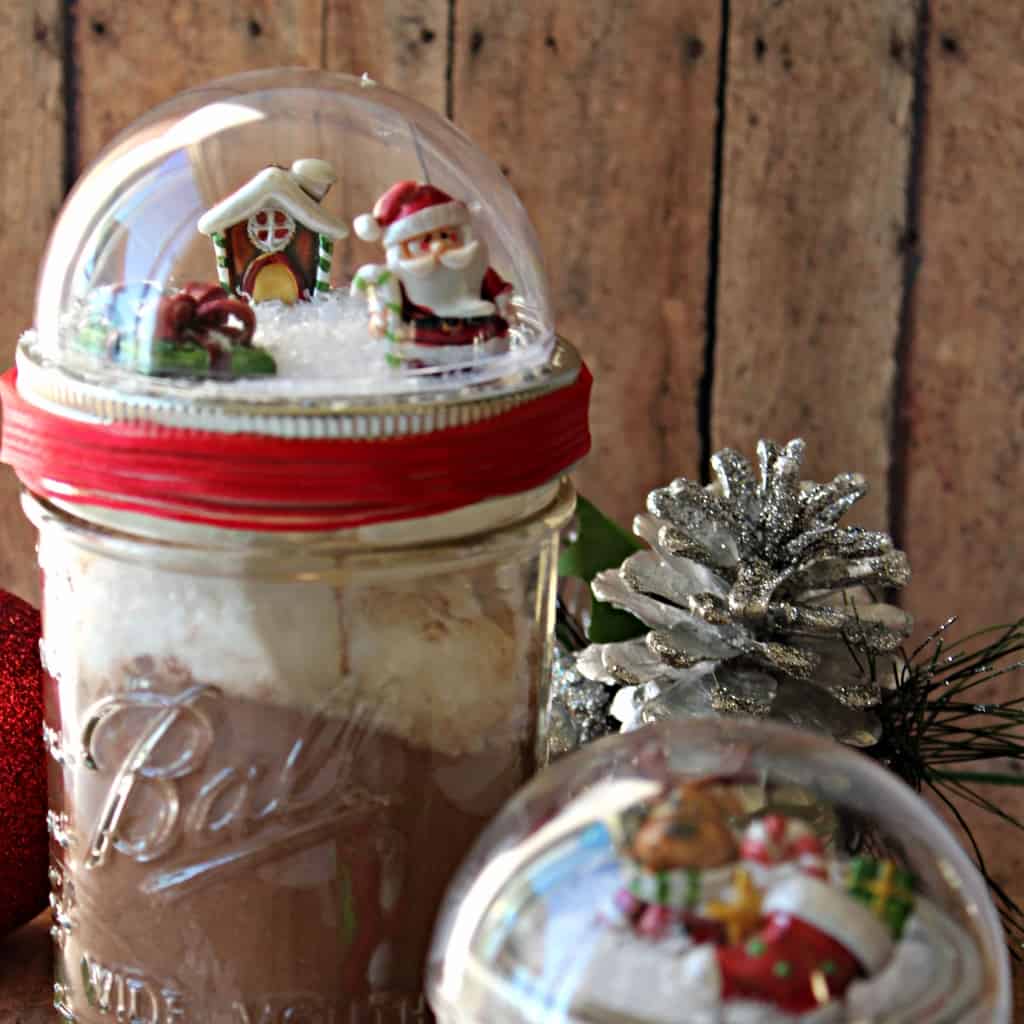
Mason Jar Snow Globes
Pencil, Paper, and Crayon Painted Jar Craft