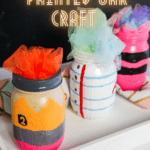

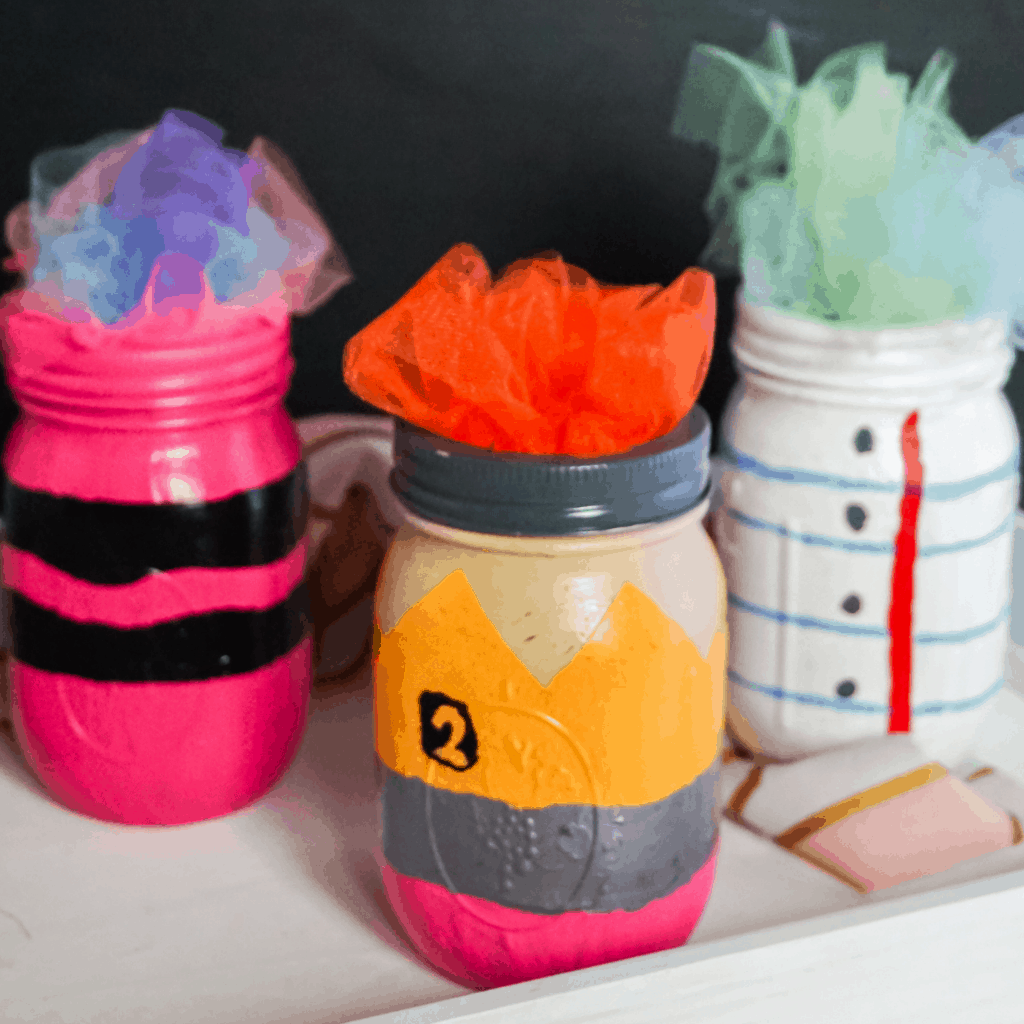
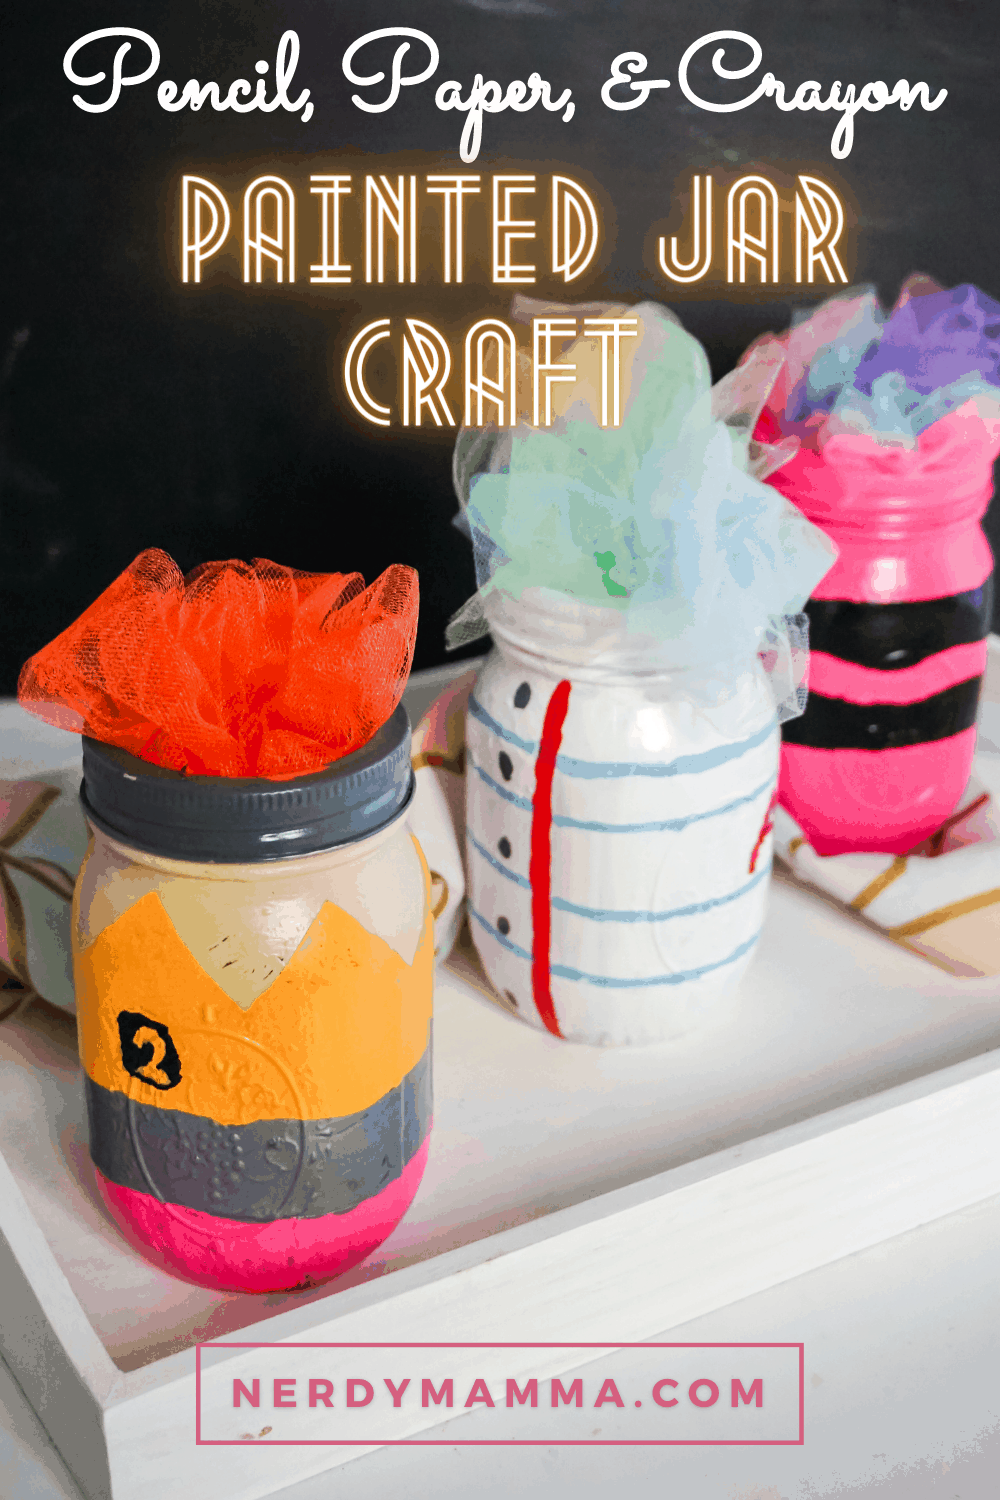
This colorful Pencil, Paper, and Crayon Painted Jar Craft is so adorable and perfect for a Teacher appreciation gift idea, I just can’t even!

Not only does this make a great craft for teachers, it’s also a fun way to organize your pens, pencils and crayons. Honestly, I made a set for the teacher and a set for home, because with all the craft supplies here…it’s nice to organize them sometimes.
Plus, it’s a great way to reuse those mason jars that are just laying around. Who doesn’t have a handful of them in your cabinet?!
Pencil, Paper, and Crayon Painted Jar Craft
Not all are created equal when it comes to artistic skills for crafts. That’s why I’m sharing how I made and transformed a simple, colorless jar into a cute and colorful organizer.
You’ll find the list of supplies below that you need to gather.
Make sure to read the instructions carefully before starting. They are easy to follow. Nothing to worry about.
Supplies to Make Crayon, Paper and Pencil Painted Jars
- 3 Mason Jars
- Painter’s Tape
- Acrylic paint in:
- Pink
- Pale beige/brown
- Yellow
- Grey
- Black
- White
- Blue
- Red
- Mod podge or other craft sealant
Instructions
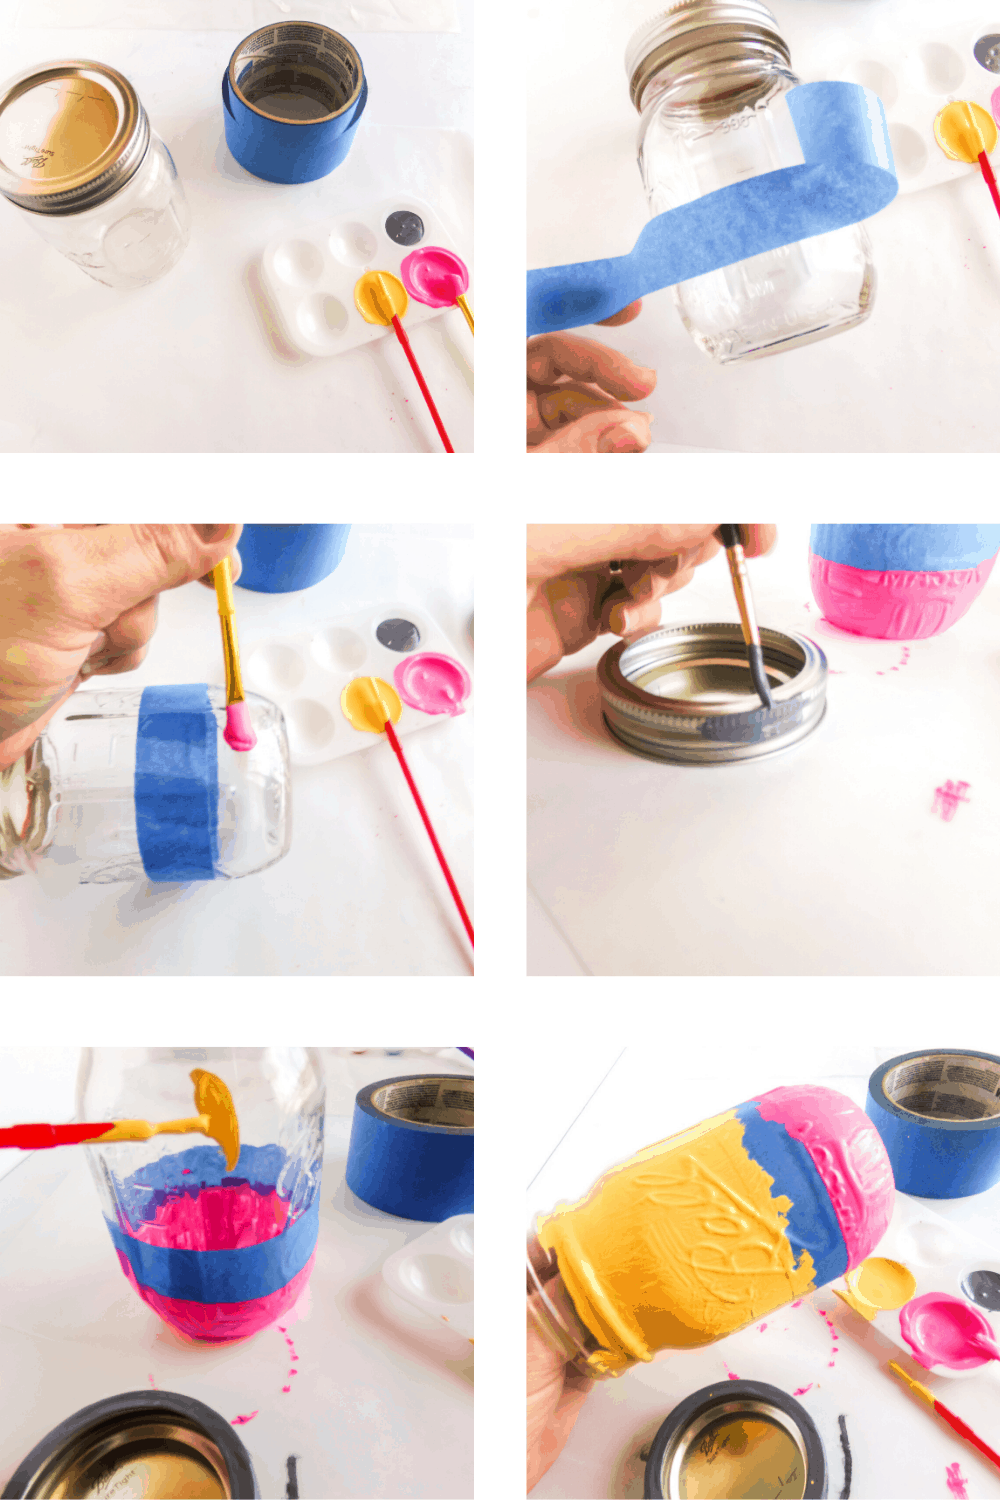
Make sure your mason jars are clean and dry before starting. I did this by wiping them down with some alcohol, since they’d been cleaned before they were placed in the cabinet, so I just wanted to get any dust off. But if you’ve recently had food in the jars, you’ll want to wash them with soap and water, then dry them completely.
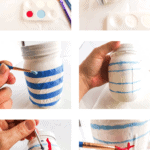
Make the Pencil mason jar by:
Taping off the bottom third of the jar, painting the bottom ⅓ of the jar pink. Paint the area above the tape yellow. Then paint the ring of the jar grey. Allow this coat to dry completely.
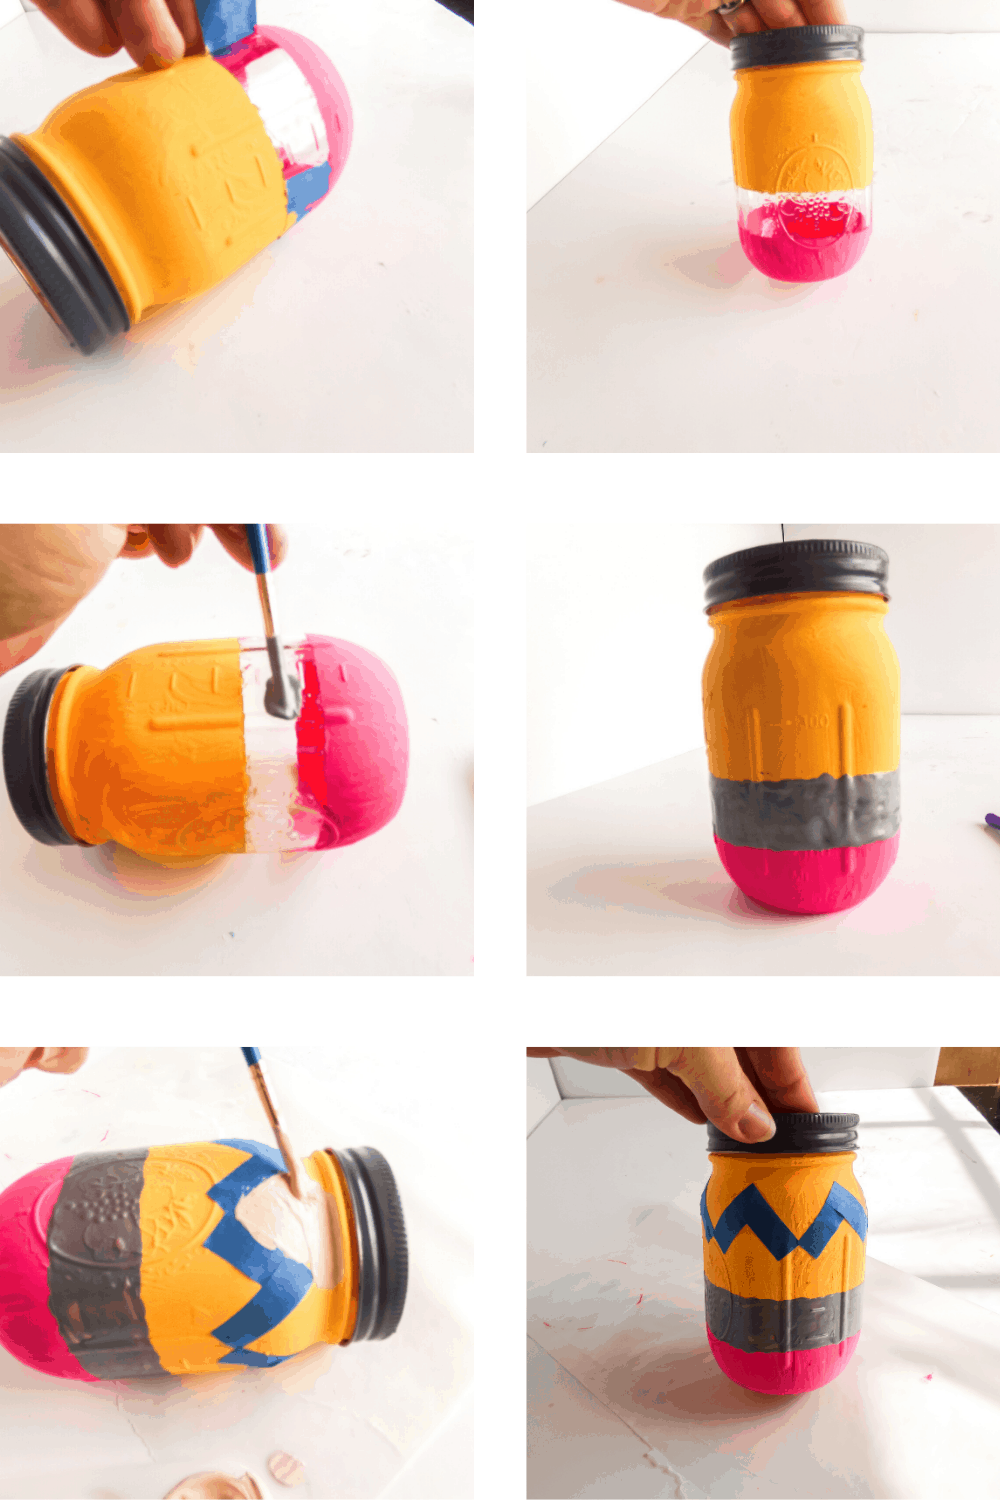
Remove the tape between the yellow and pink painted sections. Paint the area where the tape had been grey. Then tape off the top of the jar with an “M” or “V” pattern. Paint the top portion in the “M” area with the pale beige/brown. Then allow this coat of paint to dry completely.
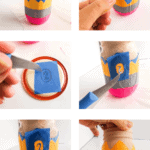
Draw on a piece of painter’s tape a number 2 and oval. Then cut it out with an exacto knife and position it where you’d like these elements on your pencil. Using this as a guide, sketch your 2 onto your jar along with the oval with a pencil. Then paint over the pencil marks with the black paint.
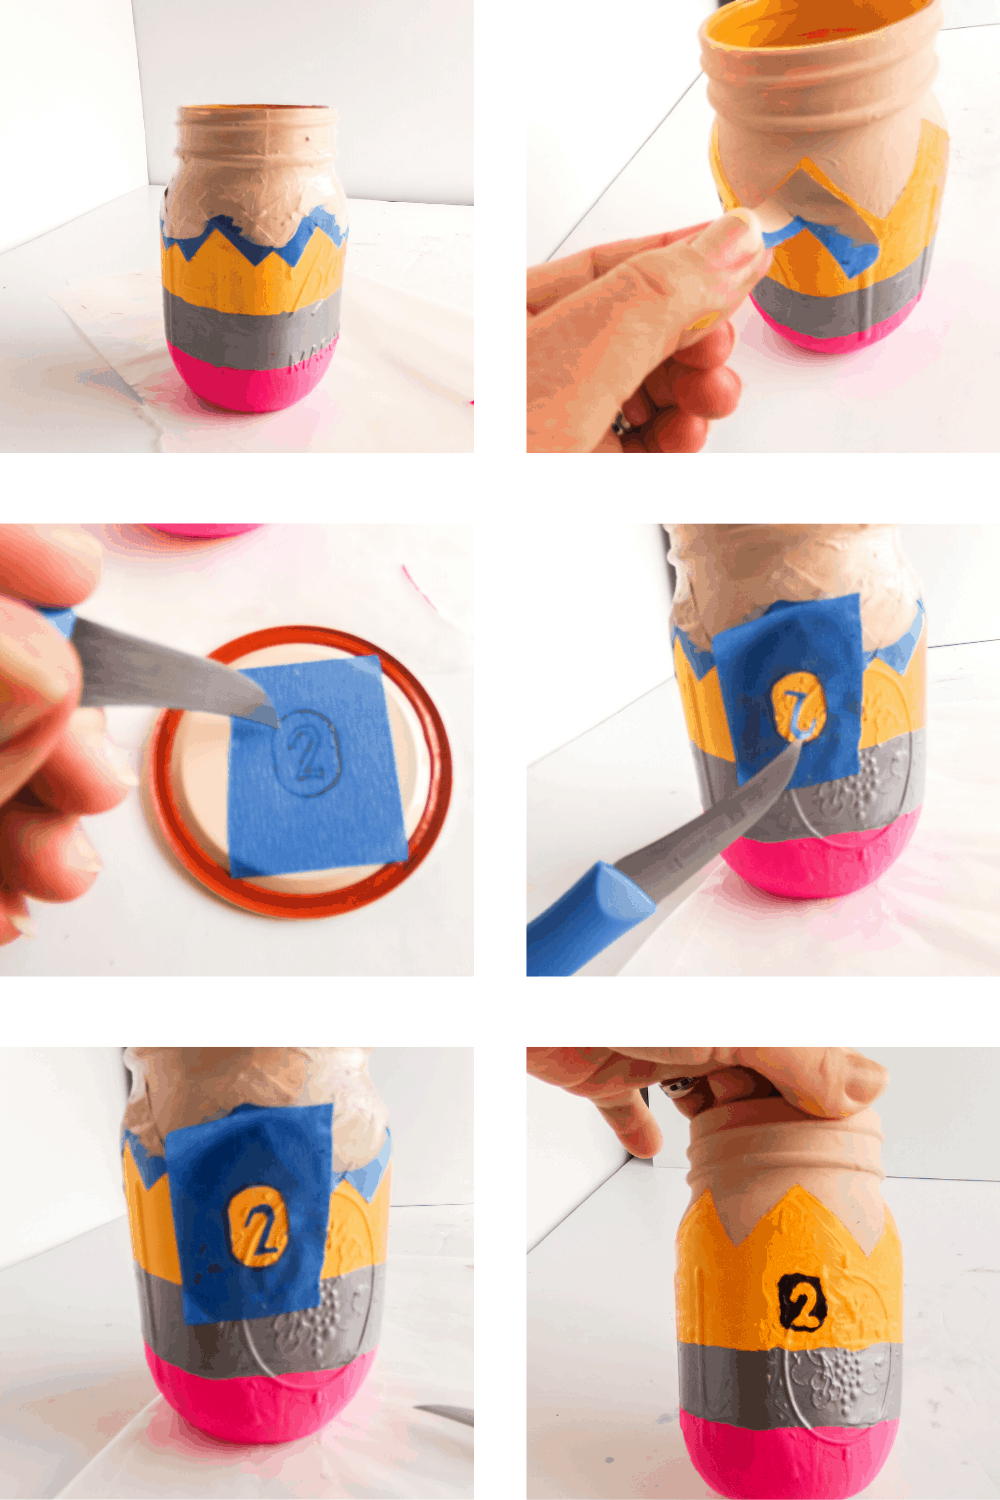
Allow this coat to dry completely. Then seal with a coat of mod podge or other craft sealant and allow that to dry completely.
Make the Paper mason jar by:
Painting the entire jar white, then allowing this coat to dry completely. Then paint blue horizontal lines on the jar, at ¾-inch increments from top to bottom. You can use tape to help you guide yourself and make the lines straight. Then allow this coat to dry completely.
Paint one red vertical line on the jar, to the left of whatever side you want to be in the front of the jar.
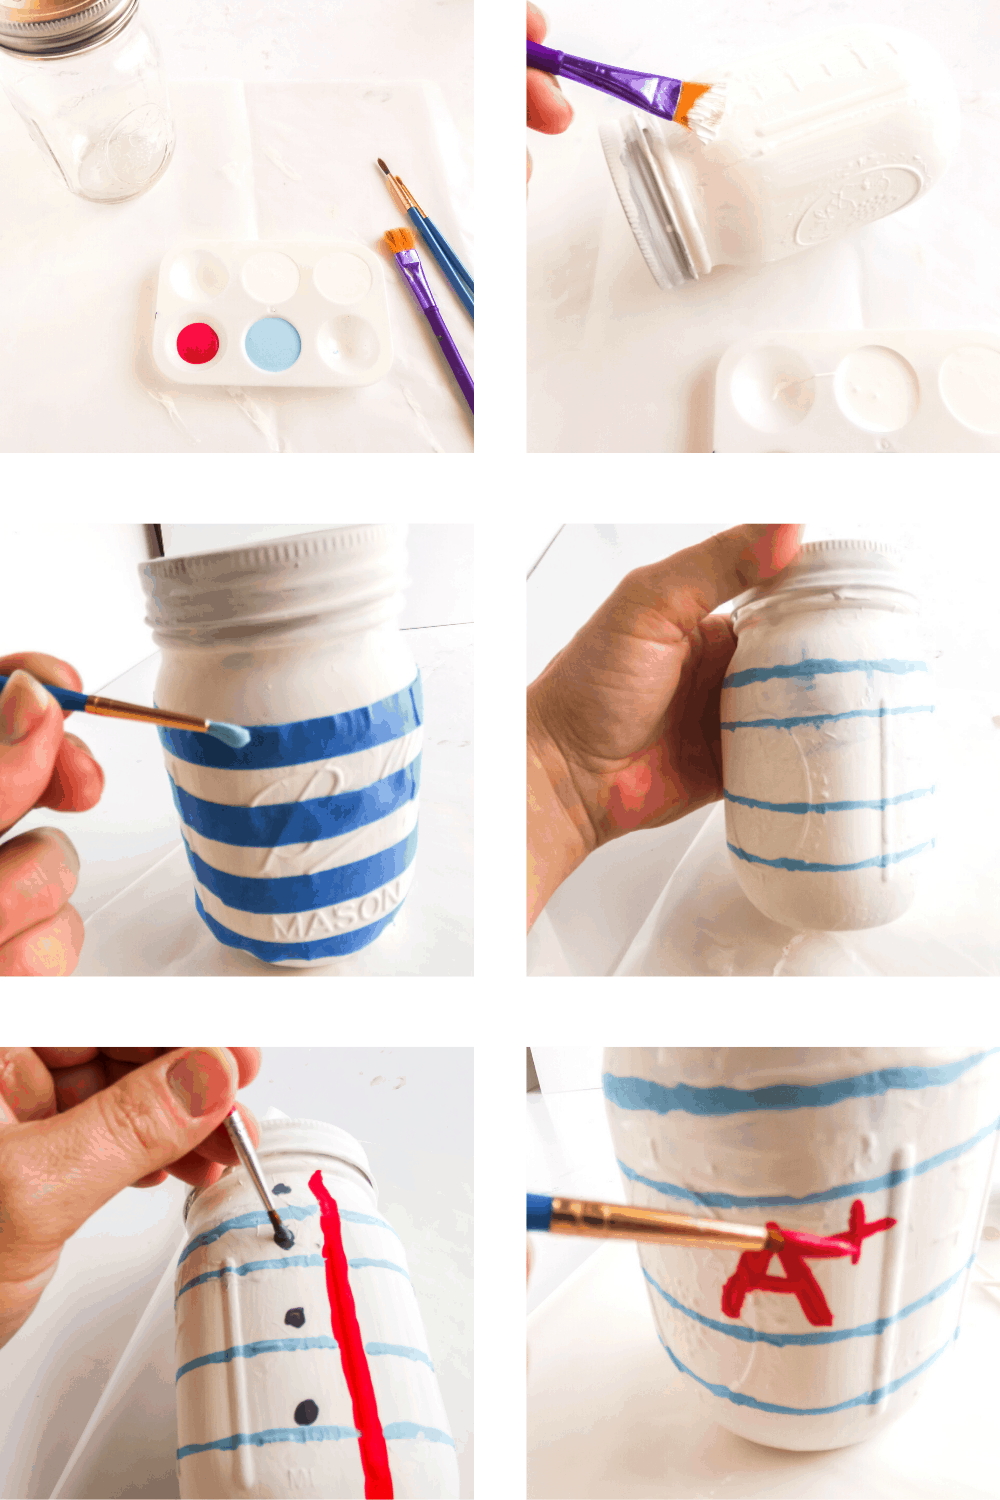
Add a large red “A+” on the other side of the front of the jar. Then paint 3 black dots about the same size as the distance between the horizontal lines just to the left of the red vertical line.
Allow this paint to dry completely. Then seal with a coat of mod podge or other craft sealant and allow that to dry completely.
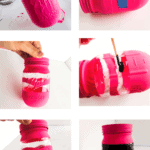
Make the Crayon mason jar by:
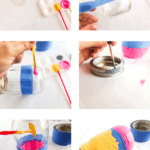
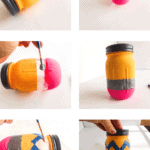
Tape off two adjacent lines of your jar about ⅓ of the way from the lip of the top, then using an Exacto knife to add a wavy bottom line to the topmost piece of tape, between the two pieces. Then paint all of the exposed areas of the mason jar with pink paint.
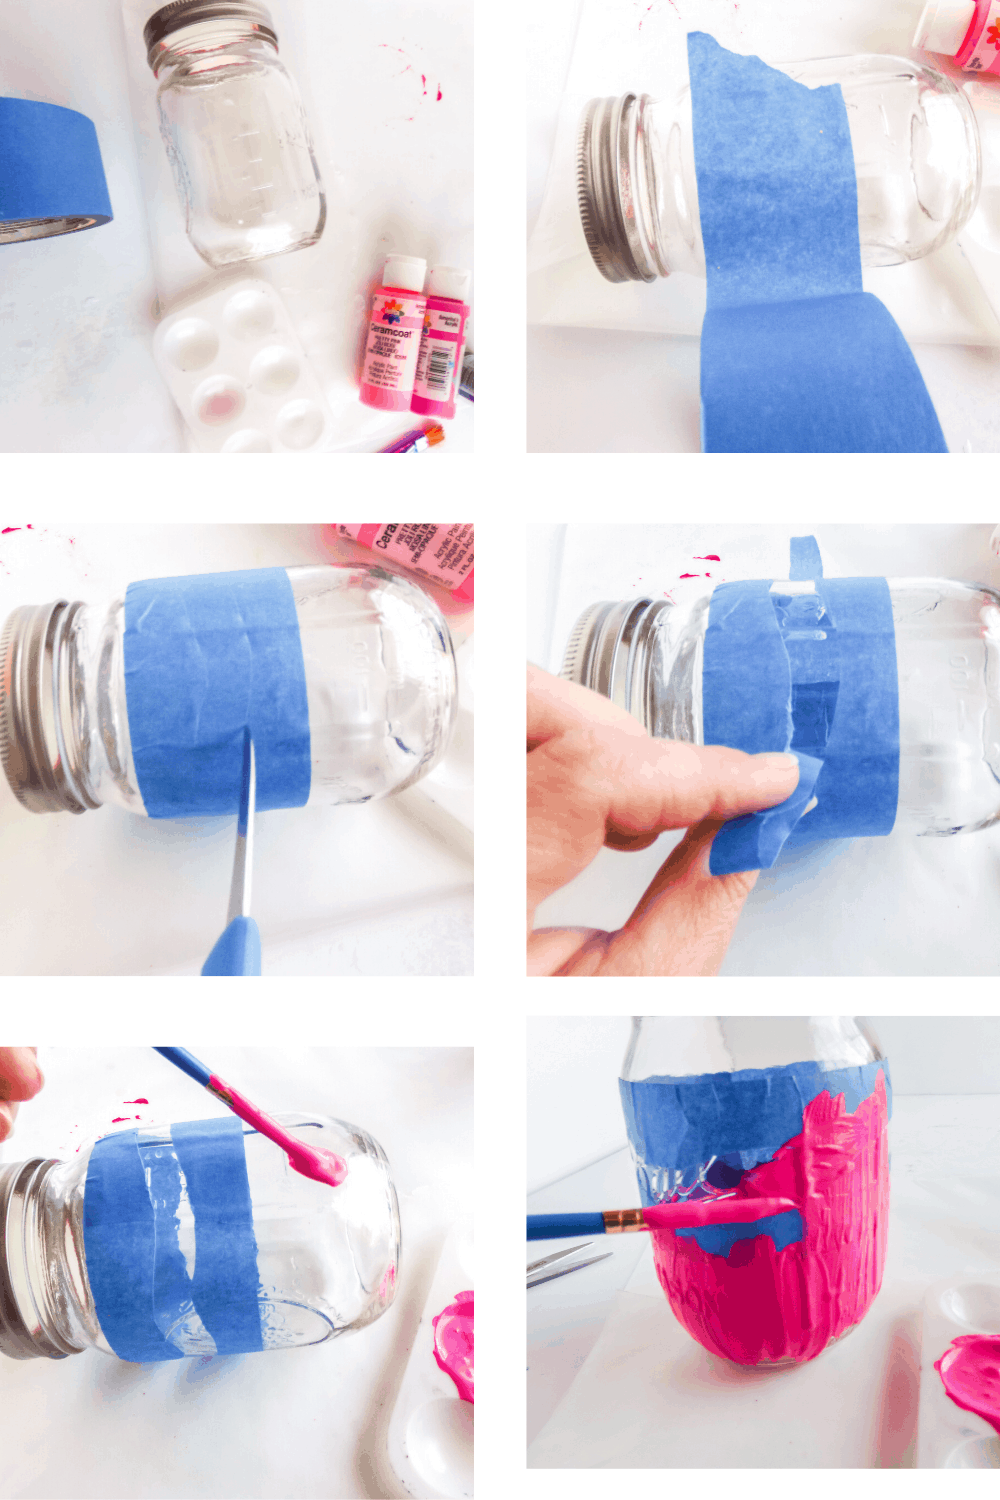
Allow this coat to dry completely. Remove the tape and paint the previously taped off area black. Allow this coat to dry completely.
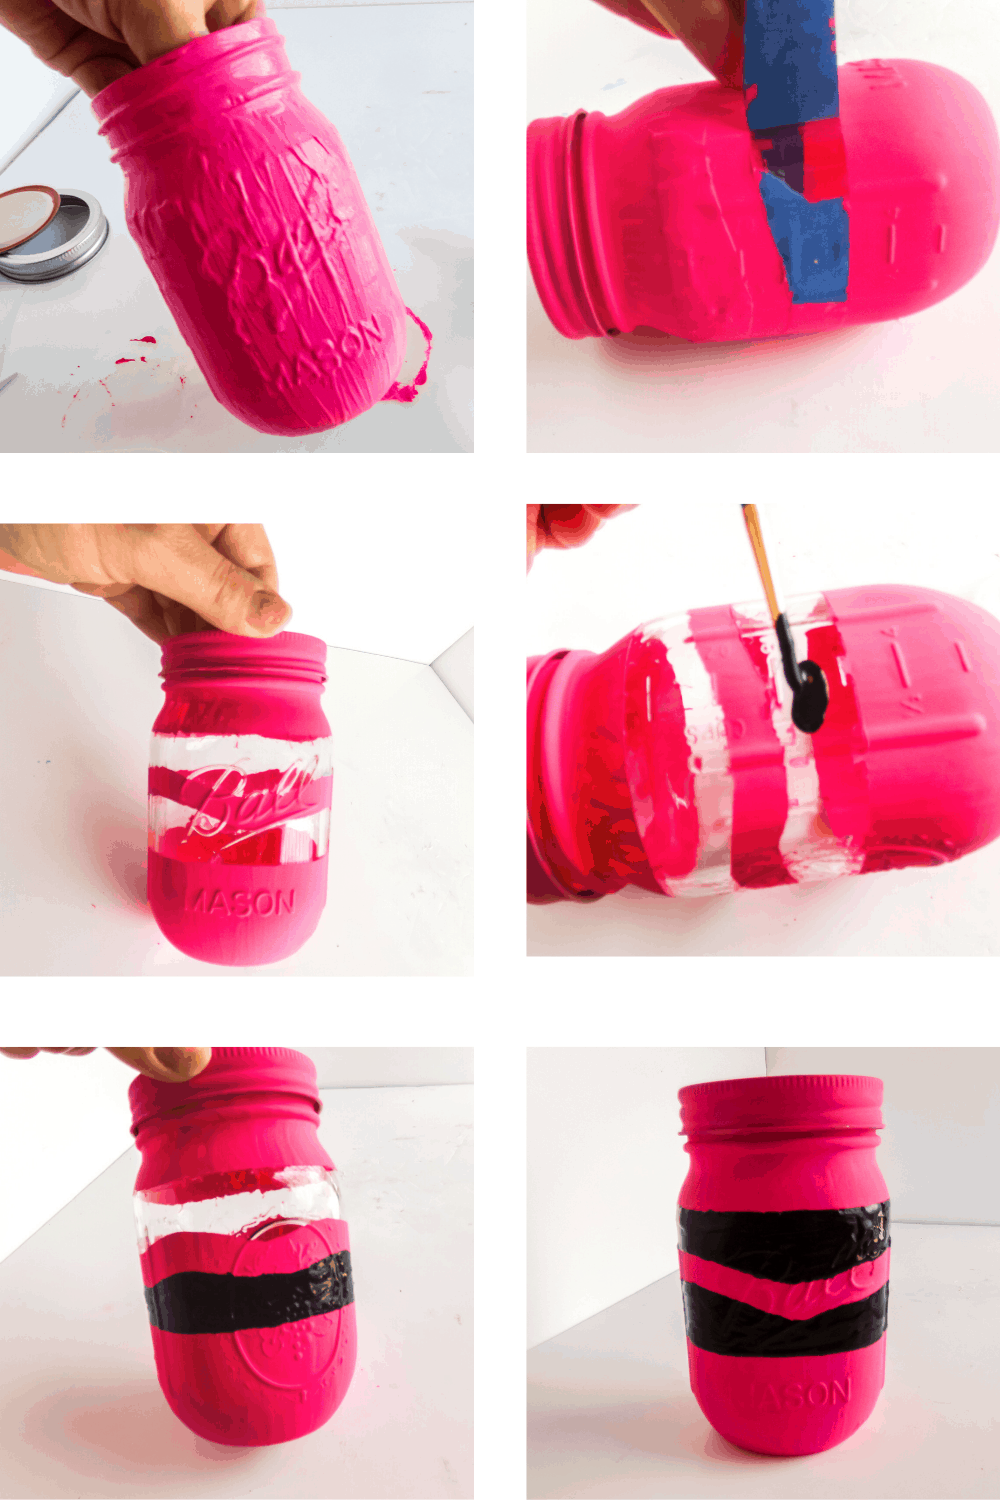
Then finally, seal with a coat of mod podge or other craft sealant and allow that to dry completely.
There you go! Not that difficult, right? See what stuff you can put in your pretty Painted Jar Craft.
You can try another color for the Crayon Painted Jar Craft, too – nobody says it has to be pink.
If you plan to make this later, Pin this project to your Teacher Appreciation gift ideas board so you can find it again quick!

Pencil, Paper, and Crayon Painted Jar Craft
This colorful Pencil, Paper, and Crayon Painted Jar Craft is so adorable and perfect for a Teacher appreciation gift idea, I just can't even!
Materials
- 3 Mason Jars
- Painter’s Tape
- Acrylic paint in:
- Pink
- Pale beige/brown
- Yellow
- Grey
- Black
- White
- Blue
- Red
- Mod podge or other craft sealant
Tools
- Exacto knife
- Paint brushes
Instructions
Make sure your mason jars are clean and dry before starting.
Make the Pencil mason jar by:
- Taping off the bottom third of the jar, painting the bottom ⅓ of the jar pink. Paint the area above the tape yellow. Paint the ring of the jar grey. Allow this coat to dry completely.
- Remove the tape between the yellow and pink painted sections. Paint the area where the tape had been grey. Tape off the top of the jar with an “M” or “V” pattern. Paint the top portion in the “M” area with the pale beige/brown.
- Allow this coat of paint to dry completely. Draw on a piece of painter’s tape a number 2 and oval. Cut it out with an Exacto knife and position it where you’d like these elements on your pencil. Using this as a guide, sketch your 2 onto your jar along with the oval with a pencil. Paint over the pencil marks with the black paint.
- Allow this coat to dry completely. Seal with a coat of mod podge or other craft sealant and allow that to dry completely.
Make the Paper mason jar by:
- Painting the entire jar white, then allowing this coat to dry completely. Paint blue horizontal lines on the jar, at ¾-inch increments from top to bottom. You can use tape to help you guide yourself and make the lines straight. Allow this coat to dry completely.
- Paint one red vertical line on the jar, to the left of whatever side you want to be the front of the jar. Add a large red “A+” on the other side of the front of the jar.
- Paint 3 black dots about the same size as the distance between the horizontal lines just to the left of the red vertical line. Allow this paint to dry completely.
- Seal with a coat of mod podge or other craft sealant and allow that to dry completely.
Make the Crayon mason jar by:
- Tape off two adjacent lines of your jar about ⅓ of the way from the lip of the top, then using an Exacto knife to add a wavy bottom line to the topmost piece of tape, between the two pieces.
- Paint all of the exposed areas of the mason jar with the pink paint. Allow this coat to dry completely.
- Remove the tape and paint the previously taped off area black. Allow this coat to dry completely.
- Seal with a coat of mod podge or other craft sealant and allow that to dry completely.
Check these other mason jar projects, too.
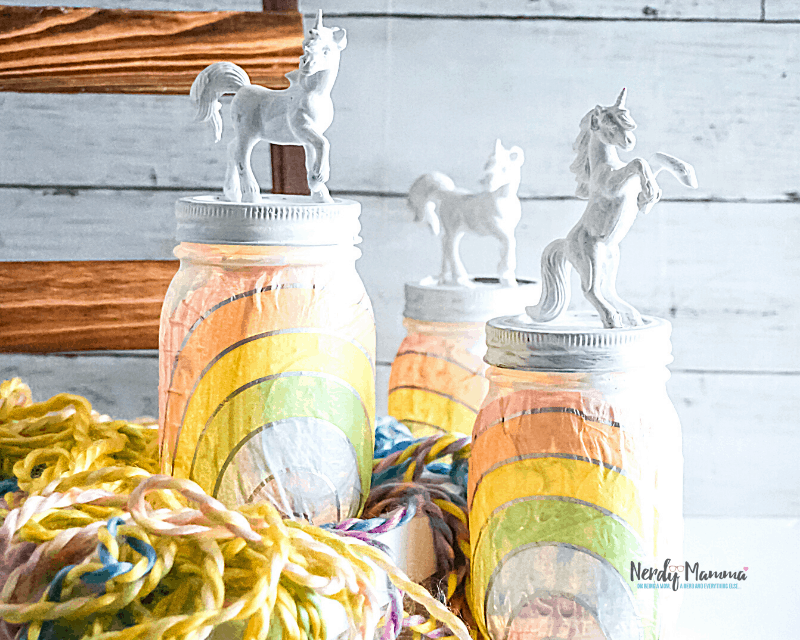
Rainbow Unicorn Mason Jar Nightlights
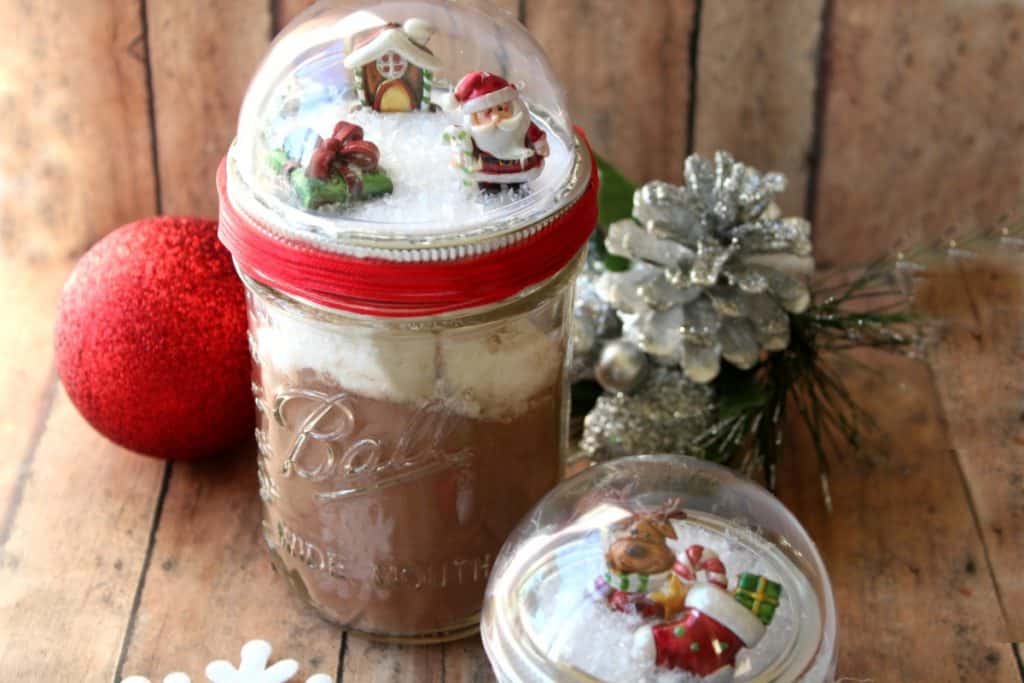
Mason Jar Snow Globes
Teen Pampering Gift in a Jar