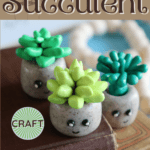
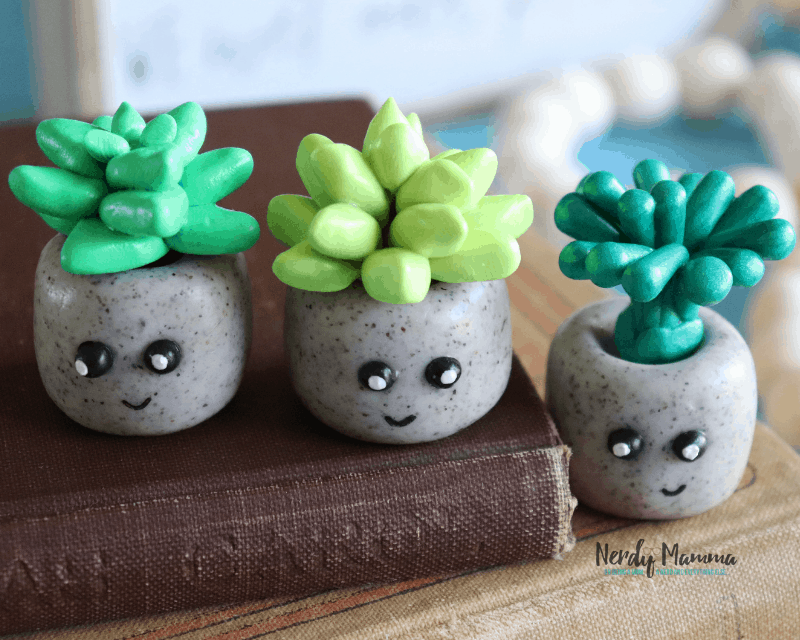
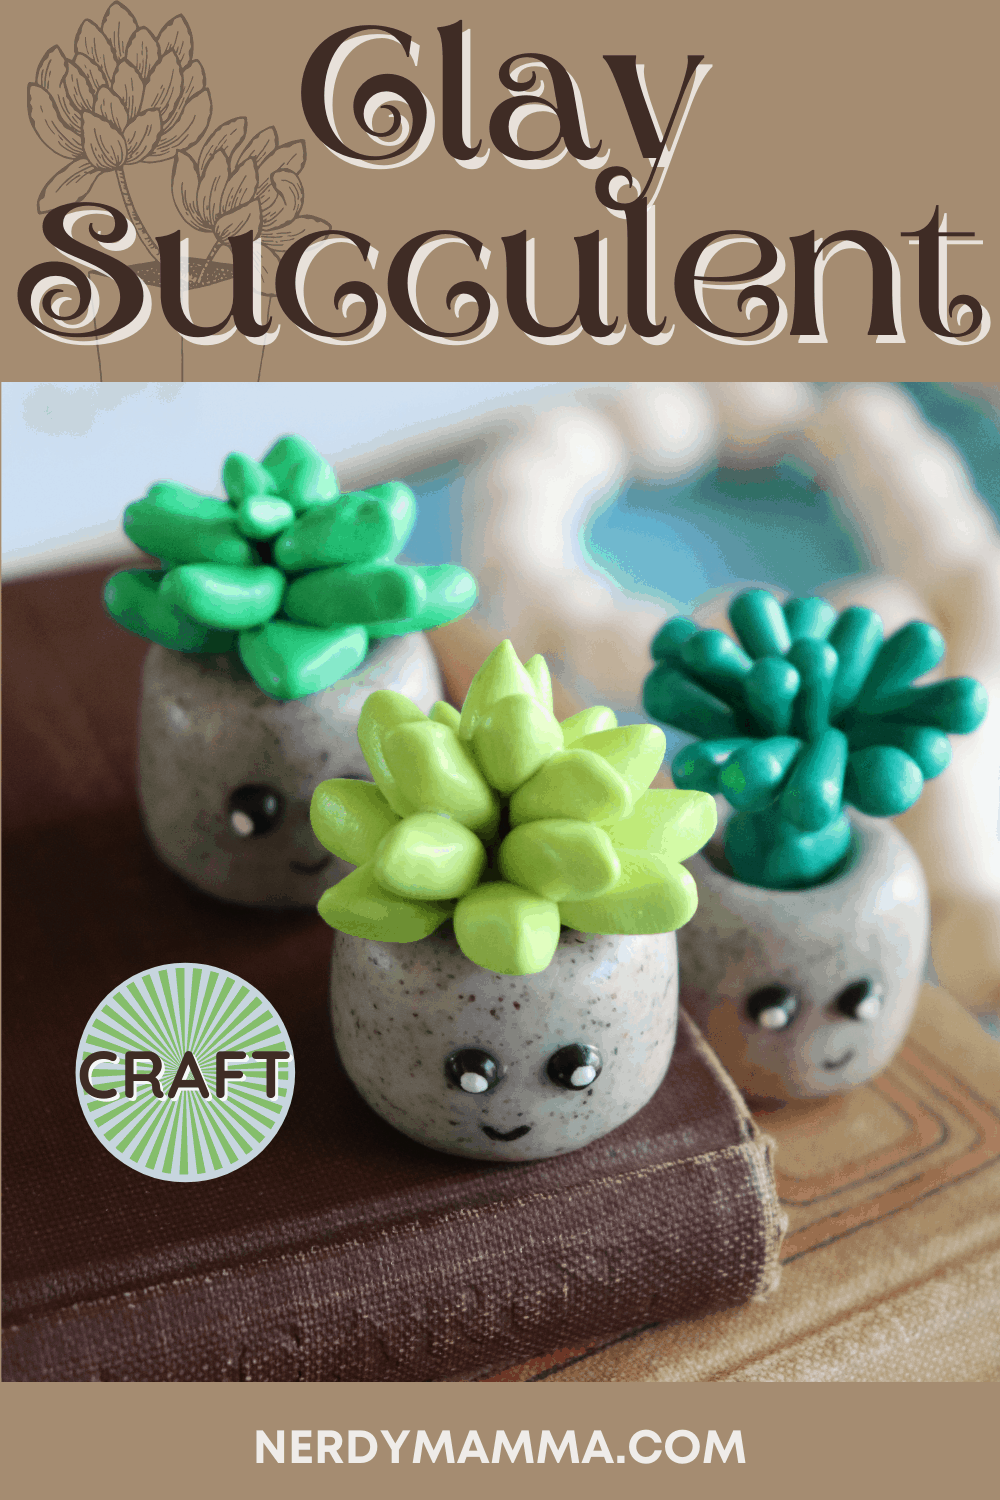
These cute little Clay Succulents are so adorable. If you are a succ lover, then having these little ones are a must-have.
Succulents are quite popular among plant enthusiasts for being easy to care for – basically, it’s the only plant I can keep alive. They are so pretty, too, no matter where you place them as long as they are receiving adequate light, even I can maintain a succulent…
Making a miniature of these succulents is a fun project. You’ll enjoy it for sure.
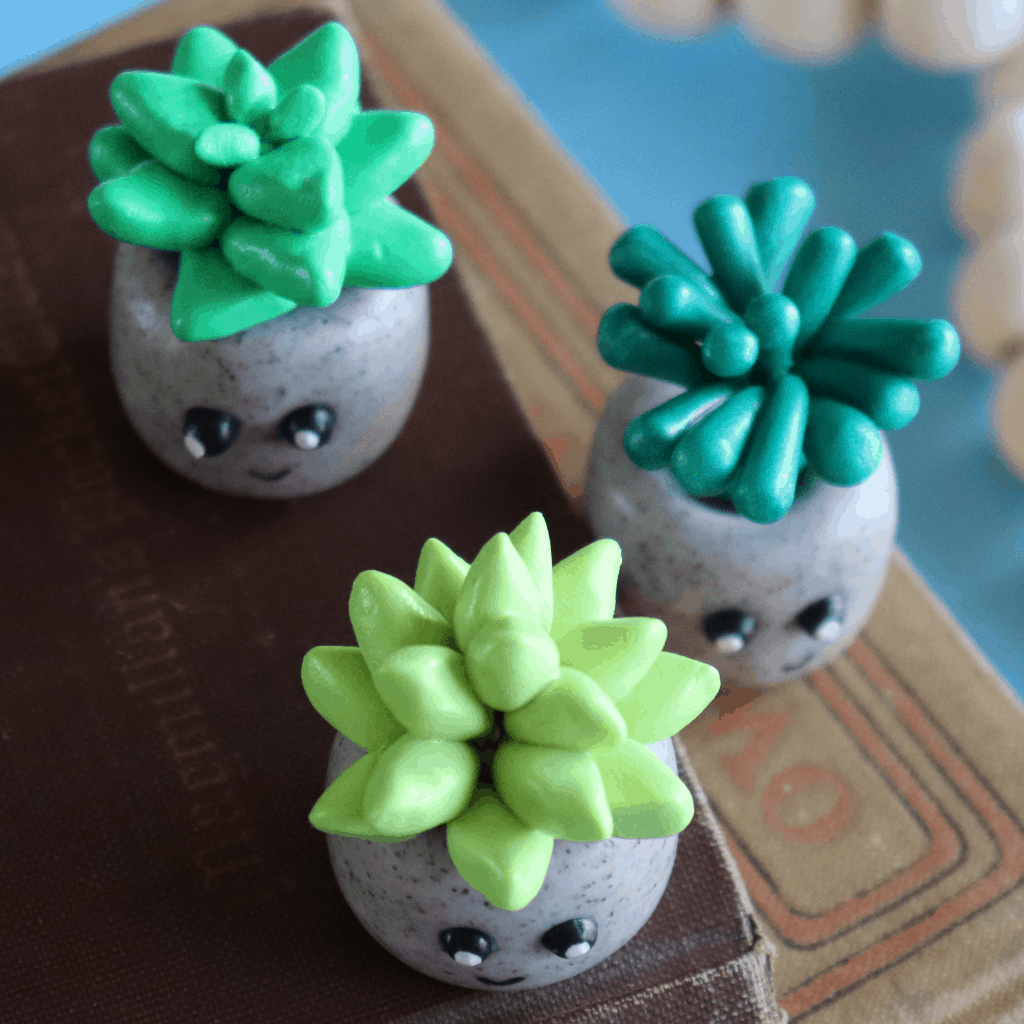
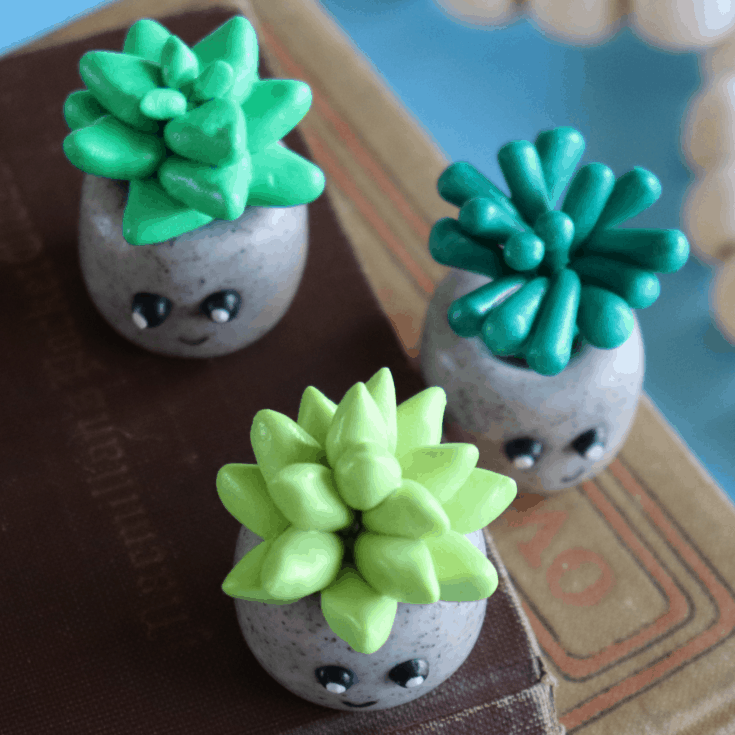
These mini clay succulents are great trinkets. Place them beside your real succulents, include them in your fairy garden, or just have them displayed on your table or shelf. They’ll look cool anywhere.
Oh! I made this Witch Fairy House. It would look cute with the clay succulents, too, LOL!
It’s fun to give these succulent charms away as a gift to your friends who are into succs, too. They’ll love these on a necklace, a bracelet or just as a little desk treat. What are you waiting for? Bring out these cute little fellas!
Making the Mini Clay Succulents
Start with gathering the materials here:
Materials:
(Paid Links)
- Polymer clay in three greens, black, and grey
- Clay cutting and piercing tools (a cheap dotting tool like this will work)
- Parchment paper
- Baking sheet
- Toothpicks
- White paint
- Mod podge
- Paintbrush
Directions:
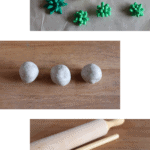
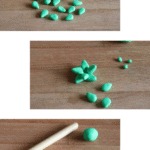
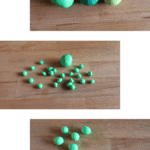
Roll 1 cm clay balls in each of the three colors.
Then form the balls into three different shapes to create three different succulent plants.
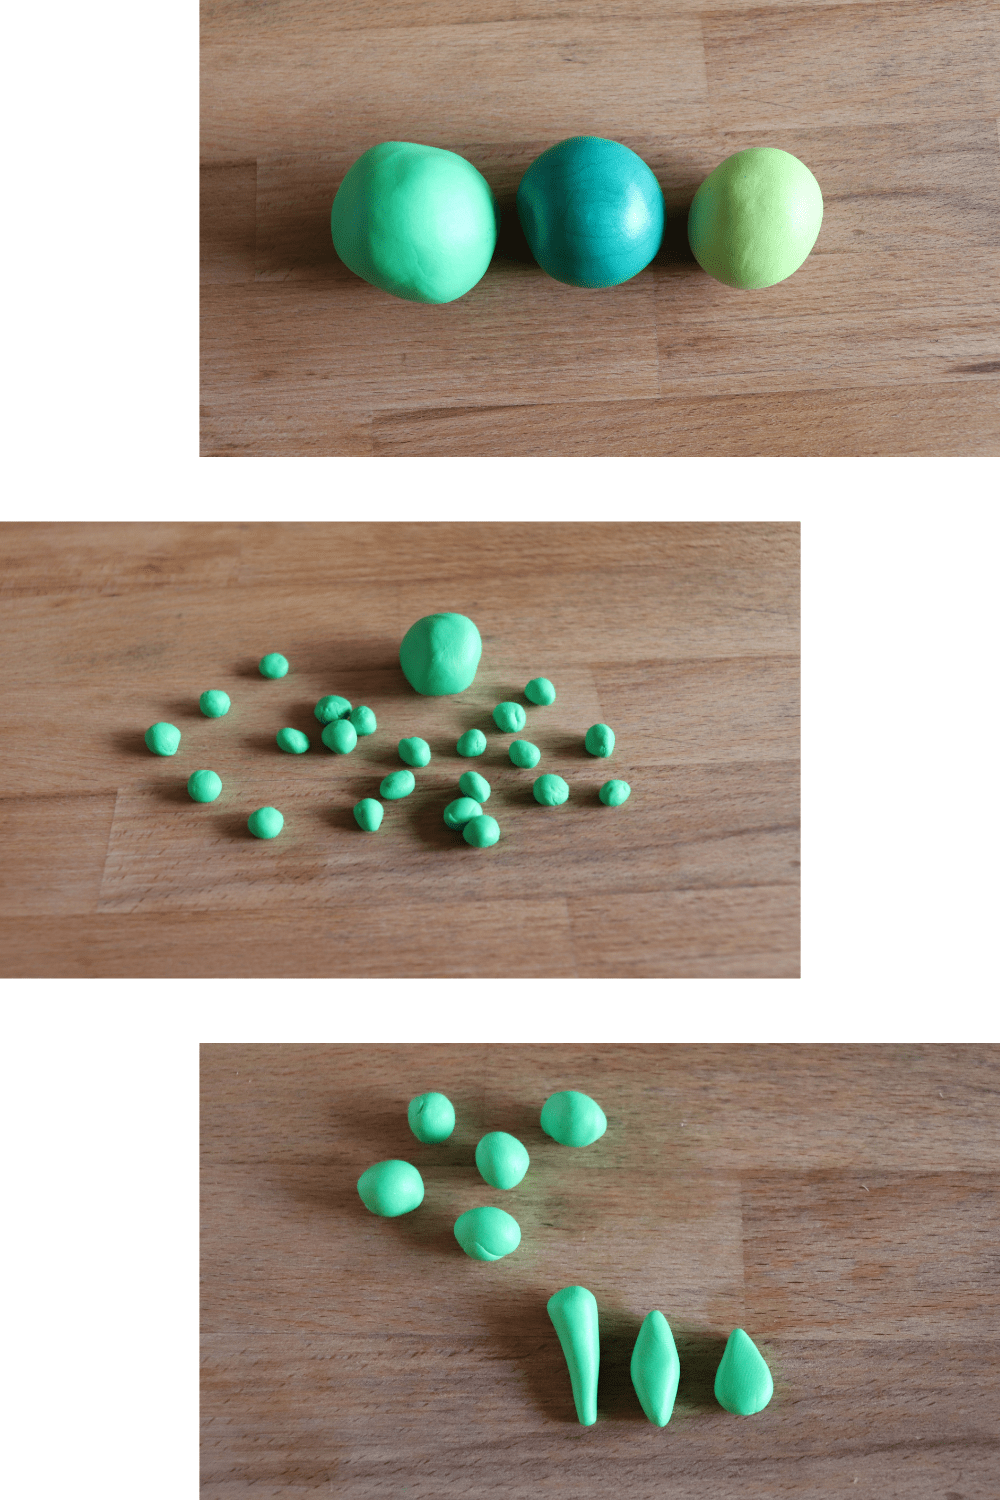
Cone, teardrops, and leaves.
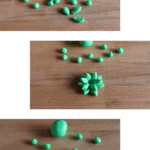
Flatten a ball into a flat disk and then press the cone shapes around the edge.
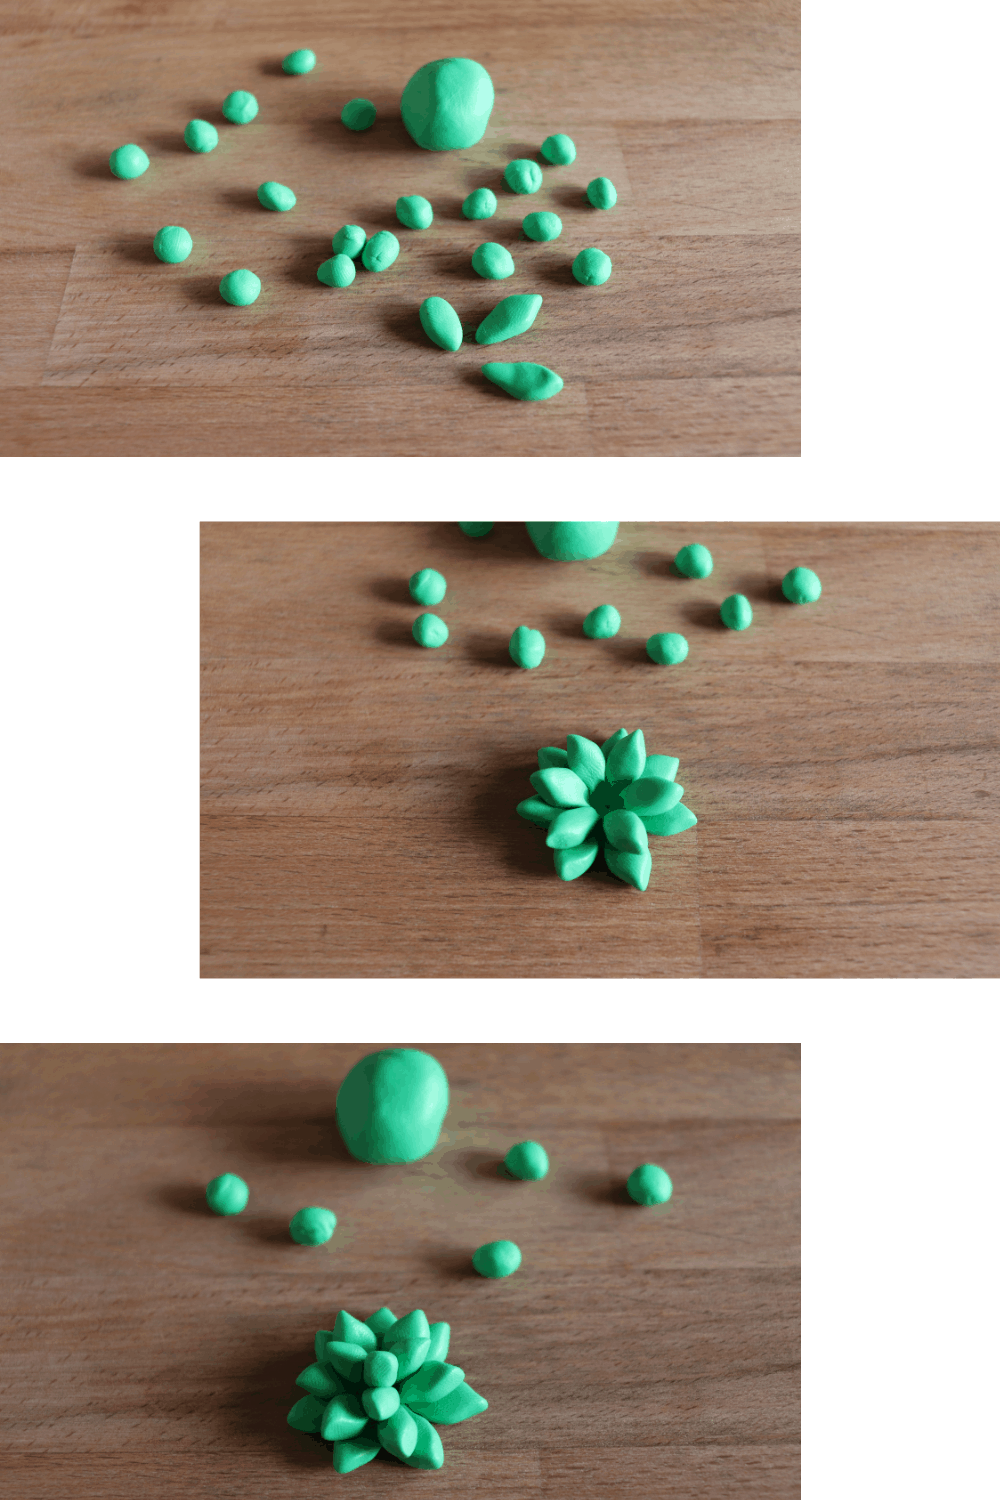
Bring the cones up to the center and press them together to form one plant.
Press four of the teardrops together at the rounded base.
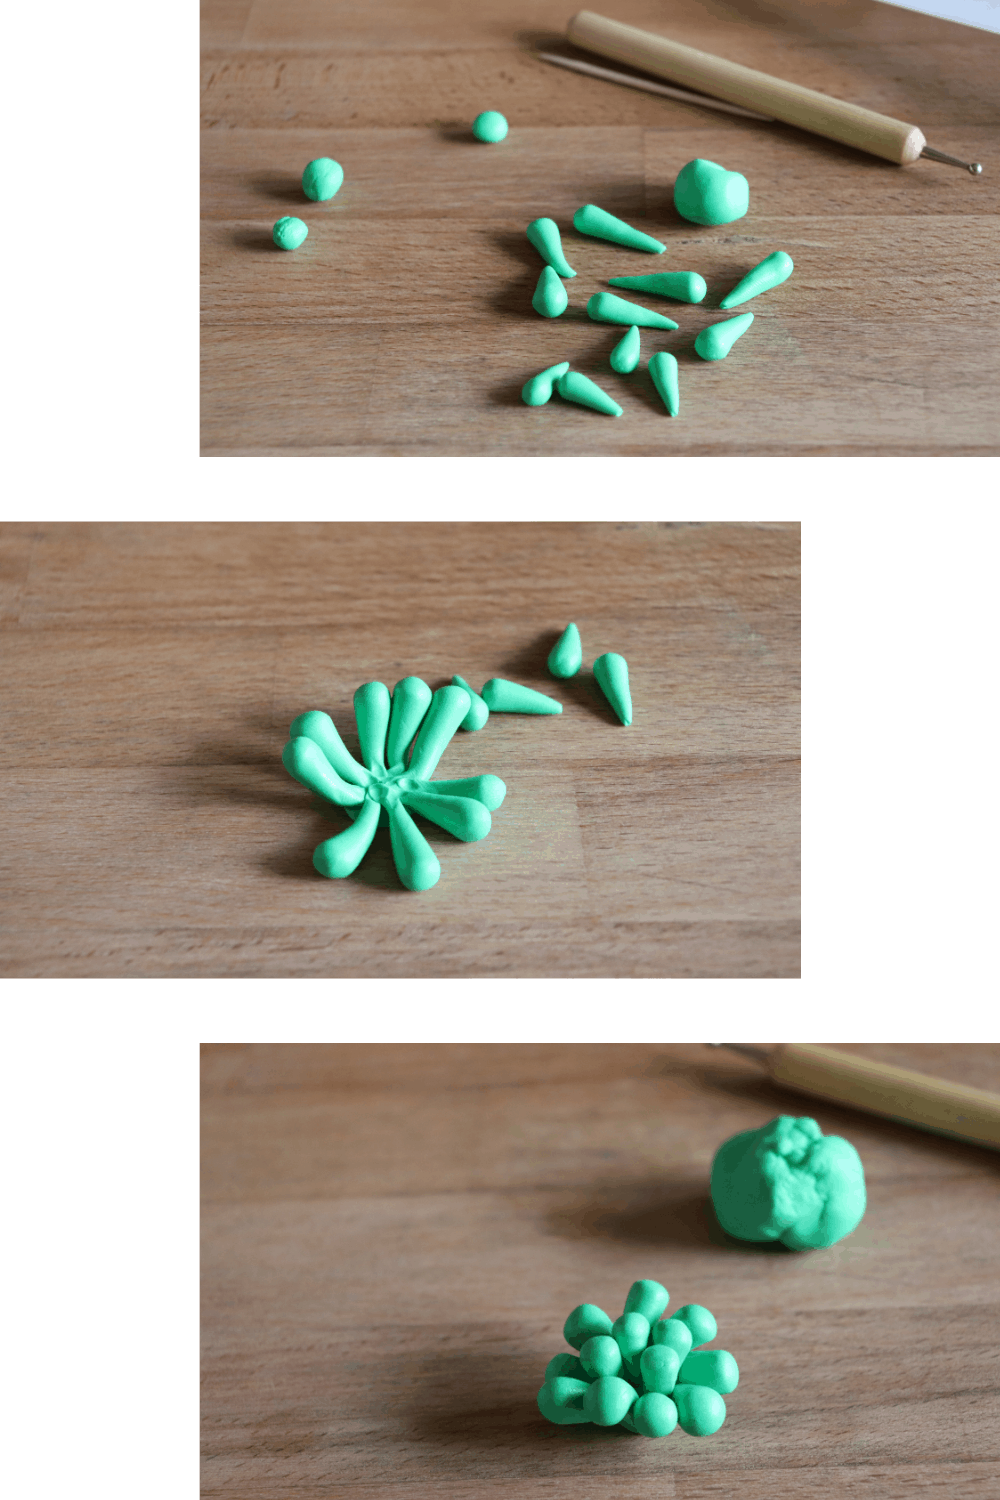
Layer alternatingly to create another plant.
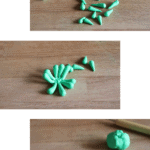
Press 6-8 of the leaves together at one end.
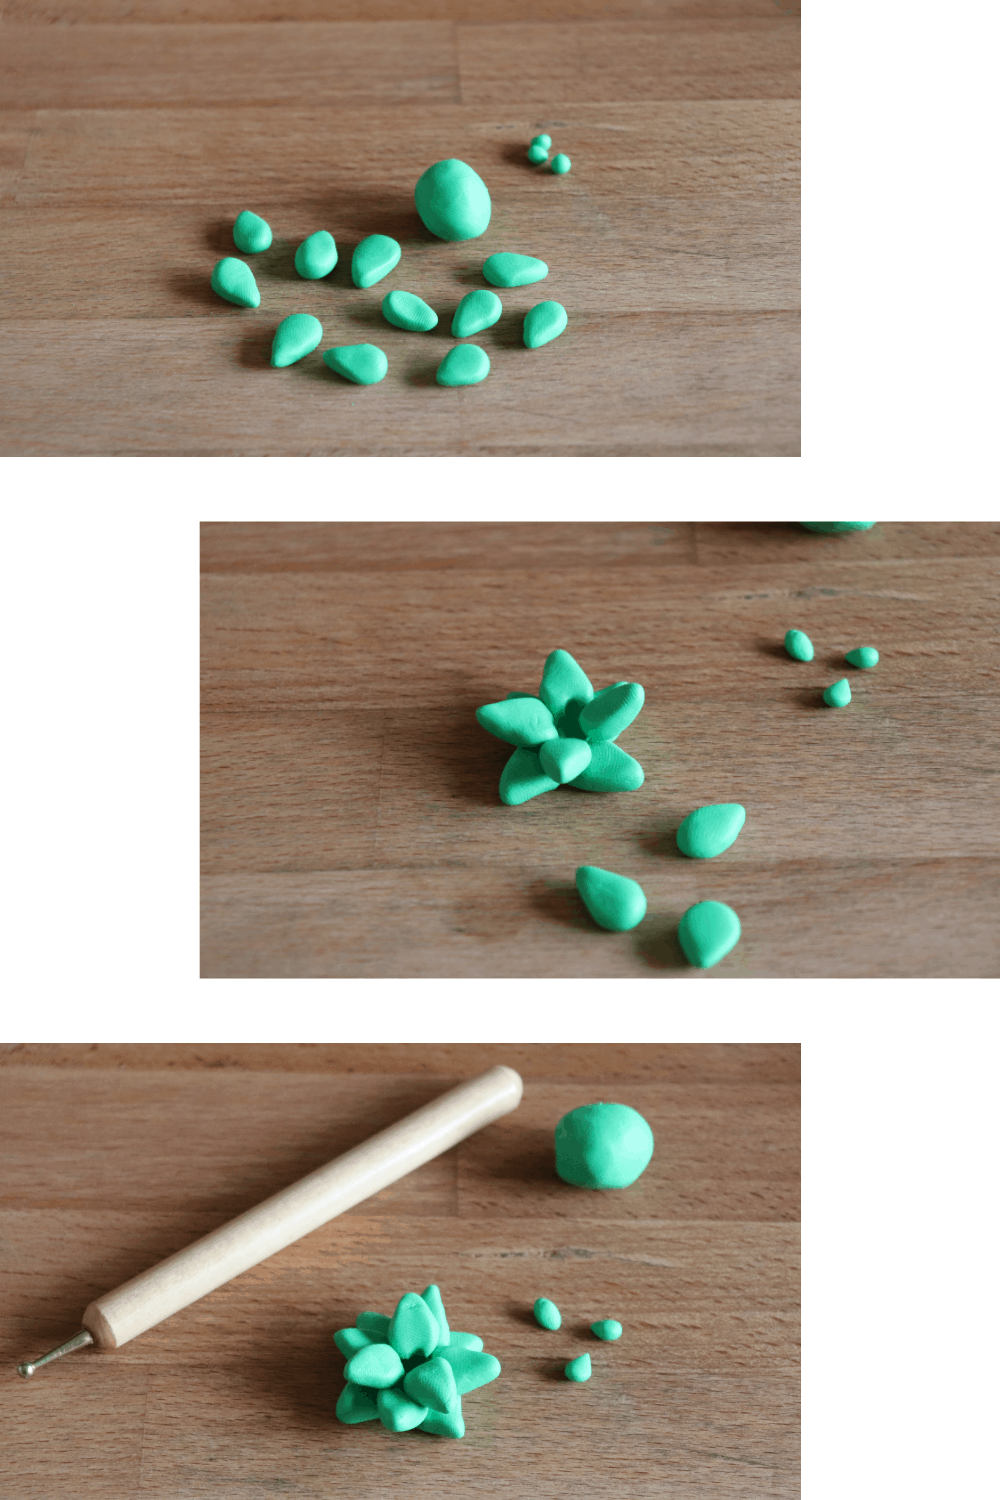
Layer 4-6 of the leaves on top of that and then finish with 3 more leaves.
Poke a hole in the underside of each clay plant for a toothpick.
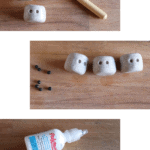
Roll the grey clay into 3 – 5cm balls.

Then form the balls into cylinder shapes for pots.
Poke a hole in the top with a toothpick and use a clay tool to press indents for eyes.
Roll 6 tiny black balls for eyes.
Then bake the clay as directed in the oven. This is where you use the parchment paper and the tray.
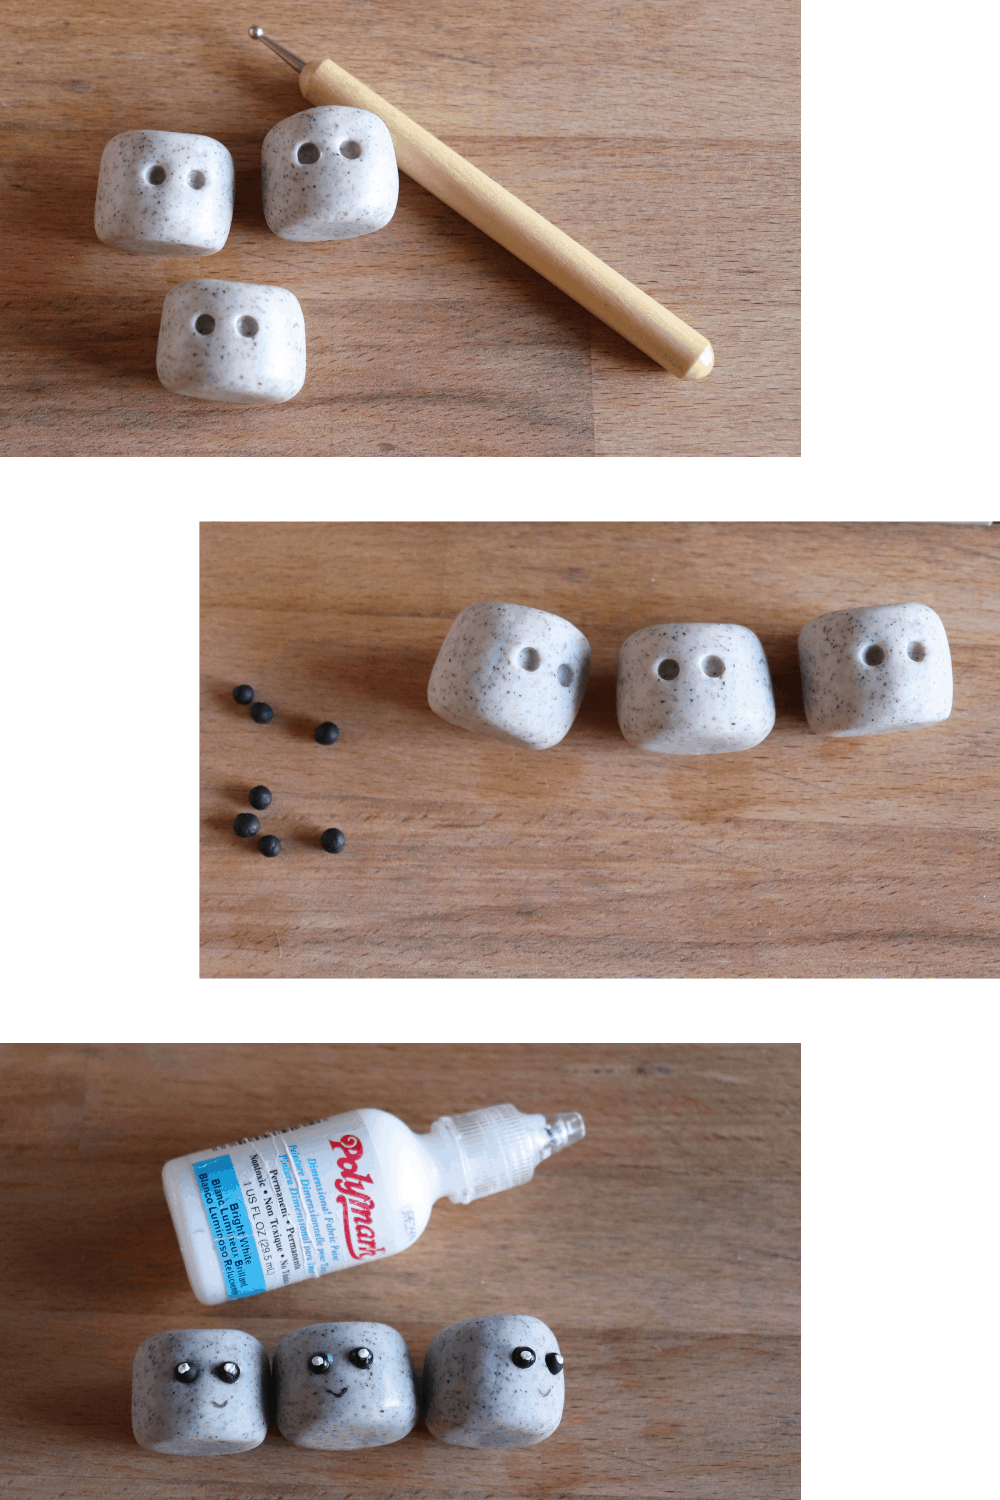
Once the clay has cooled, glue the eyes into the indents.
Paint a white dot on each eye (you can use a pin head or a toothpick end) and then seal with mod podge.
Using a toothpick, place each plant into the top of the plant pot.
If you’re not quite ready to break out the clay, be sure to Pin this to your favorite cute and easy crafts board on Pinterest so that you can find it again when you’re ready.
Clay Succulents Craft
These cute little Clay Succulents are so adorable. If you are a succ lover, then having these little ones are a must-have.
Materials
- Polymer clay in three greens, black, and grey
- Clay cutting and piercing tools
- Parchment paper
- Baking sheet
- Toothpicks
- White paint
- Mod podge
- Paintbrush
Instructions
- Roll 1 cm clay balls in each of the three colors.
- Form the balls into three different shapes to create three different succulent plants.
- Cone, teardrops, and leaves.
- Flatten a ball into a flat disk and press the cone shapes around the edge.
- Bring the cones up to the center and press them together to form one plant.
- Press four of the teardrops together at the rounded base.
- Layer alternatingly to create another plant.
- Press 6-8 of the leaves together at one end.
- Layer 4-6 of the leaves on top of that and finish with 3 more leaves.
- Poke a hole in the underside of each clay plant for a toothpick.
- Roll the grey clay into 3 - 5cm balls.
- Form the balls into cylinder shapes for pots.
- Poke a hole in the top with a toothpick and use a clay tool to press indents for eyes.
- Roll 6 tiny black balls for eyes.
- Bake the clay as directed in the oven. This where you use the parchment paper and the tray.
- Once the clay has cooled, glue the eyes into the indents.
- Paint a white dot on each eye and seal with mod podge.
- Using a toothpick, place each plant into the top of the plant pot.
Have fun!
Check-out these fun crafts, too, for a fun-filled afternoon of silly crafting!
Pencil, Paper, and Crayon Painted Jar Craft

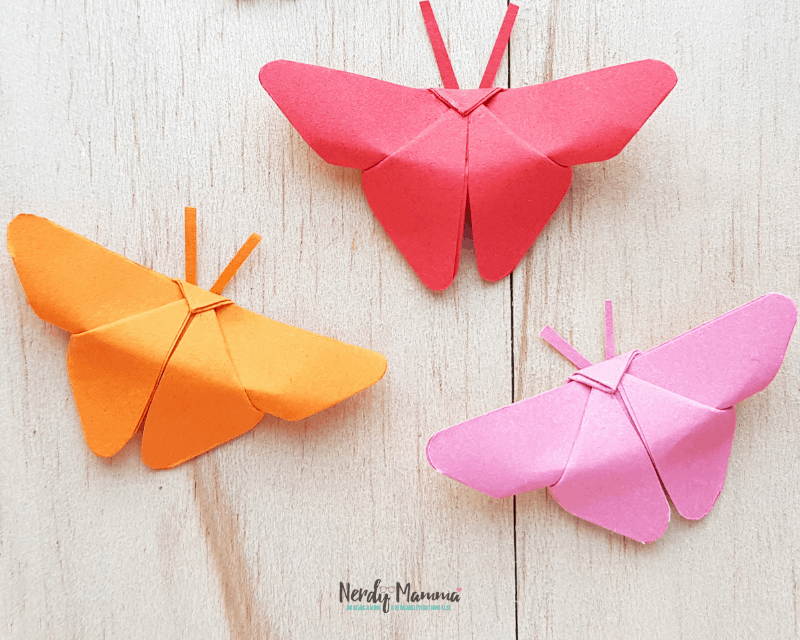
Origami Butterfly – The Easiest and Best Way to Make It
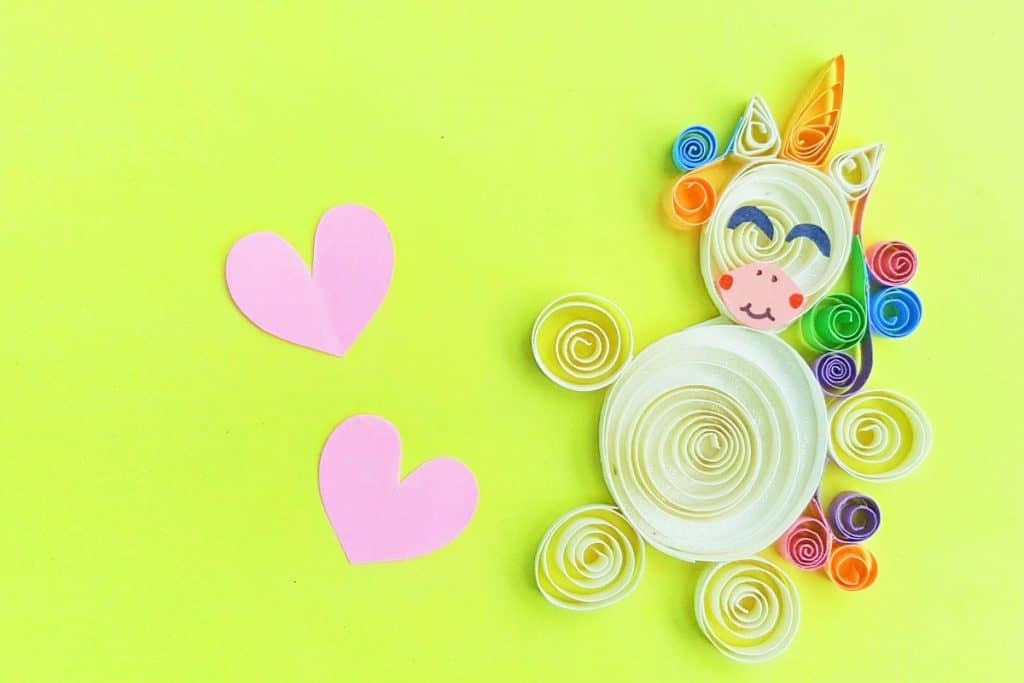
Paper Quilled Unicorn Craft