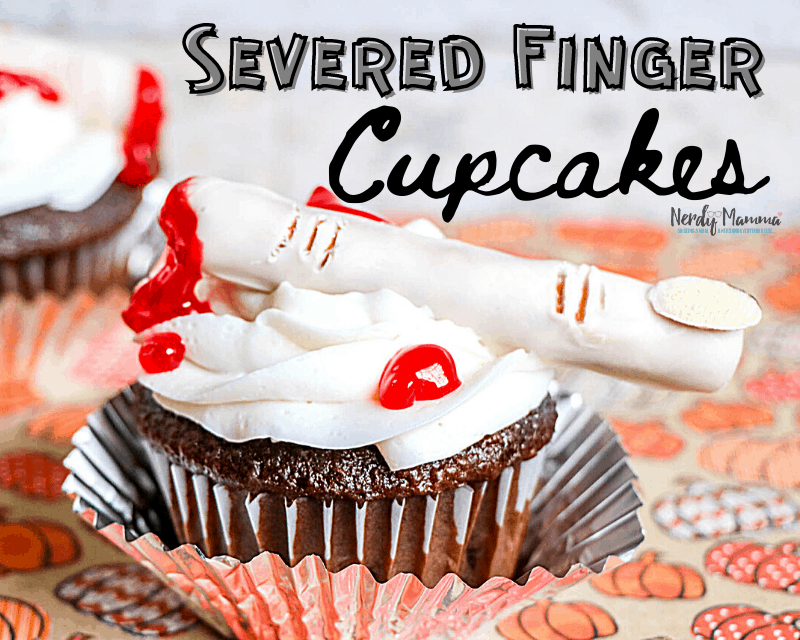
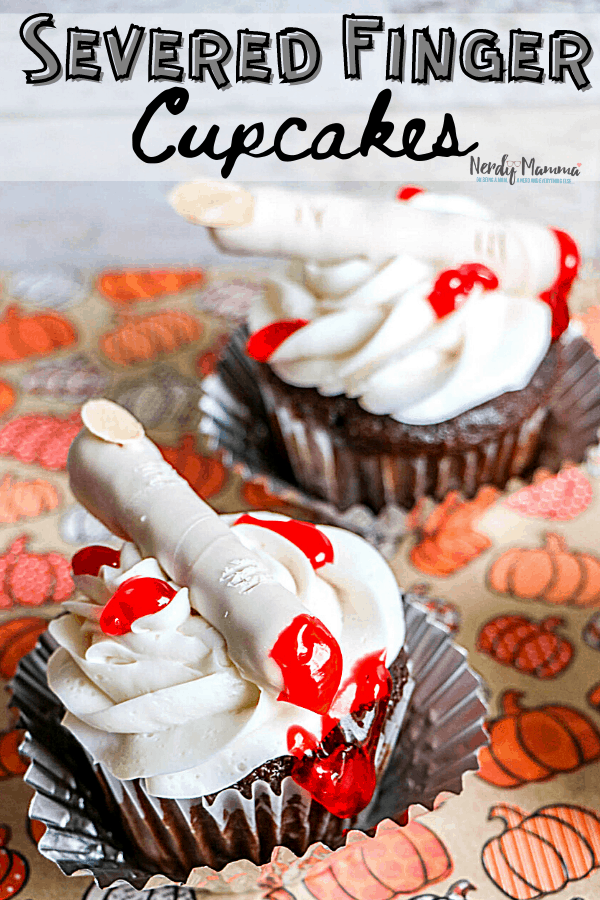
Hey guys! Are you thinking about what treats to make for this coming Halloween? No need to look further. These Severed Finger Cupcakes are absolutely going to be a hit!
Last Halloween, I made Mummy Macarons and they were adorable as well as amazingly tasty. My kids loved them.
But they wanted to “up the ante” this year.
Now, these spooky Severed Finger Cupcakes are definitely upping that…so much. Especially those realistic creepy looking little fingers. Biting off fingers has to be the funniest thing the kids have done this season.
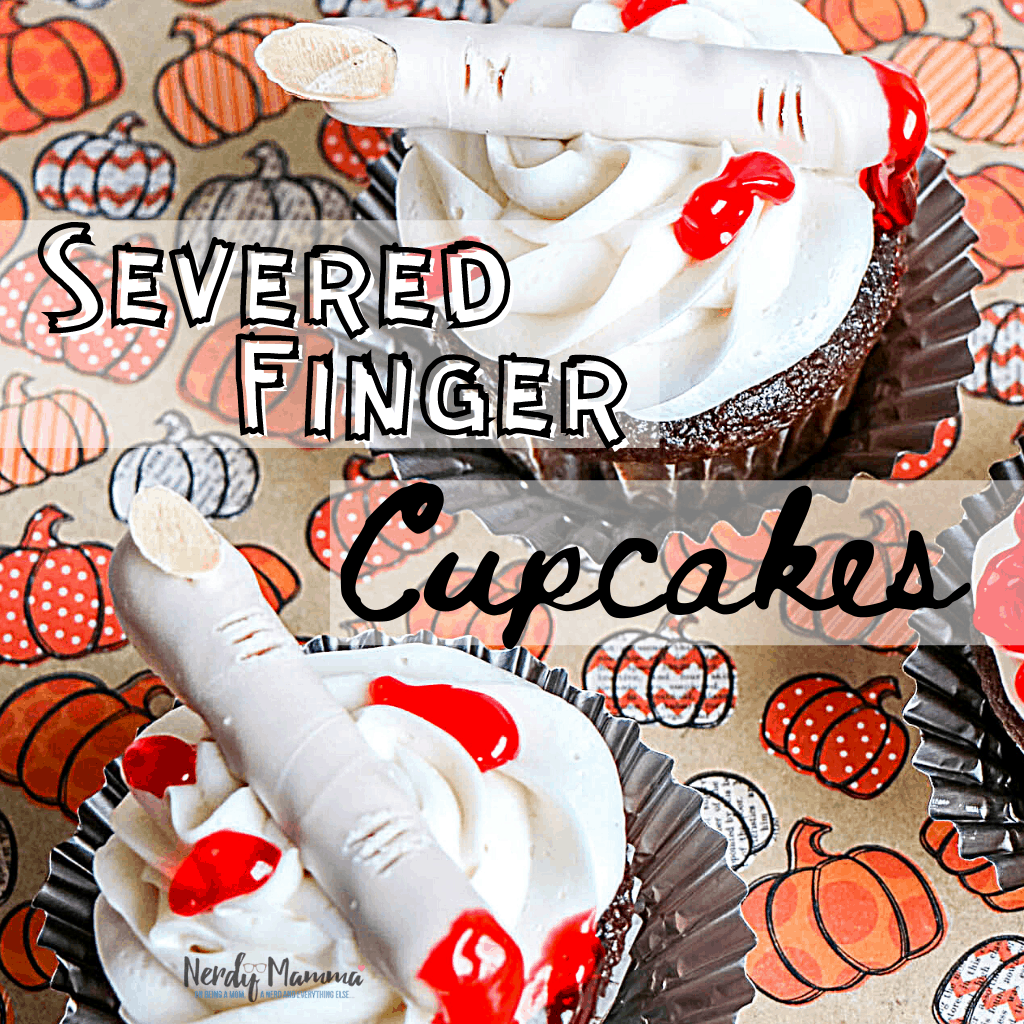
Plus, they are so easy to make. They may look like they’re complicated, but, seriously, they’re not. Are you ready to make a severed finger cupcake? Let’s do this.
Severed Finger Cupcakes
I used the same cupcake base as what I used in my Vegan Spider Cupcakes to make these Severed Finger Cupcakes. Why not? What works, works, right?!
For the frosting, I grabbed my favorite Simple Frosting Recipe.
Ingredients
- 12 cupcakes (Use store-bought or, like I said, I used my Vegan Spider Cupcakes for this)
- 2 to 3 cups vanilla frosting in white (Use store-bought or my Simple Frosting Recipe)
- 6 Pretzel rods, broken in half
- White candy melts or chips (I found some dairy-free ones here)
- Orange candy melts (I just added food coloring to some white ones)
- Toasted sliced almonds
- Red gel icing
You will also need:
- Open star piping tip
- Piping bag
- Toothpicks
Instructions
1. Place 1 cup white candy melts and 3 discs of orange candy melt in a microwave-safe bowl. Melt the candy coating according to package directions giving special care not to overheat the candy. If the candy coating is overheated, it will be too thick. You can add 2 teaspoons of vegetable shortening or coconut oil to help thin the candy but do not add any other type of liquid as the candy will seize and harden. If the color is not “flesh tone” enough, you can add one additional orange candy melt at a time until the desired color is reached. For darker skin tones, use brown or black candy melts in place of orange.
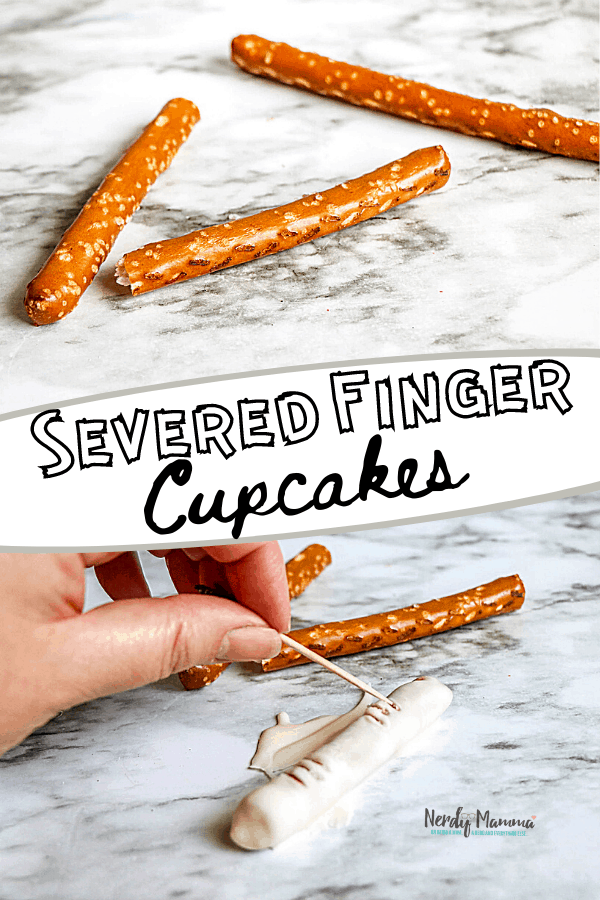
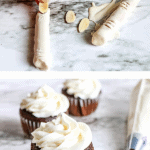
2. Dip the pretzel rod into the candy melts and shake gently to remove excess. Place the pretzel rod on waxed paper and immediately press an almond slice onto the tip as a fingernail.
3. Once the candy coating on the pretzel rod is set, use a toothpick to scratch lines across the pretzel rod to resemble knuckles.
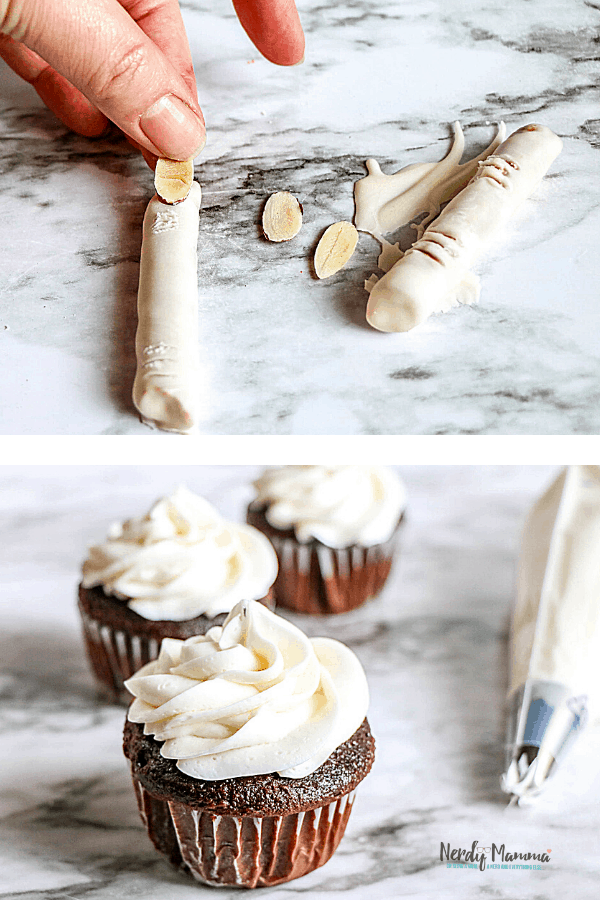
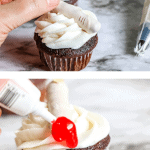
4. Pipe frosting over the cupcake in a circular direction working from the center of the cupcake towards the outside and back toward the center to create a peak.
5. Top each cupcake with a pretzel rod finger.
6. On the end of the pretzel rod without an almond, apply red gel icing to resemble blood. Be aware that this gel icing will slowly drip until it is set. Add a small amount at a time and then add additional gel icing if needed.
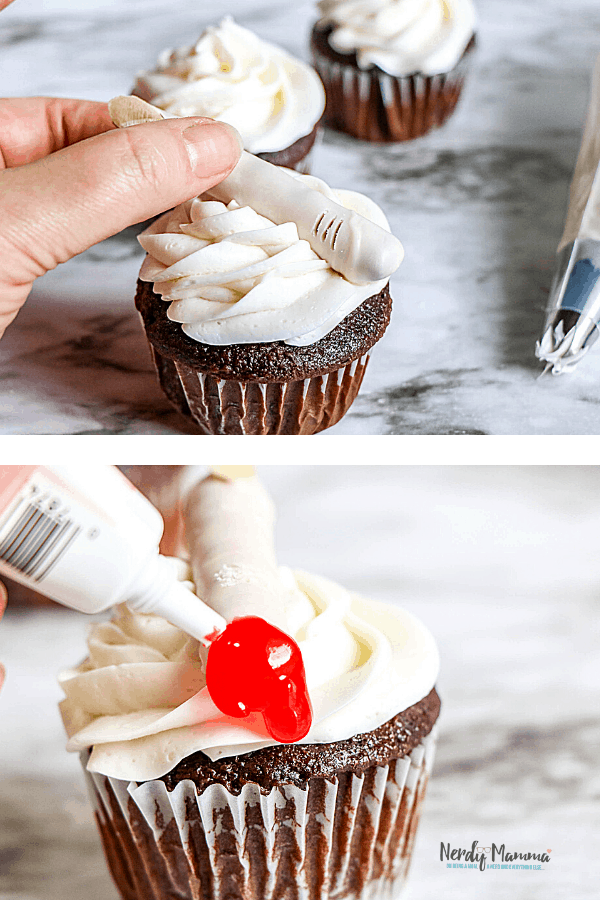
7. Add additional drops of red gel icing over the cupcake.
8. Store in an airtight container at room temperature. Placing in the refrigerator may cause the pretzel to soften.
There you go! I assure you, it’s going to be so much fun making these cupcakes.
If you love this easy Halloween cupcake recipe, be sure to Pin into your favorite Halloween treats Pinterest board so you can find it fast when you’re ready to break out the cupcake tin!

Severed Finger Cupcakes
If you are looking for some treats to make for Halloween, this Severed Finger Cupcakes is the perfect one. They are so easy to make, too.
Ingredients
- 12 cupcakes (Use store-bought or your favorite recipe)
- 2 to 3 cups vanilla frosting in white (Use store-bought or your favorite recipe)
- 6 Pretzel rods, broken in half
- White candy melts
- Orange candy melts
- Toasted sliced almonds
- Red gel icing
Instructions
1. Place 1 cup whit4e candy melts and 3 discs of orange candy melts in a microwave safe bowl. Melt the candy coating according to package directions giving special care not to overheat the candy. If the candy coating is overheated, it will be too thick. You can add 2 teaspoons of vegetable shortening or coconut oil to help thin the candy but do not add any other type of liquid as the candy will seize and harden. If the color is not “flesh tone” enough, you can add one additional orange candy melt at a time until desired color is reached. For darker skin tones, use brown or black candy melts in place of orange.
2. Dip the pretzel rod into the candy melts and shake gently to remove excess. Place pretzel rod on waxed paper and immediately press an almond slice onto the tip as a fingernail.
3. Once the candy coating on the pretzel rod is set, use a toothpick to scratch lines across the pretzel rod to resemble knuckles.
4. Pipe frosting over cupcake in a circular direction working from the center of the cupcake towards the outside and back toward the center to create a peak.
5. Top each cupcake with a pretzel rod finger.
6. On the end of the pretzel rod without an almond, apply red gel icing to resemble blood. Be aware that this gel icing will slowly drip until it is set. Add a small amount at a time and then add additional gel icing if needed.
7. Add additional drops of red gel icing over the cupcake.
Notes
You will also need:
Open star piping tip
Piping bag
Toothpicks
Store in an airtight container at room temperature. Placing in the refrigerator may cause the pretzel to soften.
More Halloween Cupcakes You’ll Love
Creepy Eyeball Cupcakes {egg-free and dairy-free}

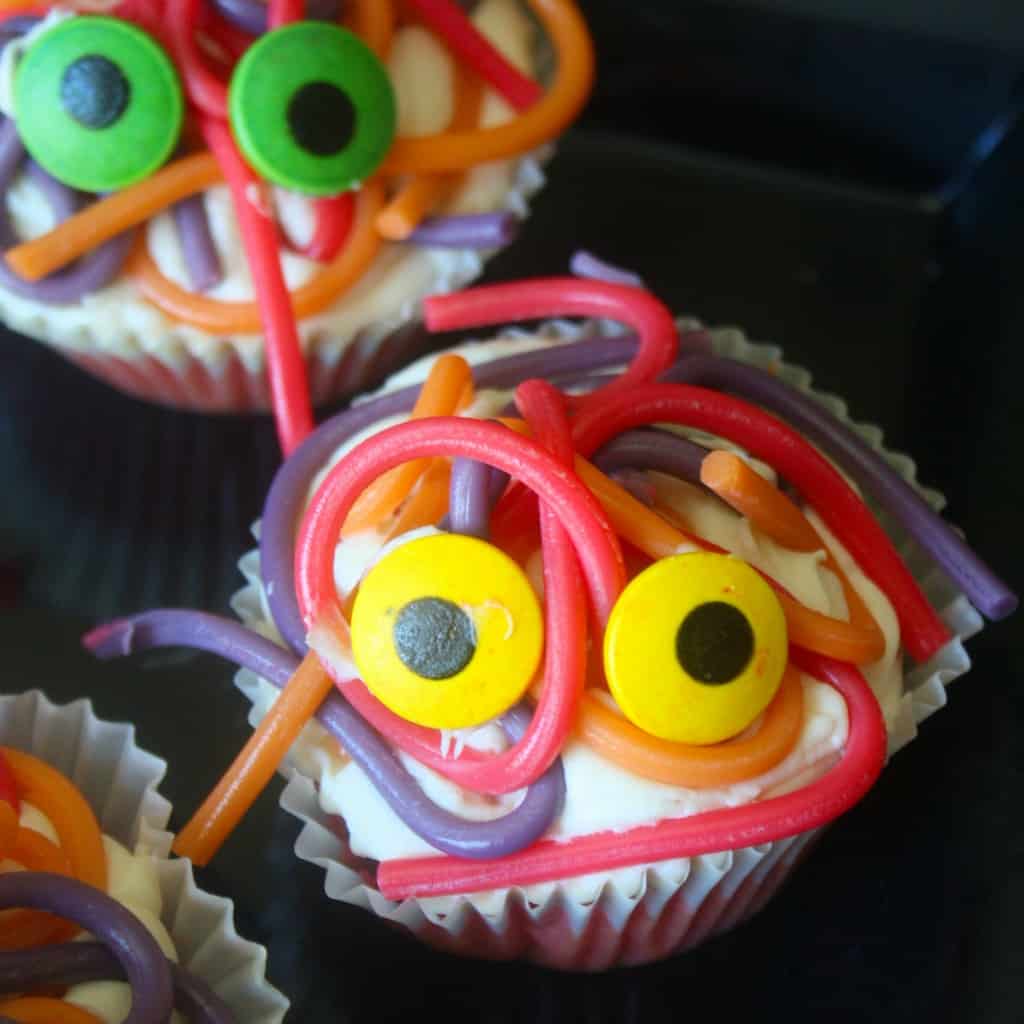
Spaghetti Monster Cupcakes {Vegan & Gluten-Free}
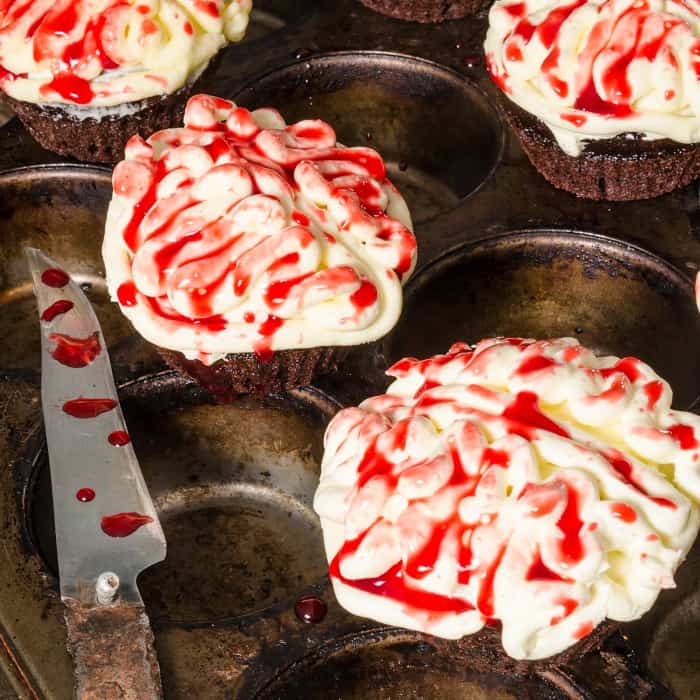
Creepy Brain Cupcakes Vegan