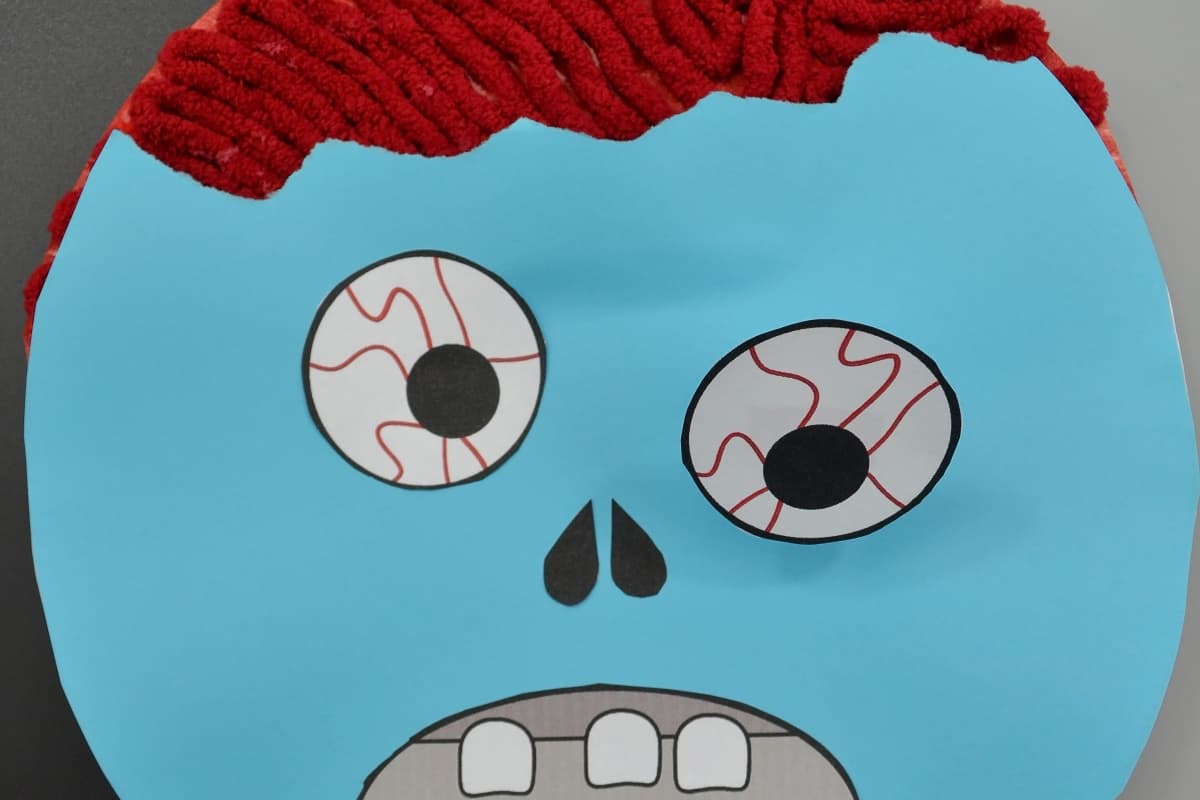
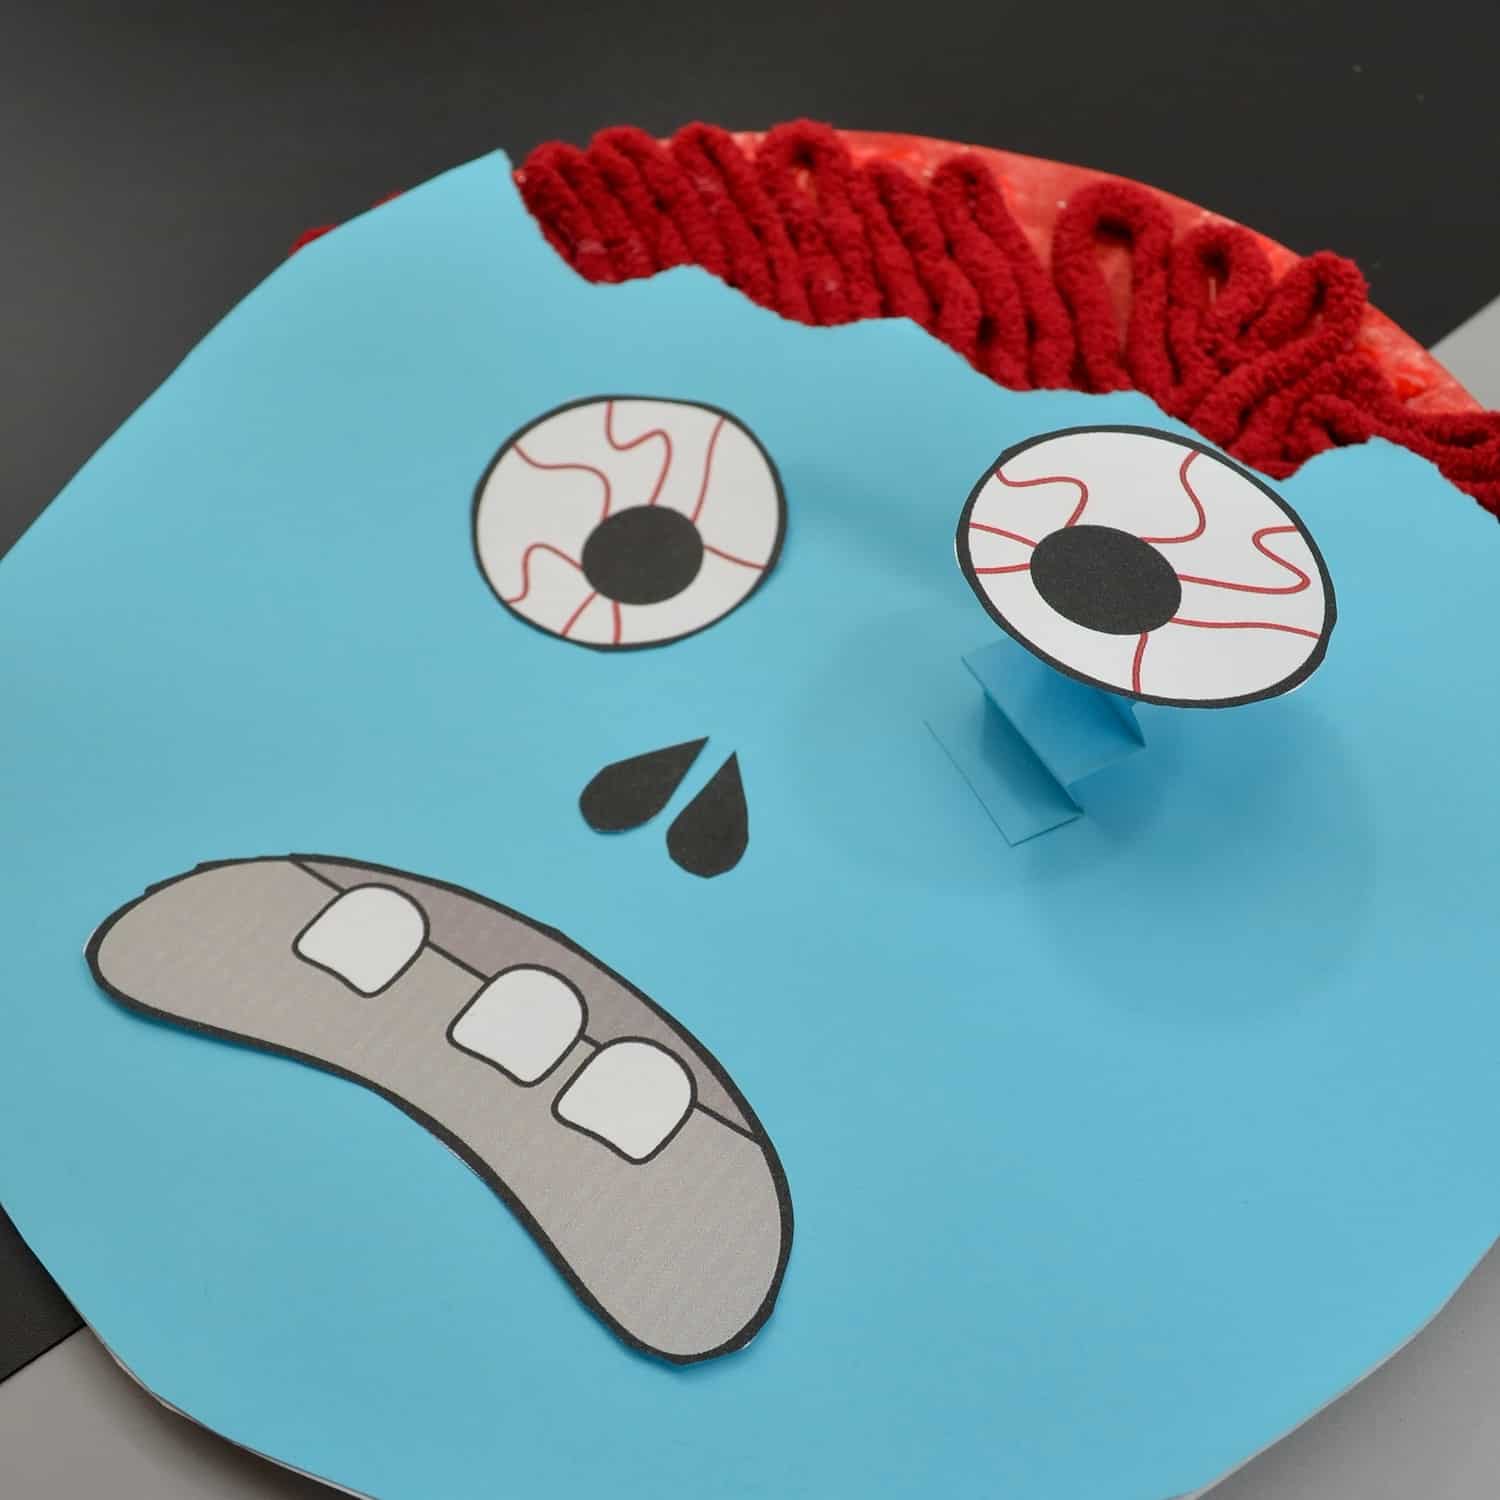
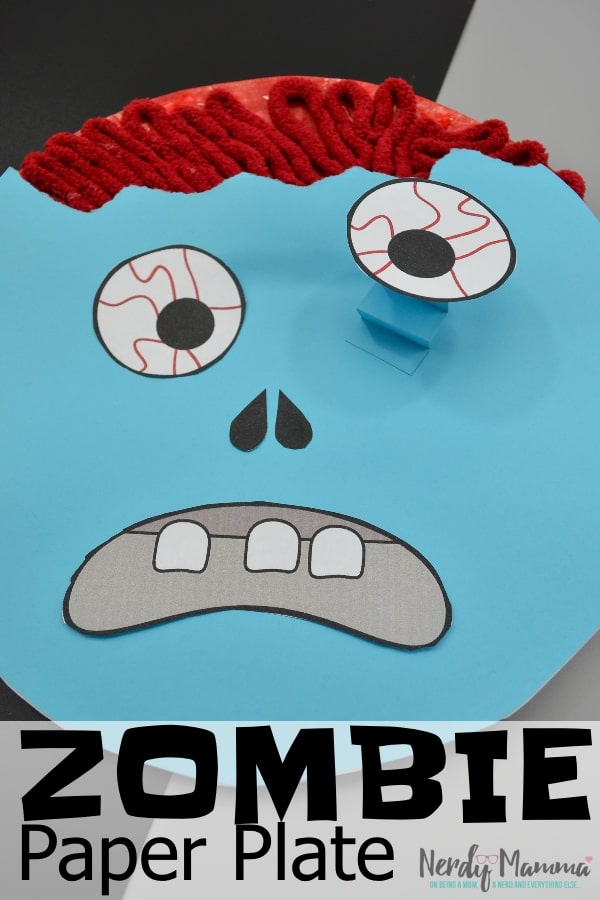
(Inside: Look, kids need a little braaaaaaiiiiiinnnss in their life. You can totally do this any other month by like educating them. But in October…we need the real thing. Real brains. And this Zombie Paper Plate Craft is the way to feed them all the braaaaaaaiiiiiinnnss.)
I will never be the mom that is like “hey, I have the this perfect craft idea just for you and me that will be a household decoration we’ll want forever”…no…I’m more of the mom that’s like “hey, let’s get messy and have fun and maybe make something useless that we can enjoy for about 10 minutes.”
And in October, I’ll add, “and it’ll be weird and kind of creepy! YAY!”
I hope my kids always say “yes.”
Because making fun gluey-messes like the Zombie Paper Plate Craft are the epitomie of Halloween fun in my book.
Until they get older and we’ll make real-looking zombies together. Heh.
I’ll be honest, the making of the Zombie Paper Plate Craft is basically the most fun we’ve had this week.
No amount of glue was enough for my two kiddos.
And I’m super glad I bought this massive (and cheap) bottle of glue.
Basically, the glue (and resulting brains) is what made my littlies squeal and have fun…
And if you would like a fun video of the making of this zombie? Well, I got you.
[adthrive-in-post-video-player video-id=”Zc8tmHQ0″ upload-date=”2018-08-31T23:00:00.000Z” name=”Zombie Paper Plate Craft” description=”A slideshow video of the making of a paper plate zombie for kids. Because who doesn’t love making a paper plate zombie?!”]
Now, go pin this ridiculously cute Zombie Paper Plate Craft so you have it next year, too!
Zombie Paper Plate Craft
Supplies to Make Your Zombie Paper Plate Craft
- Printed Zombie Face click here to download
- 1 pc white paper
- 1 pc colored paper
- Paper Plate
- Brain colored yarn
- Marker
- School glue
- Glue Stick or double sided tape
- Scissors
Instructions to Make Your Zombie Paper Plate Craft
- Print the zombie face on white paper, then print the head and eye template on colored paper. You can also print the head template on white and cut n trace onto colored paper as well.
- Take the paper plate and color the corner of it with the marker. It can be super sloppy because it will be mostly covered up. Use the same color of the brain yarn or get creative with a contrasting color.
- Then squeeze a generous amount of glue on the marker part of the plate.
- Take the yarn and form a twisting pattern to create the zombie brains.
- Next cut out the pattern for the springy eye ball & head from the colored paper. Note on the template that you cut about 3/4th of the plate and rip the other side.
- Glue this head piece to the paper plate, positioning the open, ripped edge to expose the zombie yarn brain. The glue stick works best to adhere the paper to the plate, but more school glue will be needed for the parts where the paper is over the yarn.
- Fold your springy eye piece in an accordion style, going back and forth.
- Cut the face pieces out of the template.
- Attach the accordion paper piece to one eye ball. You can use tape for a quick stick, or the glue stick as well.
- Assemble the face pieces on the plate & use the glue stick to adhere them.
- Embellish with a few marker drawn scars
- The zombie is ready to spook!
Here are a Few More Nerdy Mamma Crafts for You to Try:
Monster Play Dough Non-Food Halloween Treat
Monster Moon Sand
Zombie Play Dough
