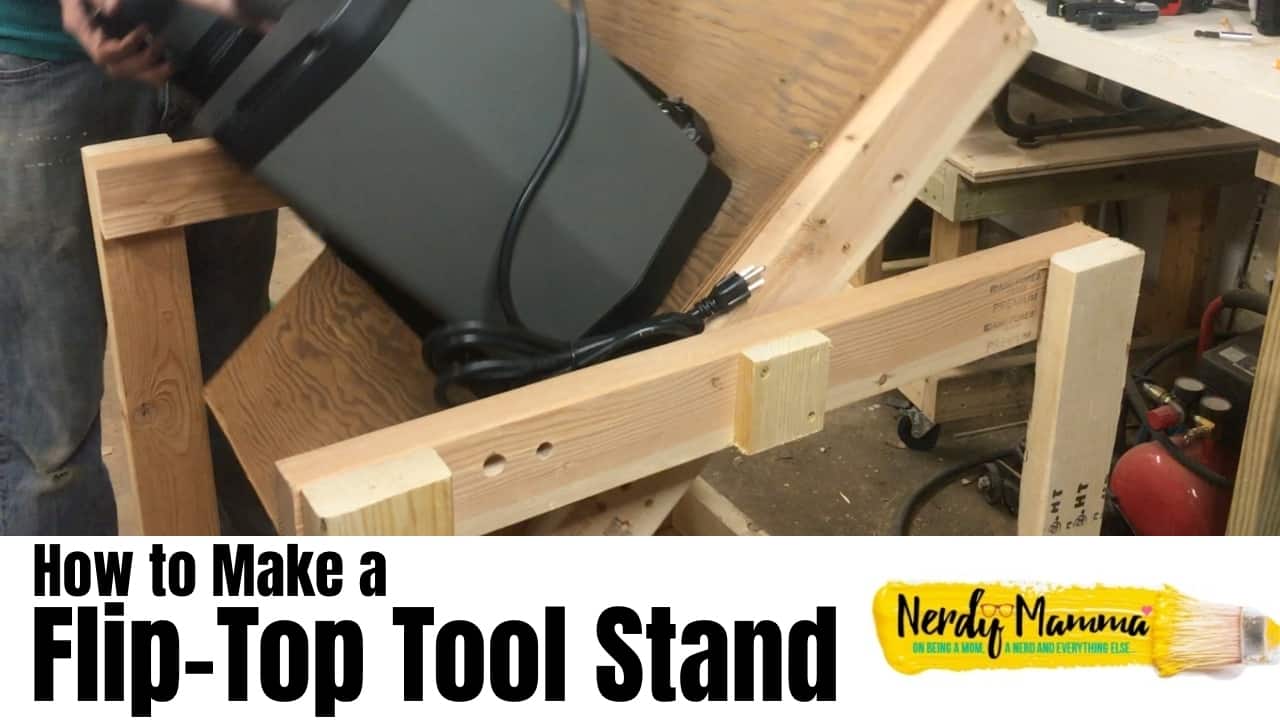
My shop is rather small, and I needed more workbench space–and I got a new tool. So I decided to make this Simple Rolling Flip-Top Tool Cart to put my planer and sanders on. It’s awesome and I’m so glad I did it.
One of the best parts of this Simple Rolling Flip-Top Tool Cart is that I made it using “scrap” wood leftover from other projects, from a bundle of junk wood that I got at my local hardware store, and some things we found in the shop that the previous homeowner had left.

So, this cart literally cost me almost nothing. Taking into account the bundle of junk wood, I am probably looking at a $10 tool cart.
That’s amazing and I’m so happy with that!
Oh, and the whole “how cool is it that I made a tool cart that flips”. That’s pretty awesome too.
We’ve had it in the shop now for a couple of weeks since I actually made it and when I could get the video ready (which you should totally check out–and be sure to subscribe to my YouTube Channel…) and it’s so useful.
Not only is the Simple Rolling Flip-Top Tool Cart (SRFTTC for those of you who love a good acronym) useful like a tool cart is useful (shove it out of the way, grab it and use it when needed–and wherever you need), but it’s also awesome because I don’t ever need the planer and my disc sander or belt sander at the same time–and it opens up so much free space on my real workbench I can fill with other crap!
Yay!
LOL!
Now let’s get our Simple Rolling Flip-Top Tool Cart (SRFTTC) going.
What You Need to Make this Simple Rolling Flip-Top Tool Cart
- 4 – 2×4’s cut to 28-inch long (legs)
- 6 – 2×4’s cut to 30-inch long (2 for the long side of base, 2 for the top supports between the legs, 2 for the long side of the table top)
- 3 – 2×4’s cut to 24-inch long (short side of base and center support)
- 4 – 2×4’s cut to 20 1/2-inch long (short side of tabletop and internal supports)
- 2 – 3/8-inch plywood pieces cut to 23 1/2-inch x 30-inch
- 1 – 3/4-inch iron pipe cut to 27-inch long
- 2 – 4×4 pieces to act as hole covers for the rod in the top supports between the legs
- 4 – casters (don’t forget supports, depending on your caster base size–if necessary)
- 3/4-inch drill bit and drill press
- Screws (I used Deckmate screws) (paid link)
- Hand drill
- Screwdriver
- Sander and sandpaper, if desired
- 2 carriage bolts to hold the flip-top part of the tool cart in place when in use

How to Make this Simple Rolling Flip-Top Tool Cart
- Cut all the 2×4’s and keep them in their sets to stay organized. I did this by making piles for each section of the Simple Rolling Flip-Top Tool Cart.
- Start the tabletop structure by marking the center of the two long side 2×4’s.
- Drill a 3/4-inch hole into each of the tabletop long side 2×4’s in the center, as marked.
- Check at this time to make sure your iron pipe will fit. If it fits, move on. If it does not fit, work your hole until it fits snugly, but slides easily.
- Placing the short sides of the tabletop inside the long side 2×4’s, join them with butt joints to form a rectangle.
- Add the two supports inside the tabletop , well and away from the holes for the iron pipe. I marked where my planer and sanders would be affixed on the plywood to help me make sure that my screws would hit these supports.
- Place the plywood on each side and screw in place. (Or just screw one side in place, if you don’t need to sand it).
- Sand the tabletop, if your plywood is nasty and oily like mine was. Remove one of the plywood panels, then proceed.
- Placing the short sides of the base inside the long side 2×4’s, join them with butt joints to form a rectangle.
- Add the support inside the base, in the center.

- Attach the legs of to the base on the outside. I would normally, if building a tool cart or workbench, put the legs on the inside for additional support, but due to the flipping nature of this tool cart, those legs need to be outside.
- Mark the center of the two top support between legs 2×4’s.
- Drill a 3/4-inch hole into each of the top support between legs 2×4’s in the center, as marked.
- Check at this time to make sure your iron pipe will fit. If it fits, move on. If it does not fit, work your hole until it fits snugly, but slides easily.
- Trim the iron pipe to length–it should not stick out past the top supports, but should fit well inside the holes you drilled.
- Attach casters to each bottom leg at the base.
- Slide the iron pipe through the top supports and the tabletop, then add the hole covers to keep the pipe from sliding out on either side.
- Level the tabletop and clamp in place, then drill a hole through the side of the support, close to one end, and through the side of the tabletop as well. This is where you will slide your carriage bolt in place to hold the tabletop in one place when in use.
- Flip the tabletop and repeat drilling the hole for the carriage bolt on the other side, so you can operate the table from either end.
- Affix the plywood on the other side of the tabletop.
- Attach a surge protector on one end, if desired.
- Place planer and sanders–or whatever tools you’re going to use this flip-top tool cart with, and screw them in place.
- Enjoy!

If you plan to make this–but aren’t out in the workshop now, be sure to pin this Simple Flip-Top Tool Cart so that you can find it again when you’ve got your 2×4’s ready.
And don’t forget to subscribe to my YouTube Channel so that you get a little notice every time I drop a new weekly video!

For More “How to” Ideas, Check Out These:
How to Insulate a Workshop or Garage

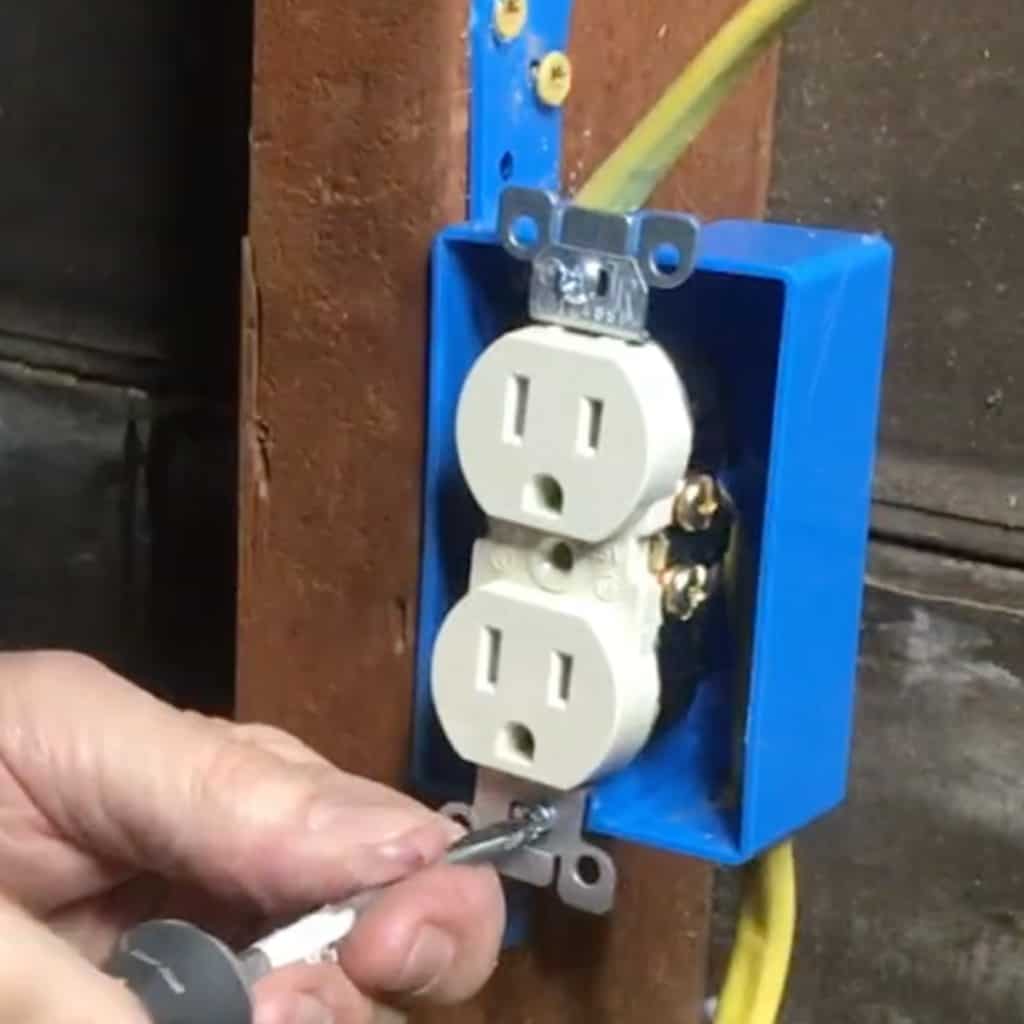
How to Install Electricity in a Workshop
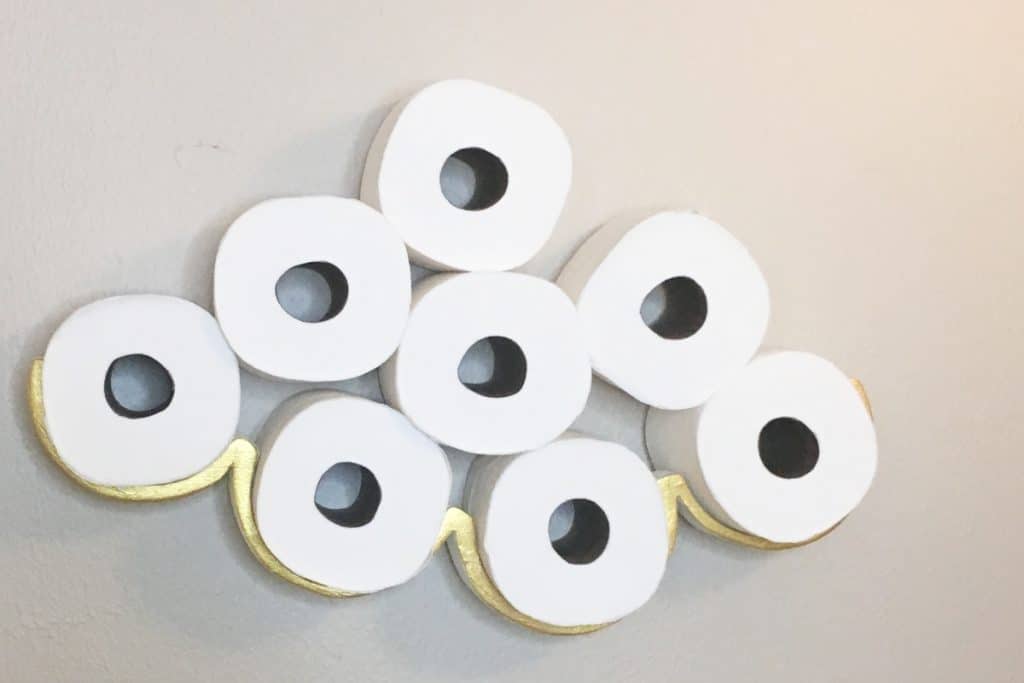
How to Make a Cloud Toilet Paper Holder