(Inside: My garage was cold. Like really cold. So, I decided to figure out How to Insulate a Workshop or Garage so I’d be warm while I work!)
There was an absurd cold snap recently.
No, really the weather was COLD. Ok. Not really, compared to other parts of the US, but it was chilly.
And the inside of our workshop was frigid.
So, I figured out How to Insulate a Workshop or Garage and man, now it’s toasty!
And, in case you missed it, we did a few other things…
We insulated (this post).
Dude. We have made the best workshop we could have hoped for.

If you’re digging this tutorial for How to Insulate a Workshop or Garage, be sure to watch the video (below) and subscribe to my YouTube Channel.
It’s fun and I put out a new video every week, so there’s that…
What You Need to Insulate a Workshop or Garage
- Great Stuff Foam Spray stuff
- Insulation (I highly recommend the pre-cut sheets–it saved my sanity and a ton of time by using those wall-length sheets instead of saving a couple dollars buying the roll)
- Stapler & Staples (only if you have an area that NEEDS to be stapled down like ours behind the pegboard area)

How to Insulate a Workshop or Garage
- Remove whatever wall covering you have on your walls. Our workshop had this silly half-wall of 12-foot long cedar planks that were used on the fence in our yard…so, we took those off. But if you have drywall like a normal person, you can pull that down with a sledgehammer and a crowbar, just be careful not to punch all the way through the wall to the outside…that would suck.
- While you’re working on insulating your garage, consider exploring professional options, especially if you want to ensure maximum energy efficiency. Hiring a local spray foam insulation company can make a huge difference in keeping your workspace warm and comfortable year-round. Spray foam insulation provides superior air sealing and thermal performance compared to traditional methods, making it ideal for garages and workshops exposed to temperature fluctuations.
- Fill any gaps in the wall around electric wires or other random holes with the Great Stuff and allow that to dry.
- Fit the insulation panels in between your 2×4’s. It will hold itself in if your 2×4’s are spaced apart at the typical width.
- Cut any panels needed for the areas that aren’t spaced at the “typical” spacing between 2×4’s.
- Staple any areas that you need to be set back or more fixed, as in the case of my pegboard area.
- Cover with anything. We chose to cover with OSB and paint it white to help with lighting for the videos. But certainly, that’s not required. You can use drywall or plywood. Or even, apparently, fence planks.
See? Super easy–and such a fantastic result to have an insulated place to work in now…
If you enjoyed this and would like to see more of my videos, be sure to subscribe to my YouTube channel and be sure to hit the little bell so you get notified when a new video comes out.
And, if you’re into it, pin this post so you can find it again when you’re ready to insulate your workshop.

More NerdyMamma Ideas You’ll Need to Check Out:
How to Make a Small Wine Butler from Scrap Wood

How to Install a Roll-up Blind and Valance
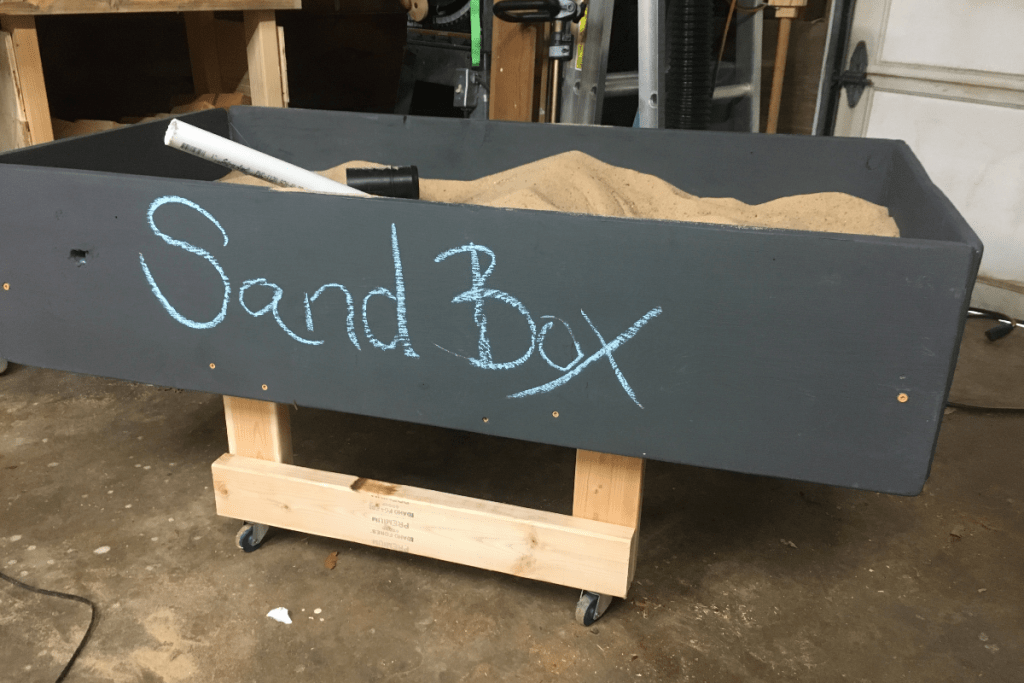
How to Make a Rolling Sensory Table (Sand Box – It’s a Rolling Sandbox)