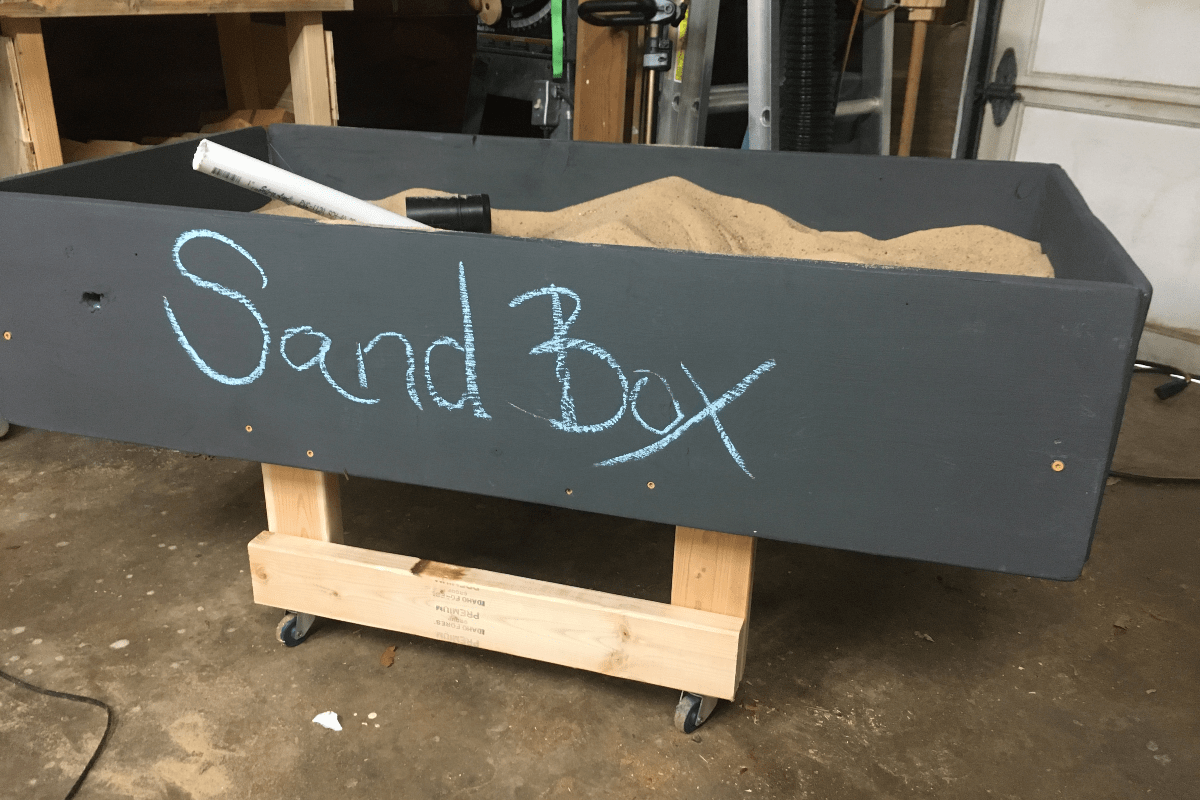
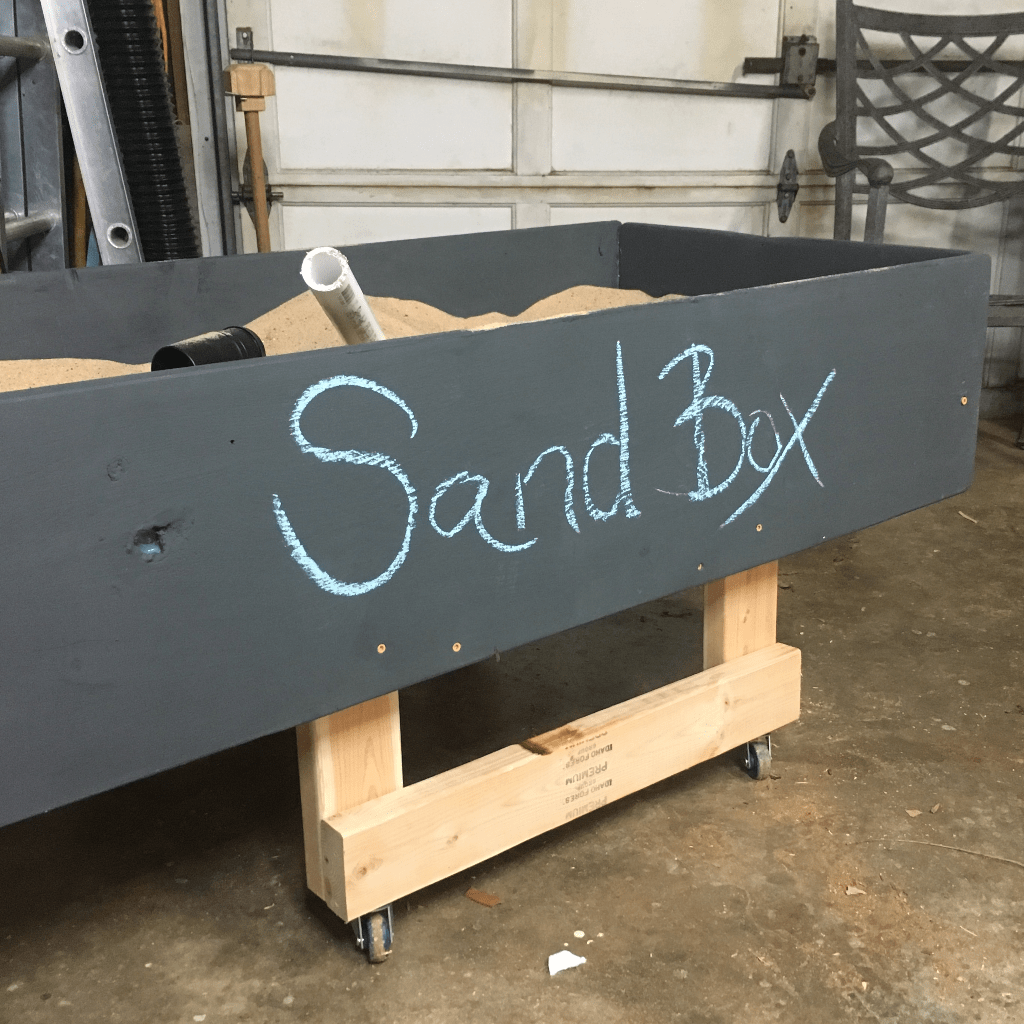
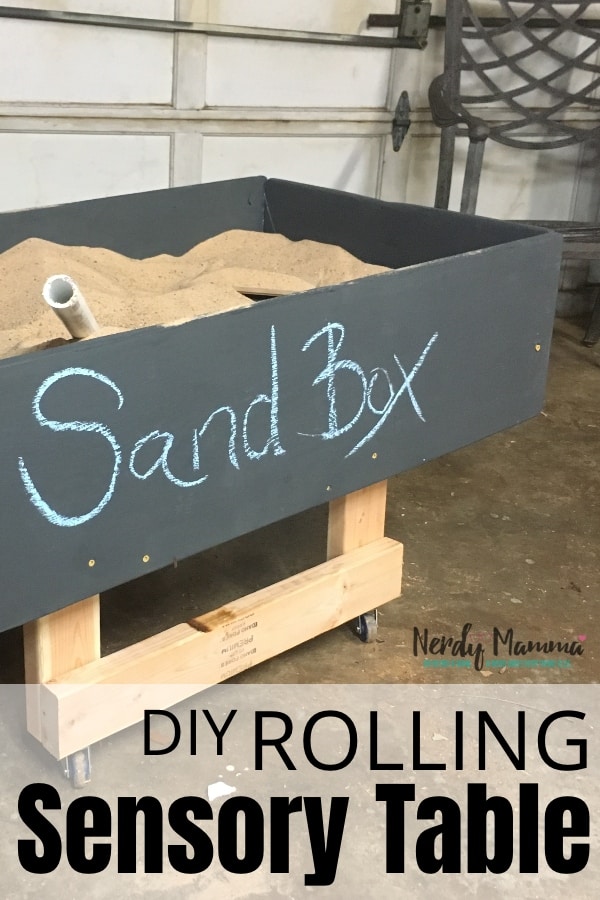
(Inside: I needed a way to keep my kids occupied while I worked in the workshop. But i really didn’t want to put a TV in there. So, I figured out How to Make a Rolling Sensory Table (Sand Box – It’s a Rolling Sandbox). Enjoy.)
My kids are kind of high-maintenance.
Now, wait, I mean that in the most loving way.
But I seriously can’t get ANYTHING done when I’m supposed to be keeping them entertained.
I desperately needed a solution–something to keep them occupied while I was working on projects in the workshop.
So, my husband had a great idea and I brought it to life.
This is How to Make a Rolling Sensory Table (Sand Box – It’s a Rolling Sandbox).
Now, because I’m having fun with this whole YouTube thing, I made a video to go along with this tutorial for How to Make a Rolling Sensory Table (Sand Box – It’s a Rolling Sandbox).
Check out the video (below) and subscribe to my channel, if you would, so you’ll know when I put out more videos like this.
Also, as a side note, you can call this a sensory table or a sand box. For us, it’s just a sand box. But a close friend plans to use hers as a sensory table. I don’t care. They’re the same thing in this specific instance. LOL!
What You Need to Make a Rolling Sensory Table (Sand Box – It’s a Rolling Sandbox)
- Sensory Table
- 1 1/2 – 1″x3″ board
- 1 – 1/4 sheet plywood (1/8″ thick)
- 1 1/2 – 1″x12″ board (8′ long)
- Rolling Cart
- 2 – 2″x4″ board
- 4 heavy duty casters (wheels)
- Chalkboard paint
- Hot glue gun and glue
- Screws
- Drill
- Screwdriver
- 2 – Bag play sand
YEAH, that’s it.
Instructions for How to Make a Rolling Sensory Table (Sand Box – It’s a Rolling Sandbox)
Ok, so if it wasn’t super clear in the video, I apologize. I’d love to hear any feedback you have or questions–just post them below the video on YouTube and I’ll try to answer them there so we’re all kind of keeping it together in one place.
But, before you post your question, I did write-out what to do, if you need it.
- Trim the 1 1/2 – 1″x3″ board into lengths matching the length and width of the 1/2-sheet of plywood, as well as one center support.
- Using the wood glue, glue those down to the plywood, then, butting those board ends to each other, at the corners, pre-drill holes and screw them together in two locations at each corner.
- Flip the plywood, pre-drill holes and screw through the plywood into the 1″x3″ boards–this forms the table base. Set aside.
- Cut the 2″x4″ boards into 8 – 1 1/2′ long lengths and 4 – 1′ long lengths.
- Using butt-joints (am I spelling that right?), make 2 squares form the 8 – 1 1/2′ long lengths of 2″x4″, pre-drill holes and screw those together in two locations at each corner.
- By pre-drilling holes, then screwing them together in 2 locations at each corner, attach the 1′ lengths of 2″x4″ to the corners of the 2 squares of 2″x4″s–making two boxes with legs between them–this forms the cart. This is so hard to describe and I’m sorry if I lost you–this is why there’s a video.
- Attach casters on one square-end of the cart to make it “rolling”.
- Set the table base, supports down, on the rolling cart and center it to distribute the weight evenly.
- Pre-drill holes through the table base into the rolling cart, attaching them together in 4-6 locations with screws.
- Cut the 1 1/2 – 1″x12″ board into lengths matching the length and width of the table base. These will form the table sides.
- Sand the table sides. Note, you could wait to do this and paint the table sides until they’re attached to the table base, but I didn’t. You could do a lot of this different now that I’ve done it–but I didn’t. So…
- Paint the table sides, on both sides and all edges, with the chalkboard paint and allow to dry.
- By pre-drilling holes then screwing them together, attach the table sides to the table base. I found this easier to do if I turned the whole cart on it’s side for the long sides–then clamping the board in place. For the short sides, it was easier to do with the whole build standing on it’s casters.
- Using the hot glue gun, fill all holes in the base and sides to keep sand from escaping and seal all seams. This can also be done with caulk or silicone, but hot glue dries faster and the kids were super-excited at this point.
- Once glue is dry, proceed with the dumping of the sand.
- Add desired random toys.
If you loved this video and tutorial, be sure to pin this post so you can come back to it when you’re ready to build your Rolling Sensory Table (Sand Box – It’s a Rolling Sandbox).
And don’t forget to subscribe to my YouTube Channel–that let’s me know that you definitely want to see more videos like this.


