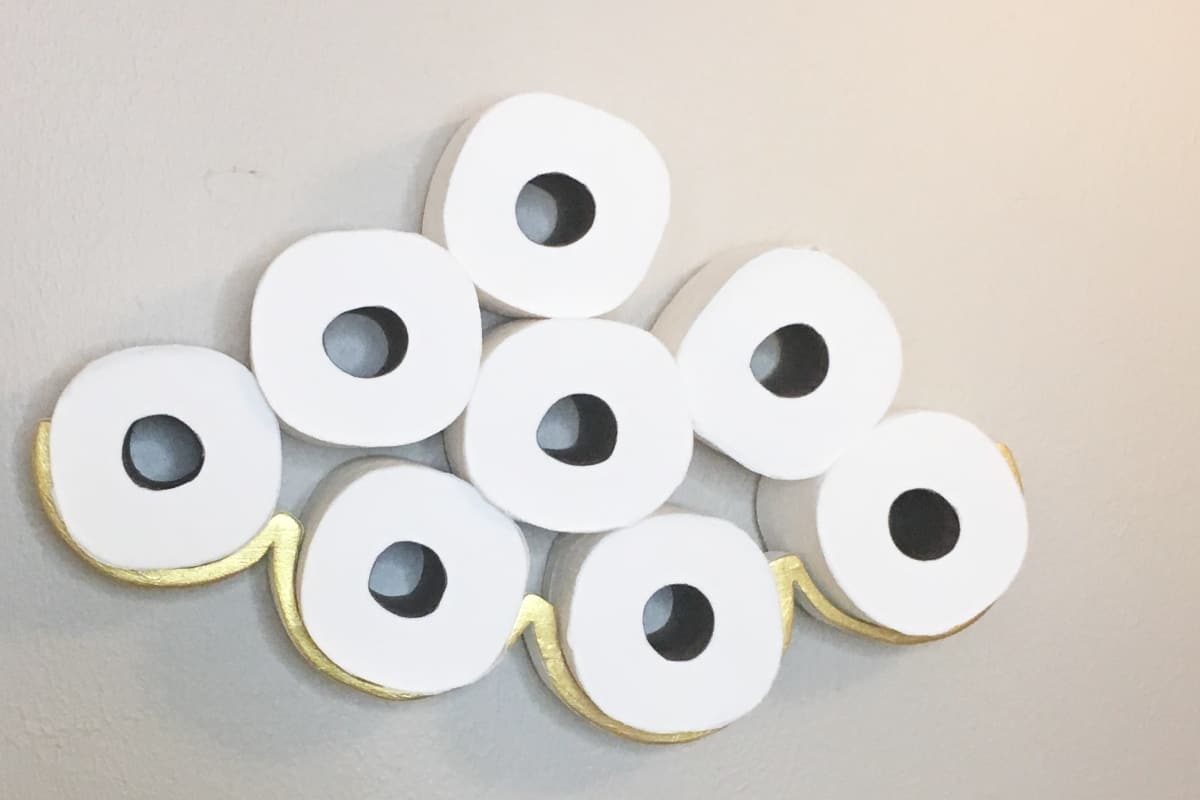
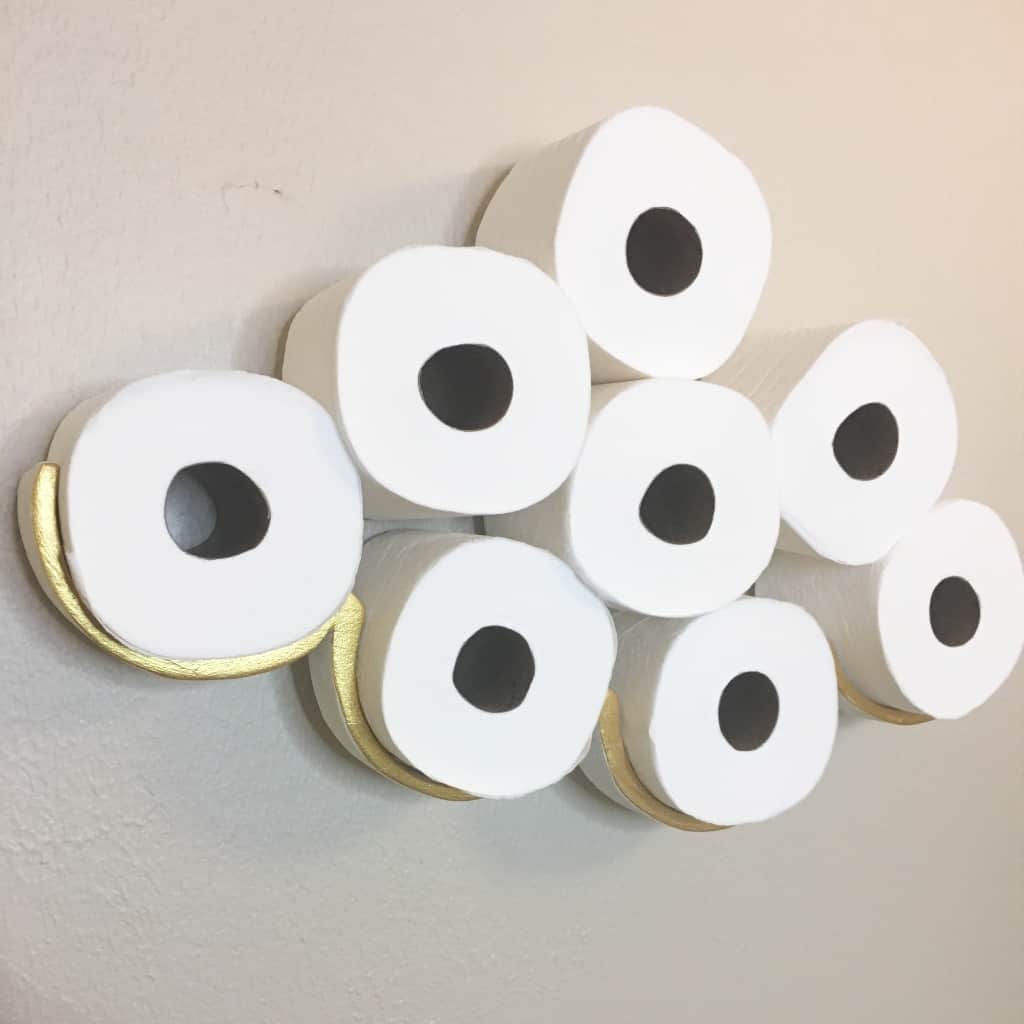
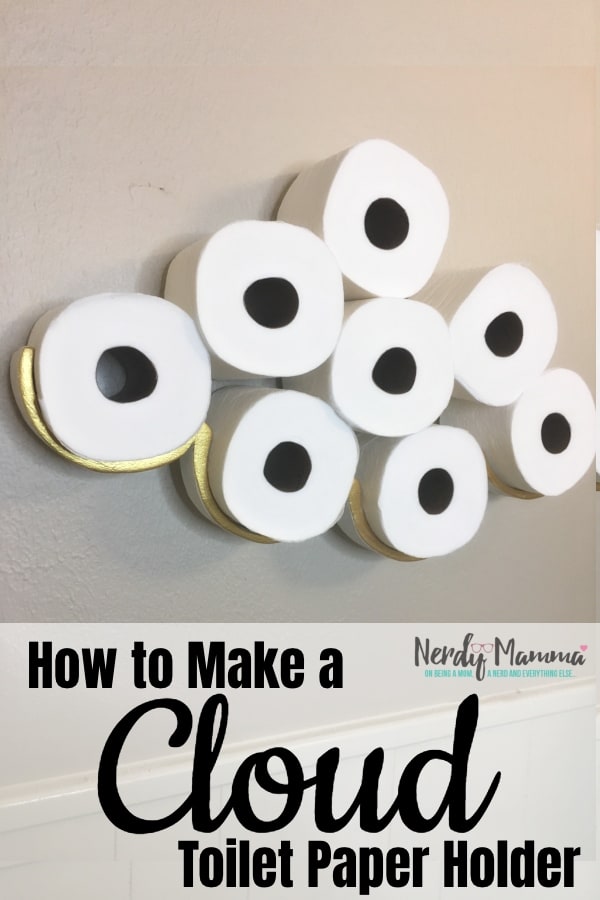
(Inside: My guest bathroom has zero room for storage–but I was tired of running elsewhere to get TP. So I figured out How to Make a Cloud Toilet Paper Holder and now I’m on Cloud 9.)
First, sorry for the cheesy joke–that’s so bad, but I couldn’t help it.
On to the actual discussion here…When we moved into this house a year ago, the lack of storage in some places and overabundance in others was, well, fine.
Cool house–weird storage, I could take that.
But after running 900 times to grab another roll from the hall closet, well, I was done.
So, I figured out How to Make a Cloud Toilet Paper Holder because that’s how I roll.
OMG–that was the best pun yet.
And, because I love doing this, I made a video! Woohoo!
Watch it here below to get the real details on How to Make a Cloud Toilet Paper Holder–and be sure to subscribe to my channel (and hit that bell) so you can get notified when the latest video lands next week!
What You Need to Make a Cloud Toilet Paper Holder
- 1 2-foot long 2×12
- 1 5-inch Hole Saw Bit
- Tape Measure
- Jig Saw or Bandsaw
- Two Fasteners (paid link)
- White Paint
- Gold Paint (paid link)
- 2 Paint Brushes
- Clamps
- Sand Paper
- Belt Sander
- Disc Sander
- Drill Press
- Maker and pencil
- Compass (paid link) (like the drawing kind, not the walking kind)
How to Make a Cloud Toilet Paper Holder
- Rough-cut your 2×12 to 2-feet long so you have a manageable piece of wood.
- Using your hole-saw bit, get a rough idea of where your toilet paper will sit and mark the center of each spot, being sure to measure, with the tape measure, an inch from the edge of the wood and an inch between the outside edge of each toilet-paper-spot.
- Using the compass, draw each inside circumference of each toilet paper spot.
- With the compass again, draw the outside circumference of each toilet paper spot.
- Mark the outside of your toilet paper spots with the marker so you’re sure which line to cut.
- Use your jig saw to rough-cut the outside of your cloud.
- Attach your hole saw bit to the drill press and cut out the centers of your could nodules–bubbles–whatever.
- With the jig saw (I love those things), trim the spots between your bubbles–nodules–roundy-bits so that they’re all “open to the sky.”
- Using 3 of the scraps that came off, add a spacer to the back of the cloud on the two sides and the center.
- Turn on your disk sander and smooth all the outside edges.
- To smooth all the inside edges, use the belt sander and then hand-sand, being sure to round all of the corners as you go. You want to make this as smooth as possible so that your toilet paper isn’t snagged every time you pull one out.
- Paint the whole toilet paper holder white. Allow it to dry completely.
- Paint the outside edge with the gold paint. This may take 2 coats. Allow to dry completely (again).
- Attach the wall hangers.
- Hang on the wall.
- Fill with your toilet paper.
- ENJOY!
Seriously–it’s that easy. I was so impressed with the results, I made a cloud shelf to go with it, which I’ll share next week.
If you loved this project and want to see more, be sure to pin this post and subscribe to my YouTube channel (and hit the bell) so you can get notified every time a new video comes out!
For More DIY Ideas, You’ll Need to Take a Look at These:
How to Make an Easy Witch’s Fairy House
Easy DIY Harry Potter Wand Pencils
How to Make a Small Wine Butler from Scrap Wood
