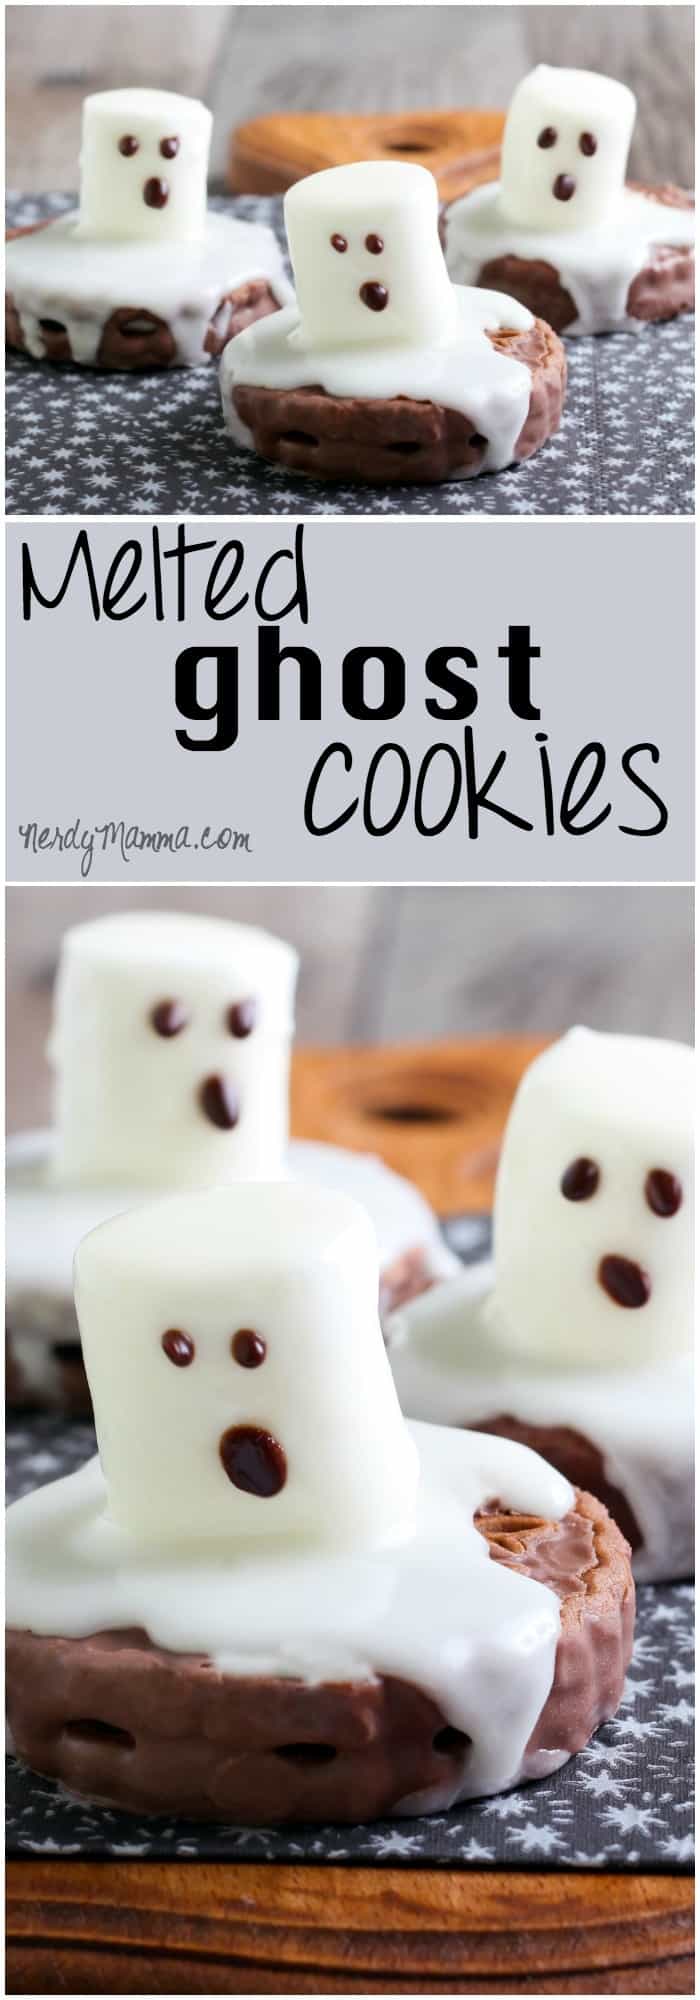
I believe I may have lost my mind. I keep making Halloween treats, testing out new ideas for my kiddo’s class parties. Why do I keep doing this? I’m on a binge or something. LOL! This time, it’s these Easy Melted Ghost Cookies. They’re cute (as you can clearly see in the picture), but they’re also really yummy (which you cannot actually see in the picture). It’s almost (almost) like having a s’more…only with chocolate cookie and marshmallow and icing…maybe I have a sugar addiction…
Ingredients for Easy Melted Ghost Cookies
- 12 mini marshmallows
- 12 Oreo cookies (or the off-brand, that’s what I had laying around)
- 1 tblspn coconut milk (like you’d use on cereal, no need to open a can of it–or just use water)
- 1 cup powdered sugar
- 1 tablespoon corn syrup (ie. Karo)
- 5-6 drops black or brown food coloring (I use gel food coloring because, to me, it seems like the colors are more vibrant)
- You will also need a toothpick
How to Make Easy Melted Ghost Cookies
- Mix coconut milk and powdered sugar until sugar is completely dissolved.
- Split the sugar/milk mixture (now named “icing”) into two bowls, one with just a tablespoon (or a little less, this is not precise) and the other with the remainder.
- In the smaller portion of icing, add the food coloring and stir until the coloring is completely and thoroughly mixed throughout. Set icing aside.
- Lay-out the Oreo cookies on a sheet of wax paper (just for easy clean-up).
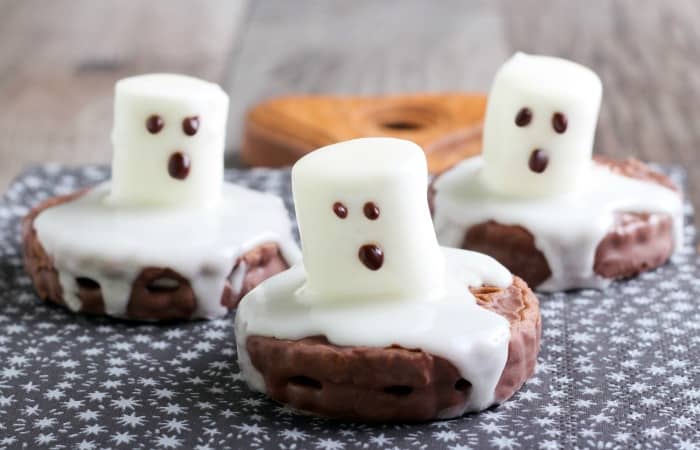
- Dip the bottom of each marshmallow into the corn syrup and set in the center of each cookie.
- Using a spoon, pour white icing completely over each marshmallow and drizzle onto the cookie–and even drizzle off a little…go ahead, make a little mess, it’s cuter that way. It will not take much icing to do each cookie, so I got more generous toward the end…ooops.
- Using your toothpick and the black (or brown if that’s all you have) icing, place a dollop on the center of each ghost for a mouth, then two dots above that for eyes.
- Now, you can allow these to sit for a little while, or you can go ahead and “ghost” them. Your choice. LOL!

Yield: 12
Easy Melted Ghost Cookies for Halloween
Prep Time:
10 minutes
Total Time:
10 minutes
'm on a binge or something. LOL! This time, it's these Easy Melted Ghost Cookies. They're cute (as you can clearly see in the picture), but they're also really yummy.
Ingredients
- 12 mini marshmallows
- 12 Oreo cookies, or the off-brand, that’s what I had laying around
- 1 tblspn coconut milk, like you’d use on cereal, no need to open a can of it–or just use water
- 1 cup powdered sugar
- 1 tablespoon corn syrup, ie. Karo
- 5-6 drops black or brown food coloring, I use gel food coloring because, to me, it seems like the colors are more vibrant
- You will also need a toothpick
Instructions
- Mix coconut milk and powdered sugar until sugar is completely dissolved.
- Split the sugar/milk mixture (now named “icing”) into two bowls, one with just a tablespoon (or a little less, this is not precise) and the other with the remainder.
- In the smaller portion of icing, add the food coloring and stir until the coloring is completely and thoroughly mixed throughout. Set icing aside.
- Lay-out the Oreo cookies on a sheet of wax paper (just for easy clean-up).
- Dip the bottom of each marshmallow into the corn syrup and set in the center of each cookie.
- Using a spoon, pour white icing completely over each marshmallow and drizzle onto the cookie–and even drizzle off a little…go ahead, make a little mess, it’s cuter that way. It will not take much icing to do each cookie, so I got more generous toward the end…ooops.
- Using your toothpick and the black (or brown if that’s all you have) icing, place a dollop on the center of each ghost for a mouth, then two dots above that for eyes.
- Now, you can allow these to sit for a little while, or you can go ahead and “ghost” them. Your choice. LOL!
Easy is the Key Word…try These Also Easy Halloween Treats:
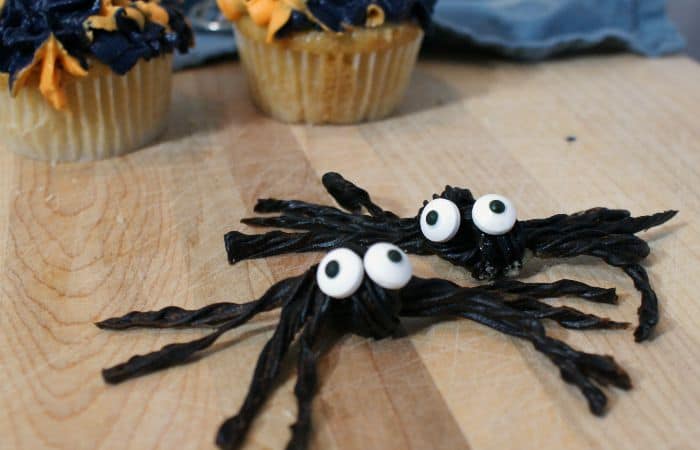
Easy Candy Spiders
Easy Halloween Vampire Bite Cupcakes
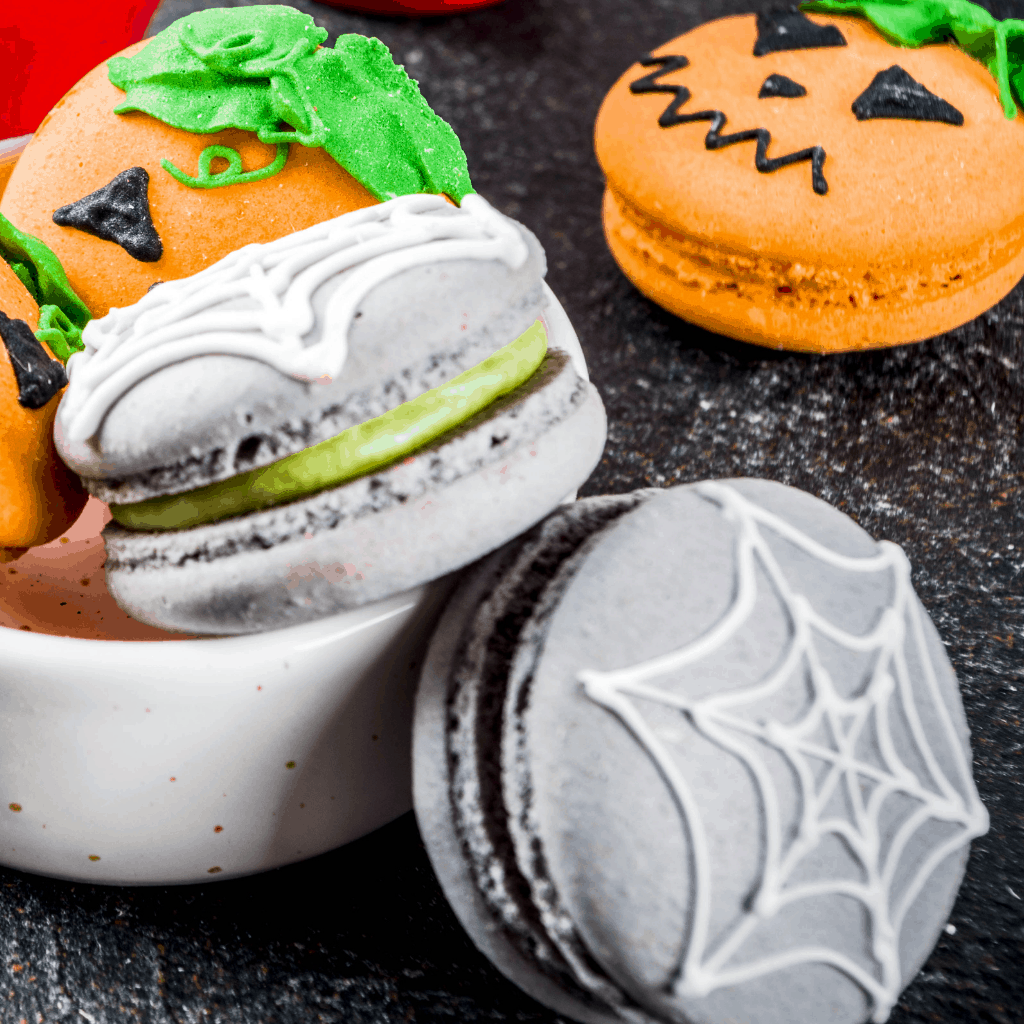
Easy Halloween Macarons Recipe