I like bringing my lunch. Not only you are saving but also you know that you are eating clean and healthy foods. And I’m putting all of them in my DIY Reusable Oilcloth Lunch Bags.
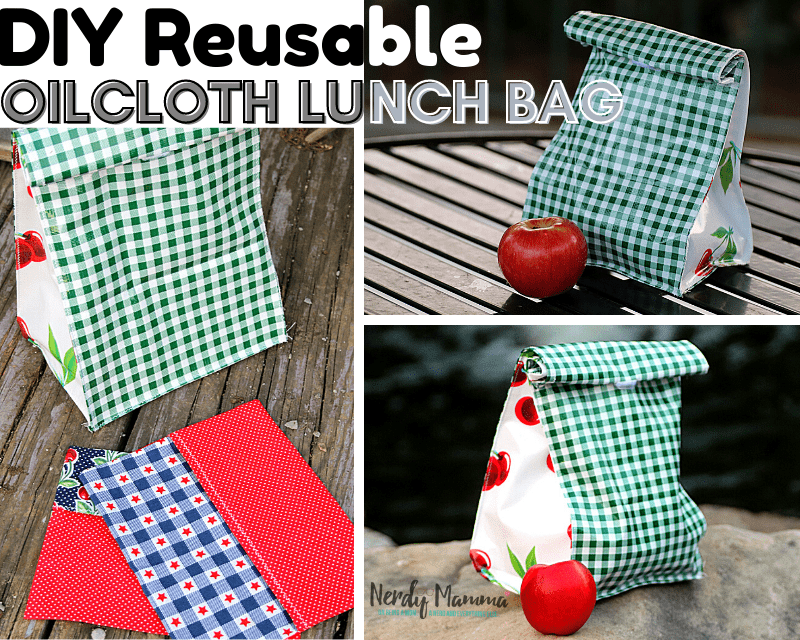
Yep. I made it myself and it’s super easy. Moreover, when you are reusing, it means you are helping our environment because you are cutting back on waste.
You don’t wash it in the washing machine too. Oilcloth is not washing machine safe. Instead, you just wipe the bag with a damp sponge to clean it. Hence, you are saving more, too.
Why don’t you make this DIY Reusable Oilcloth Lunch Bags as your next project?
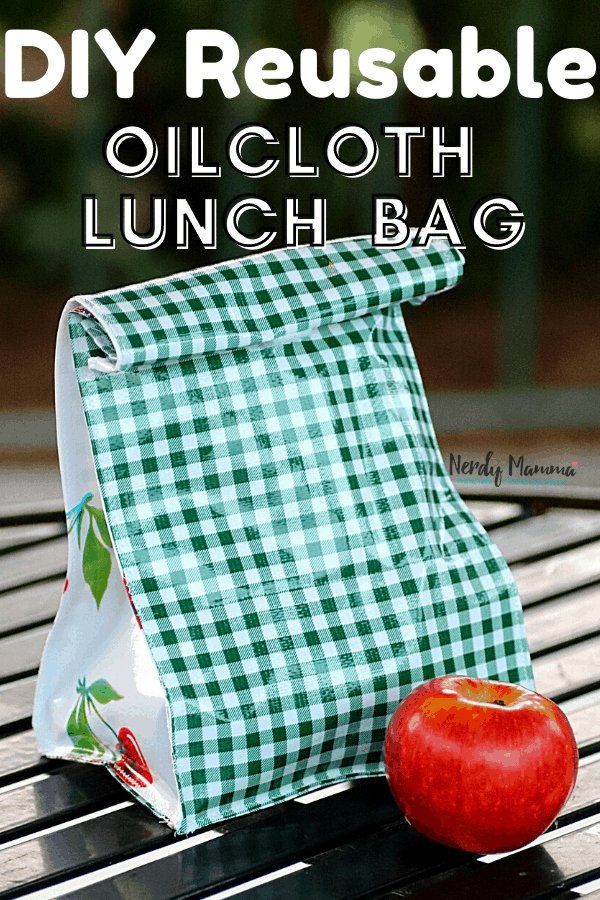
Great for kids too. Surely, they will love their lunch and snacks in their cute reusable Oilcloth Lunch Bag with their favorite design on it.

Here is how to make a DIY Reusable Oilcloth Lunch Bag tutorial
This DIY project is easy with clear instructions below that you can follow. I have included a diagram too.
To start with, let’s gather up the materials needed.
Materials:
- 1/2 yard of your main oilcloth fabric
- 1/2 yard of your complimentary oilcloth fabric
- Scissors (I prefer pinking shears
- All-purpose thread
- Wonder sewing clips
- 1 package of Velcro circles, squares or ovals. You can use the sticky back or sew on
- Sewing machine
Instructions:
**See diagram below for steps 1-2**
- Measure, mark, and cut 2 pieces of your main *fabric 20 inches long by 8 inches wide. These pieces will be your front and back pieces.
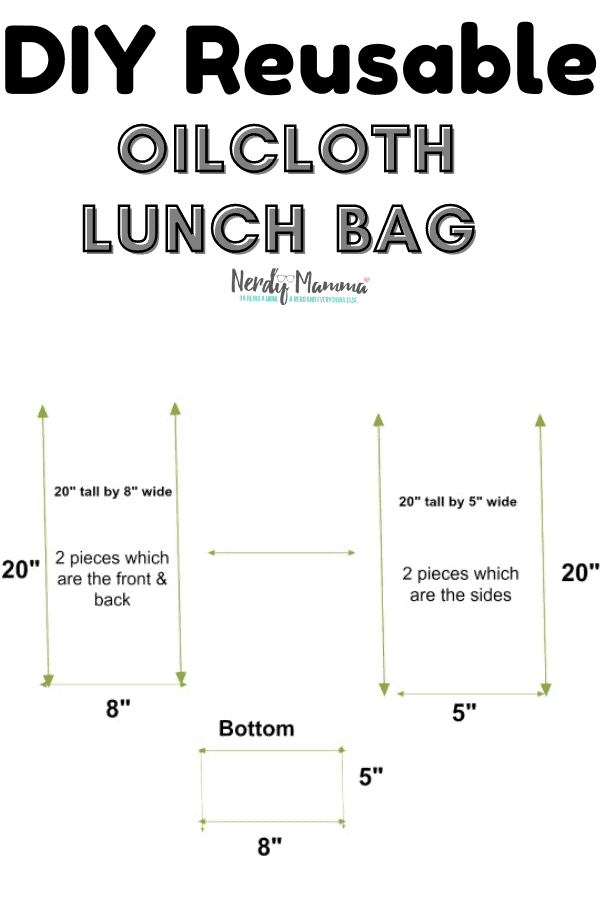
2. Measure, mark, and cut 3 pieces of your complimentary fabric. Two pieces 20 inches long by 5 inches wide (these will be your side pieces), and one piece 5 inches by 8 inches (this will be your bottom.
3. With right sides facing each other, clip or pin the base to the sides (so the 5” of each will match up) and sew with a 1/2” seam allowance.
4. At each corner where the sides are joined to the base, cut a 1/2” square. If you want, but not imperative, you can open the seams and tack them down at each end or sew a wider zig zag stitch all the way along the seams.
5. With right sides facing each other, clip or pin the wide (8”) width of the base to the front and back pieces of the bag and sew with a 1/2” seam allowance.
Again, if you want, but not imperative, you can open the seams and tack them down at each end or sew a wider zig-zag stitch all the way along the seams.
6. With a 1/2” seam allowance, join the front and back pieces to the sides. You can do the same with the seams as in the two steps above.
7. Turn down the top of the bag 1/4-1/2” and clip. Sew around the opening of the bag.
Note:
Because oilcloth doesn’t fray much, you can skip this step if you like. If you are using cotton fabric and a lining, you will need to complete these steps.
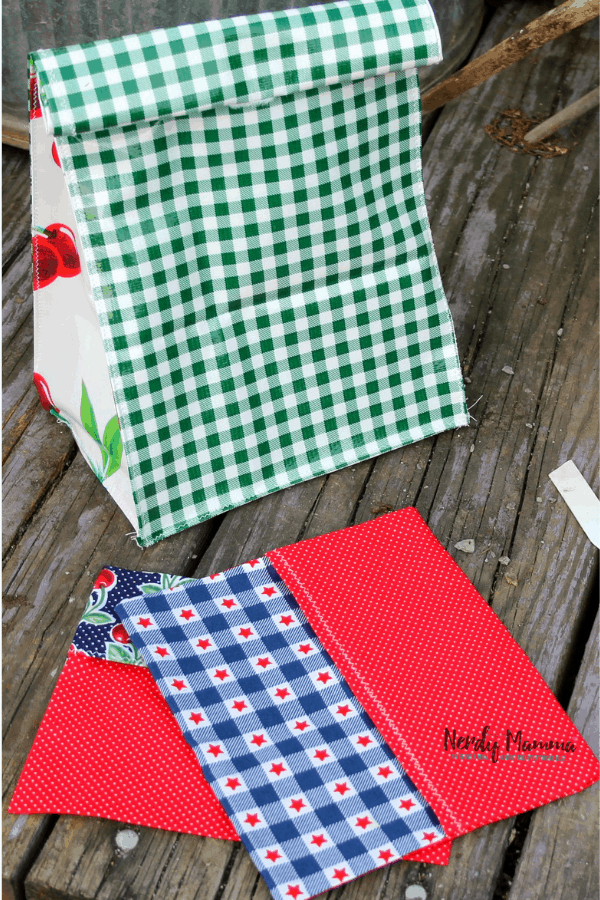
8. Turn the back right side out. Topstitch about 1/4” along all the seams. This helps the bag stand up on its own.
9. To attach the Velcro, fold the bag down twice and mark the middle of the front, the main piece of the lunch bag.
10. Directly above this spot, mark where the bag is folded. Attach 1-3 pieces of Velcro. I suggest adding at least 2, about 1” in from the side, on each side so it is more secure.
*If you don’t have oilcloth, you can use cotton fabric and a waterproof lining.
Other Uses of DIY Reusable Oilcloth Lunch Bag:
- I suggest you try to increase the size a bit next time so that you’ll have something to use for your picnics.
- Can also be used to bring foods for Potlucks.
- As a bag for small supplies or materials that you need to bring along.
DIY Reusable Oil Cloth Lunch Bags
Materials
- *1/2 yard of your main oilcloth fabric (I got mine from Amazon)
- 1/2 yard of your complimentary oilcloth fabric (I got mine from Amazon)
- Scissors (I prefer pinking shears (I got mine from Amazon)
- All-purpose thread
- Wonder sewing clips (I got mine from Amazon)
- 1 package of Velcro circles, squares or ovals. You can use the sticky back or sew on (I got mine from Amazon)
- Sewing machine (I got mine from Amazon)
Instructions
You can find the diagram for steps 1 and 2 here.
Step 1: Measure, mark and cut 2 pieces of your main *fabric 20 inches long by 12 inches wide.
Step 2: Measure, mark, and cut 3 pieces of your complimentary fabric. Two pieces 20 inches long by 8 inches wide, and one-piece 5 inches by 8 inches.
Steps 3-4: With right sides facing each other, clip or pin the base to the sides and sew with a 1/2” seam allowance. At each corner where the sides are joined to the base, cut a 1/2” square. If you want, but not imperative, you can open the seams and tack them down at each end or sew a wider zig-zag stitch all the way along the seams.
Steps 5-6: With right sides facing each other, clip or pin the short width of the base to the front and back pieces of the bag and sew with a 1/2” seam allowance. Again, if you want, but not imperative, you can open the seams and tack them down at each end or sew a wider zig-zag stitch all the way along the seams.
Step 7: With a 1/2” seam allowance, join the front and back pieces to the sides. You can do the same with the seams as in the two steps above.
Steps 8-9: Turn down the top of the bag 1/4-1/2” and clip. Sew around the opening of the bag. (Because oilcloth doesn’t fray much, you can skip this step if you like. If you are using cotton fabric and a lining, you will need to complete these steps)
Step 10: Turn the back right side out. Topstitch about 1/4” along all the seams. This helps the bag stand up on its own.
Step 11: To attach the Velcro, fold the bag down twice and mark the middle of the front, the main piece of the lunch bag. Directly above this spot, mark where the bag is folded. Attach 1-3 pieces of Velcro. I suggest adding at least 2, about 1” in from the side, on each side so it is more secure.
How do you like it? It’s fun, isn’t it? Don’t forget to Pin this tutorial in your Pinterest board for your next project.
Check these other DIYs, too.
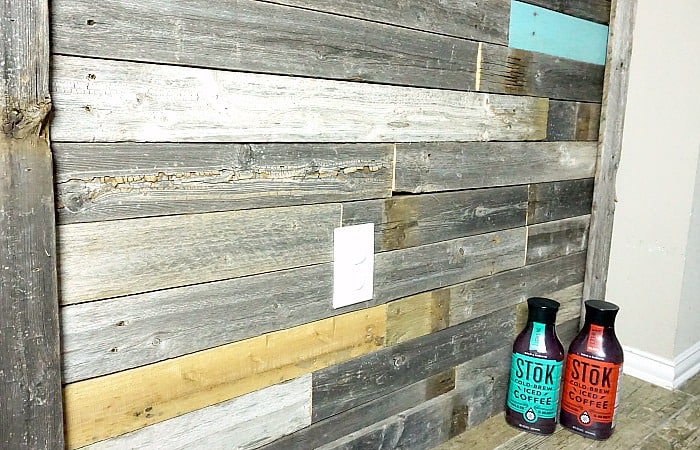
Easy DIY Pallet Wall in One Weekend
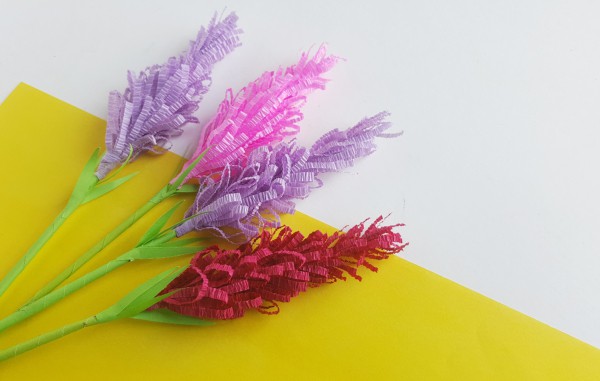
DIY Paper Lavender Flowers
DIY Concrete Candle Holders