
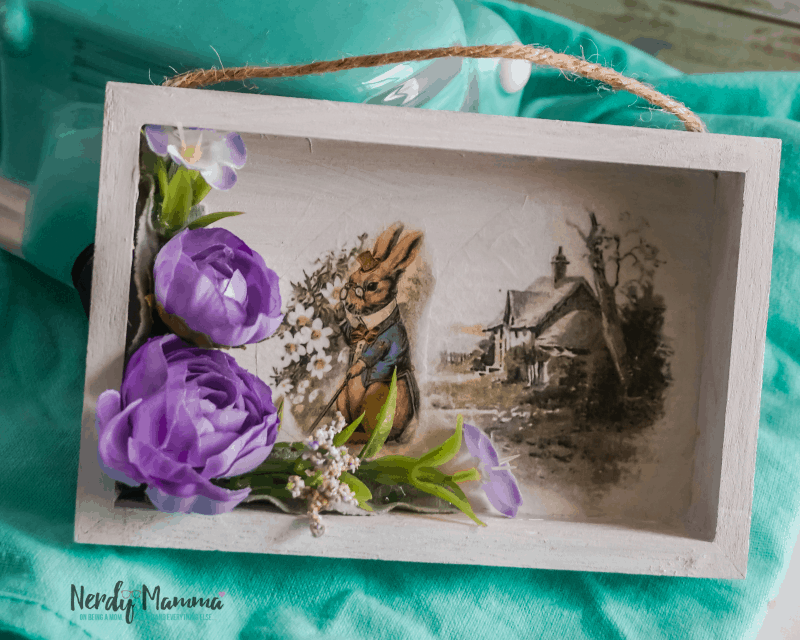
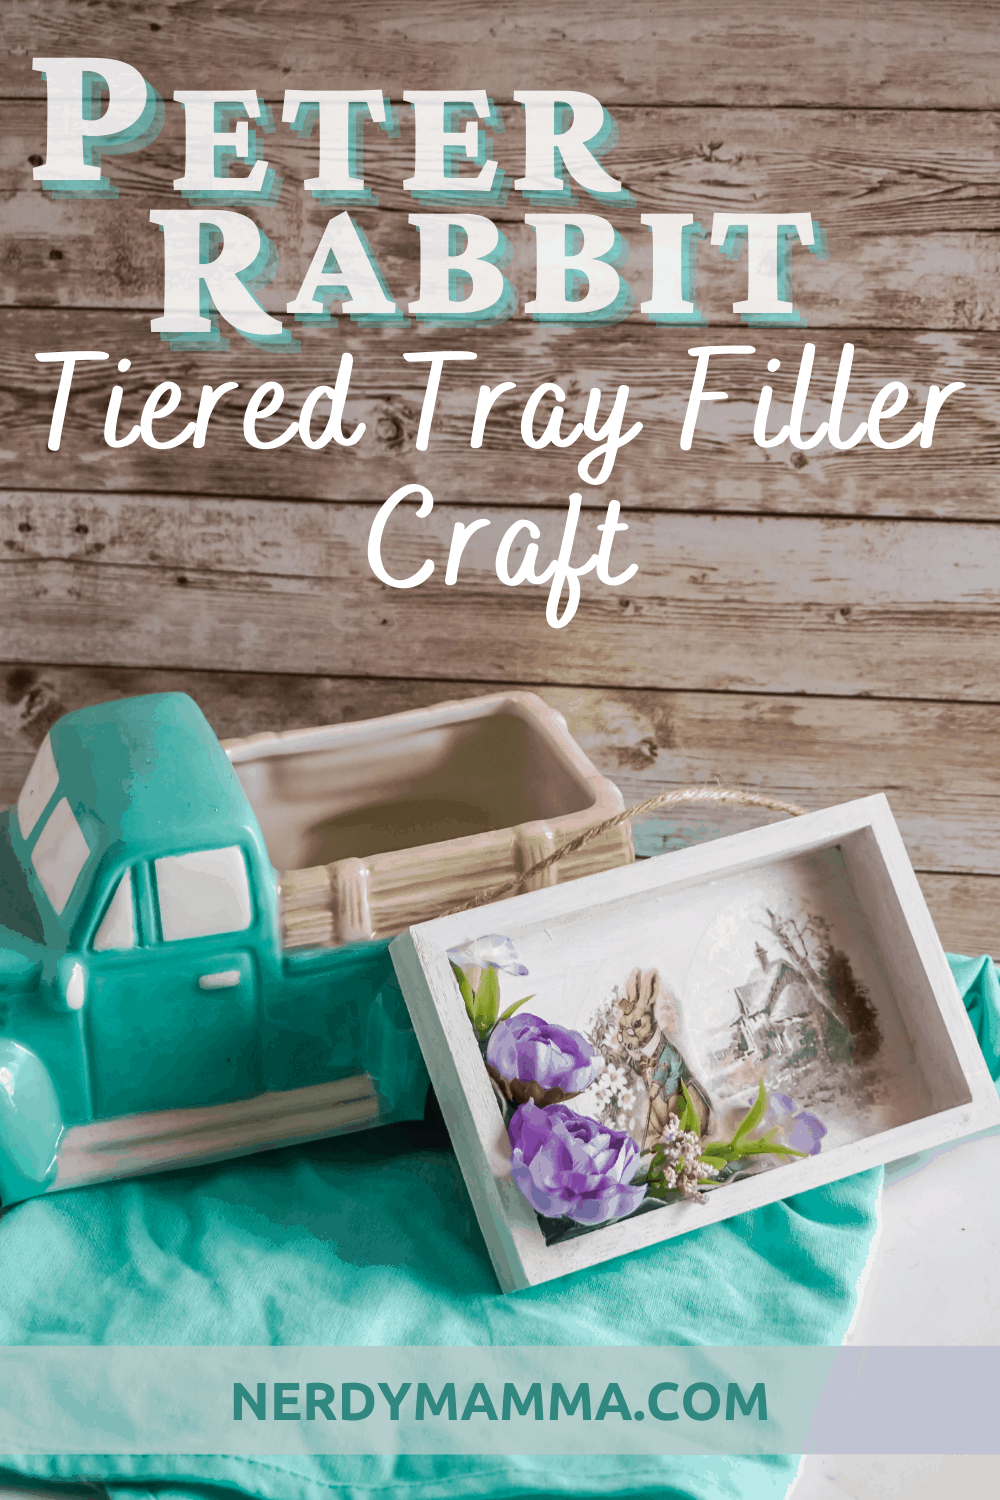
Bring in the witty Peter Rabbit home. This neat Peter Rabbit Tiered Tray Filler brings the wall, tabletops, or shelves lively.
When you are staying home almost every day, your mind and hands seem to have grown a mind of their own… (So, I have 2 minds, huh!). Well, sometimes I would think of wanting to do this and suddenly the other half of my mind would say, this is better. And then my hands will be picking something like “What about this?”
Did that ever happen to you? When you’ve been staying at home longer than you are used to, and have already finished your chores? About to relax and then you suddenly thought of something (forgot what triggers it) … And then find yourself looking for something in your pantry, or garage, of some cabinets where you keep your extra craft items!
Just like when I made this Peter Rabbit Tiered Tray Filler. I got the wooden tray before because it really looked nice and it can become a good project. Until the time comes to make this craft when I got hold of the Rice Paper Easter Sheet. I was buying some things that are on the list. This Rice Paper wasn’t on the list (Just because Mr. Rabbit is cute)… if you know what I mean. Just like the wooden tray when I purchased it, it wasn’t on the list, too. They are a good match!
More bunnies? Check these treats.
Anyways. Whether they are planned, or it just suddenly appears in your head, this Peter Rabbit Tiered Tray Filler is so simple and easy to make.

And you know what? They are great for Easter, too. Hang or place it beside the other Easter decors. After the season, let it stay on one of your shelf or side tabletops or something. Or make it your personal fancy tray for your hot cocoa. Make sure to use a coaster to avoid stains and won’t damage Mr. Peter Rabbit.
Making the Peter Rabbit Tiered Tray Filler Craft
You’ll only need only 4 materials and a few basic tools. So easy to make. And they are very cheap to buy if you don’t have them yet.
Have these following supplies ready
Supplies
- 1 4-inch Wood Tray (Dollar Tree)
- 1 Sheet Rice Paper Easter Sheet
- White Acrylic Paint (Dollar Tree)
- Purple Faux Floral (Dollar Tree)
Tools
- Hot Glue Gun & Glue
- Mod Podge or another craft sealant (Dollar Tree)
- Paintbrush
Instructions
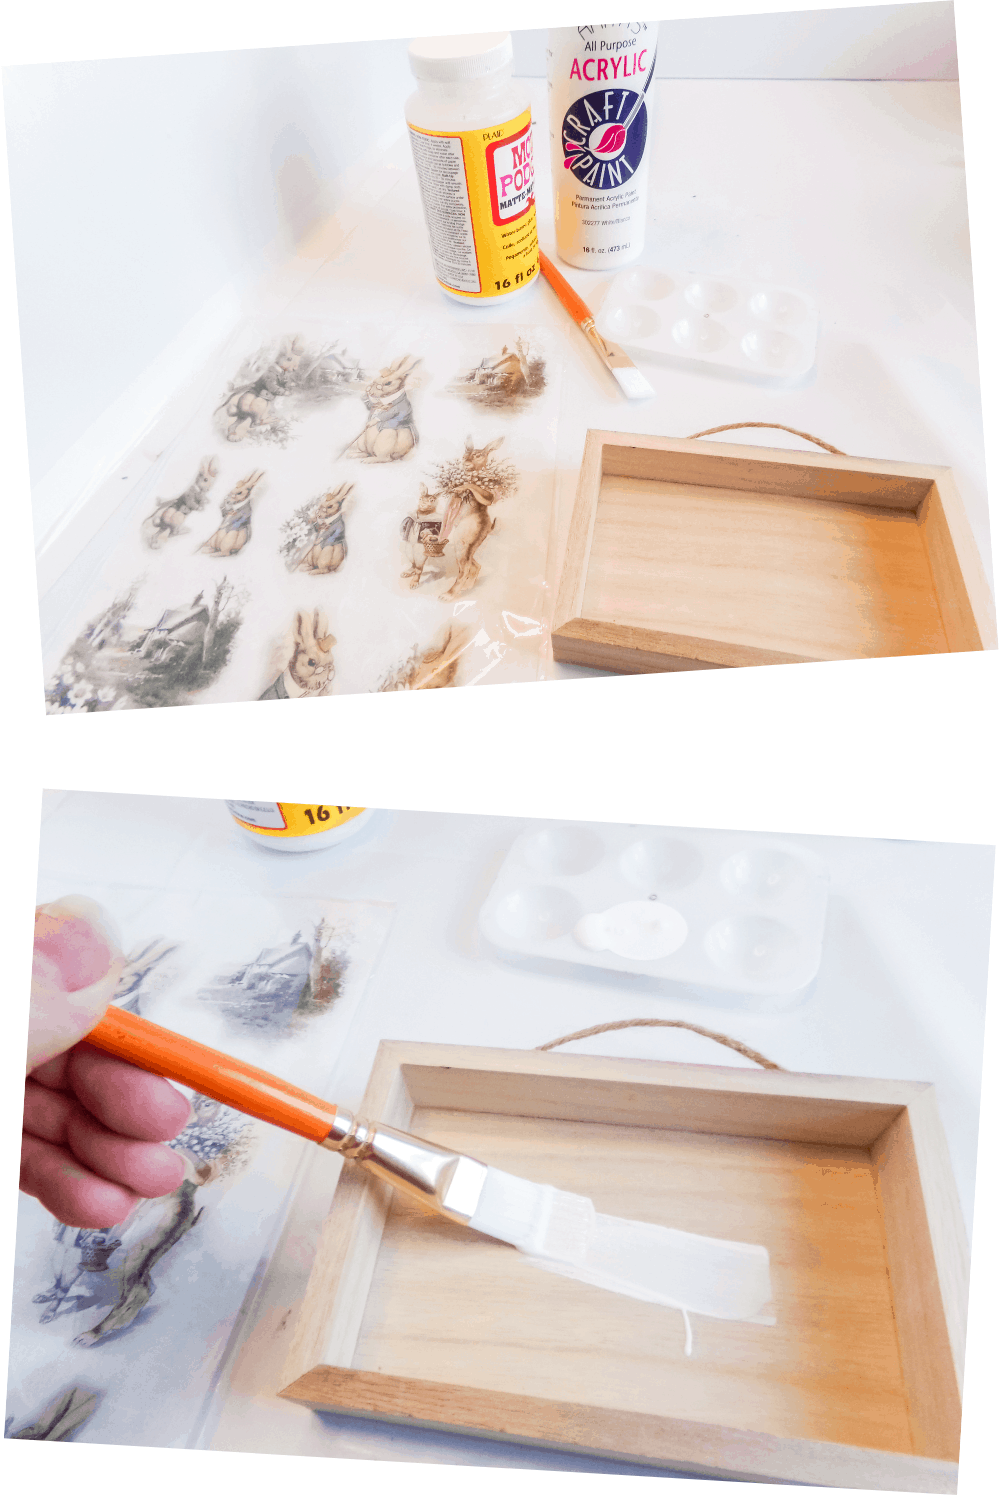
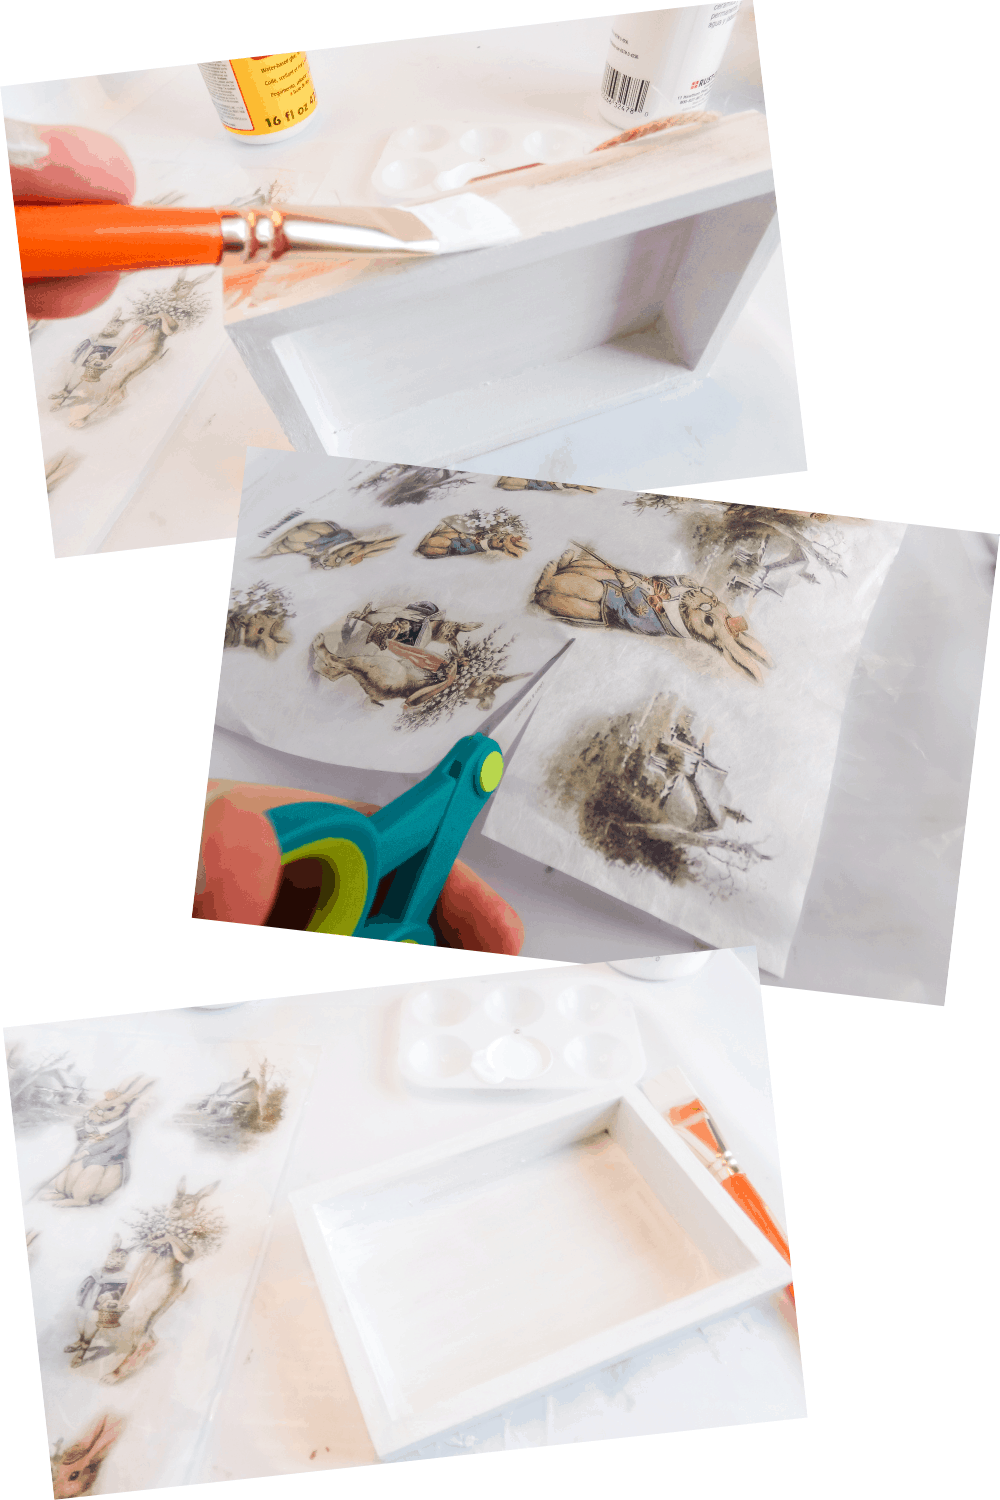
Paint the wood tray with white acrylic paint and allow the paint to dry completely.
Cut out two of the elements on the rice paper Easter sheet and make sure they fit well inside your tray.
With your positioning in mind, add a layer of mod podge to the inside of your tray where the rice paper elements will go. Immediately place the rice paper elements on top of the mod podge.
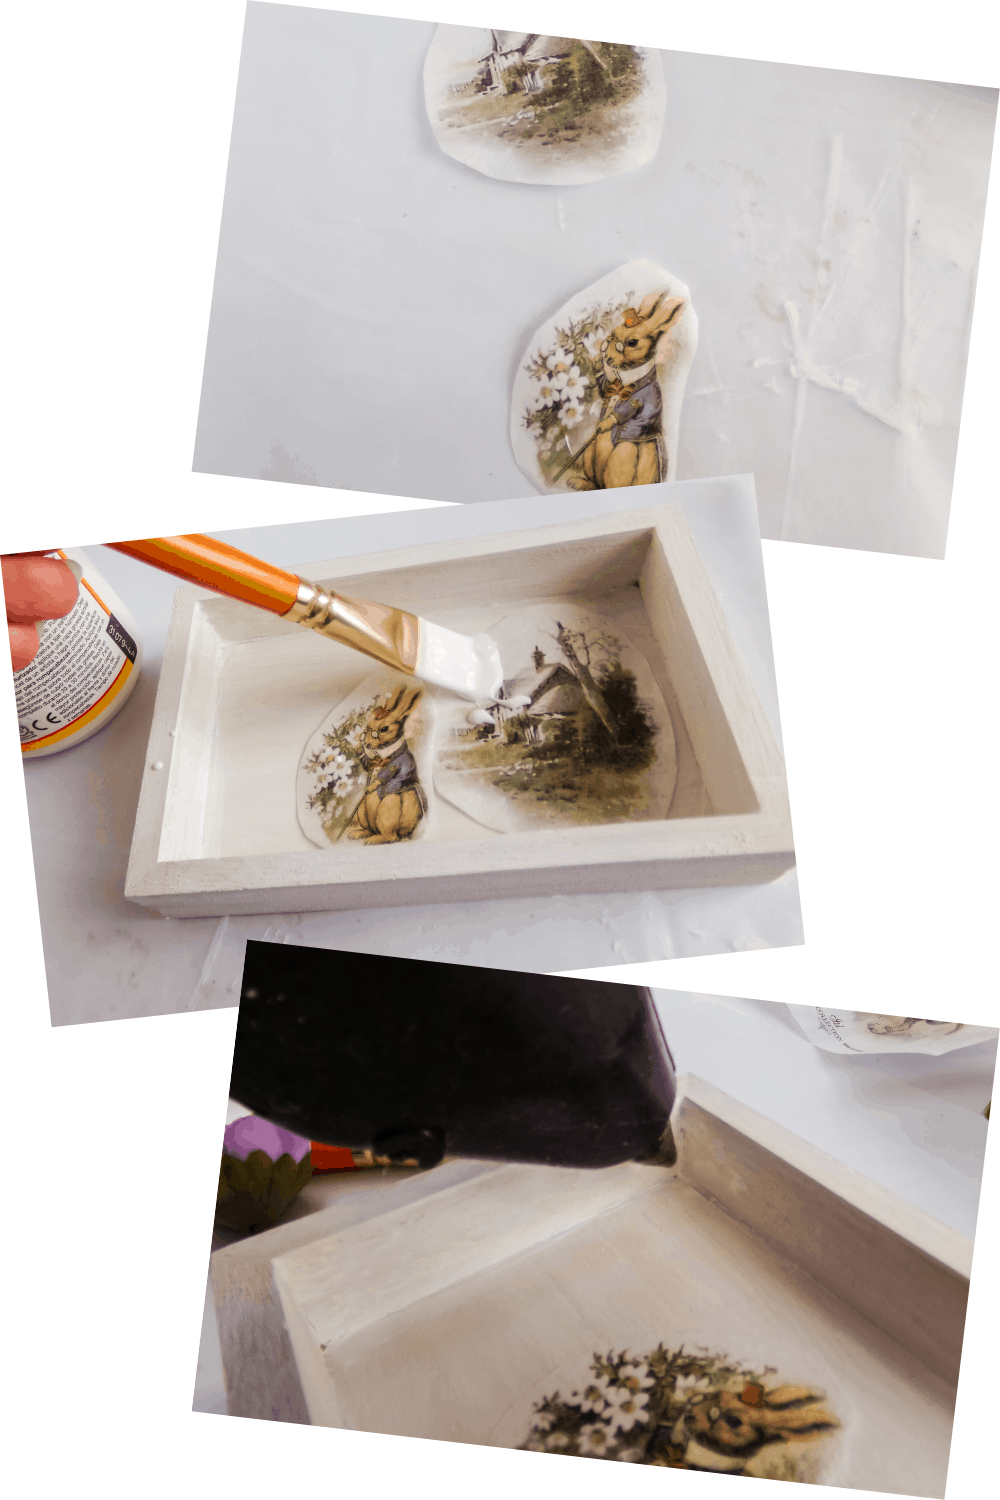
Apply a second coat of mod podge on top of the rice paper to smooth it over and allow the mod podge to dry completely.
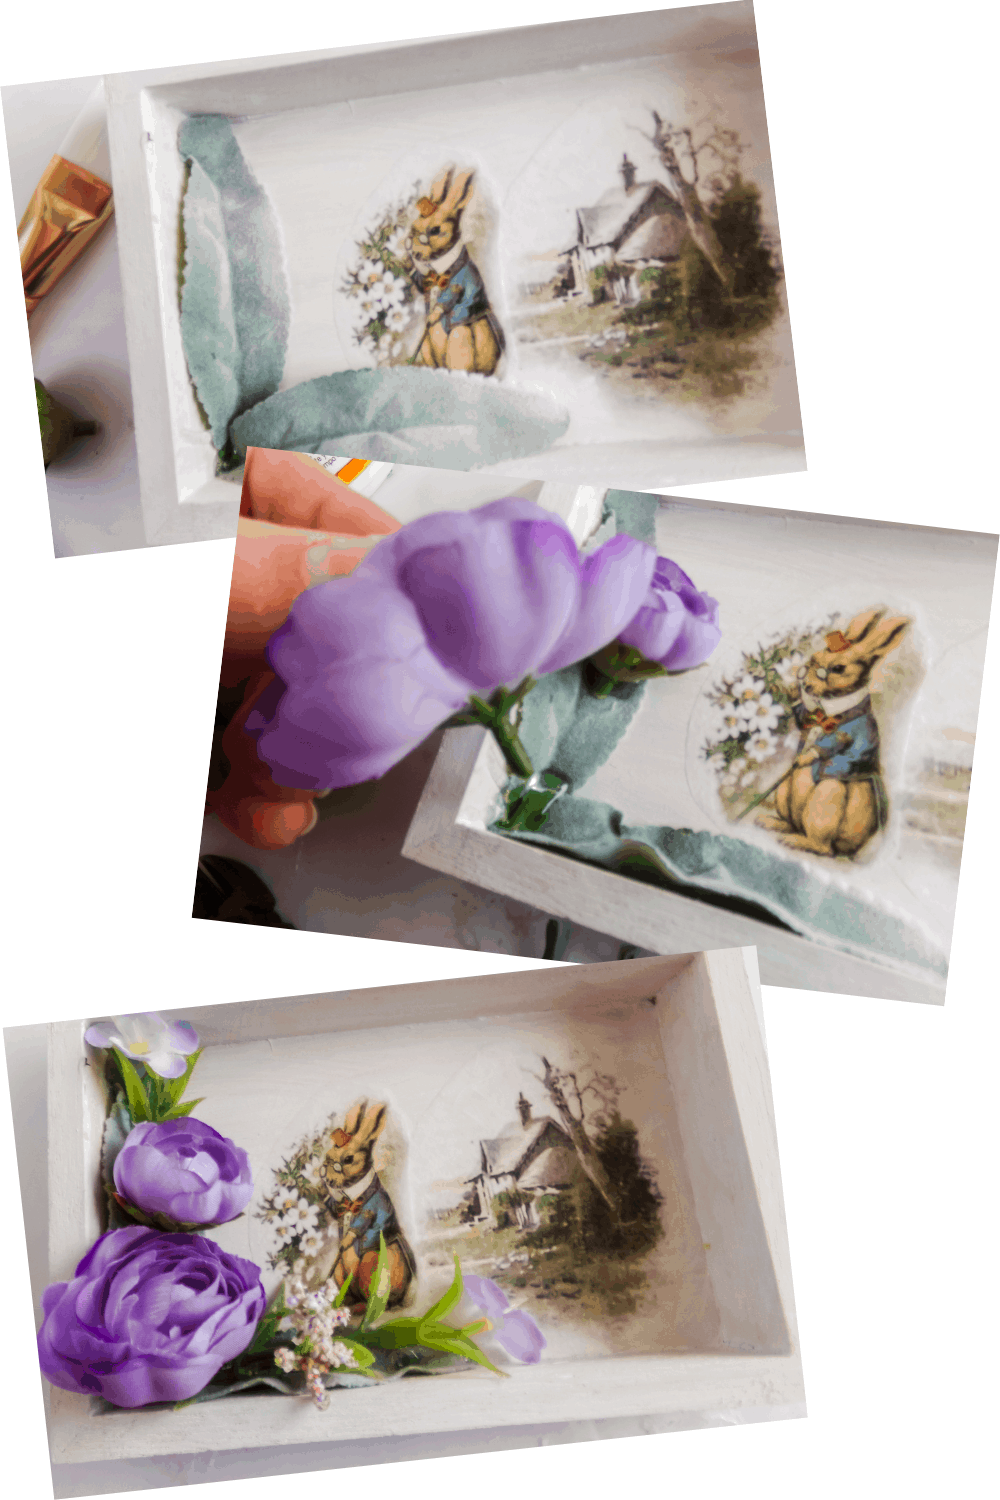
Tuck the purple faux floral elements into the corner of the wood tray and hot glue them in place. Allow the hot glue to cool completely before tucking it into your farmhouse-tiered tray!
Have fun!
If you are still completing the materials, be sure to Pin this craft to your Easy Wood Crafts Pinterest Board to make it easy for you to find it when you’re ready.

Peter Rabbit Tiered Tray Filler Craft
This witty rabbit can make its way to be more adorable with this neat and very easy-to-make Peter Rabbit Tiered Tray Filler craft.
Materials
- 1 4-inch Wood Tray (Dollar Tree)
- 1 Sheet Rice Paper Easter Sheet (I used: https://www.etsy.com/listing/932931726/rice-paper-decoupage-a4-r-1578)
- White Acrylic Paint (Dollar Tree)
- Purple Faux Floral (Dollar Tree)
Tools
- Hot Glue Gun & Glue
- Mod Podge or another craft sealant (Dollar Tree)
- Paintbrush
Instructions
- Paint the wood tray with white acrylic paint and allow the paint to dry completely.
- Cut out two of the elements on the rice paper Easter sheet and make sure they fit well inside your tray.
- With your positioning in mind, add a layer of mod podge to the inside of your tray where the rice paper elements will go. Immediately place the rice paper elements on top of the mod podge.
- Apply a second coat of mod podge on top of the rice paper to smooth it over and allow the mod podge to dry completely.
- Tuck the purple faux floral elements into the corner of the wood tray and hot glue them in place. Allow the hot glue to cool completely before tucking it into your farmhouse-tiered tray!
You will enjoy these other crafts, too.
How to Make a Small Wine Butler from Scrap Wood

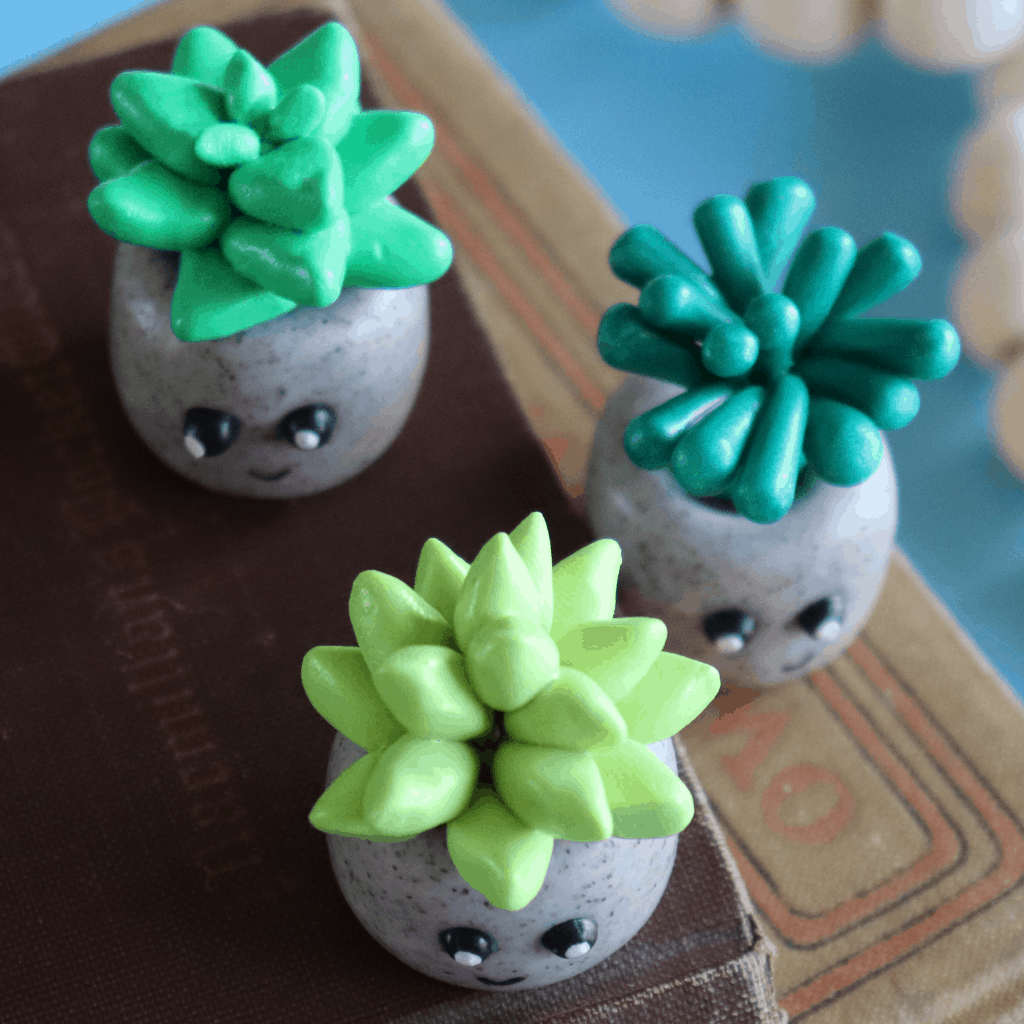
Clay Succulents Craft
6 Free Printable Easter Wall Art Posters

Instant Pot Vegan Cheesecake
