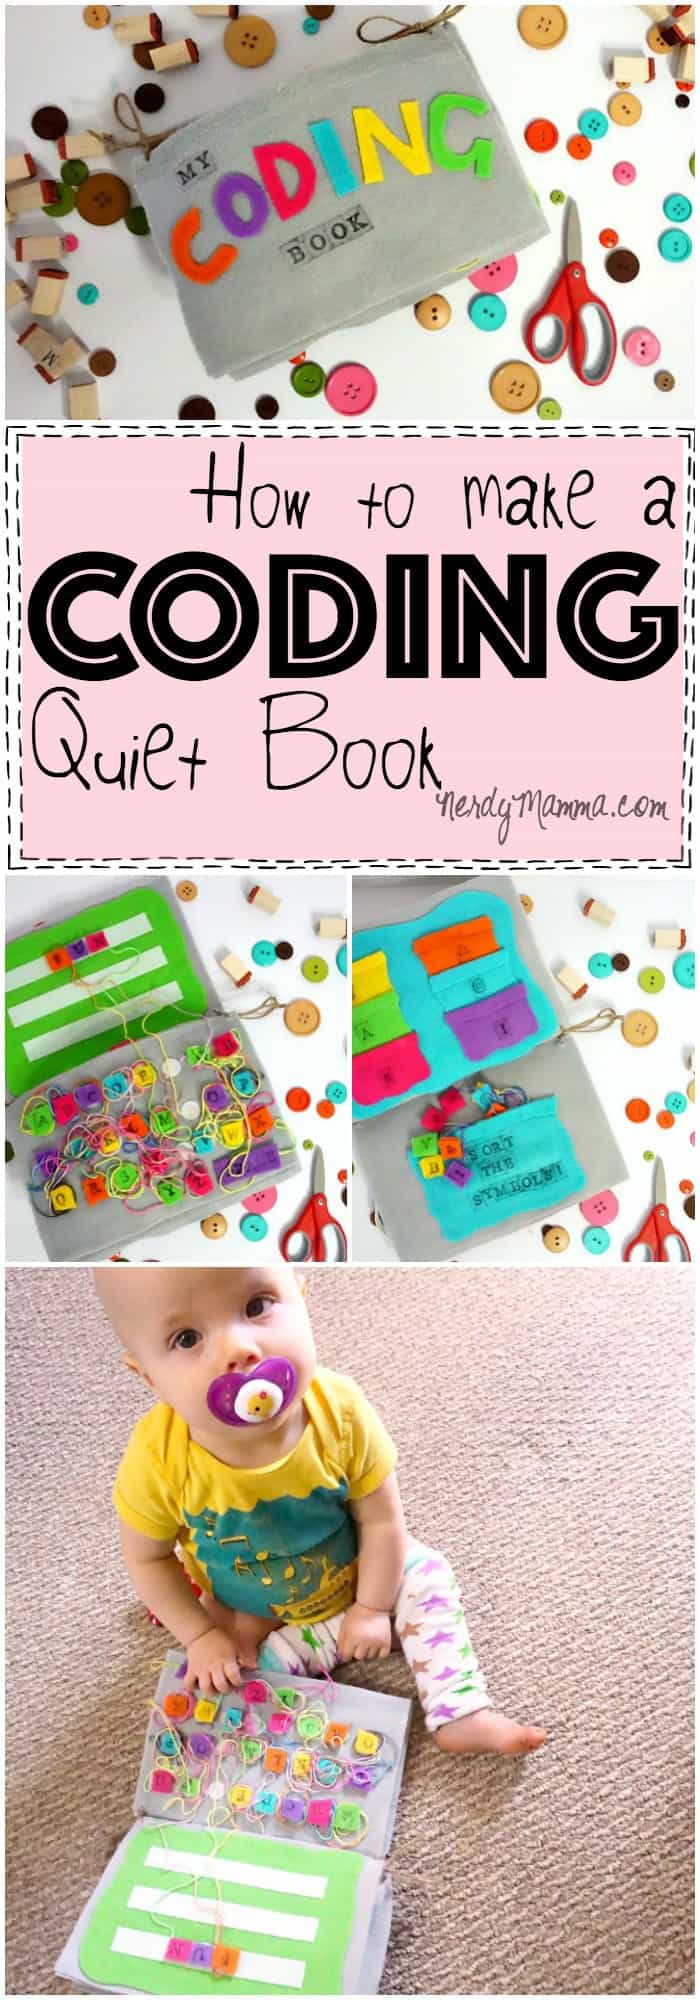
Ok, so I’m a huge nerd (as if the name of this blog didn’t give that away). I really just don’t know where to stop. Or, maybe, I don’t know where to begin. I can’t even tell. Heh. Regardless, I went a little nuts this last week. I was invited to be a part of the AWESOME 28 Days of Hands-On STEM Activities for Kids blog hop, and I decided to make a Coding Quiet Book. You know, introduce my kiddos to coding like as a baby and toddler? Yeah, that’s me–nerdy. Heh.
Be sure to check out all the other really cool STEM Activities for Kids on the blog hop. There are so many really great ideas I can’t wait to do with my kiddos–something for every age group and EVERY interest.

What You Need to Make Your Coding Quiet Book
- 6 – 8×10 sheets of grey felt (paid links)
- 3 – 8×10 sheets of pink felt
- 3 – 8×10 sheets of green felt
- 3 – 8×10 sheets of blue felt
- 3 – 8×10 sheets of purple felt
- 3 – 8×10 sheets of yellow felt
- 3 – 8×10 sheets of orange felt
- 1 very large bottle of fabric glue
- Alphabet stamps
- Fabric ink for stamps
- 1 set of very good scissors
- Fabric pen
- 1 large package velcro strips
- 1 large package velcro dots
- 3 skeins of craft string in rainbow colors
- 12-inches of burlap string for binding
- A handful of white pouf balls
- 1 ziplock bag
- 6 buttons
- 2 shoe strings
- 1 – 8×10 sheet of chalkboard vinyl

How to Make Your Coding Quiet Book
First, make your pages.
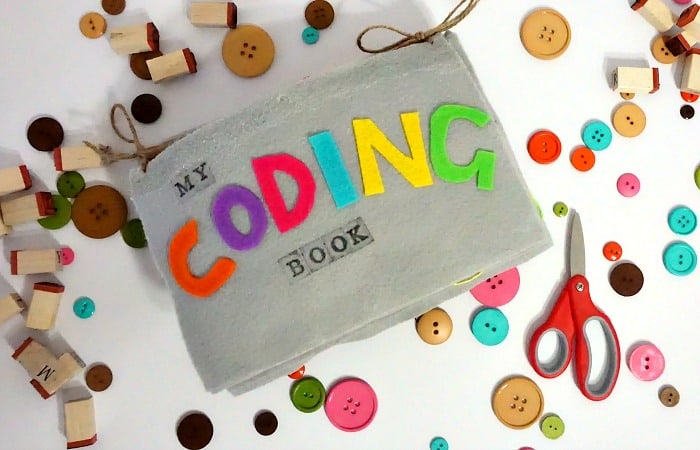
- Cover:
- Cut one big letter out of each color felt (except the grey), free-hand, to spell-out the word “CODING”. Because I run with scissors like that.
- Glue each letter of the word “CODING” to the top half of the cover page.
- Stamp “MY” and “BOOK” above and below the word “CODING”, respectively, staying on the upper half.
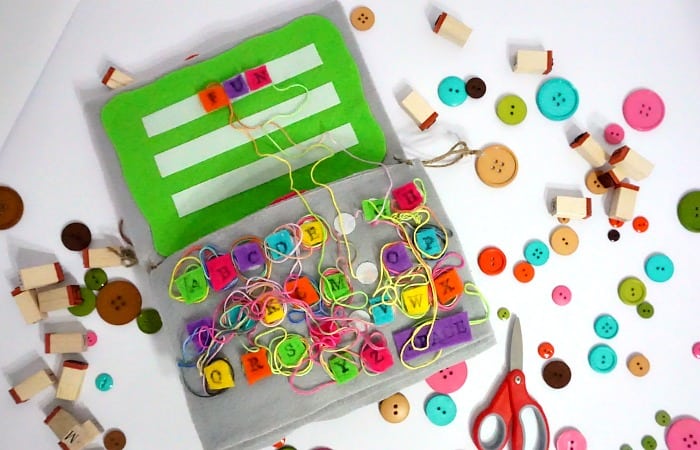
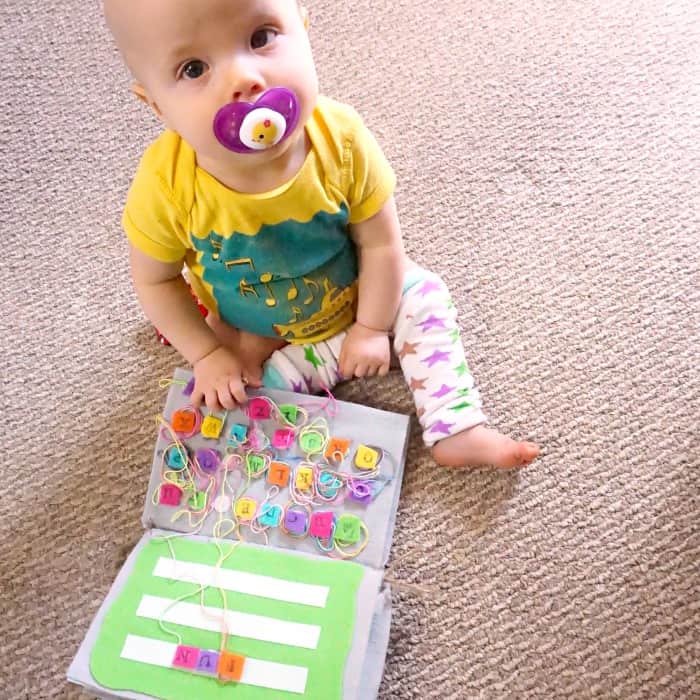
- Page 1 (Laptop):
- Cut one green sheet in half, then trim the edges to make it even smaller and glue onto the top half of the page.
- Glue 3 strips of the hard-crunchy-sticky side of the velcro in 3 rows on the face of the green felt you just glued in place.
- Cut 26 tiny squares from each of the colors of felt (except the grey).
- Stamp each letter of the alphabet a tiny square.
- Cut one larger, longer rectangle and stamp the word “SPACE” on it.
- Glue a piece of craft string to the back of each alphabet square, then place a hard-crunchy-sticky velcro dot on the back.
- For every letter, glue the craft string attached to a letter, topped with a soft velcro dot on the bottom half of the grey felt, to correspond with the placement of each letter. Gah, just look at the picture! LOL!

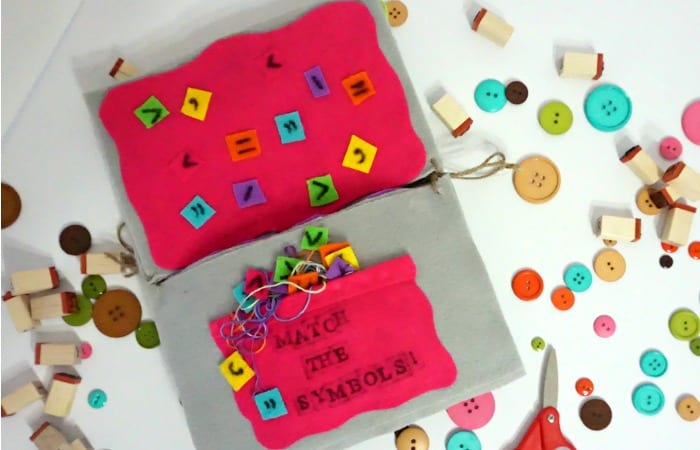
- Page 2 (Symbol Match):
- Cut one pink sheet in half, then trim the edges to make it even smaller and glue onto the top half of the page.
- Cut 24 tiny squares from the various colors of felt (except the grey).
- Using the fabric pen, draw the symbols.
- Glue half of the symbol squares to the pink sheet already glued to the top half of the page. Use a random pattern for the colors and symbols.
- Glue a piece of craft string to the back of each loose symbol square, then place a hard-crunchy-sticky velcro dot on the back.
- Glue the loose end of the string to the bottom half of the page.
- Make a pocket for the bottom half and glue it on top of the location where the strings are glued-down.
- Stamp the words “Match the Symbols” on the pocket.
- Page 3 (Hunt-and-Find & Button-the-Statement):
- Make some rainbow-colored rice by mixing 2 tblspn of rice with 2-3 drops of food coloring and allowing it to sit overnight (or a couple of hours, whatever–just until they’re dry).
- Cut one purple sheet in half, then trim the edges to make it even smaller and glue onto the top half of the page.
- Cut 12 tiny squares from the various colors of felt (except the grey).
- Using the fabric pen, draw the symbols.
- Throw the rice, symbol squares, and poufs into the ziplock back.
- Cut off the top of the ziplock bag and, using the fabric glue, glue the bag closed.
- Glue the ziplock bag to the purple sheet affixed to the upper half of the page.
- Using the remaining half of the purple sheet, cut out a window from the center. Be sure to trim the edge.
- Glue this window to the ziplock bag and purple sheet on the top half of the page.
- Cut the remaining purple sheet (the inside of the window) in half and trim it a little.
- Cut 4 holes in each piece of the purple sheet you just cut in half.
- Glue the edge of each piece to the bottom half of the page–leaving the holes you cut un-glued for easy access.
- Thread the craft string between two buttons. Do this for all the buttons.
- Stamp the words “IF”, “THIS”, “THEN”, “THAT” on the flaps.
- Button the buttons.
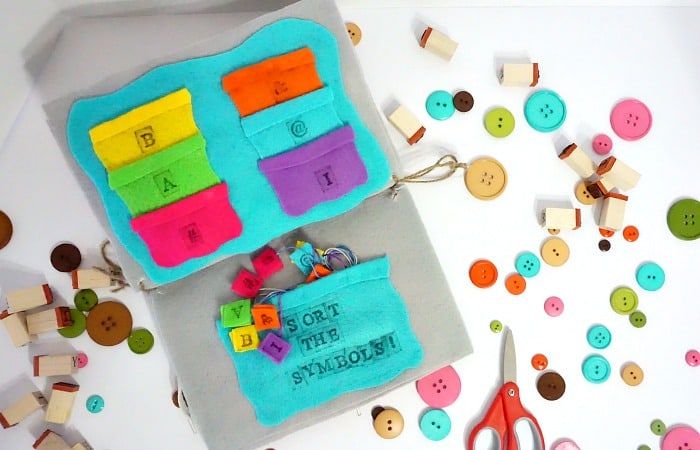
- Page 4 (Sort-the Symbols):
- Make mini-pockets.
- Just do what’s in the picture.
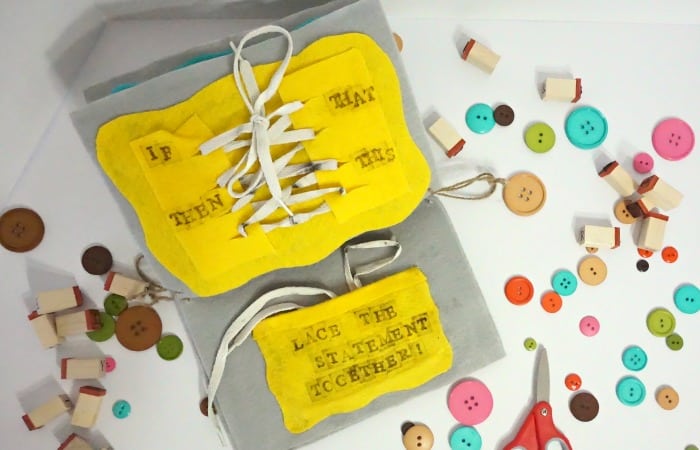
- Page 5 (Lace-the-Statement):
- Eh, you can figure this one out…
- Eh, you can figure this one out…
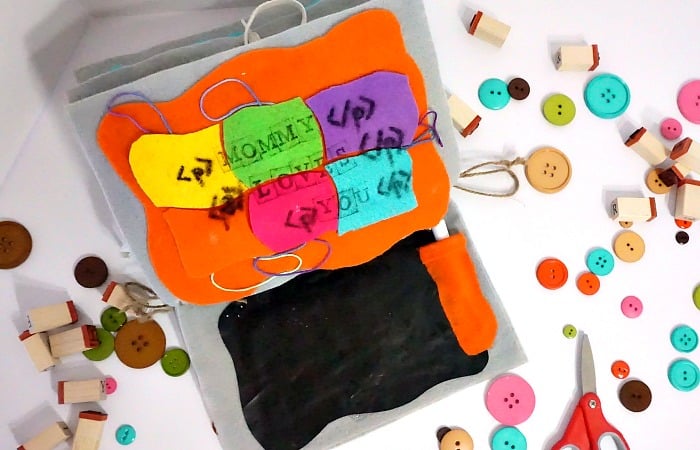
- Page 6 (Code Puzzle & Chalkboard):
- Just do it…
- Just do it…

Second, let that ALL dry well. Otherwise, your coding quiet book will fall apart, so let it dry…let it dry.
Third, fold each page in half, then cut them down the center. Do this for every page–including the cover.
Fourth, cut your binding holes in the upper corners using a hole punch or your scissors.
Fifth, glue each page to the other.
Sixth, bind them all together with the burlap thread.
Finally, throw it at your little coder and RUN! They know how to code! NOOOOO! LOL!
I’m tired of writing. This is the longest post I’ve ever written. So, let me know if you make your own coding quiet book…I’d love to get your feedback!
Just in case you have to place an order or run out to the store to gather supplies, go ahead and pin this to your favorite crafts board. That way, you’ll be able to get back to it quick as a wink!
Because You Love This Quiet Coding Book Craft, You’ll Need to Check Out These Ideas, too:
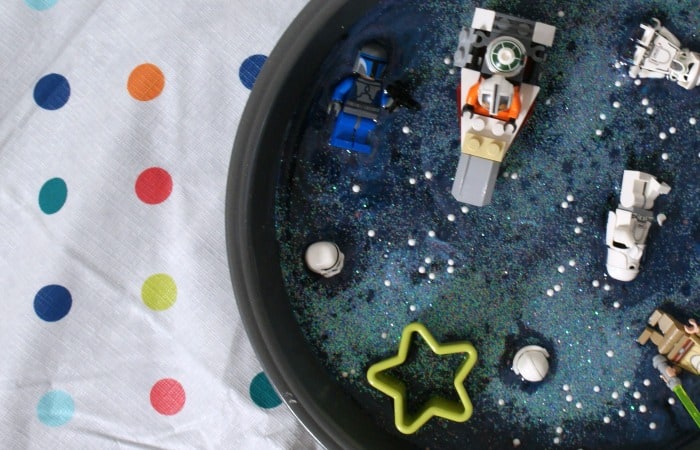
Star Wars Galaxy Obleek
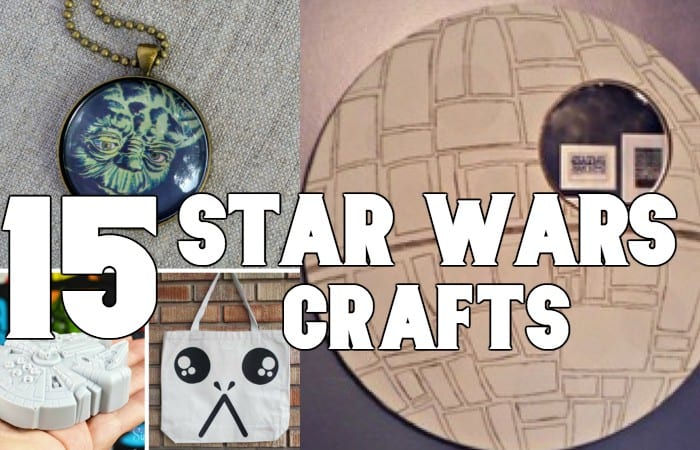
25 Star Wars Crafts You Need in Your Life
DIY Cardboard Space Rocket