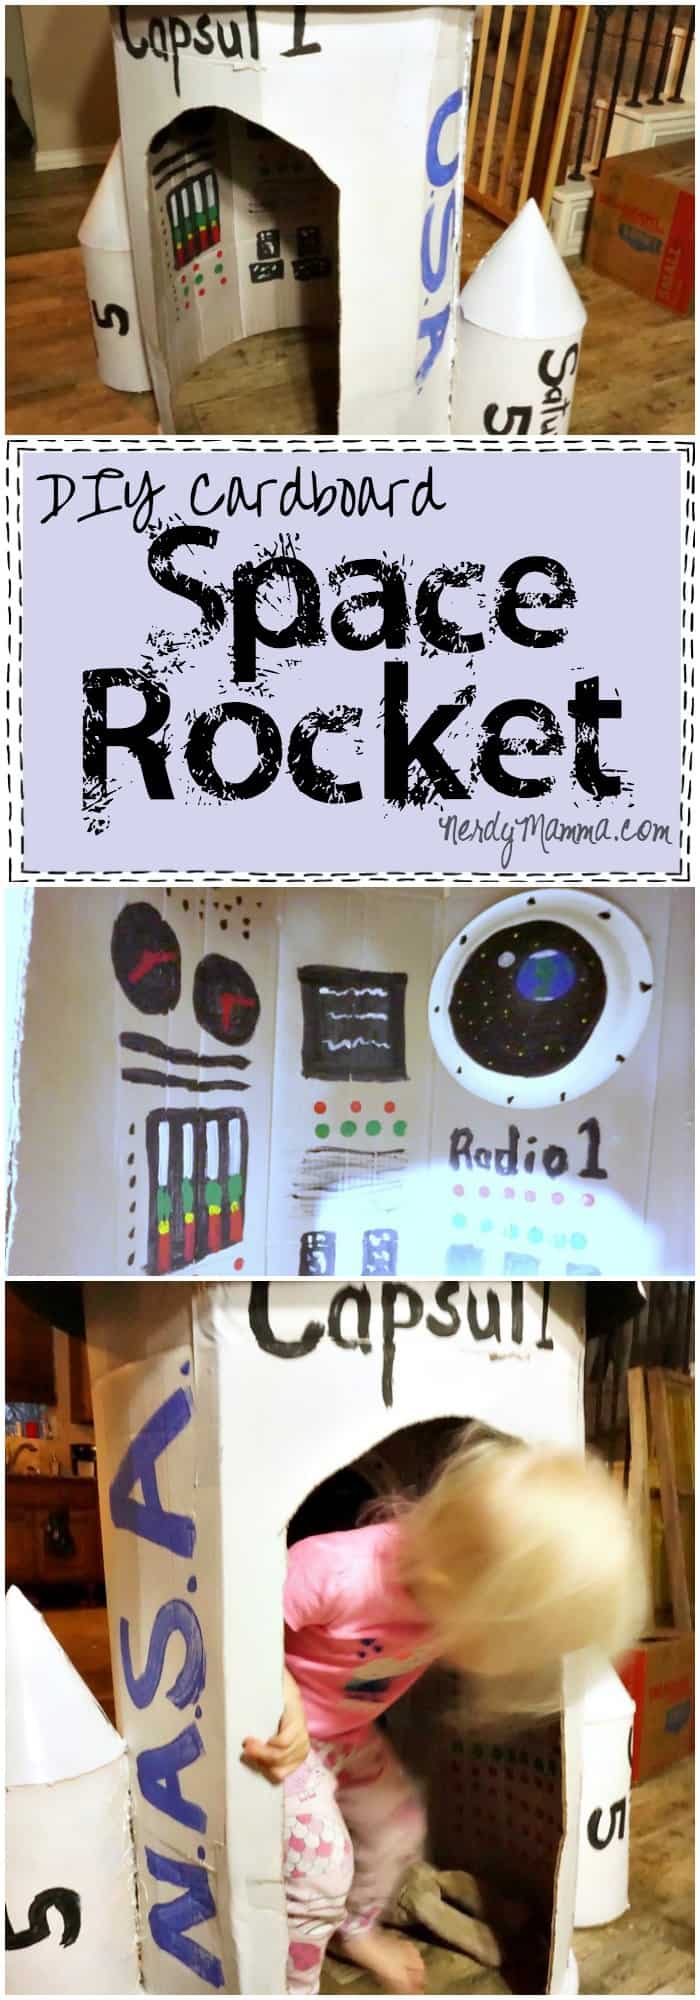
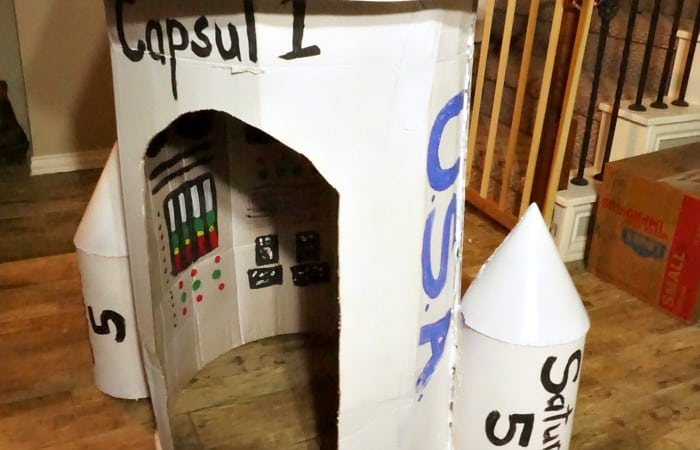
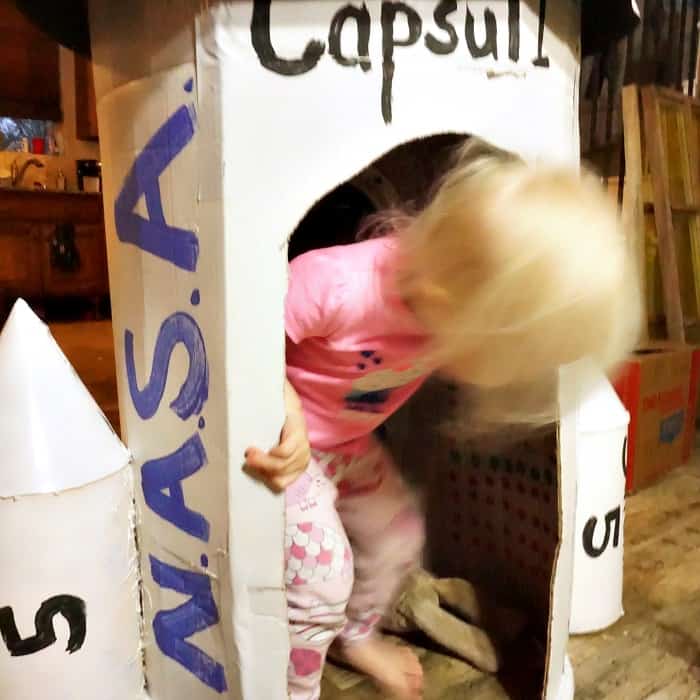
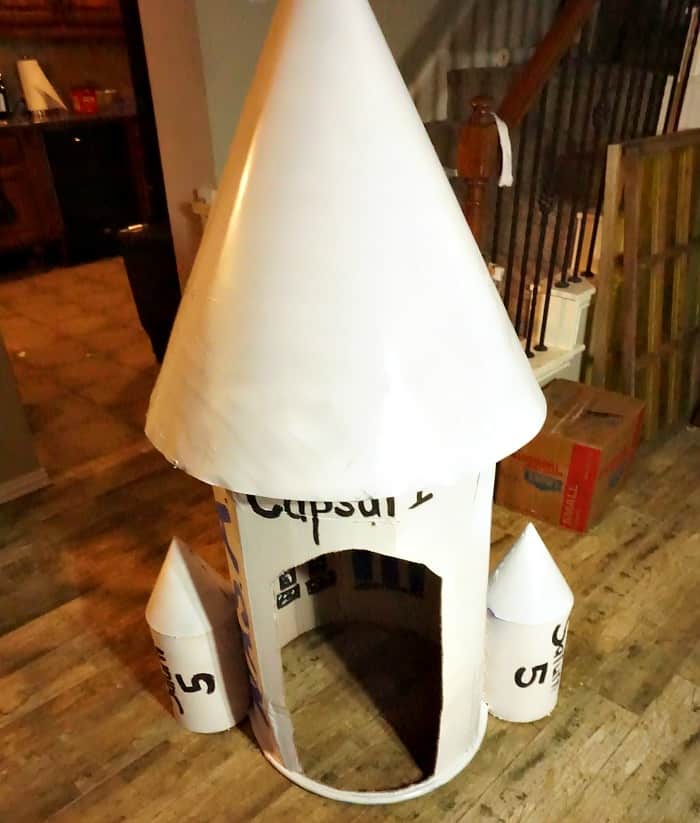
Alright…I’ve been DIYING (LOL!) to share this awesome project with you guys for a couple of weeks now. Ever since I got my DIY Cardboard Space Rocket put together, well, I really wanted to share with you the book that inspired us to make it and how to make your own. So here’s How to make a DIY Cardboard Space Rocket & a Book Review of (paid link) The Astronaut Instruction Manual by Mike Mongo.
What You Need to Make Your DIY Cardboard Space Rocket
Main Rocket Body
- 2 small hula hoops
- 1 very large box (for the body)
- 1 small tube used for concrete forms
- 2 pieces poster board
- Extra cardboard just for grins
- Hot glue gun
- Clamps
- Rope/string
Decorations
- White paint
- Various colors of tempura paint
- 1 paper plate
How to Make Your DIY Cardboard Space Rocket
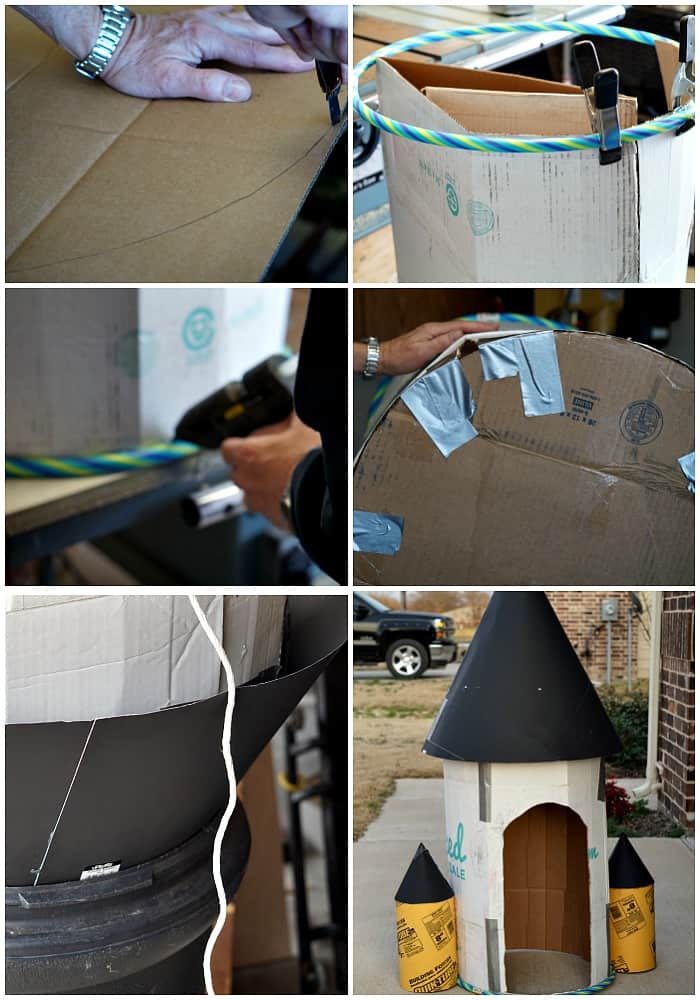
- Using your hula hoops, cut out 2 rounds of cardboard to fit on the outside lip of the hula hoop.
- Make sure the cardboard “grain” is opposite and glue together. Set aside.
- Using your big box, cut one end so it’s flat, then roll it inside the hula hoops, one on each end. To help hold it in a round shape, use the clamps to hold it’s edge to the hula hoop and the rope to hold it together in the center. Feel free to cut to height at this point, if you want it shorter–also, feel free to cut the excess off the inside of the tunnel.
- Glue the hula hoops to the tunnel of cardboard and remove clamps after it’s dry.
- Remember those rounds of cardboard you glued together in step 2? Glue those to the top of the ship’s body–tape in place if you need to.
- Cut the concrete tubes in half (or whatever height you want–I wanted mine small so I cut it in thirds).
- Glue the concrete tube pieces to opposing sides of your space rocket’s body.
- Using one poster board, form a cone to fit over the top of the space rocket’s body. Glue in place. To do this, I found it handy to turn it all upside down in a trash can…because holding it together was hard.
- Cut the other poster board in half and form two cones, one for each of the side rockets. Glue in place.
- Cut a hole for the door.
- Paint everything white–inside and out. This may take several coats.
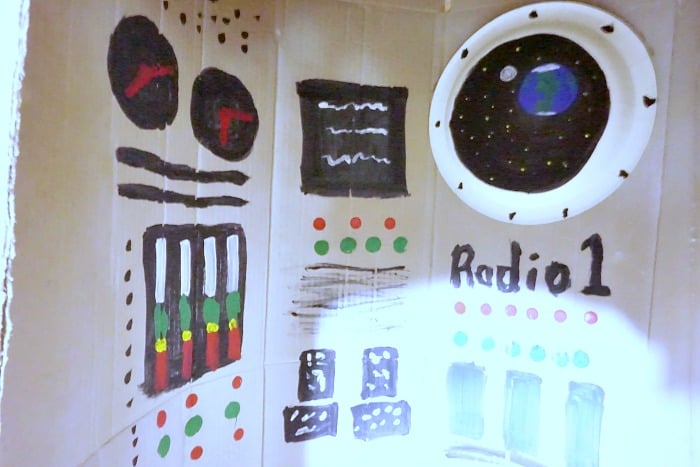
- After the white paint has dried, go crazy making screens, buttons, portholes and notations on the inside. And be sure to paint “NASA” on the side…or whatever, but that’s what we went with.
Randomly, after we were all done, we realized this could also be a great castle. So, there’s that. But we went with our original plan because my little girls won’t be princesses–they’re going to be a doctor and a scientist. LOL!
The Astronaut Instruction Manual by Mike Mongo
So, I was inspired to make our cardboard space rocket because my son recently picked-up a copy of The Astronaut Instruction Manual (paid link). While my son is talking more and more about becoming an electrical engineer (like his grandpa) and less about becoming a rockstar (his original career goals were lofty, I know), he seemed REALLY interested in this book. Not only does it have some great activity ideas (like what to look up online to learn more about aeronautics and what it takes to be an astronaut, but it’s also got some just great critical-thinking advice for kids that are interested in the STEM careers. So, even if he never gets the chance to don the shiny white helmet and pee in a vacuum, he’s still learning some great concepts. Plus, it inspired him to read the book to his little sister…which led to the making of the cardboard space rocket…which led to them having a blast together (pun intended) pretending to be astronauts. I love being a mom.
I thought I’d share this as part of a great Storybook Science initiative by some of my favorite bloggers. If you want to see a TON more awesome science inspired by books, check out the landing page at Inspiration Laboratories!
So, leave me a comment to let me know how your cardboard space rocket turns out. And don’t forget to go check out The Astronaut Instruction Manual (paid link) by Mike Mongo…it’s perfect for all of those up-and-coming astronauts out there. Heh.

