When I was a kid, We typically didn’t do big gifts to others outside of our family because there wasn’t a lot of money to go around and both my parents worked very long hours to make what money we had. But we still gave. We gave to each other, we gave to the people around us, and then we gave anonymously. I’ve carried that tradition on with my son and I hope that one day, it will be as large a part of his Christmas memories as the tradition was for me. This year, I made Grinch Cookie Dough Bites in Crinkle Cookie Cups to say “thanks” to my son’s special needs teachers, because they’ve put up with a lot–and we’re seeing so many positive changes, they might not even need to be around for him next Christmas…
Why am I thanking my son’s teachers specifically this year? Well, last year they put up with a LOT. So much so that when Christmas came around, he wasn’t even in school. But this year has been different. I know that a lot of that difference is my son and his efforts. But I can’t deny that a BIG part of the difference has also been his team at school. They have worked hard this year to make every tiny effort on his part stretch for miles. And, as a result, he’s achieved some things I wasn’t sure he’d be able to do ever. And they deserve thanks. So, I spent 30 minutes putting together a yummy treat to say it with baked goods (because that’s the proper way to thank someone in my book! LOL!).
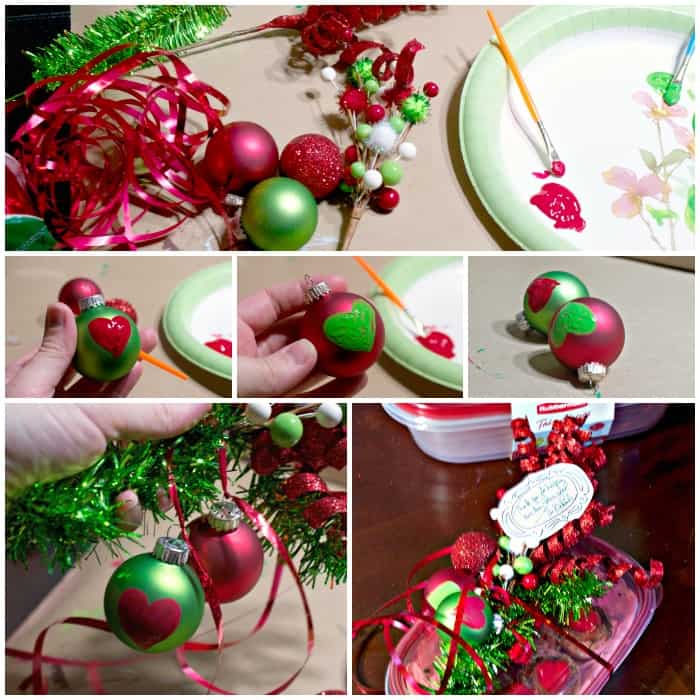
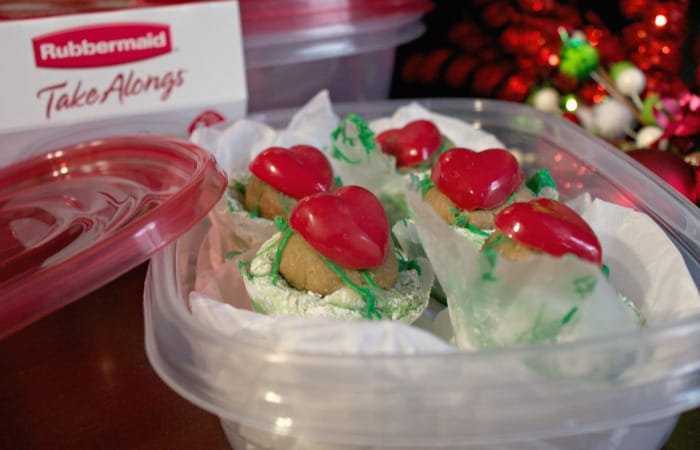
Oh, you want to get-in on the tradition, too? Well, alright! Make a batch of these awesome cookie dough and crinkle cookie yummies, then pop them into these cute little Rubbermaid TakeAlongs with their awesome variety of sizes and colors, throw together this easy ornament decoration on the top–don’t forget to print your cute little gift tags (JPEG or PDF)!–and pass-out your gifts to those who deserve it. Here’s a quick photo tutorial for how I made my ornament decoration:
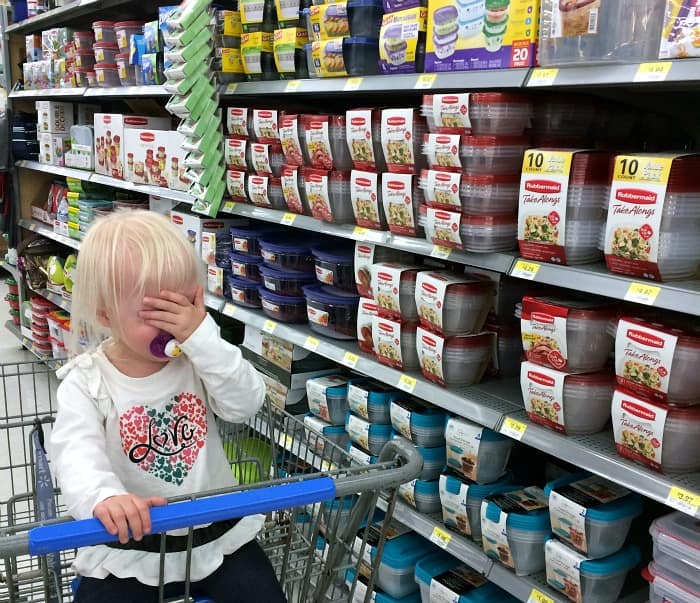
I snagged my Rubbermaid TakeAlongs at WalMart, in the kitchen-ey area. My daughter was none-too-amused that we were walking past the toy section to get these, but, one day, she’ll understand the reason why giving is so much more fun than getting.
She felt much better, though, when mommy presented her with her own little box of yummy Grinch Bites, so the day was saved…
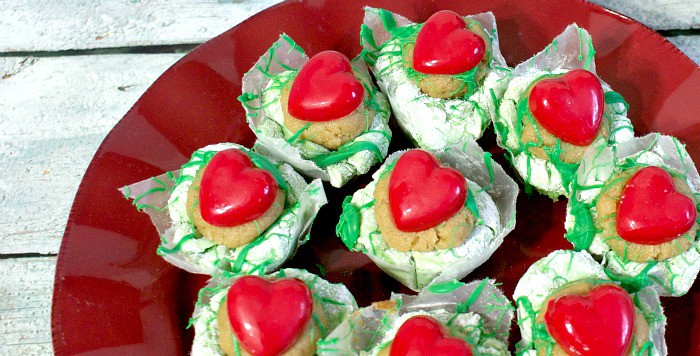
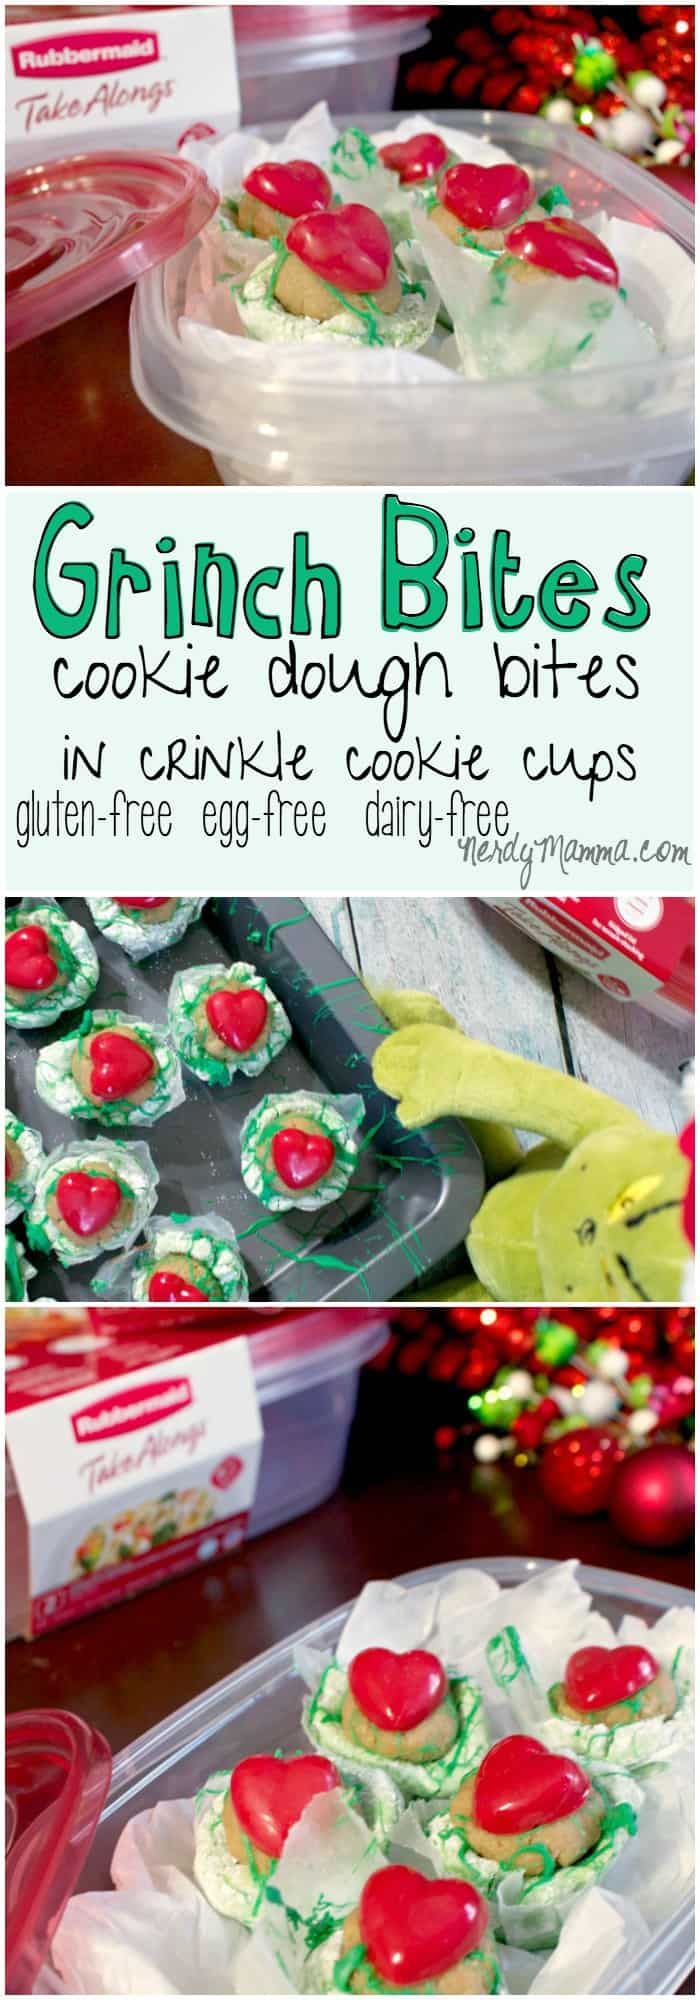
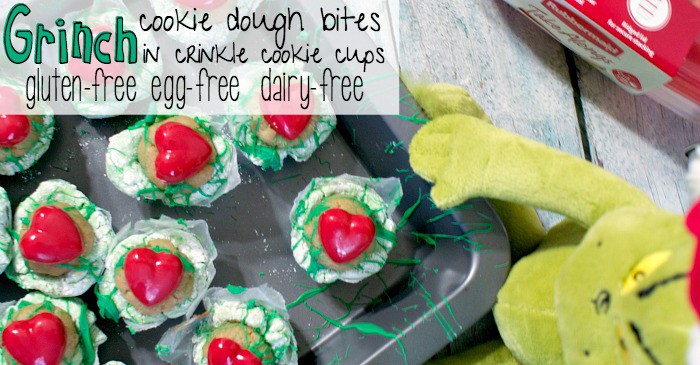
Recipe for Grinch Cookie Dough Bites in Crinkle Cookie Cups
Grinch Cookie Dough Bites in Crinkle Cookie Cups
This year, I made Grinch Cookie Dough Bites in Crinkle Cookie Cups to say "thanks" to my son's special needs teachers, because they've put up with a lot--and we're seeing so many positive changes, they might not even need to be around for him next Christmas...
Ingredients
- Grinch Crinkle Cookie Cups
- 2 cups gluten-free flour
- 1 cup granulated sugar
- 2 tspn vanilla
- 1 tspn mint
- 1 tspn baking soda, gluten-free, remember!
- 1/2 tspn salt
- 3/4 cup melted coconut oil
- 1/2 cup aquafaba, yeah, bean juice, you know you love it
- Green Food Coloring
- 1 cup Powdered Sugar
- 1 tbsp Corn Starch
- Edible Sugar Cookie Dough
- 1/8 cup coconut oil, room temperature
- 1/4 cup juice from can of beans – I used pinto beans
- 1/2 cup sugar
- 1 1/2 tspn vanilla extract, clear–please please use clear
- 2 cups oat flour, I actually used baby food oat cereal for a smoother texture
- Decorations
- 1 cup dairy-free white chocolate chips
- Red food coloring
- Green food coloring
- 2 tblspn vegetable oil, as needed
- Heart-shaped candy mold
Instructions
- Grinch Crinkle Cookie Cups
- Preheat oven to 375 degrees.
- Line mini-muffin tin cups with parchment paper.
- In a shallow bowl, mix powdered sugar and starch. Set aside.
- In a large mixing bowl, combine all wet ingredients.
- In a second mixing bowl, combine dry ingredients except powdered sugar and starch mixture.
- Add dry ingredients to wet in 1/3 increments.
- Mix well.
- Put some gloves on and take a ball of the dough in hand and immediately roll it in the powdered sugar/corn starch.
- Place in the mini-muffin tin and form into a cup.
- Bake in the oven for approximately 8-10 minutes.
- While that's baking, make your sugar cookie balls by mixing all ingredients together in a medium bowl and stirring until a consistent texture is reached.
- Separate the cookie dough into small, ping-pong sized balls and round them out with your hands. Place on a cookie sheet and pop them in the refrigerator until you need them.
- Remove the cookie cups from the oven and allow to cool for at least 10 minutes--do not panic if they are too fluffy to be a "cup". When they cool, the cup will re-appear.
- While that's cooling, make your hearts by melting 2/3 of the chocolate chips in a microwave in 30-second increments, stirring between.
- Add red food coloring and stir until combined. If mixture is too thick, add oil until desired consistency is reached.
- Place in the mold per directions, then place in refrigerator for approximately 10 minutes.
- Make green chocolate drizzle by melting the remaining 1/3 of the chocolate chips in a microwave in 30-second increments, stirring between.
- Add green food coloring and stir until combined. If mixture is too thick, add oil until desired consistency is reached.
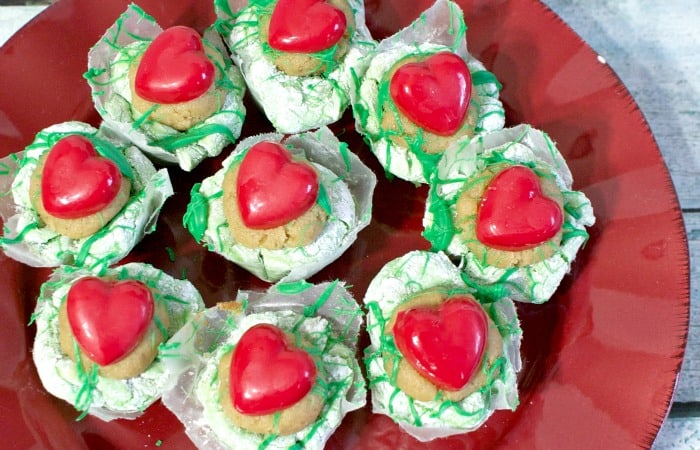
- Place the cookie dough balls into the crinkle cookie cups.
- Drizzle with the green chocolate and place a red heart on top immediately.
Because You Really Love This Recipe, You Will also Need to Check Out These Holiday Ideas:
Santa Macaron Cookies
How to Make a Cheap Ham Taste Amazing

Elf On The Shelf Star Wars Style!