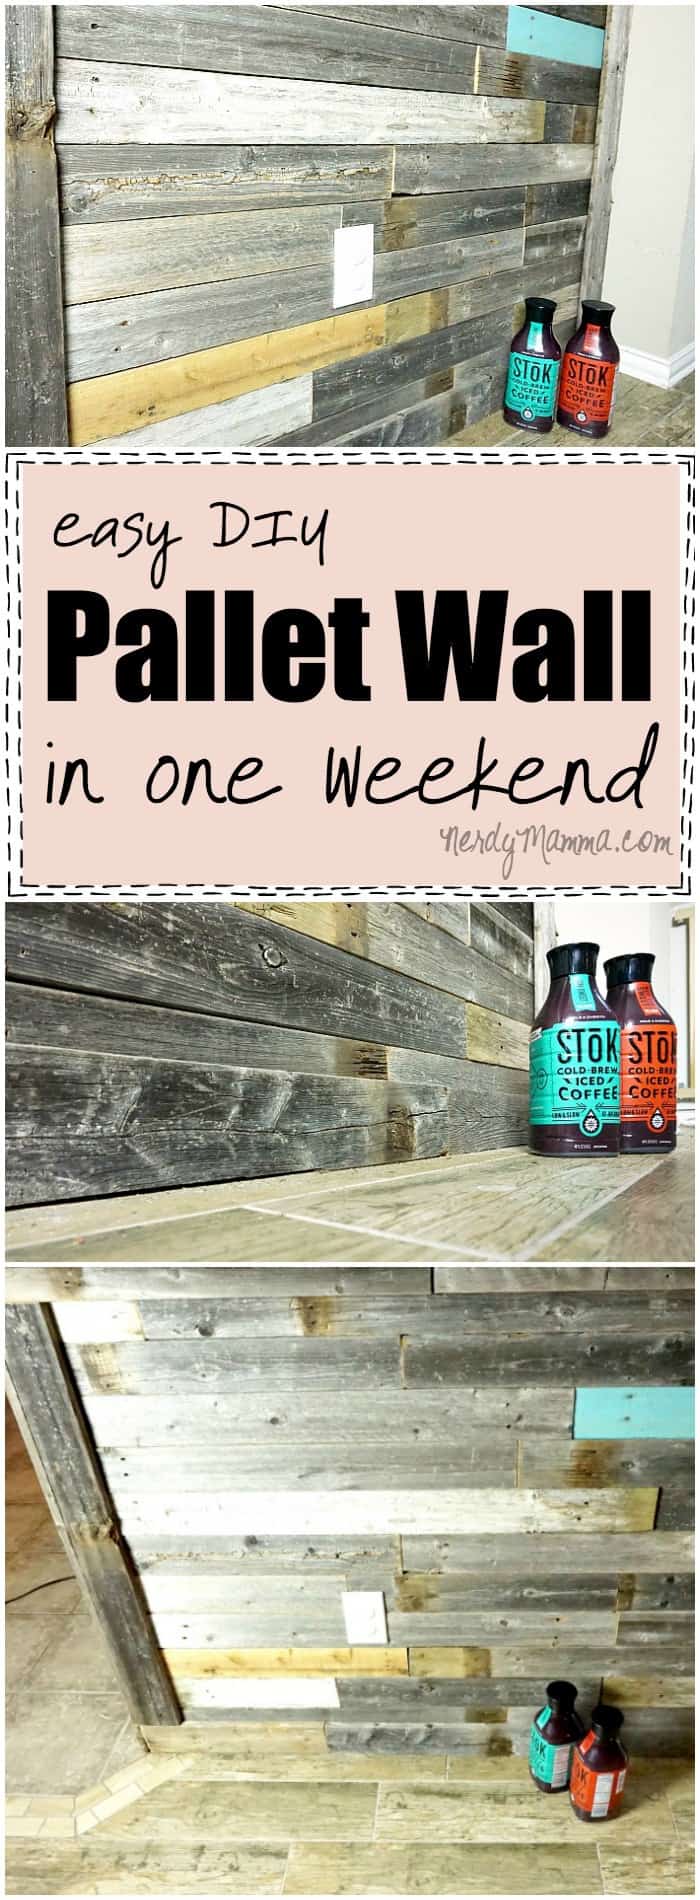
How to Put Together Your Easy DIY Pallet Wall
Ah, yes, for you all who prefer running with scissors, here’s your photo tutorial:
And for the rest of us, more sane, people (real words):
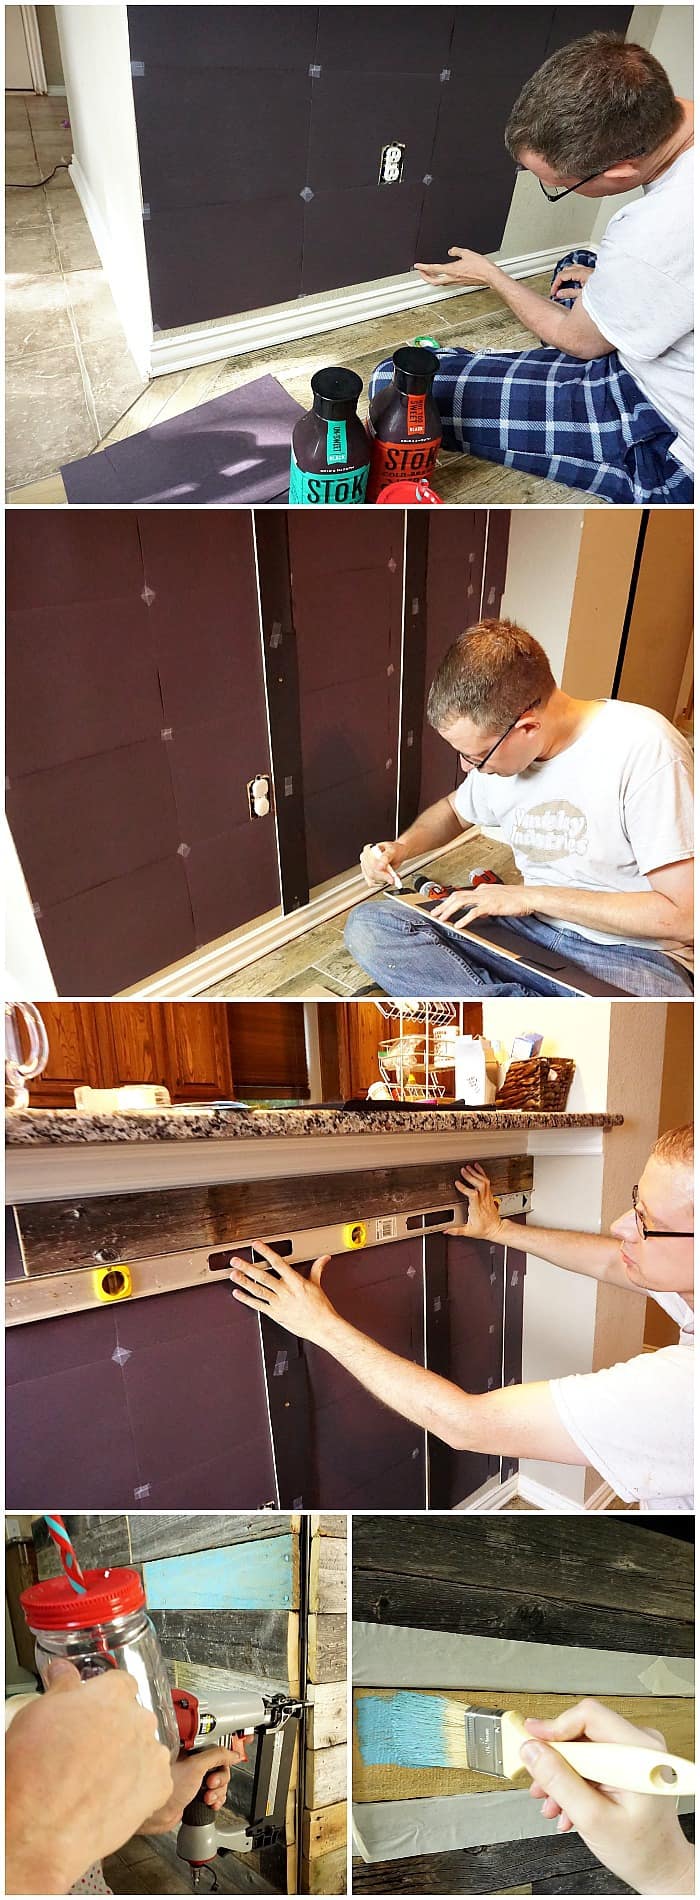
- Cover your wall in the black construction paper (this will hide the gaps that will invariably be there–trust me on this), using the invisible tape.
- Screw the strips of plywood to the wall vertically, spaced about 2 feet apart. Try to place them over studs to provide extra support.
- Cover those in the construction paper, too…
- Line up a piece of distressed wood at the topmost corner on one side, under the baseboard, if you have that under your bar like we do.
- Using the brad nailer, nail that first plank in place on the plywood strips (this will limit the number of holes in the wall).
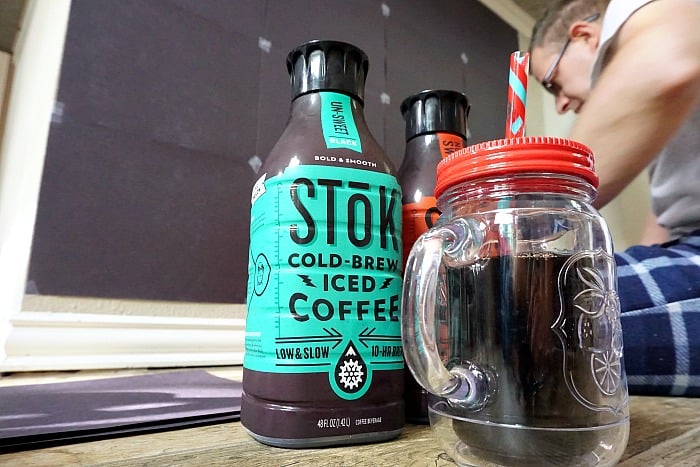
- Stop and have a congratulatory drink of SToK™ because you just did the hardest part–getting started.
- Start placing planks on the whole wall in this manner, being sure to space them randomly so they look fun.
- Stain 1-2 planks per wall with your fun stain.
- Cover baseboards with a plank of the distressed wood to give the wall a finished look.
- Using the black construction paper, fold some interesting origami and fill-in any gaps that look weird.
- High-five your partner and finish-off your SToK™ because This. Wall. Is. Done.
Ok, so, when you do this, I totally want to see the results. So, hit me up with a comment below or find me on Facebook–or you can even message me in Pinterest (I’m on there CONSTANTLY). Send me a pigeon, even–although I’m not sure if that’ll make it, but whatever.
Just show me the cool results of your Easy DIY Pallet Wall–or whatever fun project you were inspired to undertake. And be sure to head over to Kroger to get little SToK™ (AKA inspiration with a smooth, slow brewed, but chilly, flavor)–and let’s kick this up a notch!