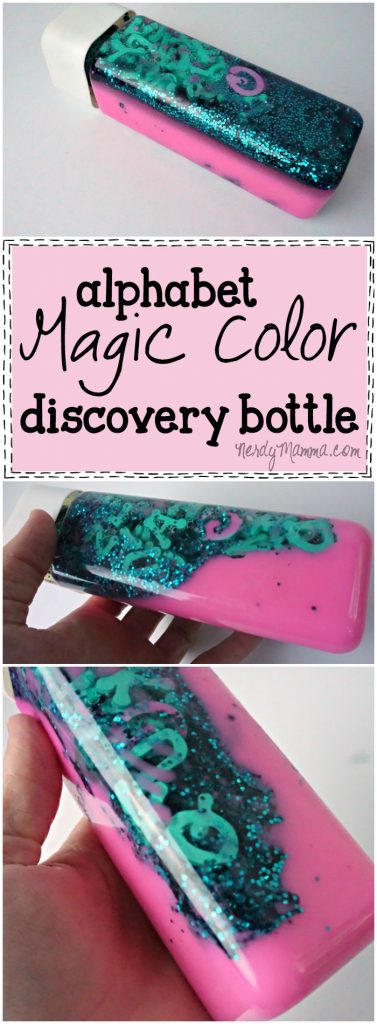
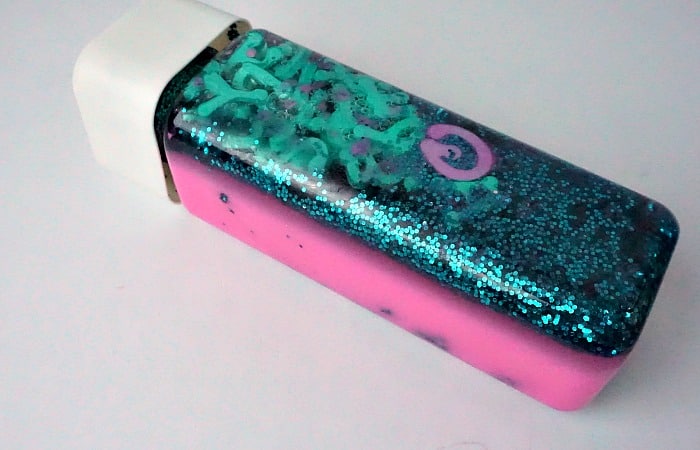
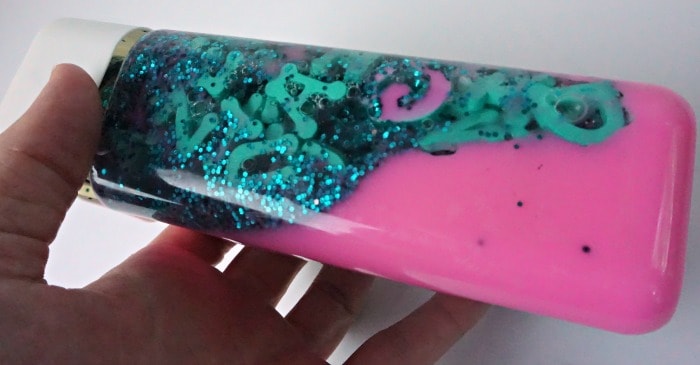
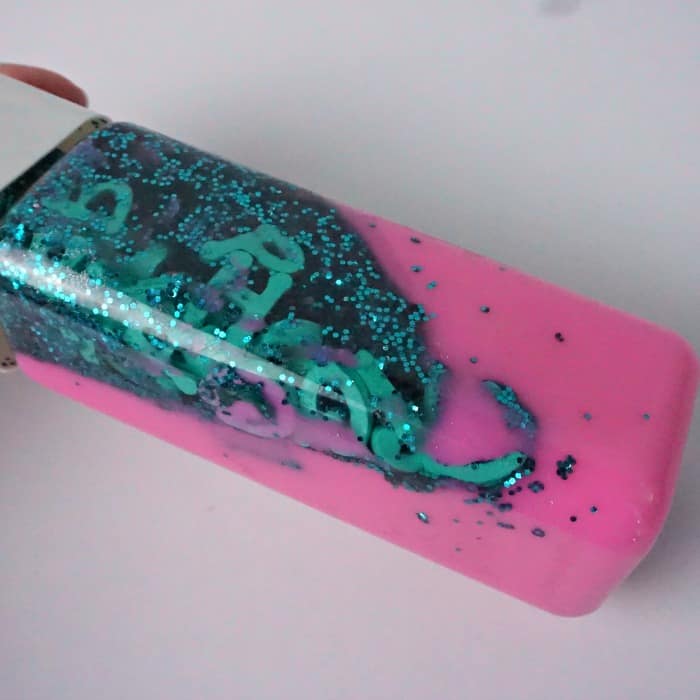
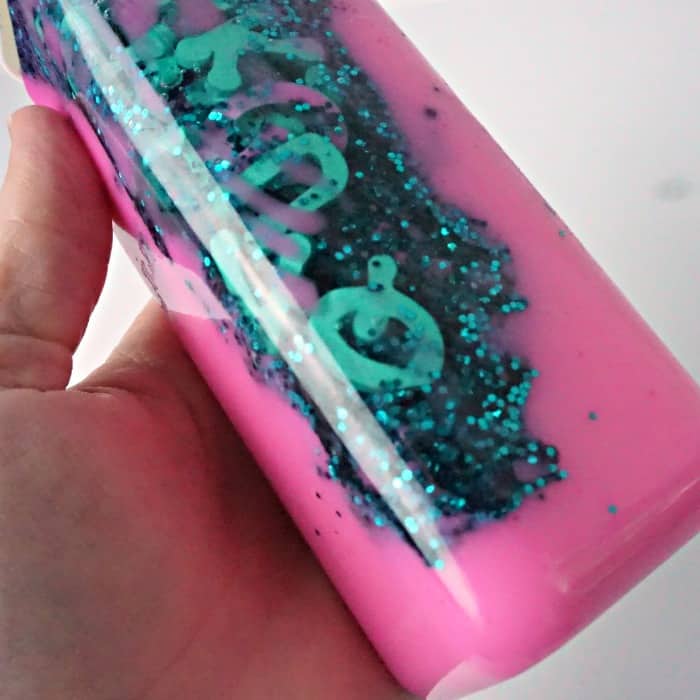
We’re playing with the alphabet a lot lately. But I found that my pretty Alphabet Gel Mat didn’t travel super-well for the kids in the car…but when you make the same recipe for a bottle…ooooh! And, suddenly you have a Magic Color Alphabet Discovery Bottle. Best freaking idea ever.
I don’t know why I didn’t make this before making the mat. I’ll be honest, both are cool, but the bottle is much more to-go version. And because the Magic Color Alphabet Discovery Bottle doesn’t let the colors mix…the kids seem to be mesmerized for a long time with either version. Kind of brilliant, either way. LOL!
What You Need to Make a Magic Color Alphabet Discovery Bottle
- 1/2 cup glitter (turquoise or blue)
- 1/2 cup mineral oil
- 1/2 cup water
- 3 drops neon pink food coloring
- 1/2 tablespoon corn starch
- 26 foam letters, each unique in teal or blue
- 1 bottle (you can use any old bottle, but I like these…they’re square like me…LOL)
&
How to Put Together a Magic Color Alphabet Discovery Bottle
- In a small bowl, mix the glitter and mineral oil.
- Stir until glitter is completely coated in oil.
- In the bottle, place the water and food coloring.
- Close the bottle and gently shake until the food coloring is consistent throughout.
- Add cornstarch to the bottle, close it again and gently shake until the corn starch is consistent throughout, too.
- Remove any sticker-backing from the foam letters and drop in the glitter/mineral oil mixture.
- Pour letters and glitter mixture into the bottle.
- Tightly close that bottle and allow your letter-crazed toddler to play!
So, since this is a SUPER easy idea, I totally expect all the little toddlers to be running around with it next week. Right? Drop me a picture of your Magic Color Alphabet Discovery Bottle on Instagram–be sure to tag me @NerdyMammaRocks and I’ll try to re-share!
And, if you don’t have time to make it now, just pin it for later–you know you want to. Heh.

