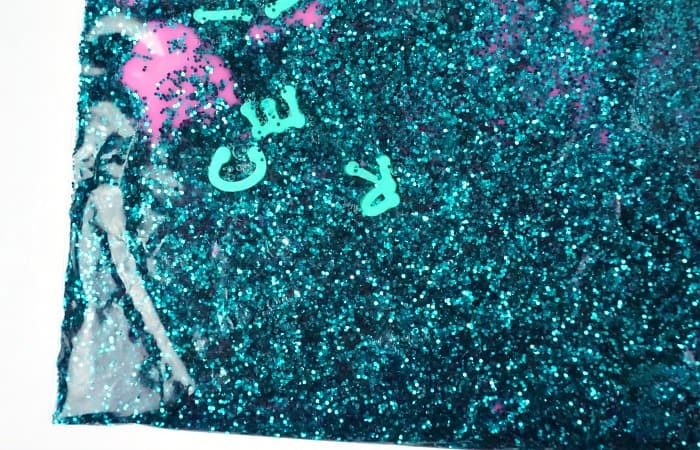
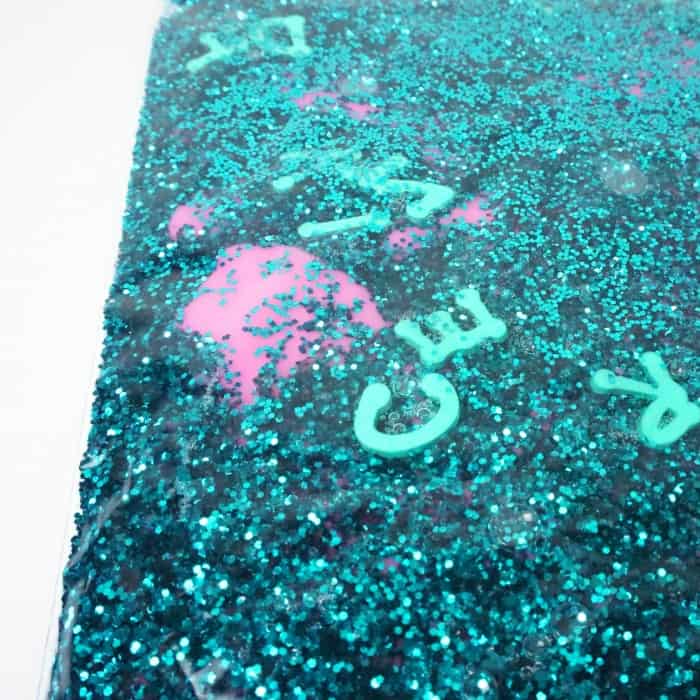
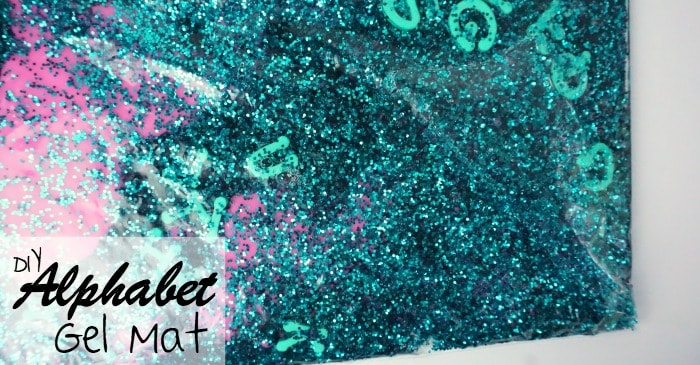
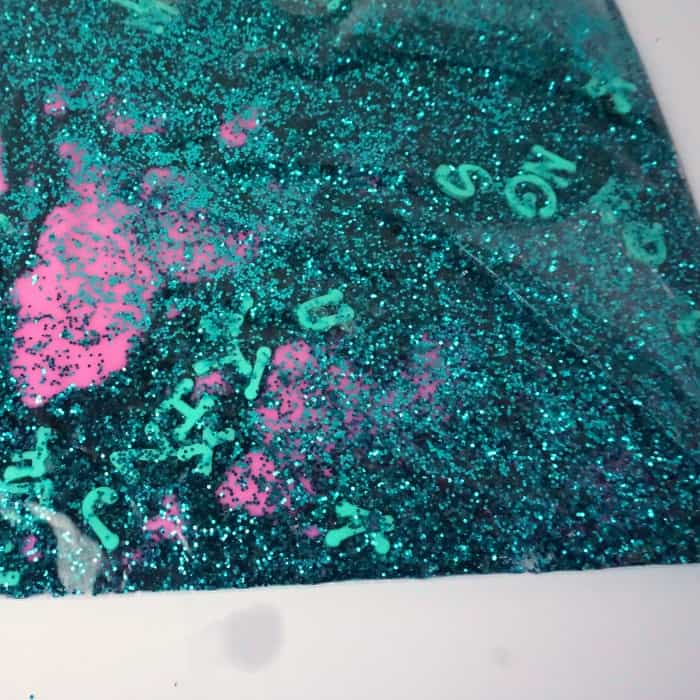
I am LOVING teaching my kiddos about the alphabet in the past couple of weeks. So many fun ways to introduce the letters–talk about them and just generally get their attention on the shapes of the letters. I mean, they can’t write yet, but there’s nothing stopping them from doing some early-reading activities, right? And this DIY Alphabet Gel Mat was kind of one of my favorites. Not only did I somehow get the coolest color combination, but the way that the girls can feel the letters and see how they squish through the two non-mixing gels? Priceless.
My older daughter literally spent about 10 minutes squishing letters the first time I handed this to her. Which is a long time for a 2 year old. She was pointing at the different ones that were floating-up and pushing them down. And, as an added bonus to our play, I was telling her which letters they were that she was “sinking”. Then the littlie got ahold of the Alphabet Gel Mat.
Fun. Eruption. LOL!
What You Need to Make the DIY Alphabet Gel Mat
- 1 gallon zipper baggie
- 1 cup glitter (turquoise or blue)
- 1 cup mineral oil
- 1 cup water
- 5 drops neon pink food coloring
- 1 tablespoon corn starch
- 26 foam letters, each unique in teal or blue
How to Make the DIY Alphabet Gel Mat
- In a small bowl, mix the glitter and mineral oil.
- Stir until glitter is completely coated in oil.
- In the zipper-bag, place the water and food coloring.
- Zip the bag closed and gently shake until the food coloring is consistent throughout.
- Add cornstarch to the zipper baggie, zip closed and gently shake until the corn starch is consistent throughout, too.
- Remove any sticker-backing from the foam letters and drop in the glitter/mineral oil mixture.
- Pour letters and glitter mixture into the baggie.
- Zipper closed and allow your letter-crazed toddler to play!
So, what do you think of this easy DIY Alphabet Gel Mat? What color combos can you do that might look stunning? Drop me a comment below or throw me a picture over on Facebook–I’d love to hear from you!


