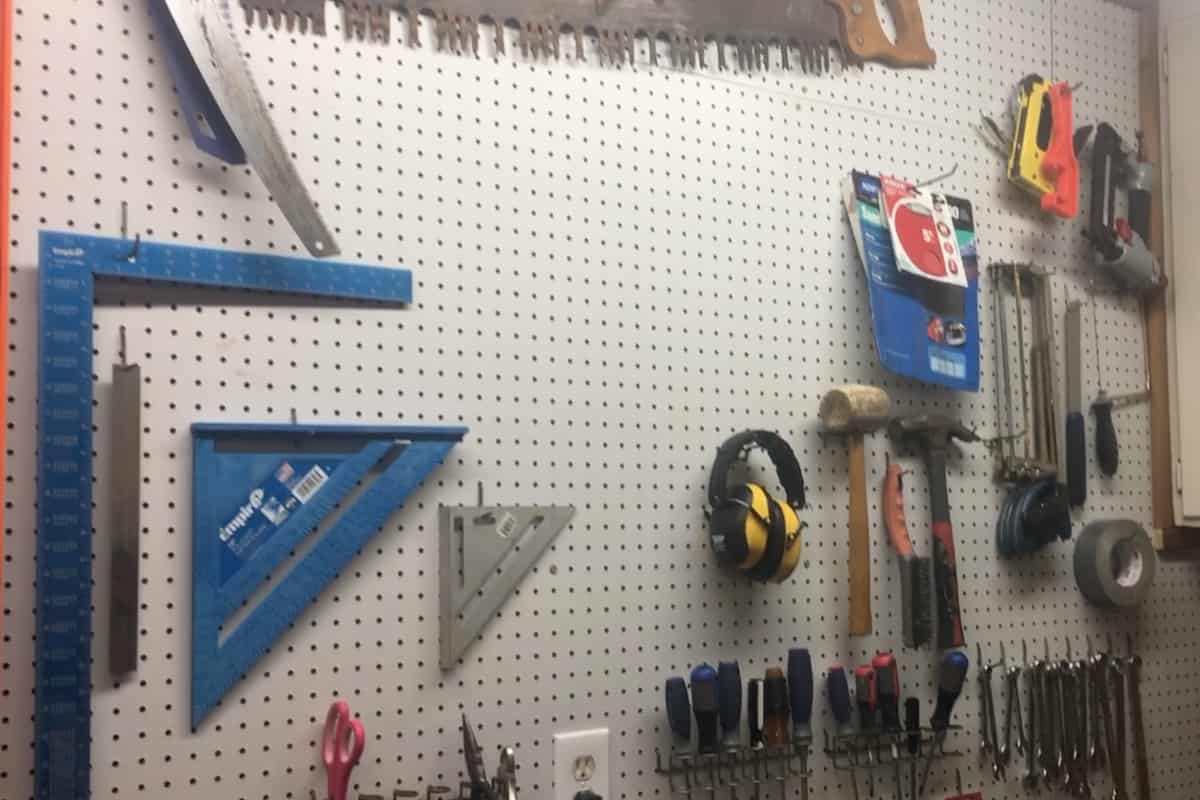
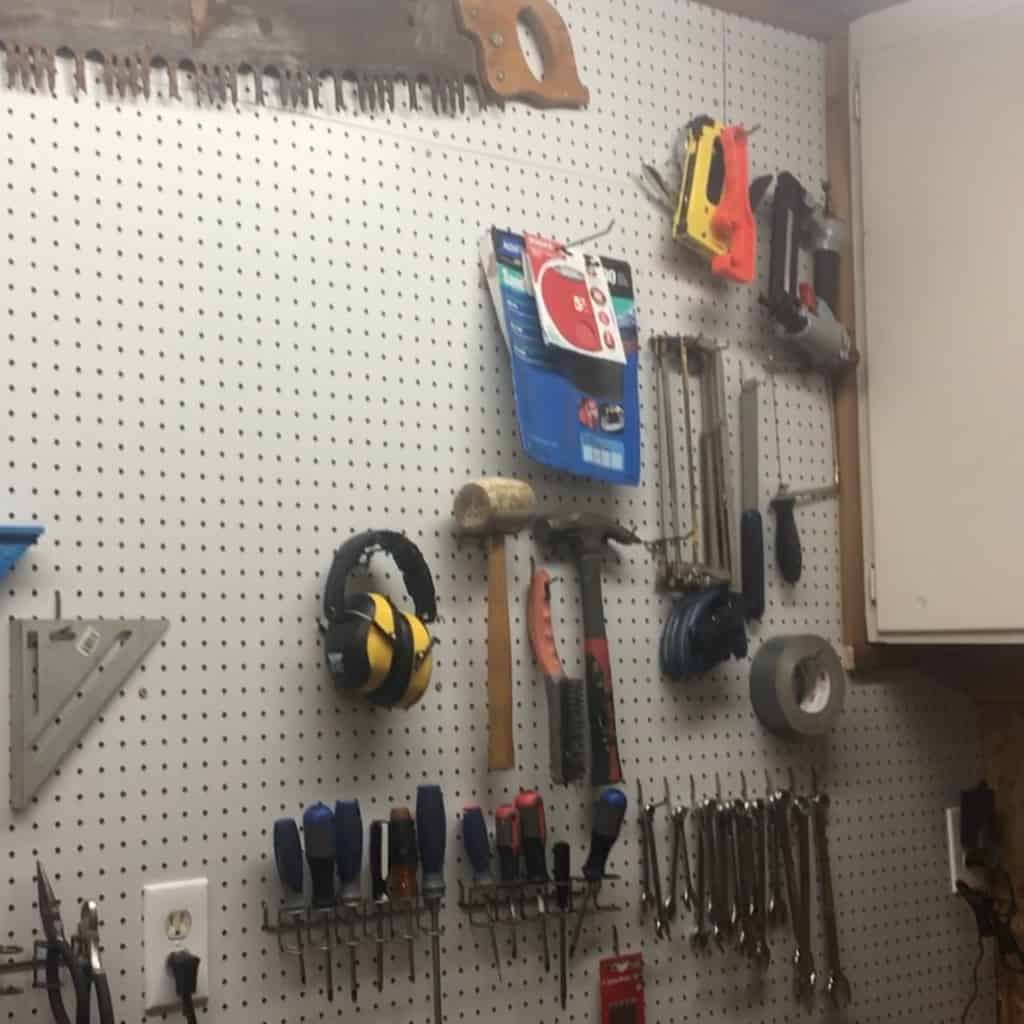
(Inside: I needed to replace some old pegboard in my workshop, so I decided to figure out How to Install Pegboard in Your Workshop.)
As I’ve mentioned before, I have an old house–and my garage workshop is kind of old too.
Which brings me to the pegboard that was in the workshop. It was old, didn’t have the plastic protective sheet to help the holes hold their shape and it was beat up.
We needed to replace it–and there was no time like when we were already in a mess of workshop fixing-up flurry of activity. So, we figured out How to Install Pegboard in Your Workshop.
Turns out it was easier than we thought!
If you are seriously interested in How to Install Pegboard in Your Workshop, be sure to check out the video I made of how we did it and don’t forget to hit the subscribe button to subscribe to my YouTube channel (and be sure to click on the bell to get notifications.
What You Need to Install Pegboard in Your Workshop
- Scrap Wood of 1/2 to 3/4-inch Thickness (all of the scrap wood must be the same thickness)
- Pegboard (enough to cover the area you want covered)
- Screws
- Random Scrap Wood (of the same width and thickness) for Trim
- Drill
- Screwdriver
- Jigsaw
- Tape Measure
- Marker/Pencil/Pen
- Oscillating Tool with Cutting Blade
- Bradnails and Bradnailer
How to Install Pegboard in Your Workshop
- If you have a wall-covering already up, like say an existing pegboard from the 1960’s, go ahead and take that off. We did that in our shop when we were installing insulation.
- Slice some of your scrap wood into 1 1/2-inch wide pieces. You want to cover all of the 2×4’s on the wall you’re putting the pegboard up onto, plus some horizontal pieces, so be sure to cut enough strips to do all of that.
- Pre-drill and screw those pieces of scrap wood to the 2×4’s on your wall.
- In addition, you want to add strips running horizontally, so if your 2×4’s have none (like my wall), then you’ll want to add some scrap wood horizontally in random locations, just to give the pegboard something to be attached to so it’s not wobbly in spots.
- Plan-out how you’re going to cut your pegboard to fit in your wall area and draw that, with measurements, onto a piece of scrap paper or cardboard or whatever. We decided to have our sheet lay horizontally to limit the number of long cuts we’d have to do, since pegboard is wobbly and our track record of cutting straight lines isn’t so great.
- Transfer your marks from the scrap paper to the pegboard.
- Using your jigsaw, cut your pegboard to fit your wall.
- Put the pegboard onto the wall. If the pegboard is not fitting well, use your oscillating tool with the cutting blade to trim areas that need trimming, or cut out any outlet boxes, etc.
- Screw the pegboard to the scrap wood you installed previously against and/or horizontally between the 2×4’s.
- Cut your trim scrap wood to fit and install with nails or brad nails.
- Fill your pegboard with pegs and tools!
If you loved this tutorial, be sure to pin this post and then check out my YouTube channel and be sure to subscribe (and hit the little bell) so you get the latest videos when they come out!


