
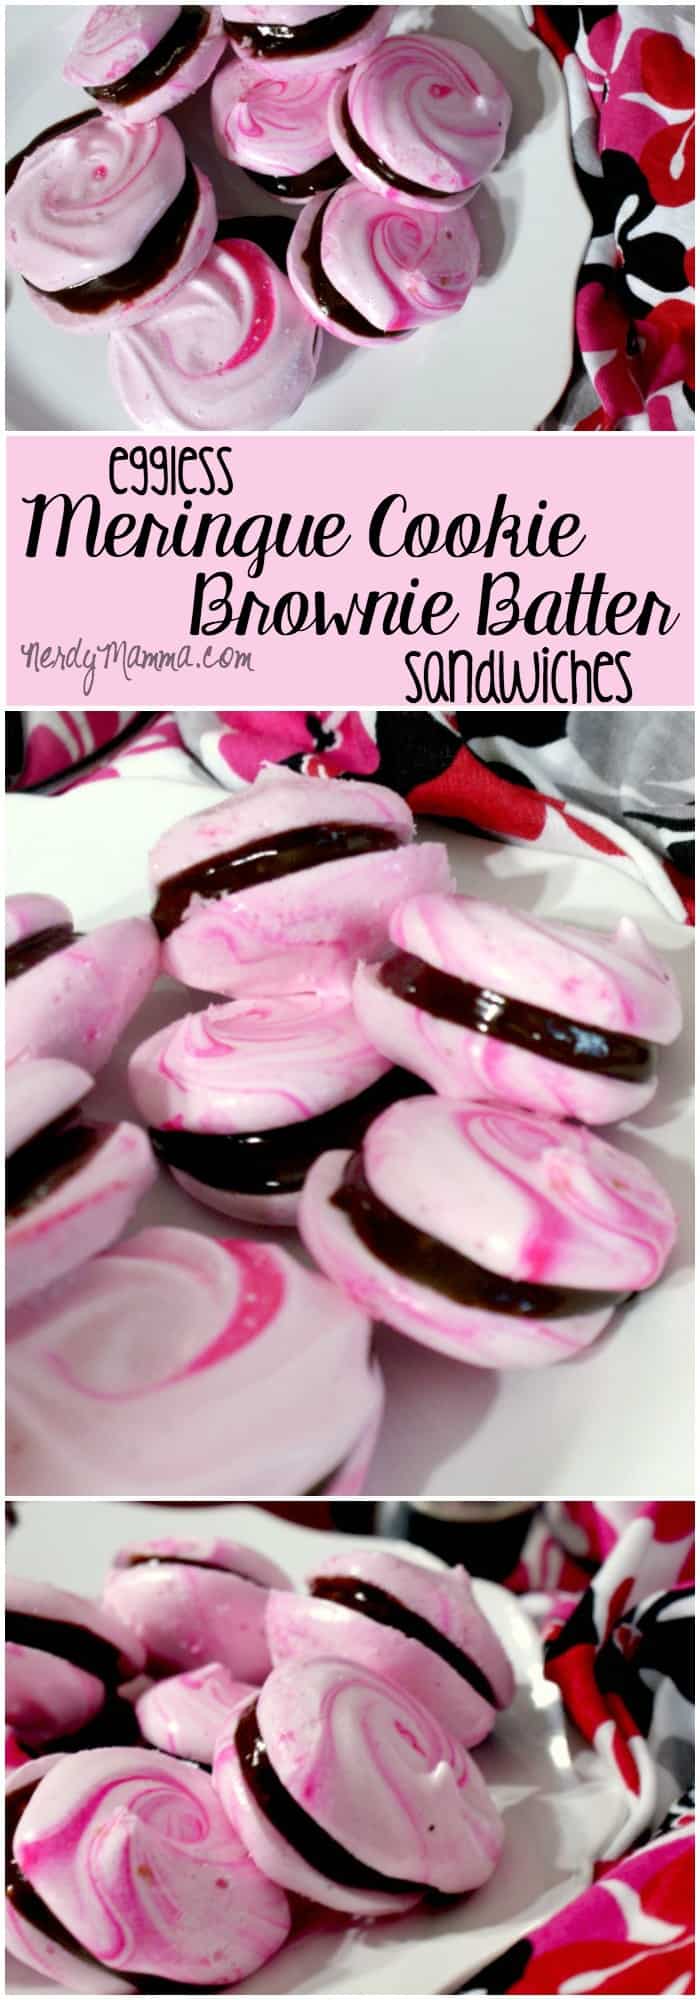
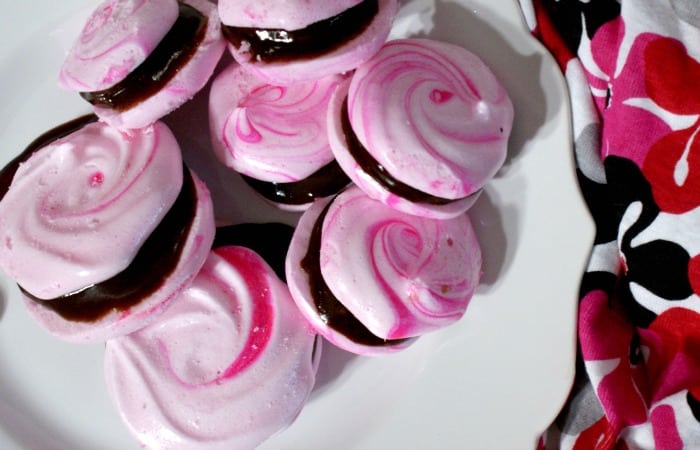
I don’t know what else to say. These things are amazing, magical cookies that taste like a soft piece of cloud…Eggless Meringue Cookie Brownie Batter Sandwiches. Egg-free (made with aquafaba), Dairy-Free (made with coconut milk), gluten-free (made with oatmeal flour)…Win-win-win. You can thank me later.
Eggless Meringue Cookie Brownie Batter Sandwiches
Brownie Batter
- 1 cup oat flour (or, you can be super-lazy like me and just use the baby-food oatmeal…)
- 1/2 cup granulated sugar
- 1 tspn vanilla
- 2 tblspn coconut oil
- 1/2 cup water
- 1/2 tspn salt
- 1/2 cup vegan chocolate chips
Meringue Cookies
- 1 can kidney beans (you just need the juice–about 1 cup)
- 1/2 tspn vanilla extract
- 1/2 tspn cream of tartar
- 3/4 cup granulated sugar
- Pink gel food coloring
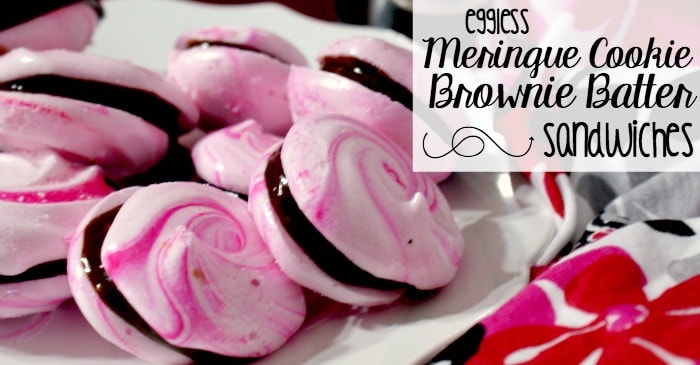
Eggless Meringue Cookie Brownie Batter Sandwiches
- To make the cookies, preheat your oven to 200-degrees.
- Line a baking sheet with wax paper and set aside.
- Mix bean juice (no beans, just the water), cream of tartar, a couple drops of pink food coloring, and vanilla in a large mixing bowl (preferably your stand mixer’s mixing bowl, if you have one, because this takes FOREVER to mix with a hand mixer–and you’ll be there until next Christmas if you try to do it by hand-hand with no mixer at all (sorry about this if you’re Amish)).
- Beat on high in your stand mixer, adding the sugar in thirds.
- Whip for like 6-10 minutes (a really long time–even like 30 minutes, if you can). If you have to, feel free to stop the mixer to scrape the sides to make sure everything is getting fully whipped. Just keep whipping until the peaks are stiff and don’t fall over when you jiggle the bowl–like meringue.
- While that’s mixing, put your star-shaped decorating tip in a disposable pastry bag, then place the pastry bag in a cup and turn the sides down.
- Paint the insides of the pastry bag with stripes of the food coloring. I actually just let the coloring drool down the sides, since the gel food coloring I have is very fun to play with…I may have gotten carried away.
- Once the meringue is stiff, put it in the pastry bag and pipe it onto the wax-paper-lined baking sheet. I added a little twist while piping–made the swirly whirly.
- Place in the oven and pace the floor for about 45 minutes. Then rotate the pans and resume pacing.
- At the hour and a half mark, take a meringue out (just one!) and allow it to cool. Test it and see if that’s the texture you would like. If you like it kinda soft (like it should be), take them all out of the oven and allow to cool. If you want the cookies crunchier, leave them in the oven for another half-hour, then check again.
- Once they’re done to your liking, take them out of the oven and allow them to cool completely before handling. If you need to wait to do the second step, just place the cookies in an air-tight container (ziplock baggie) and they’ll keep. But if you don’t, they’ll be sticky and gross tomorrow, so I recommend just moving on with the next steps immediately.
- To make the brownie batter, mix all the dry ingredients together in a medium bowl except for the chocolate chips.
- Mix all the wet ingredients together in another medium bowl.
- Mix dry ingredients into wet ingredients in 1/3 cup increments. Or, if you’re impatient, like me, just dump everything together.
- Blend until batter is smooth.
- Place chocolate chips in a small bowl and microwave in 10-second increments, stirring every 10 seconds, until the chocolate is completely melted and smooth.
- Add melted chocolate chips to the cake batter and stir until mixed thoroughly.

Yield: 15
Eggless Meringue Cookie Brownie Batter Sandwiches
Prep Time:
15 minutes
Cook Time:
2 hours
Total Time:
2 hours 15 minutes
These things are amazing, magical cookies that taste like a soft piece of cloud…Eggless Meringue Cookie Brownie Batter Sandwiches. Egg-free (made with aquafaba), Dairy-Free (made with coconut milk), gluten-free (made with oatmeal flour)…Win-win-win.
Ingredients
- Brownie Batter
- 1 cup oat flour, or, you can be super-lazy like me and just use the baby-food oatmeal…
- 1/2 cup granulated sugar
- 1 tspn vanilla
- 2 tblspn coconut oil
- 1/2 cup water
- 1/2 tspn salt
- 1/2 cup vegan chocolate chips
- Meringue Cookies
- 1 can kidney beans, you just need the juice–about 1 cup
- 1/2 tspn vanilla extract
- 1/2 tspn cream of tartar
- 3/4 cup granulated sugar
- Pink gel food coloring
Instructions
- To make the cookies, preheat your oven to 200-degrees.
- Line a baking sheet with wax paper and set aside.
- Mix bean juice (no beans, just the water), cream of tartar, a couple drops of pink food coloring, and vanilla in a large mixing bowl (preferably your stand mixer’s mixing bowl, if you have one, because this takes FOREVER to mix with a hand mixer–and you’ll be there until next Christmas if you try to do it by hand-hand with no mixer at all (sorry about this if you’re Amish)).
- Beat on high in your stand mixer, adding the sugar in thirds.
- Whip for like 6-10 minutes (a really long time–even like 30 minutes, if you can). If you have to, feel free to stop the mixer to scrape the sides to make sure everything is getting fully whipped. Just keep whipping until the peaks are stiff and don’t fall over when you jiggle the bowl–like meringue.
- While that’s mixing, put your star-shaped decorating tip in a disposable pastry bag, then place the pastry bag in a cup and turn the sides down.
- Paint the insides of the pastry bag with stripes of the food coloring. If I’m not being super clear about how to do this, just check out this cool photo tutorial for making the color-swirl effect over on The Chickabug Blog (that’s where I learned to do it). I actually just let the coloring drool down the sides, since the gel food coloring I have is very fun to play with…I may have gotten carried away.
- Once the meringue is stiff, put it in the pastry bag and pipe it onto the wax-paper-lined baking sheet. I added a little twist while piping–made the swirly whirly.
- Place in the oven and pace the floor for about 45 minutes. Then rotate the pans and resume pacing.
- At the hour and a half mark, take a meringue out (just one!) and allow it to cool. Test it and see if that’s the texture you would like. If you like it kinda soft (like it should be), take them all out of the oven and allow to cool. If you want the cookies crunchier, leave them in the oven for another half-hour, then check again.
- Once they’re done to your liking, take them out of the oven and allow them to cool completely before handling. If you need to wait to do the second step, just place the cookies in an air-tight container (ziplock baggie) and they’ll keep. But if you don’t, they’ll be sticky and gross tomorrow, so I recommend just moving on with the next steps immediately.
- To make the brownie batter, mix all the dry ingredients together in a medium bowl except for the chocolate chips.
- Mix all the wet ingredients together in another medium bowl.
- Mix dry ingredients into wet ingredients in 1/3 cup increments. Or, if you’re impatient, like me, just dump everything together.
- Blend until batter is smooth.
- Place chocolate chips in a small bowl and microwave in 10-second increments, stirring every 10 seconds, until the chocolate is completely melted and smooth.
- Add melted chocolate chips to the cake batter and stir until mixed thoroughly.