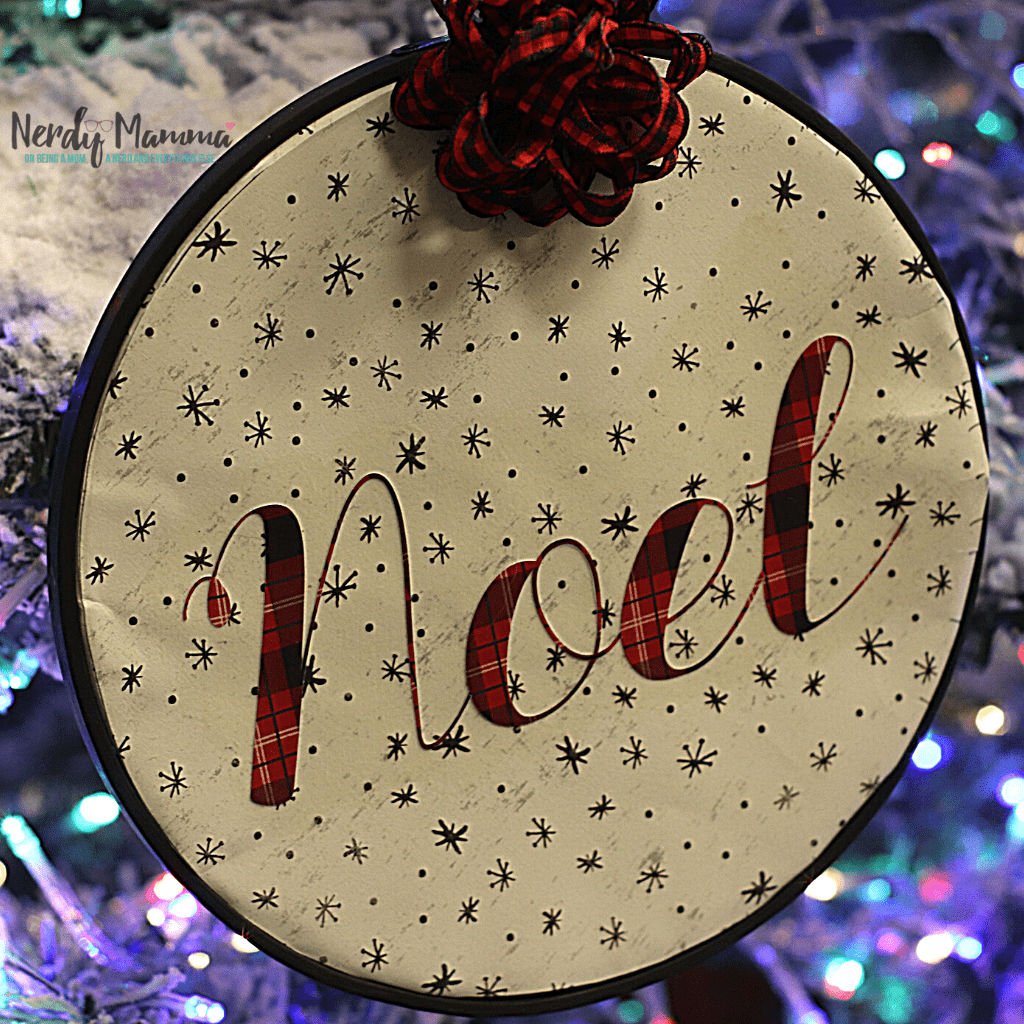
I’m hooked on Cricut. I have a lot of projects in my mind that I want to do with my Cricut Machine. Like this DIY Cricut Noel Script Ornament on Embroidery Hoop. It’s awesome.
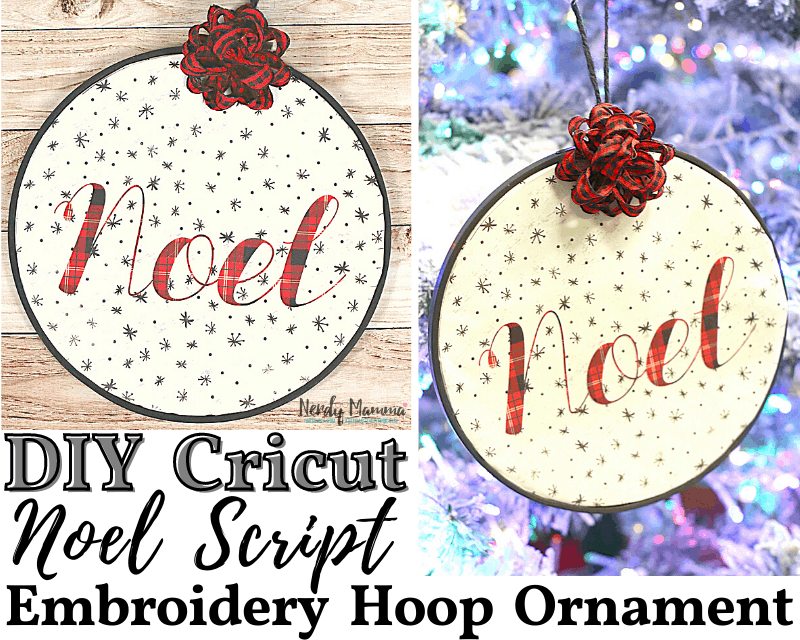
This beautiful Cricut Noel Script Ornament may indeed look hard to make. But let me tell you, it is easy. Just like my other Cricut projects, the Cricut machine really does wonders for crafters.
Furthermore, you can also create more than just a wonderful ornament. Such as instead of the word “Noel”, create another word, a name, or another design. And this can be another decoration and wall hanger. Perfect as a gift as well.
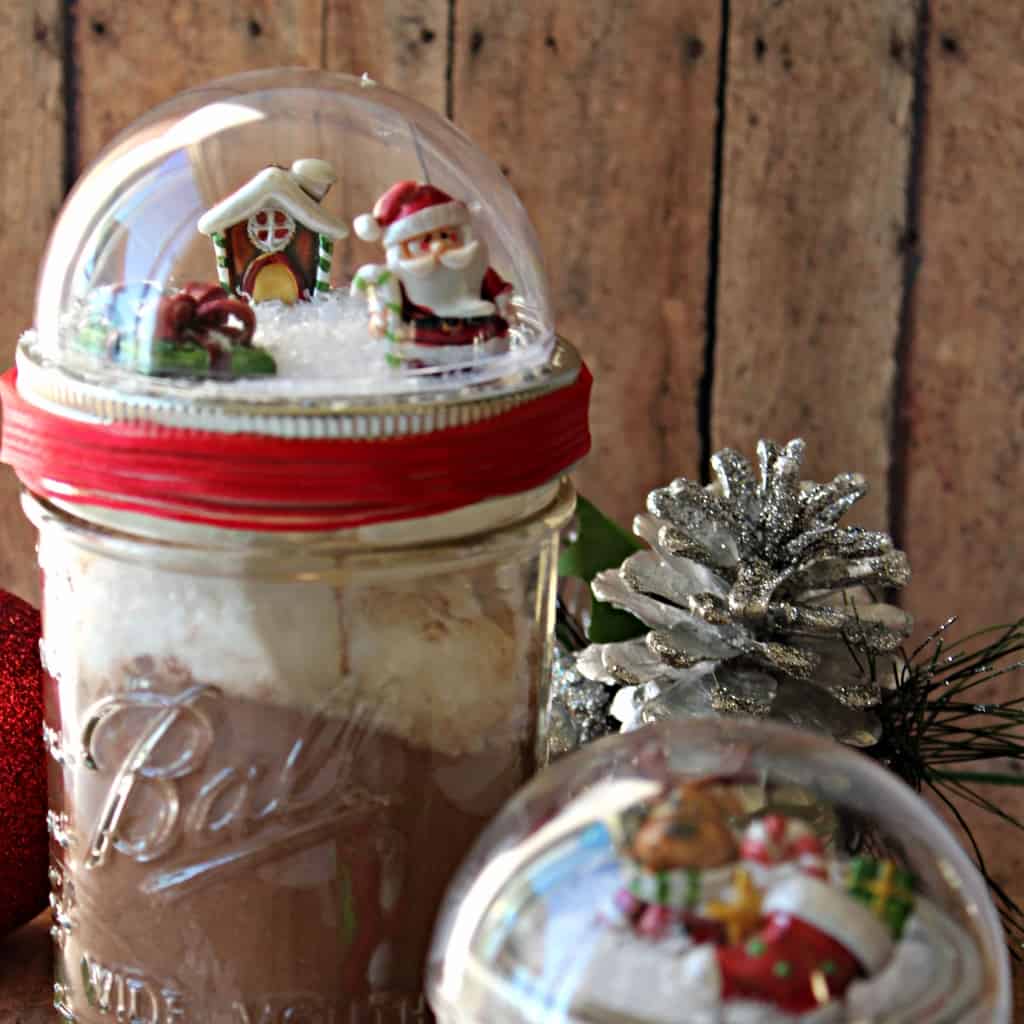
Hmm. I’m thinking of gifting my friends with this ornament along with the Mason Jar Snow Globe.
Cricut Noel Script Hoop Ornament Tutorial
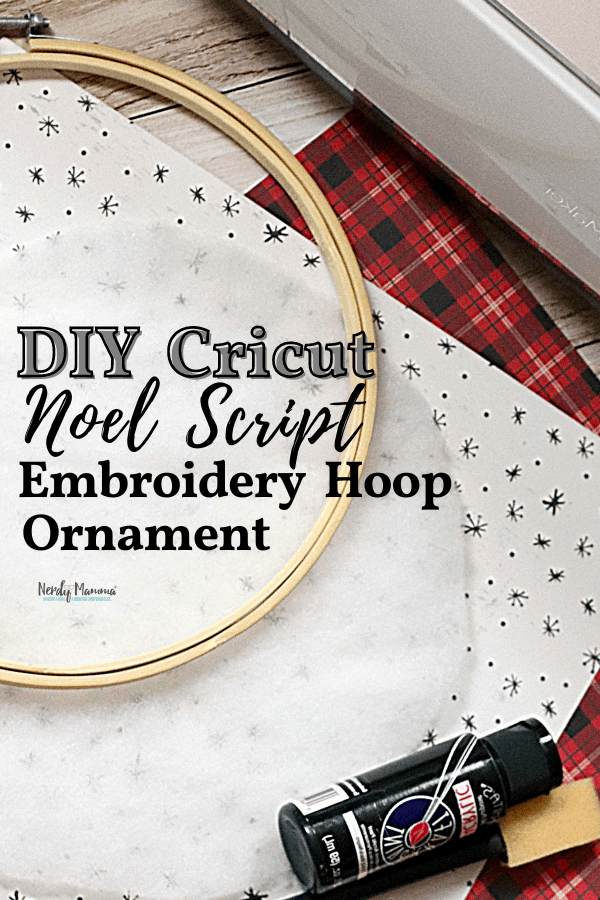
If you are ready for this new project, then, have everything ready. Below is a list of what you need. Get into your Design Place and pull out your file for ‘Noel’ script or create one.
Supplies:
- 1 Cricut Machine (we have the Cricut Maker)
- Noel Script created in Design Space or use a free online conversion from text to SGV.
- 2 pieces of complimentary color/pattern holiday scrapbook paper
- 1 bamboo embroidery hoop
- Acrylic paint in a color that matches your paper
- Mod Podge or glue
- 2 foam brushes
- 1 piece of cotton batting (optional)
- Twine or ribbon for hanging and decorative embellishments
NOTE:
The links above where you can convert text to SVG files are just suggestions. There are other online converters as well if you will search. Feel free to use any of those available.
Instructions:
Using your foam brush, paint the embroidery hoop. I painted two coats. Be sure to allow to dry completely before putting the pieces together.
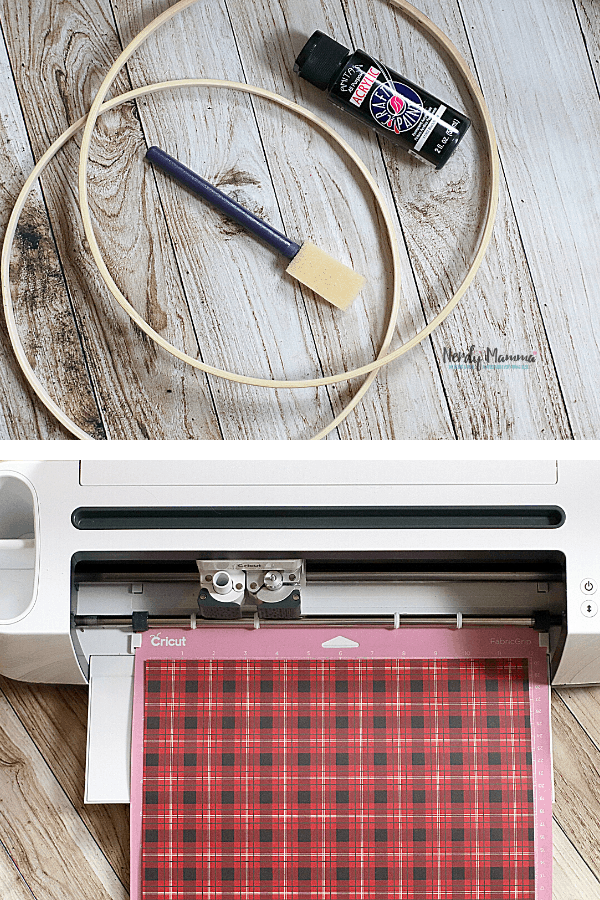
Load the SVG file into your Cricut Design Space. Place the scrapbook paper on the Cricut mat and cut the “NOEL”. Carefully peel the piece from the mat. Glue the “NOEL” to the other piece of scrapbook paper. Trace the hoop around the paper and cut, going an additional ½” out the traced circle.
Cut the batting the same size circle as the scrapbook paper.
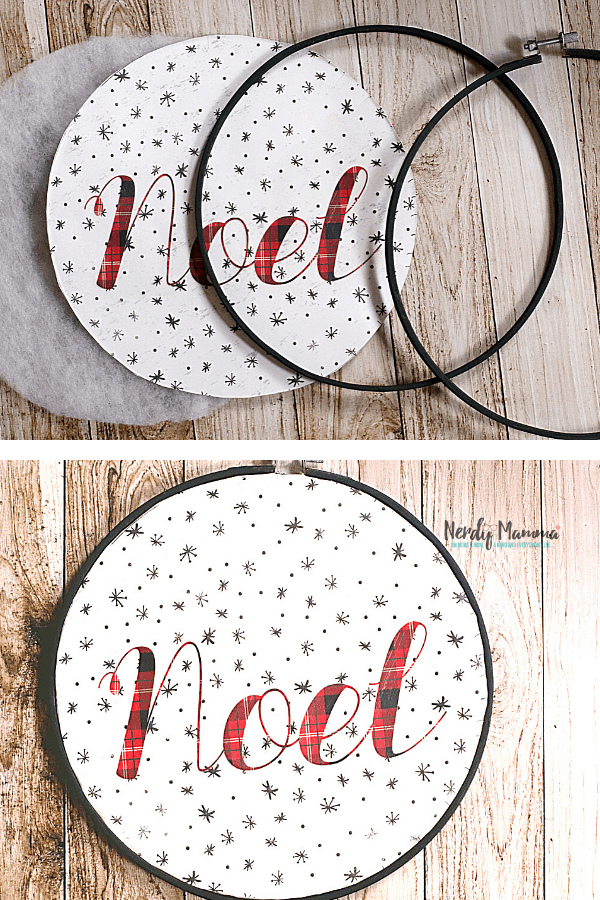
Place the scrapbook paper on top of the batting and place between the hoops. Close the hoops and tighten.
Attach twine or ribbon to the top of the hoop. This will be used to hang the ornament. Add decorative embellishments if desired.
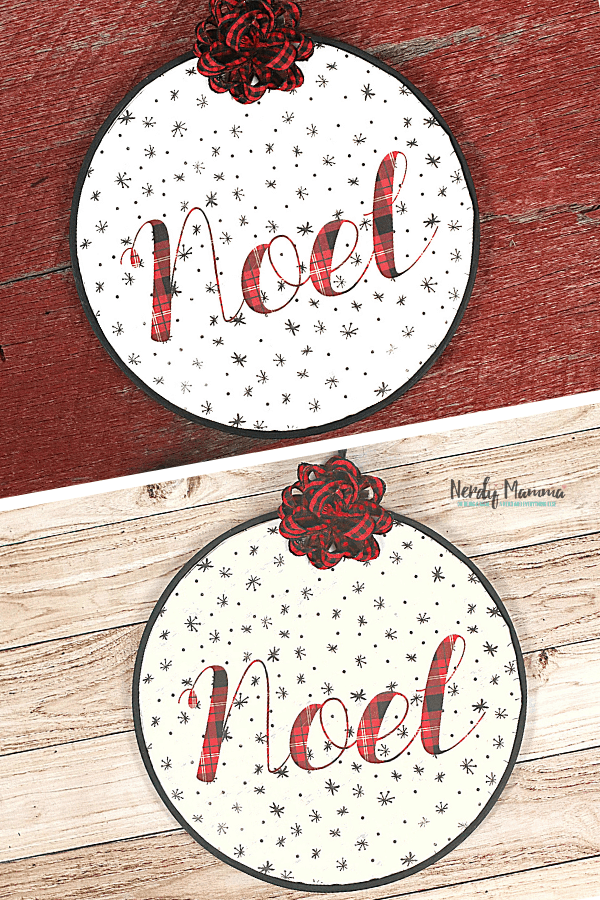
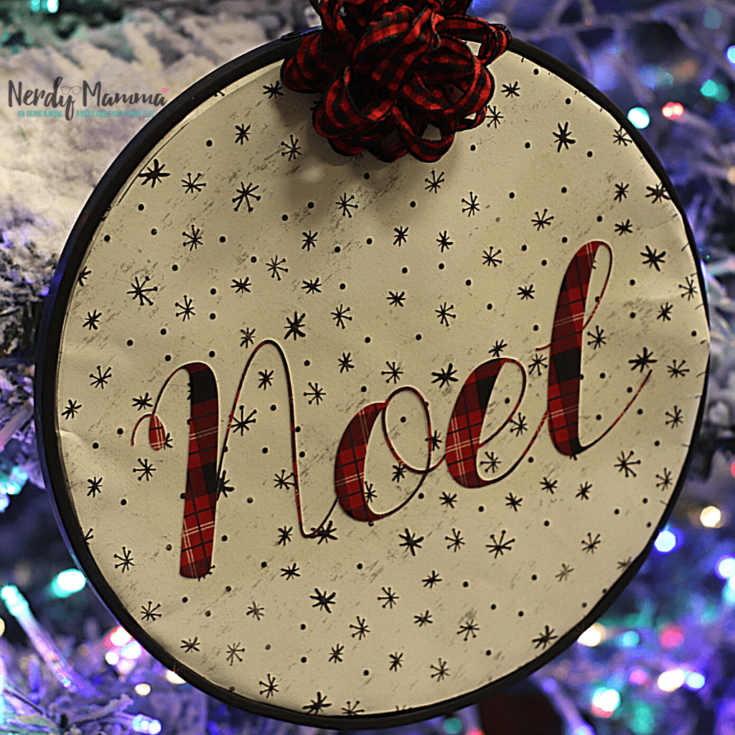
DIY Cricut Noel Script Embroidery Hoop Ornament
This beautiful DIY Cricut Noel Script Embroidery Hoop Ornament is perfect for your Christmas decorations and as a gift, too.
Materials
- 1 Cricut Machine (we have the Cricut Maker)
- Noel Script SVG file (included to share, but not to sell. Please contact us for the pricing for the rights to sell commercially)
- 2 pieces of complimentary color/pattern holiday scrapbook paper
- 1 bamboo embroidery hoop
- Acrylic paint in a color that matches your paper
- Mod Podge or glue
- 2 foam brushes
- 1 piece of cotton batting (optional)
- Twine or ribbon for hanging and decorative embellishments
Instructions
Step 1: Using your foam brush, paint the embroidery hoop. I painted two coats. Be sure to allow to dry completely before putting the pieces together.
Steps 2-3: Load the SVG file into your Cricut Design Space. Place the scrapbook paper on the Cricut mat and cut the “NOEL”. Carefully peel the piece from the mat. Glue the “NOEL” to the other piece of scrapbook paper. Trace the hoop around the paper and cut, going an additional ½” out the traced circle.
Step 4: Cut the batting the same size circle as the scrapbook paper.
Step 5: Place the scrapbook paper on top of the batting and place between the hoops. Close the hoops and tighten.
Step 6: Attach twine or ribbon to the top of the hoop. This will be used to hang the ornament. Add decorative embellishments if desired.
Did you enjoy this DIY Cricut Noel Script Ornament? Don’t forget to Pin this into your Pinterest board.
You may also want to check these, too.
Mason Jar Snow Globes
