(Inside: Want to put your Instant Pot on the stove to get it out of the way–but afraid of the burners? This How to Make an Instant Pot Hot Pad (or Rest or Stovetop Cover)!)
I love my Instant Pot. But sometimes it’s just IN THE WAY!
I’d like to be able to put it on my stove to get it off my precious counter space, but I’m afraid I’ll accidentally turn on the burner and thusly ruin my Instant Pot.
I needed a stove cover or something–but I didn’t want anything bulky and I didn’t want to use my cutting board (because then I couldn’t USE my cutting board).
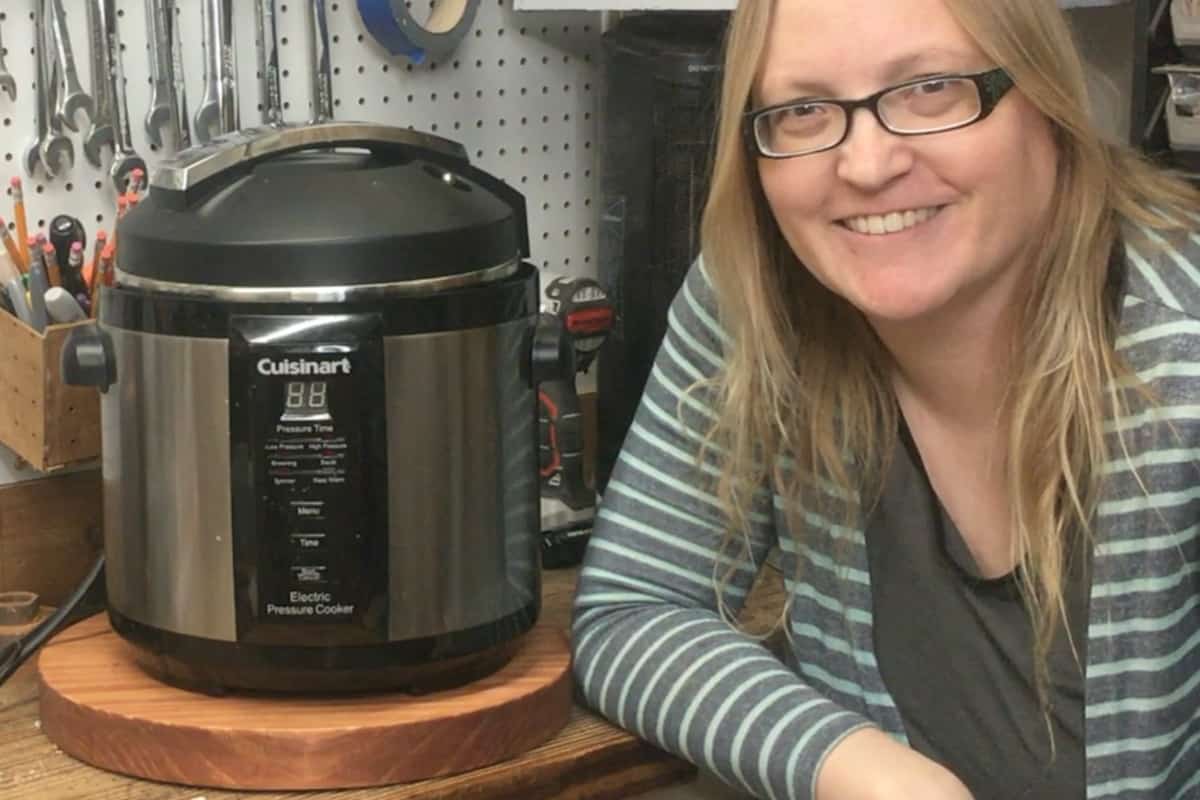
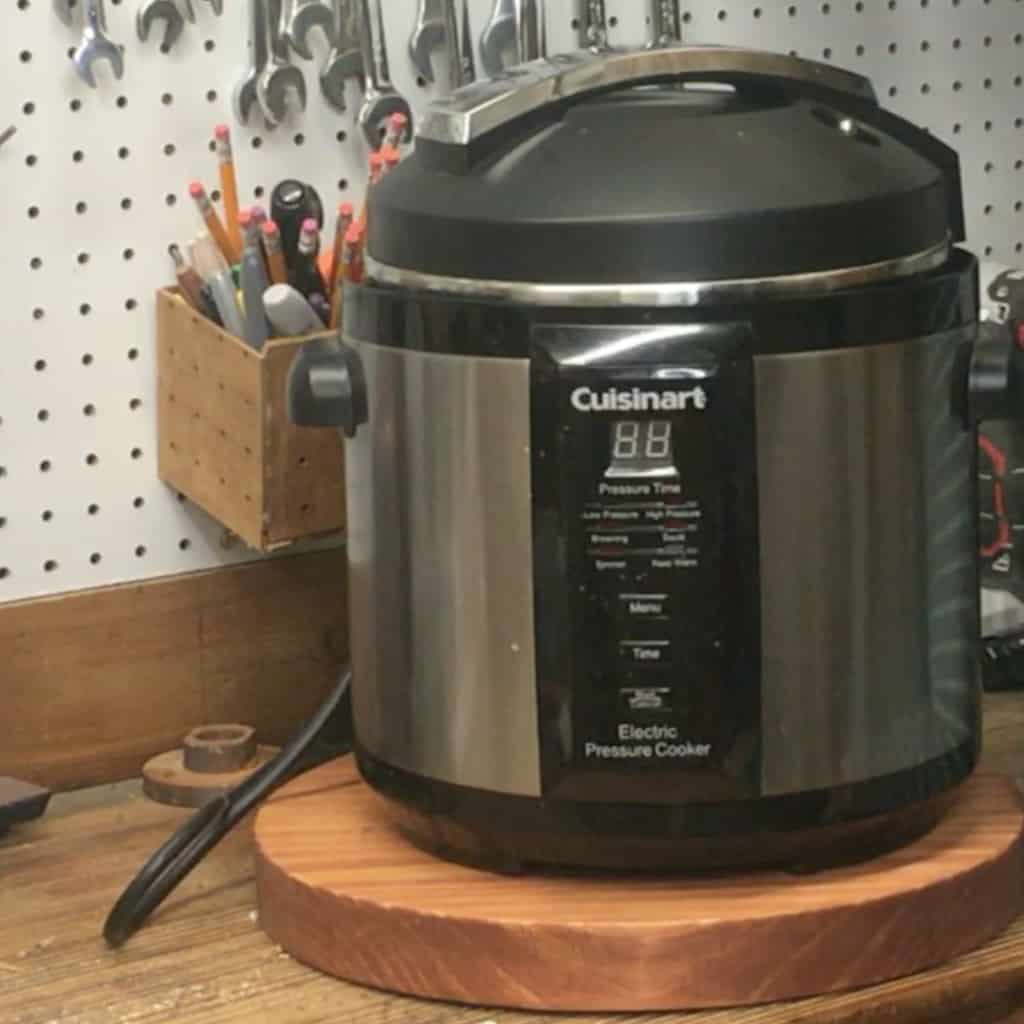
So, I figured out How to Make an Instant Pot Hot Pad (or Rest or Stovetop Cover–whatever you want to call it).
And I LOVE it.
So, for this tutorial, I made a bangin’ video, so be sure to watch How to Make an Instant Pot Hot Pad (or Rest or Stovetop Cover) and then subscribe to my YouTube Channel (and hit the little bell so you get notified when I drop a new video each week).
What You Need to Make an Instant Pot Hot Pad (or Rest or Stovetop Cover)
- 1 – 24-inch long 2×12 or similar (thinnest I would recommend would be 1/2-inch)
- Miter Saw (Chop Saw, whatever you want to call it)
- Table Saw
- Screw
- Pencil
- Metal Ruler
- Tape Measure
- Drill or Screw Driver
- Disc Sander (or a belt sander, but the disc sander worked very nicely for me)
- Wood Glue (I use Titebond II and it’s not waterproof, but water resistant and that’s good enough for this application)
- Stain (I used a cognac-colored stain to match a window sill in my kitchen–but you could paint it or stain it any color)
- Jigsaw
- Hand Sander
- Sandpaper
- Gloves
- Paper Towel
How to Make an Instant Pot Hot Pad (or Rest or Stovetop Cover)
- With your miter saw, cut the 2×12 in half-ish. This doesn’t have to be precise, but roughly in half.
- Trim off the edges of the wood to square them up on your table saw, if your store-bought wood is not square.
- Using the wood glue, glue the two pieces together to form a square-ish shape and allow it to dry (I left mine for about 2 hours). I just used two clamps on the sides and then put two pieces of scrap wood across the top and clamped those in place to keep the seam between my two glue-up pieces from lifting.
- Take off your clamps and, using your tape measure, find the center of your “square.”
- Place a screw partway into the center location of your “square,” through the hole on the end of your ruler.
- Poke a hole in your ruler with a screw or drill bit at about 6- or 7-inches (no less than 5 1/2-inches, though as the Instant Pot is about 11-inches in diameter).
- Place your pencil lead into the hole and swing the ruler around in a steady way to draw your circle.
- Remove the screw and ruler.
- Using the jigsaw, roughly cut out your circle–staying well outside the line.
- Take the piece to your disc sander and sand down the sides to meet your pencil line circle.
- With your hand sander, smooth all the edges and knock-off the sharp corners. I used 80-grit sandpaper to start, then worked my way up to 200-grit.
- Hand sand any rough spots.
- Using some wood glue and some sawdust from your sander or the jigsaw, fill the hole left by the screw in the center of your circle.
- Sand down the screw hole if necessary.
- Stain using a paper towel–and the gloves. Allow to dry before using.
- Enjoy!
If you loved this tutorial for How to Make an Instant Pot Hot Pad, be sure to pin it and then don’t forget to subscribe to my YouTube Channel and hit the bell so you get notified every week when I drop a new video!


