(Inside: I have a terrible time cutting anything straight–and I got a bunch of hardwood with live edges. So, I figured out How to Make a Straight-Cut Table Saw Jig to solve it!)
I’m not the best in the workshop–which is obvious when I try to make anything. So, please, no judging.
But the thing is, one of the important things that can help you make some of the best projects is a straight edge.
And that’s one of the things I’m not really all that good at.
After my dad gave me a load of beautiful hardwoods that all had live edges (or just messed-up edges), I knew I had to come up with some way to make this work, though.
So, I figured out How to Make a Straight-Cut Table Saw Jig that will allow me to make one edge of my wood straight–and then I can trim all the others on the chop saw or using my table saw’s fence.
I love it.
If you want a little more explanation for How to Make a Straight-Cut Table Saw Jig, be sure to check out my video. And while you’re there, be sure to subscribe to my channel so you can see al the latest when I drop a new video each week!
What You Need to Make a Straight-Cut Table Saw Jig
- 1 12×24 piece of something with a straight edge (I used a pice of melamine I had left over from a different project, but you could use wood, plywood, acrylic, or anything)
- 1 piece of something to go on top of that (I used a piece of OSB leftover from putting walls in my workshop)
- 3 pieces of equally thick scraps (I used cutoffs from a 2×4 that I had from another project)
- 3 Screws that are less thick than the base piece, the top piece and the scraps added together but long enough to get into the base piece
- Drill and Screwdriver
- Piece of wood you’d like to have a straight-edge
How to Make a Straight-Cut Table Saw Jig
- Place the three scraps of equal thickness along the edge of the base that you plan to use against the fence of the table saw.
- Place the top on top of the scrap pieces.
- Pre drill a hole in each scrap piece through the top and into the base.
- Start the screws in the holes, but don’t tighten them
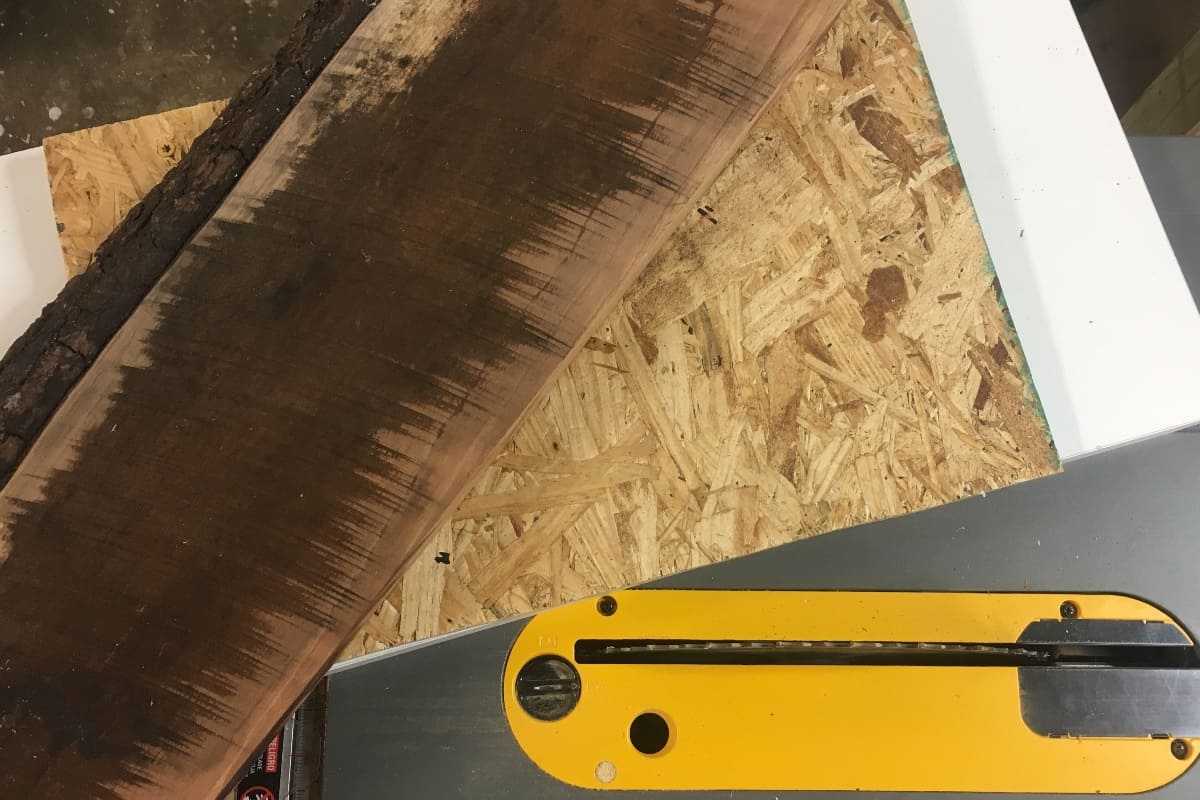
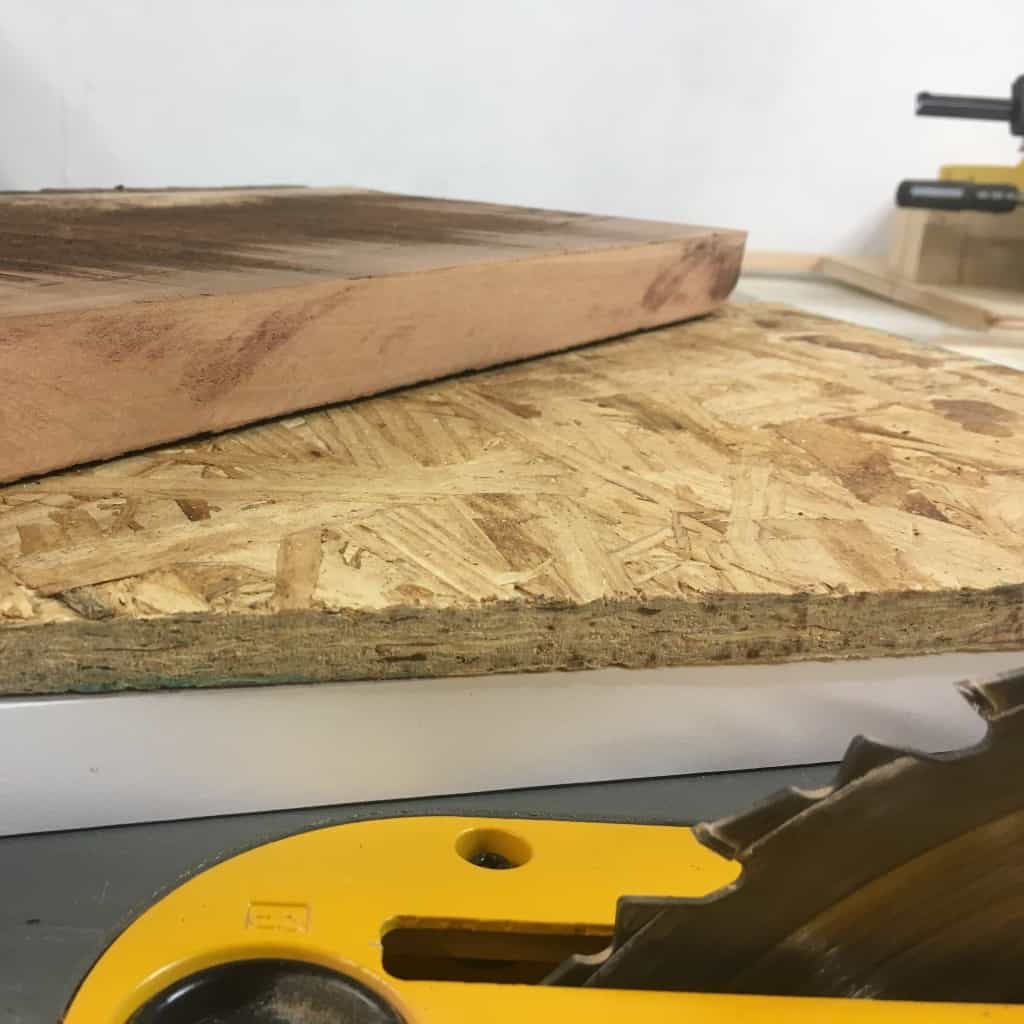
- Slide the piece of wood you’d like to have a straight edge between the base and the top, with the edge you’d like to straighten hanging off the edge so the table saw can cut it.
- Tighten the screws in order to wedge the piece of wood you plan to straighten between the top and base. Make sure it’s very snug and will not shift.
- Place straight edge of your sled against the fence and cut a straight edge!
If you loved this tutorial for How to Make a Straight-Cut Table Saw Jig, be sure to pin it! And don’t forget to subscribe to my YouTube channel for weekly videos of how to make fun things…it’s just getting started!


