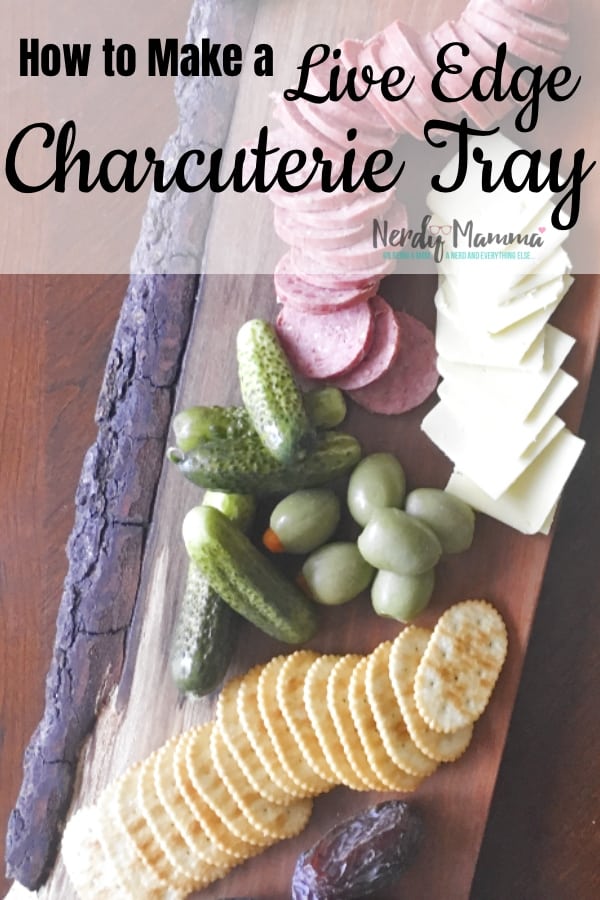
(Inside: I needed a flat place on my ottoman to put a cup of coffee. So I figured out How to Make a Live Edge Charcuterie Tray, so I also have an awesome “small things” food tray!)
So, as a blogger, I sometimes need some weird things. You know, for photos and stuff.
But I also like to entertain sometimes, and the things you need for that are sometimes the weird things you need for the blog photos–so things work out.
But theeeeeen, you’re sitting on your couch a lot working while you watch the kids play and you JUST NEED A FREAKING PLACE TO PUT A CUP OF COFFEE!
Why is the world such a hard place to live?
Whew.
So, I was in this spot–nice sectional couch with this awesome ottoman, but nowhere was there a spot for an end table or anything that was flat for me to put my coffee.
And, frankly, I’m tired of putting it in the floor and finding the dog’s face in it.
As a result, I put my nose to the grindstone and figured out How to Make a Live Edge Charcuterie Tray.
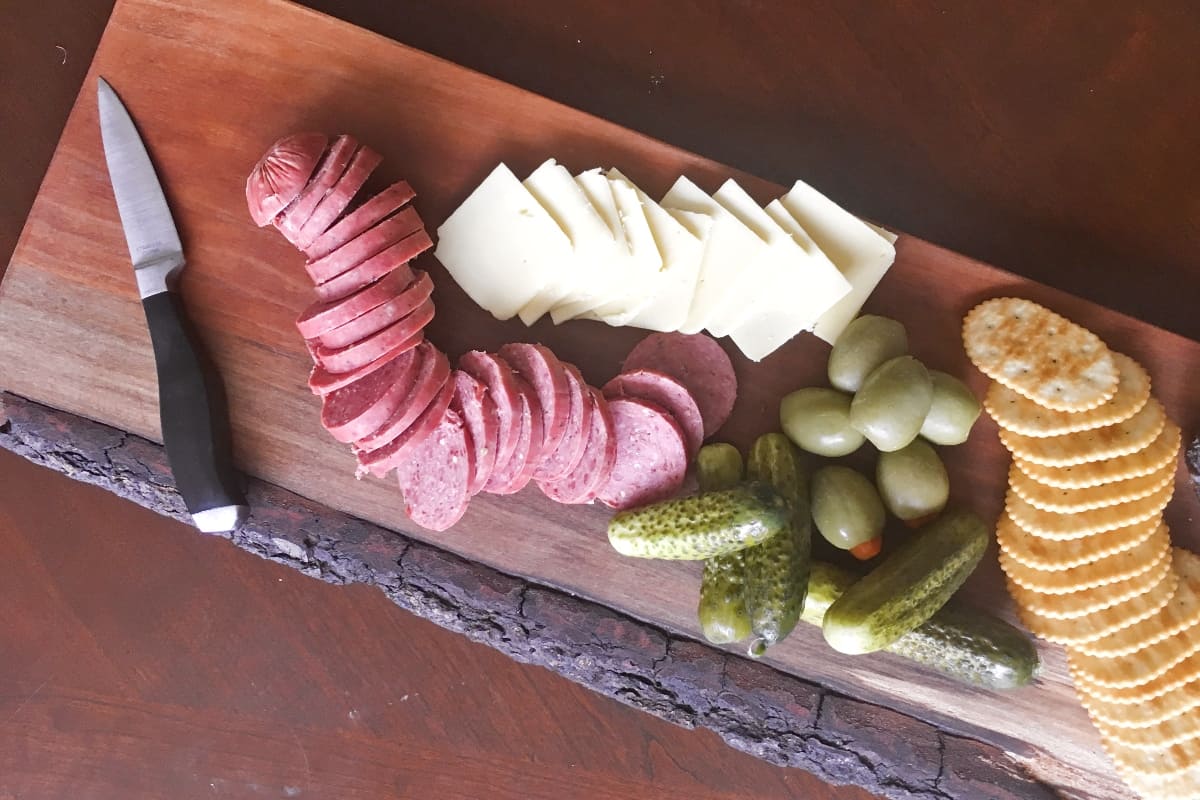
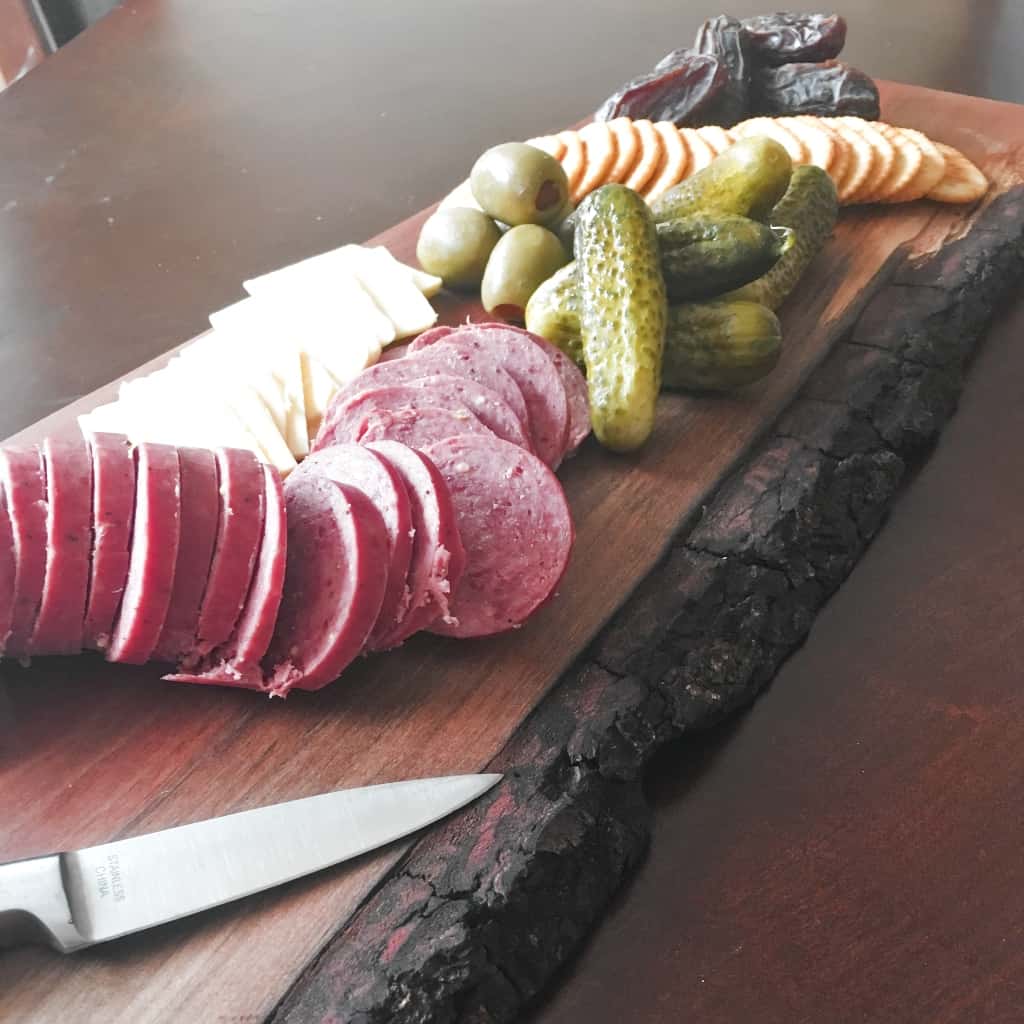
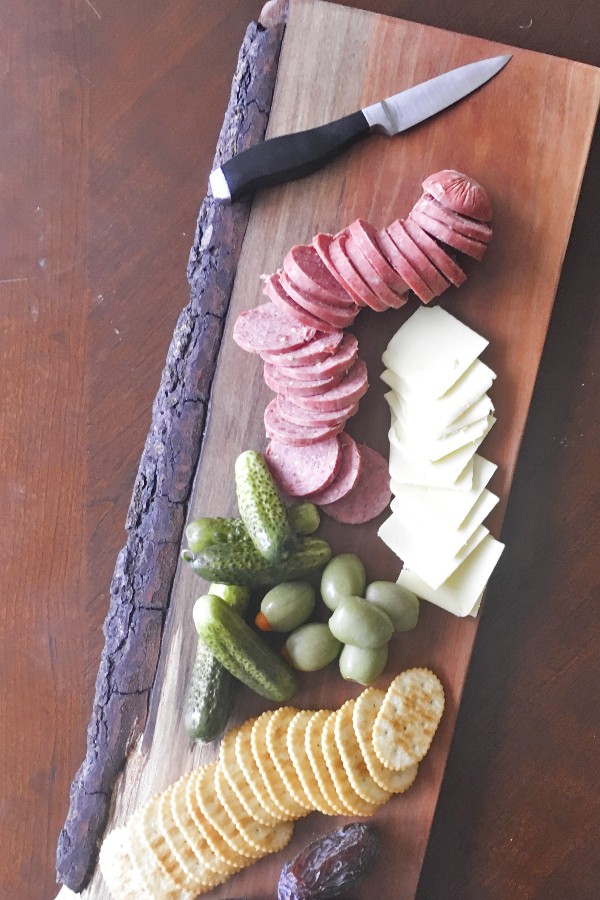
I can use it for blog photos, for putting little food on for lunch (what you see pictured there is ACTUALLY today’s lunch for my whole family–which is awesome) and we can put goodies on there when we entertain…it’s just an all-around awesome tool.
Best part, though? Day-to-day, that Live Edge Charcuterie Tray can sit on my ottoman and be an awesome place for me to put my coffee.
Because, yeah, priorities.
Now, because I like it and I wanna, I made this awesome YouTube video on my channel for How to Make a Live Edge Charcuterie Tray. Watch it–it will make more sense than just staring at the photos.
And be sure to subscribe to my YouTube Channel because I drop a new video every week–and they’re guaranteed to be fun and somewhat informative. You know.
What You Need to Make a Live Edge Charcuterie Tray
- 1 24 x 10 x 1/2-inch wide board of wood of unknown origin or species. I think mine is Cherry, possibly? Make sure it’s got a nice live edge–that’s the point, right?
- Hand Sander (paid link)
- Planer (if you don’t have a planer, you can probably find a local woodworking shop that will plane your wood for a few dollars)
- Mineral Oil (paid link)
How to Make a Live Edge Charcuterie Tray
- With your table saw, square-up the non-live edges–or don’t. This doesn’t have to be square, I just think it looks really neat to have the tight square edges with the live edge. That contrast looks cool to me.
- Knock off any loose bark. Mine was not loose at all–but if yours is, you don’t want that all over the house or in your food, so knock it off.
- Plane the piece flat on both sides. My board was fairly flat to begin with, so it just took a couple of passes–and I didn’t want to knock off too much bark.
- Sand the board on both sides, knocking off the corners to give it a very light chamfer (slightly rounded edge). I used 80 grit to begin with, then worked my way up to 200 grit sand paper.
- Liberally apply the mineral oil to the live edge charcuterie tray, taking care to get the oil into all the wrinkles in the bark and everything to protect the wood and your food. Allow the oil to dry completely.
- Sand with 300 grit sand paper.
- Reapply the mineral oil.
- Allow it to dry completely.
- Use with gusto!
If you loved this super-simple tutorial for How to Make a Live Edge Charcuterie Tray, be sure to subscribe to my YouTube Channel for those weekly videos, but also, pin this post, that way you can find this one when you’ve got your unknown-origin-plank-of-wood.
NerdyMamma has Lots of “How To” Ideas. You Need to Try These:
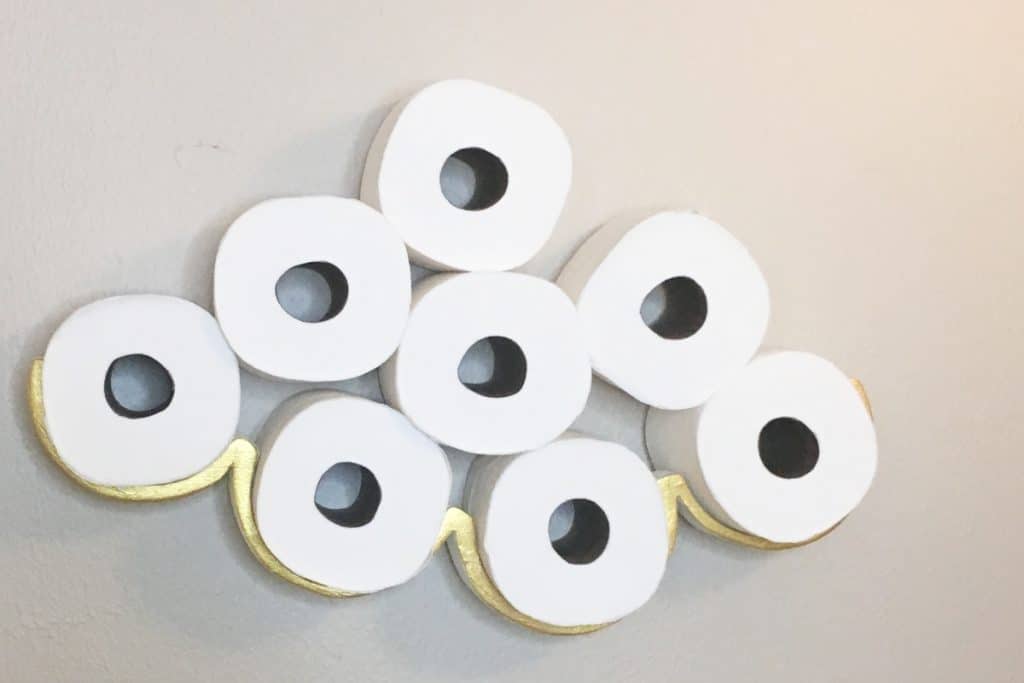
How to Make a Cloud Toilet Paper Holder
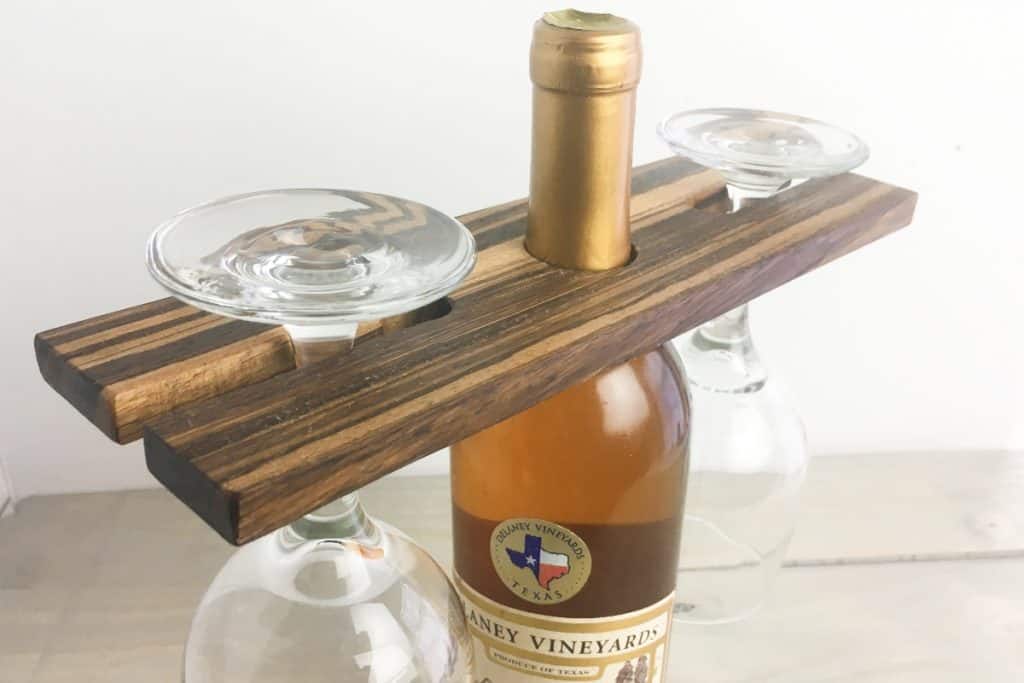
How to Make a Small Wine Butler from Scrap Wood
How to Make Crystal Shells
