
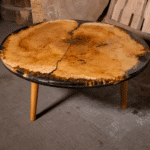
Creating a cozy and inviting space in a student apartment doesn’t have to be daunting, especially with the right DIY project. Imagine transforming a simple tree slab into a stylish coffee table!
If your schedule is too busy for such big DIY projects, consider writing help with your essays. Services like do my coursework can help you find more time for crafting. After all, making your own unique table is an investment in your comfort. It’s all about making your space your own with a project that’s as enjoyable to create as it is to use.
So, grab your tools and let your creativity flow as we explore how to turn a simple tree slab into a centerpiece for your daily life.

1. Selecting the Perfect Tree Slab
Crafting your coffee table begins with selecting the right tree slab. This choice sets the tone for your table’s final look and feel.
Consider the style of your flat and the space where the table will reside. For a smaller room, a slim, elongated slab can create a sense of space, while a larger, round slab can anchor a spacious living area.
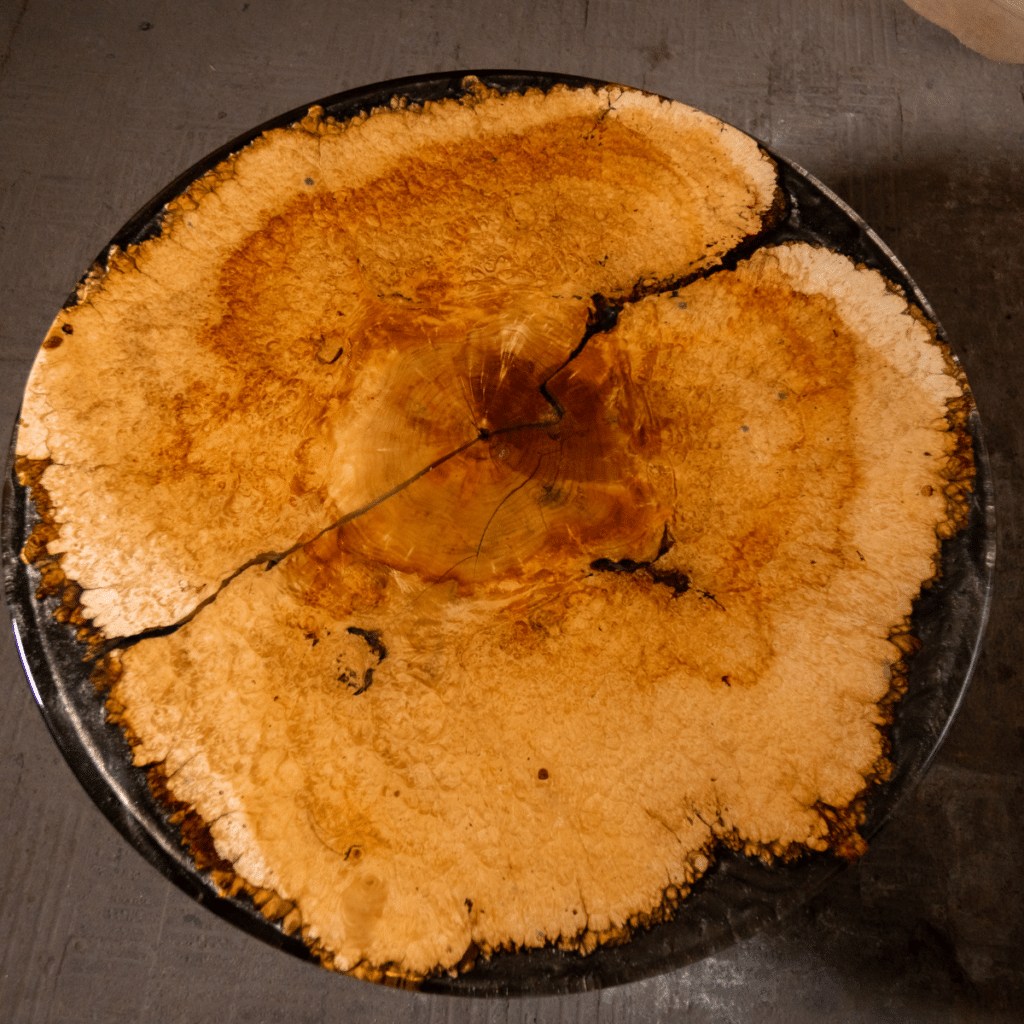
Remember, each piece of wood is unique; look for a slab with interesting grain patterns or knots for added character. Softwoods like pine are easier to work with and lighter, making them ideal for students who might move frequently. Hardwoods like oak or maple, though heavier, offer durability and a rich look.
2. Gathering Your Tools and Materials
Before starting the task, you need to have a full toolkit at hand. This preparation saves time and ensures a smooth workflow. You’ll need:
- Saw (for cutting the slab to size)
- Sandpaper (various grits for smoothing the wood)
- Drill (for attaching legs or hardware)
- Sealer or varnish (to cover the wood)
- Brushes or rags (for applying the sealer)
- Screws and screwdriver (for assembly)
- Measuring tape (for precise measurements)
- Level (to ensure evenness)
- Protective gear (gloves, goggles)
- Legs or base for the table (depending on design preference)
With all the basic tools ready, transform that slab into a beautiful coffee table. Let’s get started!
3. Preparing the Wood
Starting your work with the tree slab involves proper preparation. The first step is sanding the slab, focusing on smoothing any rough spots or inconsistencies in the surface. Use sandpaper with a rougher grit initially, then shift to finer grits for a smooth texture. This step not only brings out the inherent charm of the wood but also readies it for the next steps of sealing or staining.
If you wish to alter the wood’s hue, staining is a great option, though it’s not mandatory. Staining can infuse the wood with added vibrancy and depth. Select a stain color that harmonizes with the color palette of your room, applying it in a manner that follows the natural grain of the wood.
Once the stain has completely dried, proceed to seal the wood. Applying a sealant is crucial for safeguarding your coffee table from everyday wear and tear, including spills, thus preserving its longevity and appearance throughout your time in college.
4. Designing Your Table’s Base
The base of your coffee table is as essential as the slab itself. For a minimalist aesthetic, hairpin legs are an excellent choice due to their sleek and contemporary design. For a more rustic vibe, repurposed items like metal pipes or even old books can serve as an intriguing base.
When attaching the base, make sure it’s centered and stable. Measure carefully before drilling any holes for screws or bolts. If opting for hairpin legs, the installation process will be more straightforward as they typically come equipped with pre-drilled holes. The goal is to ensure that your table is aesthetically pleasing but also practical and safe for everyday use.
5. Adding Personal Touches
This is where your coffee table really starts to reflect your personality. Think about what makes your study space unique and how your table can complement that.
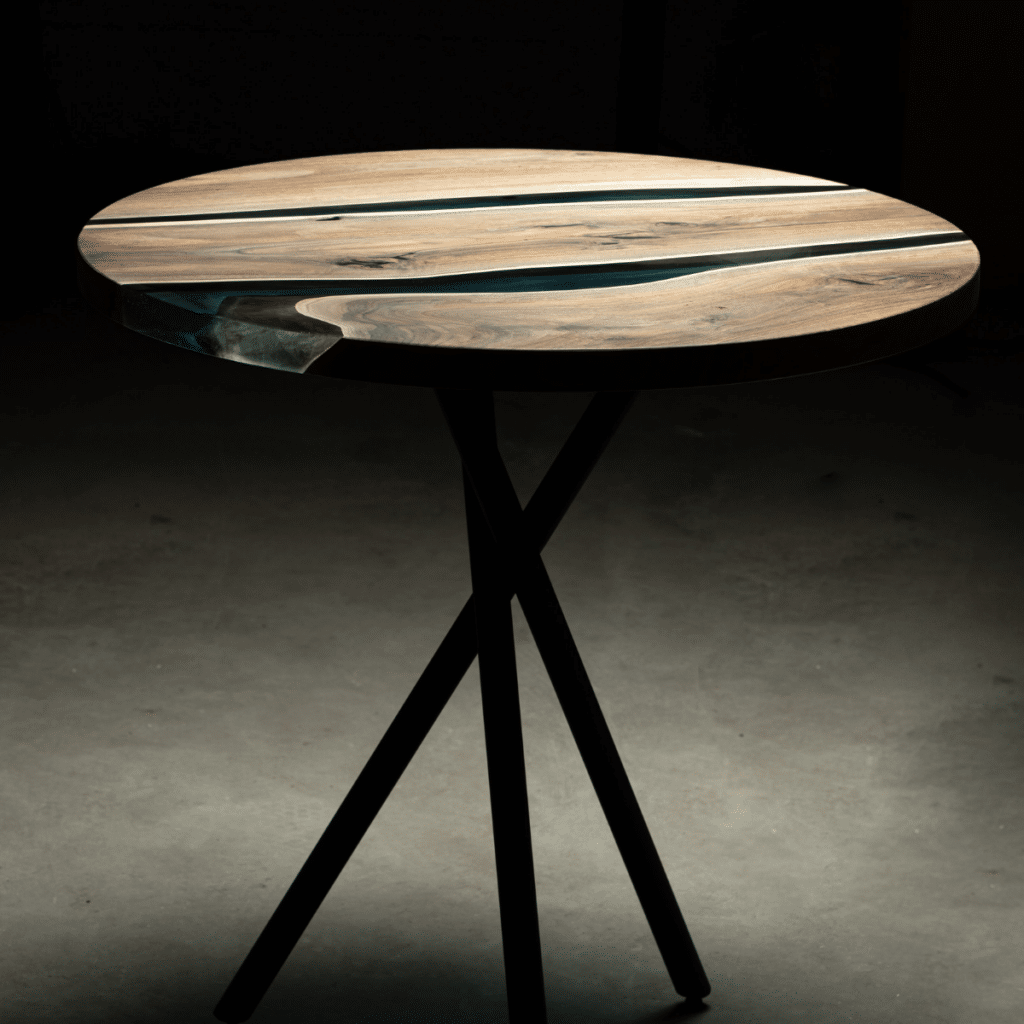
- Add a glass top for an elegant, contemporary look.
- Use a stencil to add a design or pattern to the wood.
- Incorporate LED lights underneath for a contemporary twist.
- Attach hooks or drawers for added functionality.
- Paint the edges or base in your favorite color.
- Install hidden compartments for extra storage.
- Use a resin pour to fill in any natural holes or crevices.
- Experiment with diverse materials like metal and wood.
- Engrave your initials or a meaningful quote.
6. The Finishing Touches
To safeguard the wood and any decorative features you’ve incorporated, apply a layer of sealer or varnish. This step not only preserves the beauty of the table but also makes it more durable against the spills and scratches of daily life.
After the sealer dries, it’s time to set up your table in its designated space. Arrange it thoughtfully in your living area, perhaps complementing it with a cozy rug underneath or a stack of your favorite books on top.
7. Enjoying Your Handcrafted Piece
Finally, pause to savor the results of your hard work. Take this time to admire the crafted piece you’ve brought to life.
You’ve turned a simple tree slab into a functional, stylish coffee table that’s sure to be a conversation starter. It’s a testament to your creativity and hard work, a real reminder of what you can achieve with a bit of effort and imagination.
Conclusion
Crafting your own tree slab coffee table is more than just a step-by-step process; it’s about adding a personal touch to your space. In doing so, you create a functional piece of furniture and gain skills and confidence in DIY projects. If you’re looking for academic support to focus on your DIY hobbies, reading a WritePaper review could provide insights into reliable essay help. Remember, the beauty of DIY projects like this coffee table lies in their uniqueness and the personal stories they tell. Each scratch, each stroke of paint, and every choice you made along the way contribute to the narrative of your college years.
