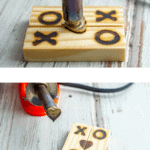
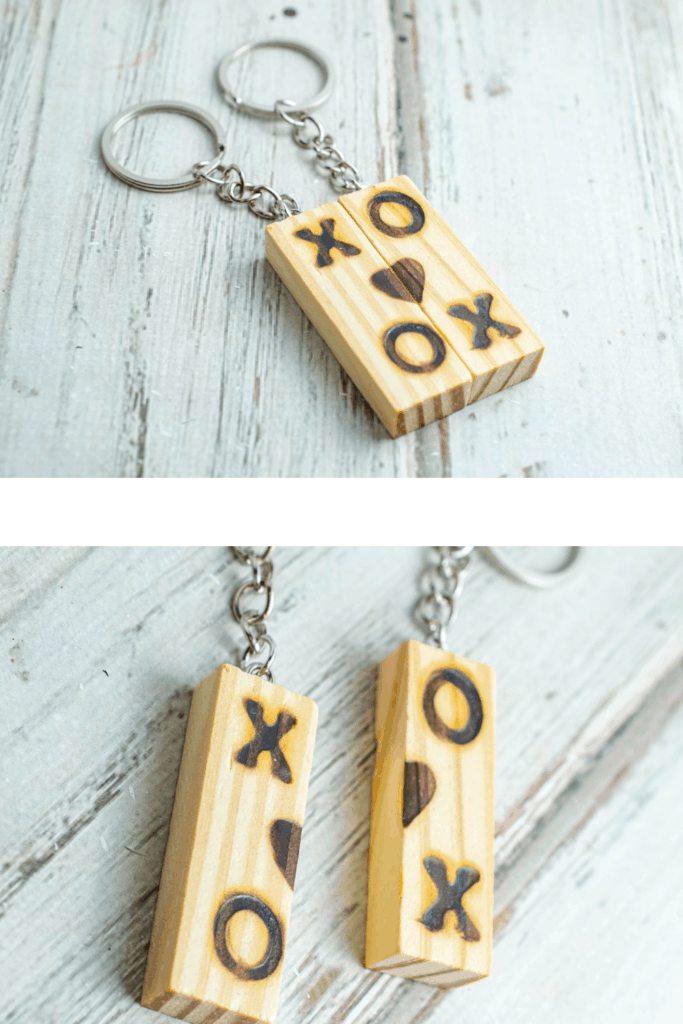
These beautiful pieces of wooden keychains show all your feelings when given as a gift. Charm your loved one’s by giving A Piece of My Heart Keychain personally made by yourself.
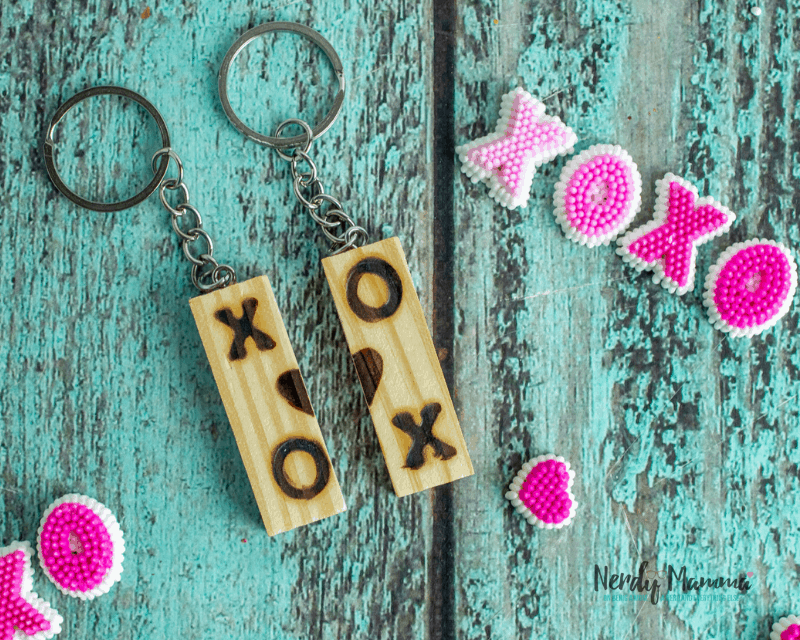
A very simple but meaningful couple’s key chain made of wood is somewhat like a charm, too. Although, something like this can be easily bought from a gift shop or online store, isn’t it better if you made it yourself?
I thought this keychain is really cute with more than one purpose. Well, for one, it is obviously a key chain that you use every day. At the same time, every time you use it, it reminds you of the person who gave it to you. Awww.. So sweet, isn’t it.
This A Piece of My Heart Keychain is a great gift that you can give away to your couple friends. Actually, I made a few pairs. I gave a pair to a friend of mine who was just engaged. She liked it so much that she promised to give the other half to her future better half.
I gave a pair to my 2 girls. Well, they were watching me when I was making them. So, they’re expecting that they have theirs, too. Now, these keychains are hanging in their cute little unicorn bags.
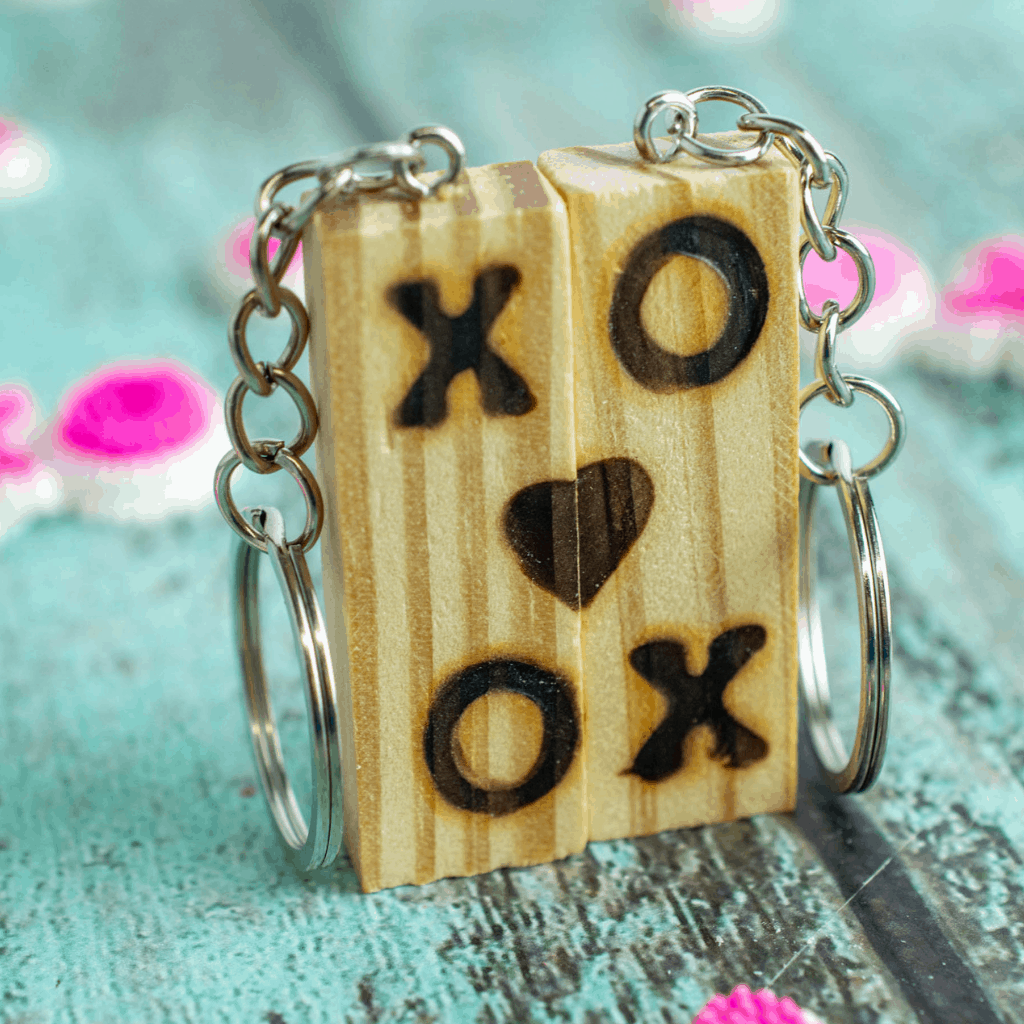
To Make A Piece of My Heart Keychain…
… is very easy. As long as you have the right tools. That’s why I’m sharing this, so you’ll know what to do.
I was excited when I did this the first time. And they really look good. I’m sure you are excited, too.
You can see the list of materials below. I also included the link on where I got the materials in case you don’t have those yet.
Materials Needed:
Paid Links:
- 2 Tumbling Towers wooden game pieces
- Wood Burning Tool
- 2 Keyrings
- Wood Burning Hot Stamps – letters “x” and “o”
- Wood Burning Hot Stamps – heart symbol
- Metalcraft pliers
- Wood Glue (used Elmer’s Carpenter’s Wood Glue)
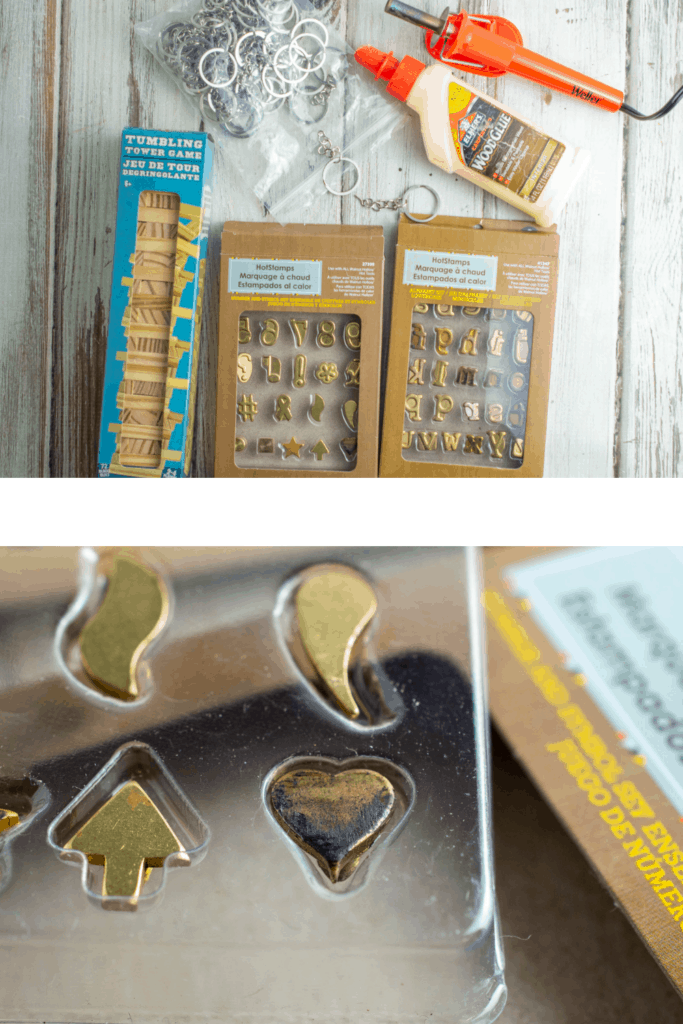
Directions:
To begin with, place the game pieces side by side, vertically.
While unplugged, screw the letter “x” onto your wood-burning tool. Then plug in and allow to heat up according to manufacturer directions (or about 5 minutes).
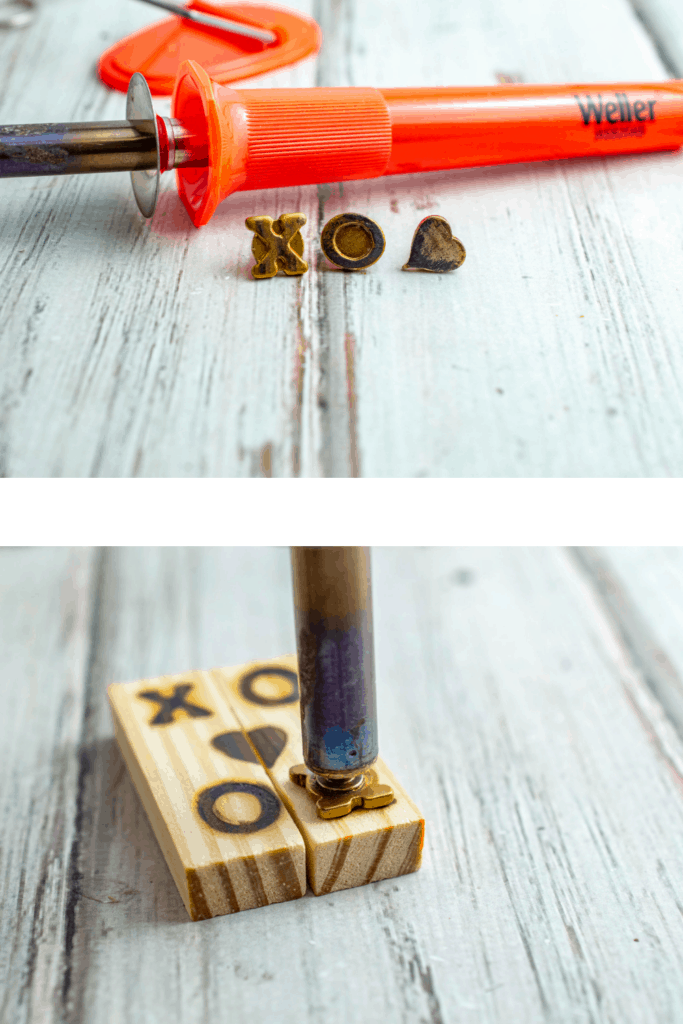
Press the “x” into the top of the left game piece, then repeat on the bottom of the right game piece.
Unplug the tool and allow it to cool completely.
Remove the “x” stamp with the pliers and then screw the “o” stamp in. Plugin the tool and let it heat up.
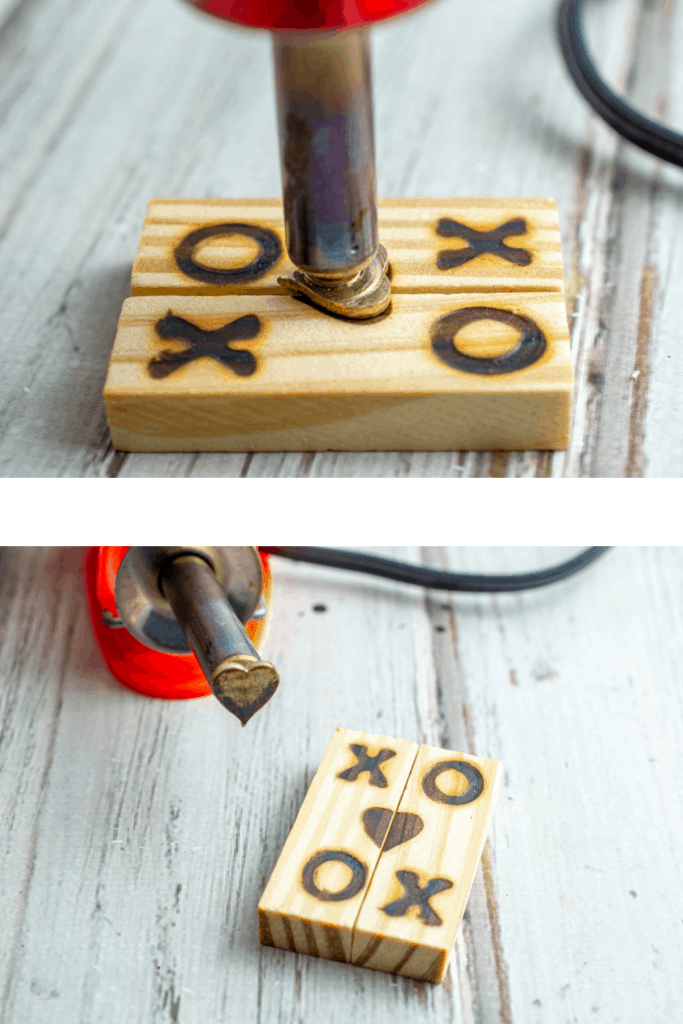
Press the “o” into the bottom of the left game piece, then repeat on the top of the right game piece.
Unplug the tool and allow it to cool completely.
Once cooled, remove the “o” and then screw in the heart symbol. Plugin again and allow it to heat up.
Making sure the pieces are evenly lined up against each other, press the heart symbol onto the middle of both pieces as evenly as you can so that half of the heart is on one block and the other half is on the other.
Pour a little glue onto a scrap piece of paper. Then dip the eye screw on the end of the keyring into the glue.
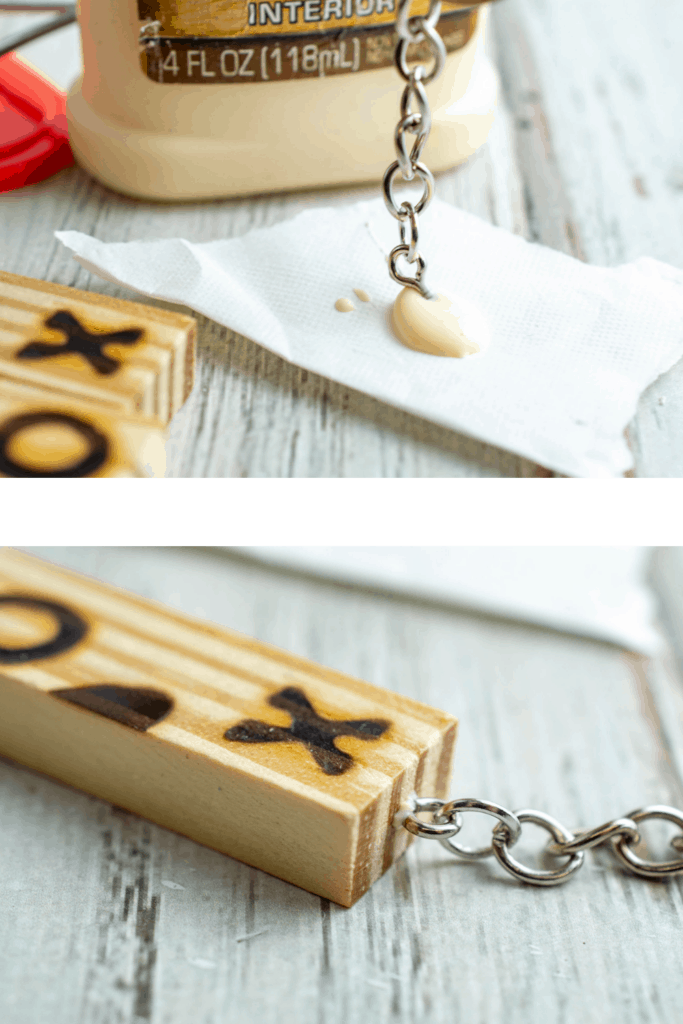
Find the middle top of the block and firmly press the screw into the wood and twist clockwise until tightened and just the loop at the top of the screw is showing.
Notes–When Making A Piece of My Heart Keychain:
- Use a piece of scrap wood to try out before pressing it into your final project. This will help you determine how long to keep the tool pressed to the wood for lighter/darker burns.
- Whenever working with a wood-burning tool always use proper ventilation and be very careful. This craft is not meant for children to make.
- If you are not familiar with the wood-burning tool, allow it to cool completely before changing stamps.
- When you remove the stamps after being cooled, be sure to place them on something that can’t be melted or burned just in case it is still hot.
- Always use the safety stand when you aren’t using the tool.
- You do not have to use wood glue. I just wanted to ensure a secure hold.
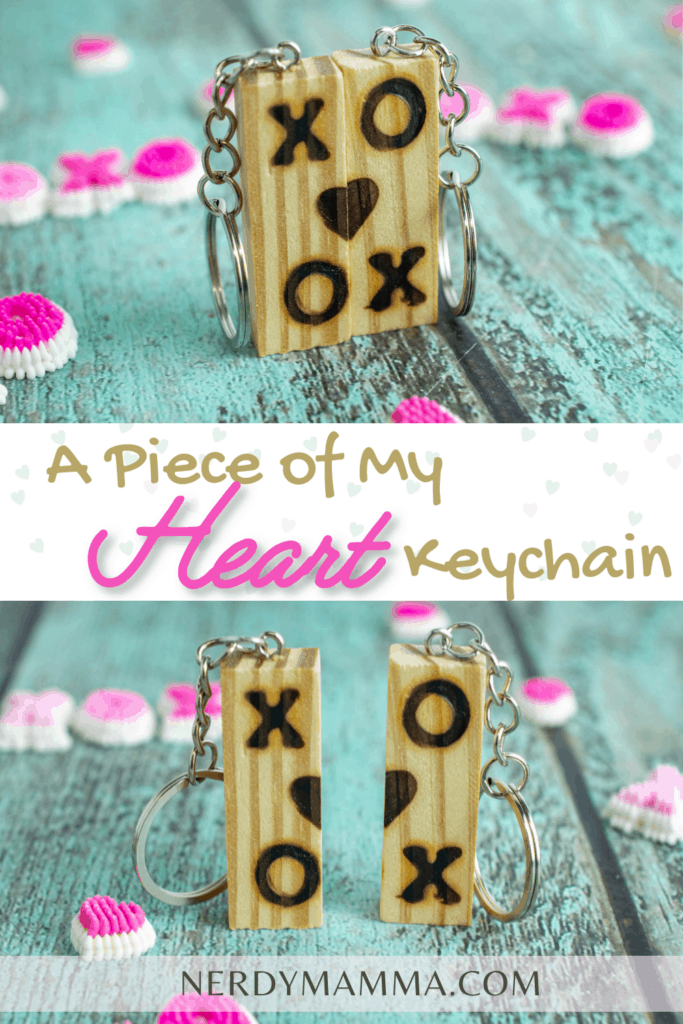
You know that you should Pin this awesome A Piece of My Heart Keychain on your Favorite Wooden Craft board on your Pinterest because Sharing is Love. At the same time, it will be easier for you to check back on it again.
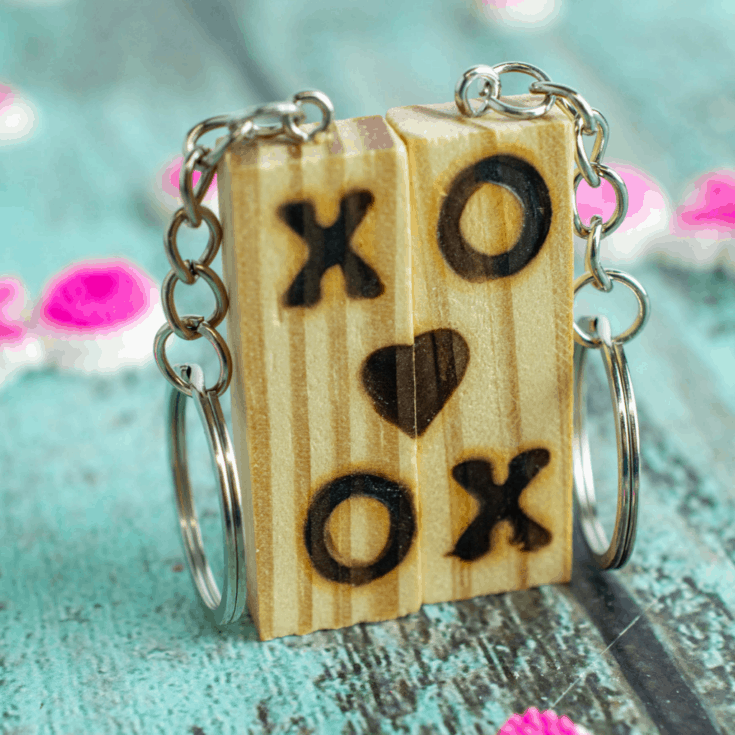
A Piece of My Heart Keychain
This beautiful wooden keychain can show off the feelings. Charm your loved one by giving A Piece of My Heart Keychain personally made by you.
Materials
- 2 Tumbling Towers wooden game pieces
- Wood Burning Tool Amazon Link
- Wood Burning Hot Stamps - letters “x” and “o” Amazon Link
- Wood Burning Hot Stamps - heart symbol Amazon Link
- Wood Glue (used Elmer’s Carpenter’s Wood Glue)
- 2 Keyrings Amazon Link
- Metalcraft pliers
Tools
Instructions
- Place the game pieces side by side, vertically.
- While unplugged, screw the letter “x” onto your wood-burning tool.
- Plugin and allow to heat up according to manufacturer directions (or about 5 minutes).
- Press the “x” into the top of the left game piece, then repeat on the bottom of the right game piece.
- Unplug the tool and allow it to cool completely.
- Remove the “x” stamp with the pliers and screw the “o” stamp in.
- Plugin the tool and let it heat up.
- Press the “o” into the bottom of the left game piece, then repeat on the top of the right game piece.
- Unplug the tool and allow it to cool completely.
- Once cooled, remove the “o” and screw in the heart symbol.
- Plugin again and allow it to heat up.
- Making sure the pieces are evenly lined up against each other, press the heart symbol onto the middle of both pieces as evenly as you can, so that half of the heart is on one block and the other half is on the other.
- Pour a little glue onto a scrap piece of paper.
- Dip the eye screw on the end of the keyring into the glue.
- Find the middle top of the block and firmly press the screw into the wood and twist clockwise until tightened and just the loop at the top of the screw is showing.
Notes
- Use a piece of scrap wood to try out before pressing it into your final project. This will help you determine how long to keep the tool pressed to the wood for lighter/darker burns.
- Whenever working with a wood-burning tool always use proper ventilation and be very careful. This craft is not meant for children to make.
- If you are not familiar with the wood-burning tool, allow it to cool completely before changing stamps.
- When you remove the stamps after being cooled, be sure to place them on something that can’t be melted or burned just in case it is still hot.
- Always use the safety stand when you aren’t using the tool.
- You do not have to use wood glue. I just wanted to ensure a secure hold.
Here is where I bought some of the materials:
- Wood Burning Tool Amazon Link
- Wood Burning Hot Stamps - letters “x” and “o” Amazon Link
- Wood Burning Hot Stamps - heart symbol Amazon Link
- 2 Keyrings Amazon Link
If you are looking for more enjoyable crafts, check these out:
Valentines Mini Gum Ball Machines
Origami Butterfly
Rainbow Unicorn Mason Jar Nightlights
