
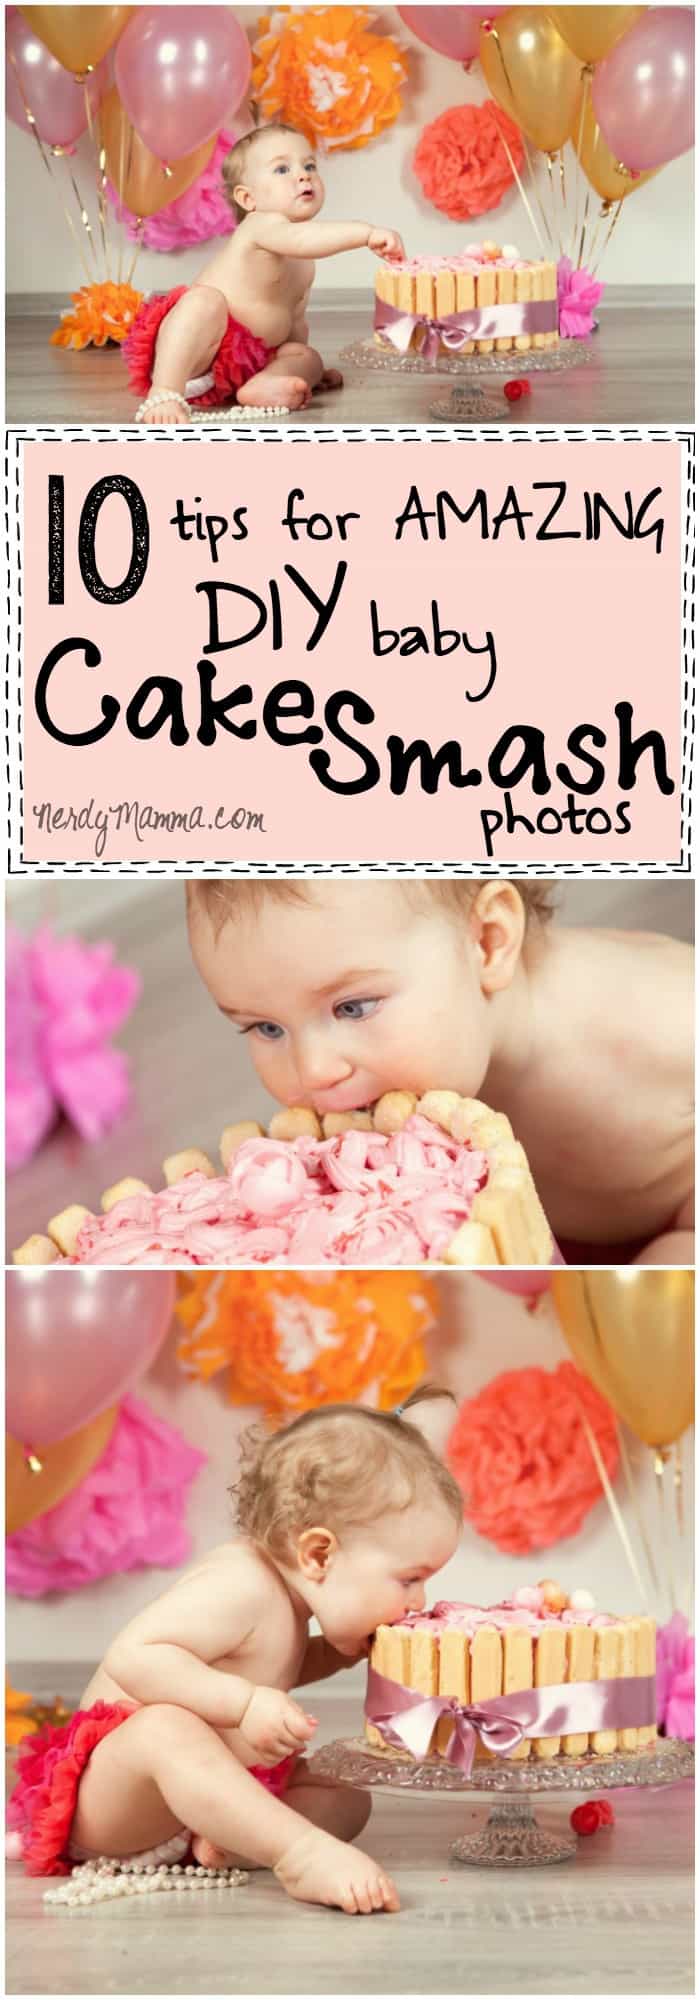
So, as we approach little Donut’s first birthday, I have been breaking down some tasks activities that I feel like will be a lot of fun to do in celebration of her birthday. One of my favorite ideas (that I really wish I’d done with Jelly) is the cake smash. But I’m just too cheap to pay for photos that I know I can do at home…So, I narrowed-in on what it would take to do the cake smash in my living room and here’s the results: 10 Tips for Amazing DIY Baby Cake Smash Photos. I hope you can enjoy taking them as much as me…
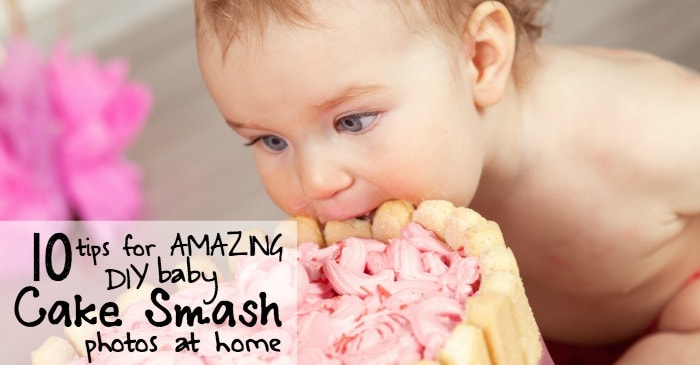
10 Tips for Amazing DIY Baby Cake Smash Photos
- Background. The key word here is neutral. You want everything else to pop, so you want the background to fade away. A clean, off-white, grey or beige sheet should do the trick.
- Floor. If you’r not lucky enough to have a neutral tile floor on which you can do this, go get a sheet of linoleum pantry liner…just something neutral that will keep your carpet clean.
- Lighting. Best thing is to do this near a nice, big, bright window. Not direct sunlight and not deep shadow…somewhere in between, with the indoor lights OFF.
- Color. Choose a color theme before you go any further. Something bright, light and fun…sad, deep and depressing is a no-no. Heh.
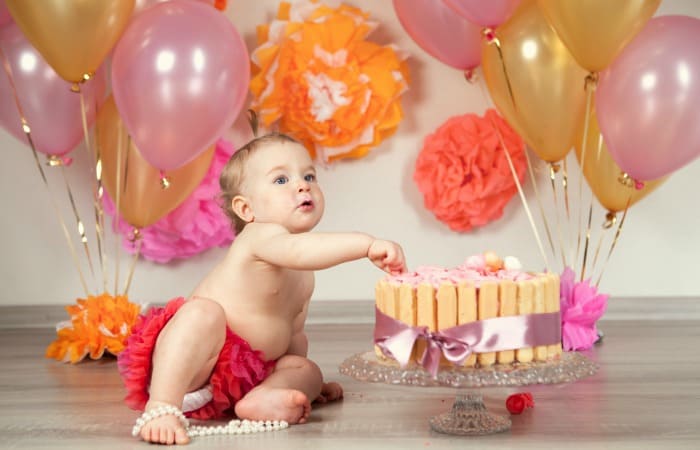
- Props. Keep it simple, since the point is the kid and the cake. So, a couple of tissue paper flowers, a balloon or two and you’re done. Do not go overboard.

- Cake. Make a simple, fun cake. The one in my photos is just a small store-bought vanilla with lady fingers around the edge, then filled with pink buttercream. Then tied with a ribbon to give it a little added somethin’. But, if you’re planning on baking, go with a simple, easy cake like this Tea Party Cake.
- Clothes. Go with your color-theme. Don’t be afraid to be too flashy. This is when you put them in that ridiculous feathered petticoat skirt that Aunt Maud bought…
- Shots. Get down in the floor with baby. Stand over her. Look up at her from the floor. Do everything you can–and a few will come out awesome. Heh.
- Mess. Prepare yourself for huge messes–not all shoots are, but some…have paper towels handy for clean-up and maybe have a bath ready for baby.
- Post-Processing. Take your photos into a program like Photoshop or (free!) PicMonkey. Then play with EVERYTHING. You’ll get all sorts of sepia, black-and-white, and just awesome shots.

So, what do you think? Will you be tackling some DIY Baby Cake Smash photos in your near future? Should I try it with my teen, too? Heh. Hit me up with a comment below, or wander over to Facebook and let me know!
Be sure to pin this to your favorite baby photos board, so you can get back to it in a flash!