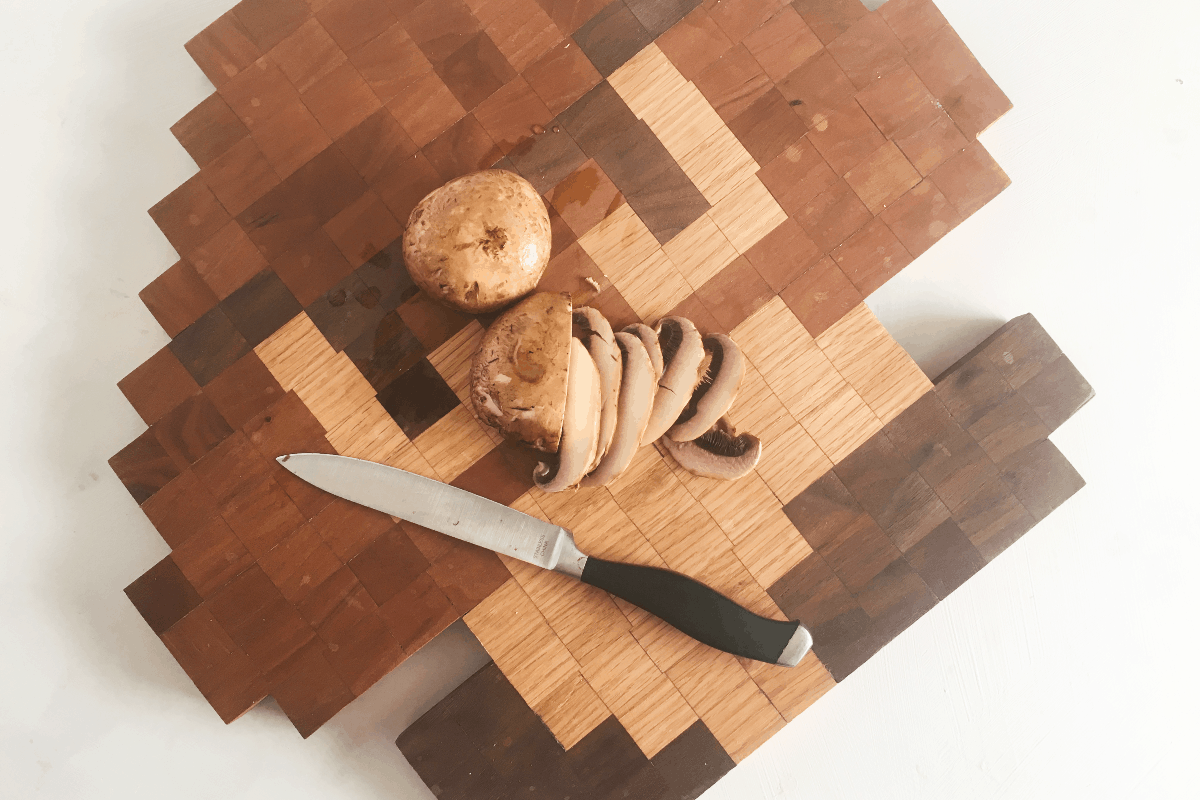
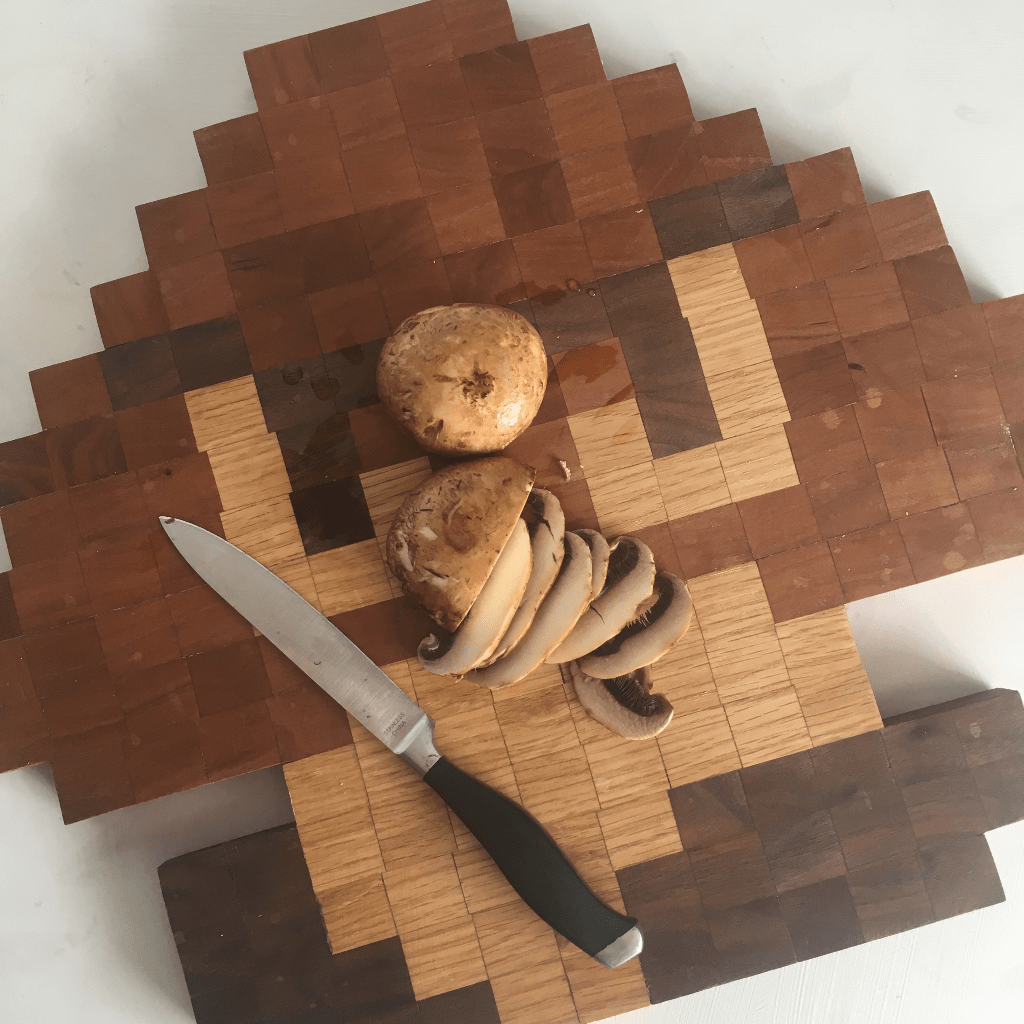
Look, I know that I’m a little nerdy and a little weird. But when I figured out How to Make an 8-Bit Mario Mushroom Cutting Board, I knew I loved every part of me. This is how I did it.
Yeah, well, when you have a plan in your head for something for years, something that you know will be cool–but you just don’t have the set-up to do it, you might be called “obsessed.”
But not me–because I didn’t tell anybody, so they couldn’t call me anything–it was my very own secret.
Seriously, though, I have been working-out all the kinks in my shop and planning out How to Make an 8-Bit Mario Mushroom Cutting Board(or Goomba–it’s really a Goomba, but whatever) for years. Literally.
I spent some time working-up a sketch in a spreadsheet (it’s an 8-bit drawing, so a spreadsheet made the most sense), then sat on my hand for a while. Then I spent some time figuring out how to make a table saw sled, then sat on my hands for a while.
Then I decided that I would do a YouTube channel. And that was no-sitting-on-the-hands activity, that was getting my workshop all sorts of ready.
And, now that I have everything in place and I made my 8-Bit Mario Mushroom Cutting Board, I am so super proud.
Just don’t eat raw mushroom–it’s disgusting.
Check out my video and be sure to subscribe to my YouTube Channel for more of these AWESOME videos that I drop weekly.
What You Need to Make an 8-Bit Mario Mushroom Cutting Board
- So…some wood.
- Walnut
- Oak
- Cherry
- Chop saw
- Table saw
- Hot glue gun
- Disc sander
- Planer or Hand Planer
- Belt Sander
- Hand Sander
- Sand paper
- Titebond III Wood Glue (it’s waterproof and food-safe)
- 8-Bit Mushroom Template (you can get it from me by signing-up to be a Patreon–or make your own)
How to Make an 8-Bit Mario Mushroom Cutting Board
- Cut some wood to a manageable length and flatten it on a planer or with a hand planer.
- Cut lengths/strips of your wood that are 1-inch wide.
- Cut those lengths into 1-inch long blocks. I tried this on the chop saw and it was a bad idea because it tore up every third one. Then I did it on the table saw, but that was taking forever, so I hot glued them together and cut them–this was a lot faster.
- On a disc sander, clean-up the hot glue and the edges of the blocks.
- Glue the blocks in order in their rows. I had to make a jig to do this, but it was just two fence panels, one split down the middle, lined with duct tape and screwed in place. I then could build my rows in the channel and clamp them in place until the glue dried. Also, because I did not do this end-grain facing up, the glue soaked in and my rows broke apart a bajillionty times. Don’t be like me, plan this out with the end grain facing up and glue the side grains together so that the glue won’t soak in so much.
- Sand each row clean and flat on a belt sander. I checked for straight/flat by pushing each row against the side of a countertop/table to see if there were gaps on either side. If there was a gap, I kept sanding. No gap? Good to go.
- Glue all the rows together to make the Goomba/Mushroom. Allow it to dry completely. I made a jig to do this with two sheets of wax paper on either side to keep the cutting board from sticking to the surfaces. I think you can figure it out from the video…
- Sand, sand, sand. Literally sand everything flat and square on your belt sander, disc sander and with your hand sander. All the sanding all the time.
- Finish with 100% pure mineral oil or cutting board oil.
- Chop to your heart’s content.
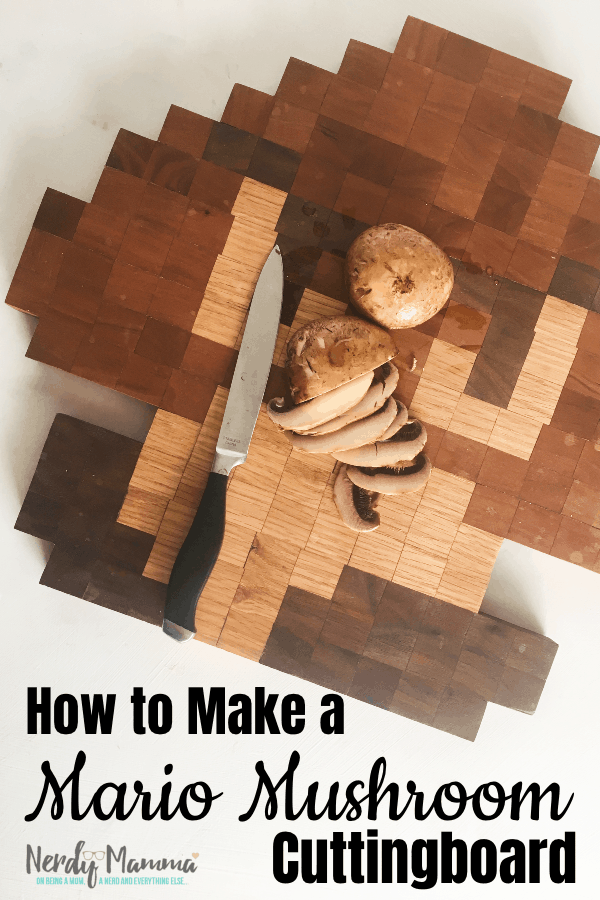
Ok, so if you loved this tutorial for How to Make an 8-Bit Mario Mushroom Cutting Board and you want to hang onto it until you’re ready to make it–or just be awesome and help me spread the love of this beautiful Goomba, be sure to pin it!
And don’t forget to subscribe to my YouTube Channel so that you can see more of these great videos when I drop them weekly!


