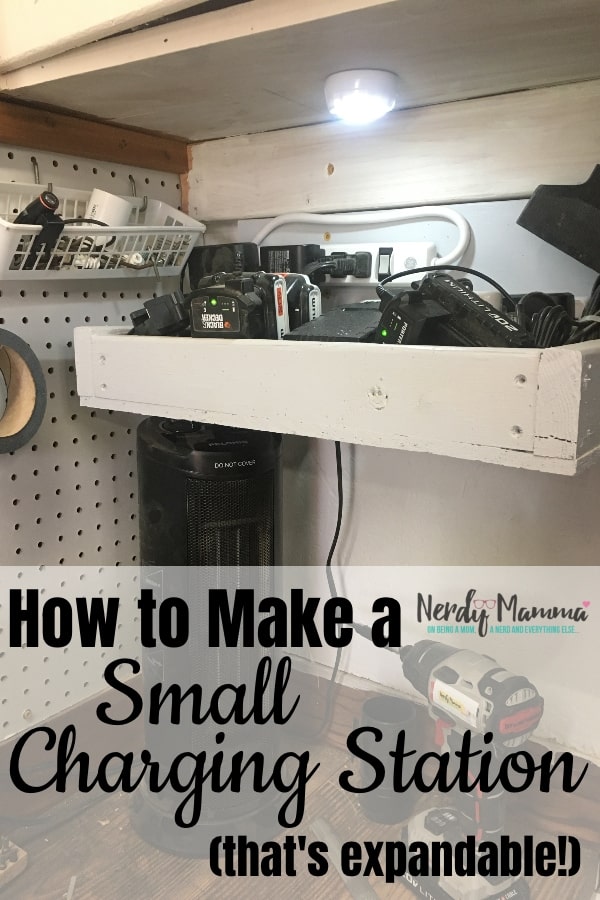
(Inside: It’s made from scrap wood and a few screws and so easy it’s not funny, This is How to Make a Small Charging Station (that’s Expandable!).)
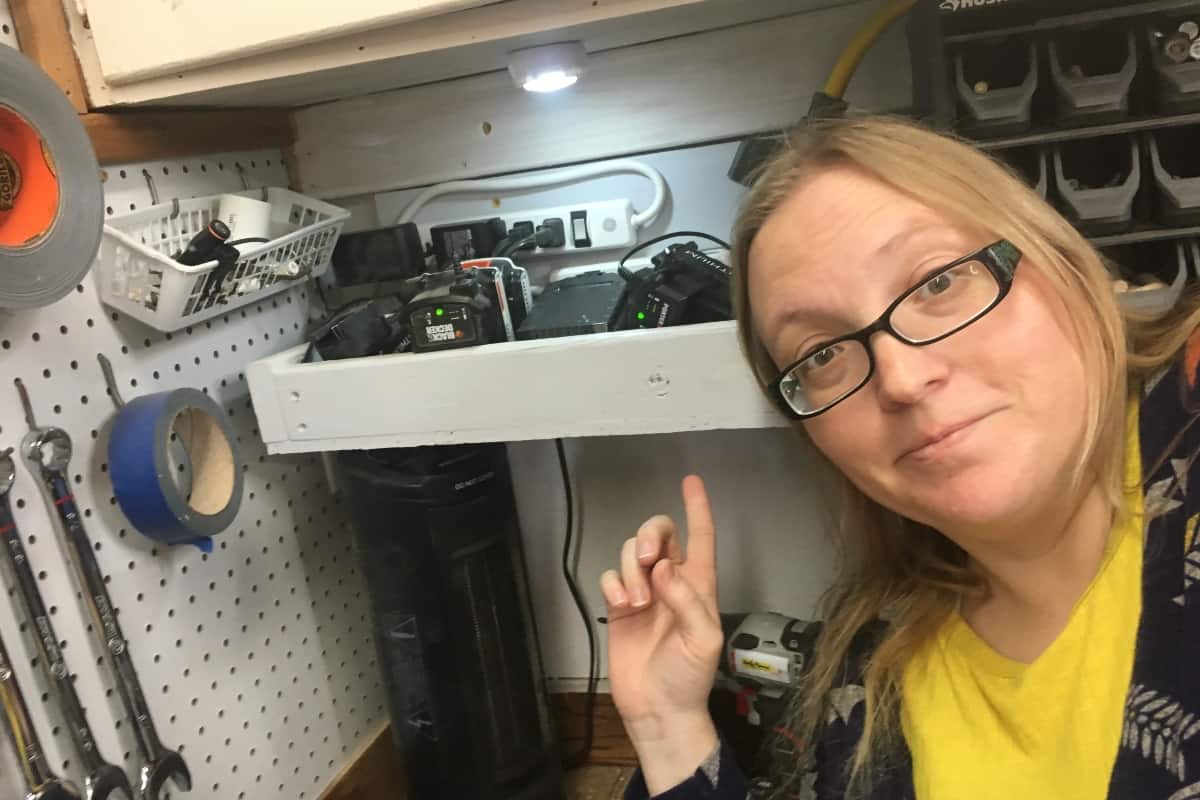
The corner of my shop where batteries lived was a disaster. And I wanted to be able to use that corner of the workbench a little more efficiently.
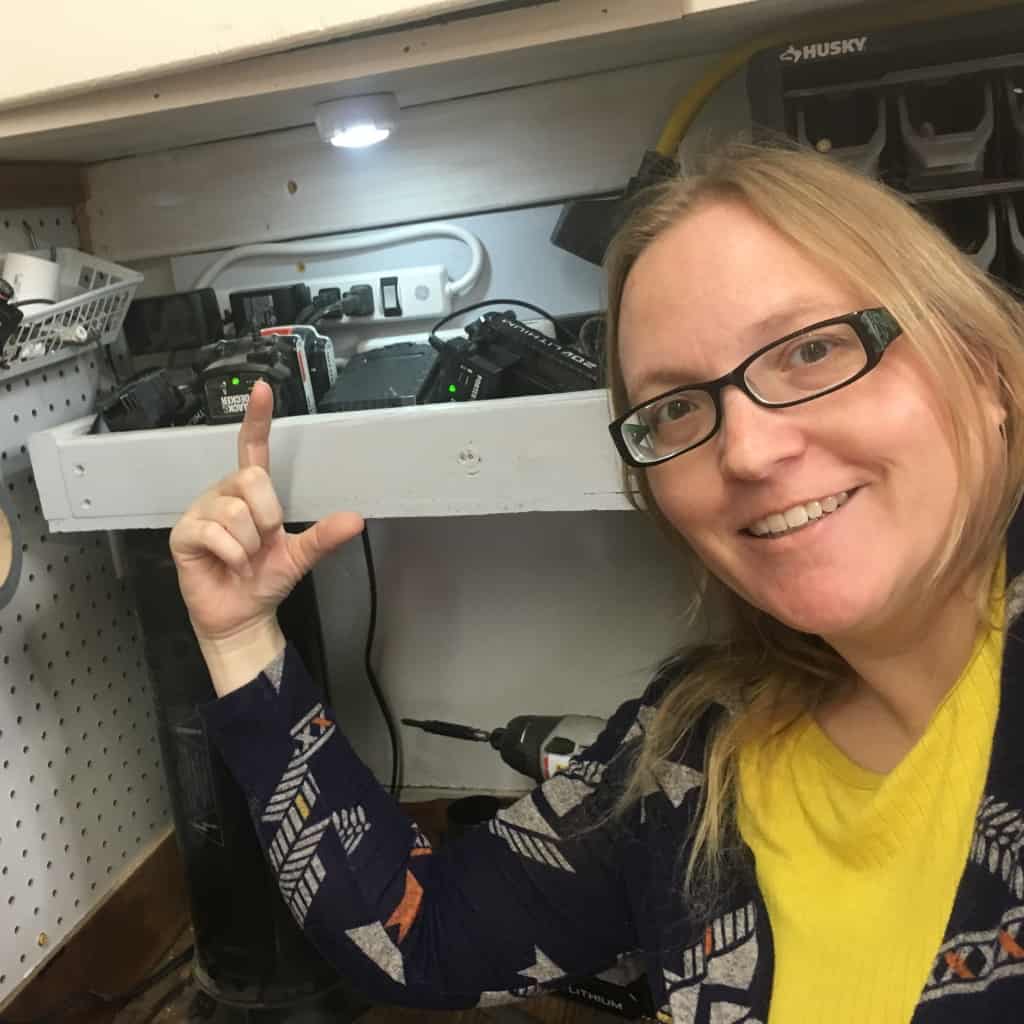
So, I figured out How to Make a Small Charging Station (that’s Expandable!) because, seriously–that was a messy corner.
Easiest charging station ever–it’s not a storage rack for power tools or anything fancy. Just a charging station that does it’s job and allows you to build another one just like it later when you buy more batteries and just keep on keeping-on.
Also, it cost almost nothing to make because this is a Scrap Wood Charging Station that’s painted with (wait for it…) a $0.50 oops jar of paint. Seriously. Couldn’t be cheaper.
Because I’m on this DIY kick and really enjoying it, I made a video tutorial for How to Make a Small Charging Station (that’s Expandable!). Be sure to check it out and subscribe to my YouTube Channel and hit the bell so you get notified when a new weekly video drops!
What You Need to Make a Small Charging Station (that’s Expandable!)
- 3 pieces of 4-inch wide scrap wood (or thereabouts)
- 1 12-inches long
- 2 9-inches long
- 1 piece of 8-inch wide scrap wood (or thereabouts) 12-inches long
- OSB scrap to cover 2/3 of the bottom, leaving an open area so you can “expand” the charging station later by making another shelf, but not having to do much more than just run the cords up through this shelf.
- Screws
- Drill
- Screwdriver
- 2 surge protector strips
* Holds 8-10 battery packs for the screwdriver/drill/skill saw/jig saw, etc.
* So tiny I can’t help but pinch my fingers at it.
How to Make a Small Charging Station (that’s Expandable!)
- Lay out your battery packs and batteries and build the frame around it. If 9-inches isn’t wide enough for your batteries, make it 11-inches. Whatever. If 12-inches long won’t fit all your batteries–go longer. But figure this out before you screw them together.
- Screw together the ends of the longer pieces to the shorter pieces making a box with butt-joints. Be sure to pre-drill your holes–but know that sometimes the wood is going to split anyway.
- Screw the bottom on, leaving the back portion open for future expansion opportunities.
- Place screws into the back of the charging station for the surge protectors. This should be easy, but I can’t figure out how to do this without messing up every time, so I don’t have any tips for you.
- Pre-drill holes wherever your stud or anchors will be for your wall. I only had access to one stud because whatever, so I actually did 3 holes in a straight line down the same stud, so my small charging station will be quite secure.
- Paint.
- Install the surge protectors.
- Place your charging station on the wall.
See? Wasn’t that wicked-simple?!
If you loved this tutorial for How to Make a Small Charging Station (that’s Expandable), be sure to pin it–and don’t forget to subscribe to my YouTube channel–you don’t want to miss this!


