(Inside: My workshop was a veritable dungeon because it was so dark. This is How to Improve Lighting In Your Workshop by Painting Cabinets.)
When we moved into our new house a year ago, one of the big draws was the 1 1/2 car detached garage in the back yard.
But, because it was dimly lit (one light bulb by the workbench and the light on the garage door opener), you couldn’t see ANYTHING–even with the doors open.
It was kind of a dungeon. Just without the chains.
Something HAD to be done.
So, a year ago we tried adding new lights–we put in two florescent lights. While it certainly lit the place, there was still a LOT to be desired.
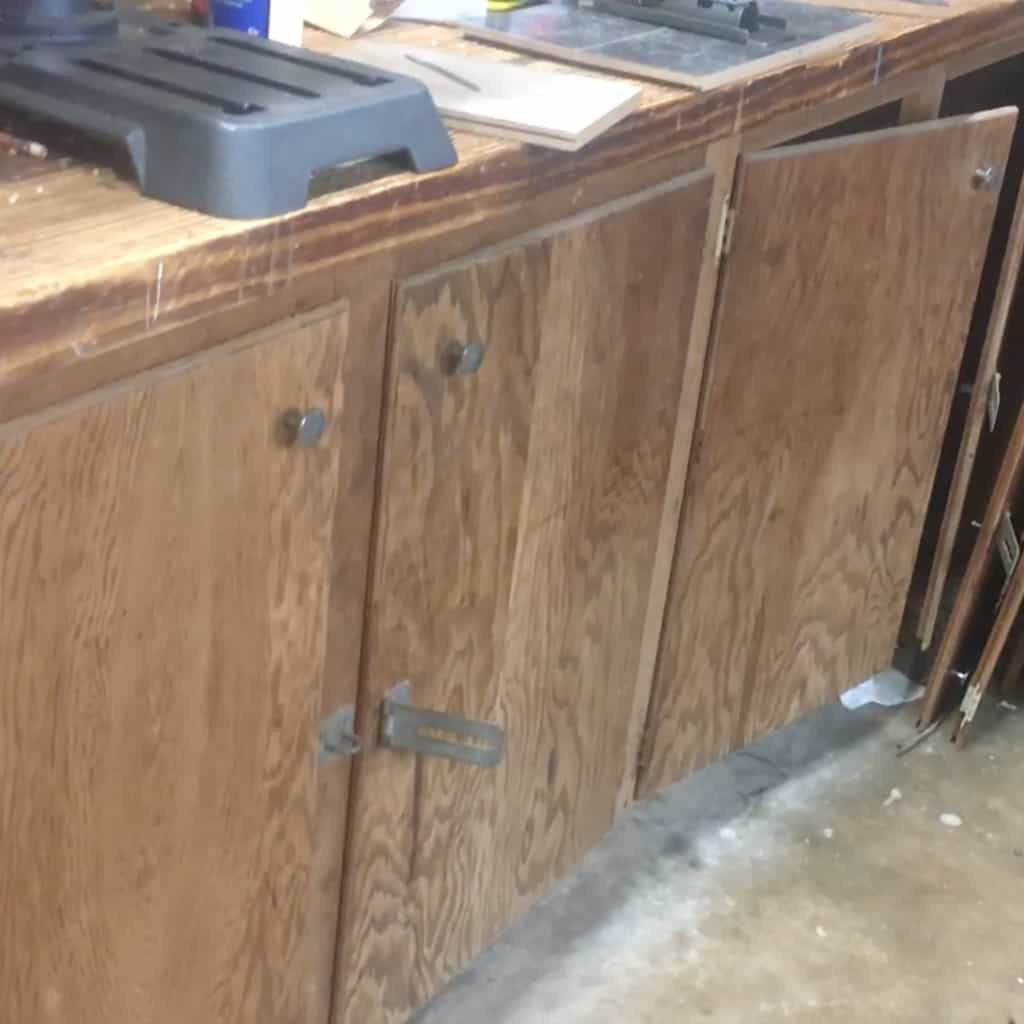
And that’s when I decided that tit was the heavy, dark wood, unfinished walls and mess of dark everything.
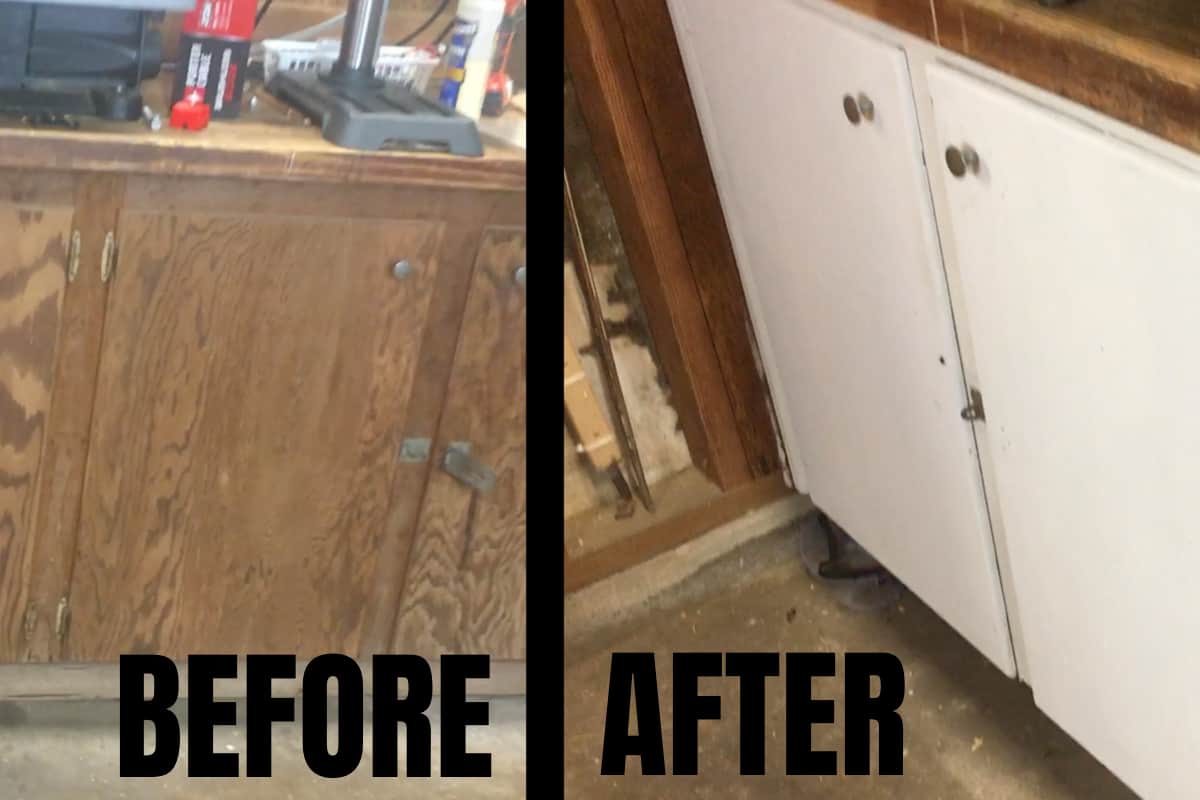
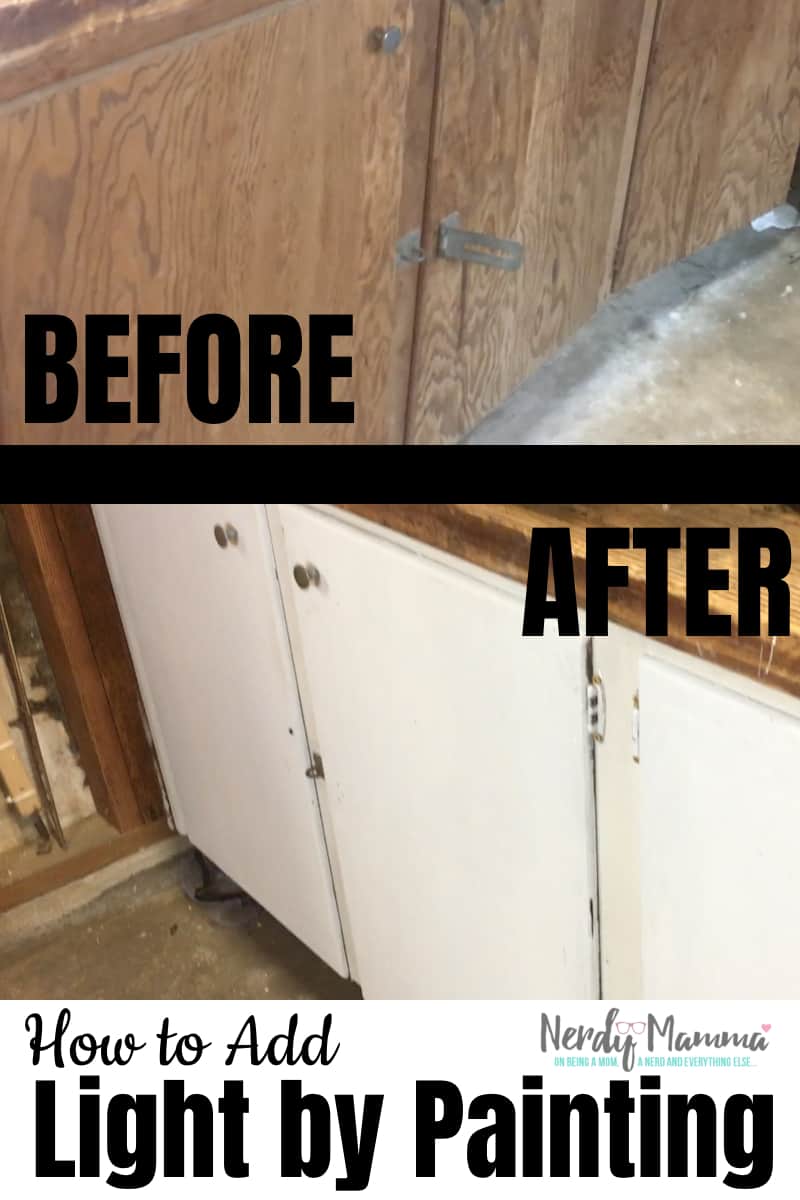
I decided painting the cabinets would be the first step I’d take to bring light into the workshop.
Dudes, it worked.
This is How to Improve Lighting In Your Workshop by Painting Cabinets–because wow, what a difference!
The whole point of this is to have done a video so you can see how different a little bit of paint on those cabinets made the view.
If you dig this video for How to Improve Lighting In Your Workshop by Painting Cabinets, and you’d like to see more, please subscribe to my channel so I know you would like to see more from me!
What You Need to Improve Lighting In Your Workshop by Painting Cabinets
Ok. This is a loaded discussion, obviously–there’s like a million things that would fall into this category.
But, as discussed, this is the first step I took–and this is what I needed.
- 1 Gallon White Paint–just use the white as it comes in the bucket, this isn’t your freaking living room
- Screwdriver (for removing hardware and re-installing hinges)
- Palm Sander
- Sandpaper (I used 80 grit because I’m too cheap to buy other grits for such a simple project)
How to Improve Lighting In Your Workshop by Painting Cabinets
- Remove all the cabinet doors from the cabinet face.
- Remove all the hardware from the cabinet doors. Please note: because my hinges are 50+ years old, I decided to keep them on the doors, because I’m legit afraid that they’ll never go back on right. So, I left my hinges on–because I’m too cheap to buy new hinges.
- Sand the cabinet door faces with the palm sander and sandpaper (duh).
- Sand the cabinet face (the wood part that you see between the cabinet doors, just in case you don’t know what I mean–because sometimes I don’t know what I mean).
- Paint the cabinet door faces.
- Paint the cabinet face.
- Allow paint to dry.
- Repeat steps 5 and 6 until the paint stops soaking into the wood.
- Allow paint to fully dry (if you don’t do this, you risk the cabinet doors sticking to the face and either pulling paint off when you open the doors or the doors fusing to the cabinet face and you not being able to open them–either way, horrible).
- Re-install the cabinet doors. I recommend upgrading from scary 1950’s flathead screws to more modern screws.
- Re-install door knobs.
- Test to make sure all the doors still open and close.
- Pat yourself on the back as you bask in the light now flooding your workshop.
If you loved this tutorial and video for How to Improve Lighting In Your Workshop by Painting Cabinets, be sure to subscribe to my channel and pin this post so you can come back to it for inspriration when you need it for your workshop!


