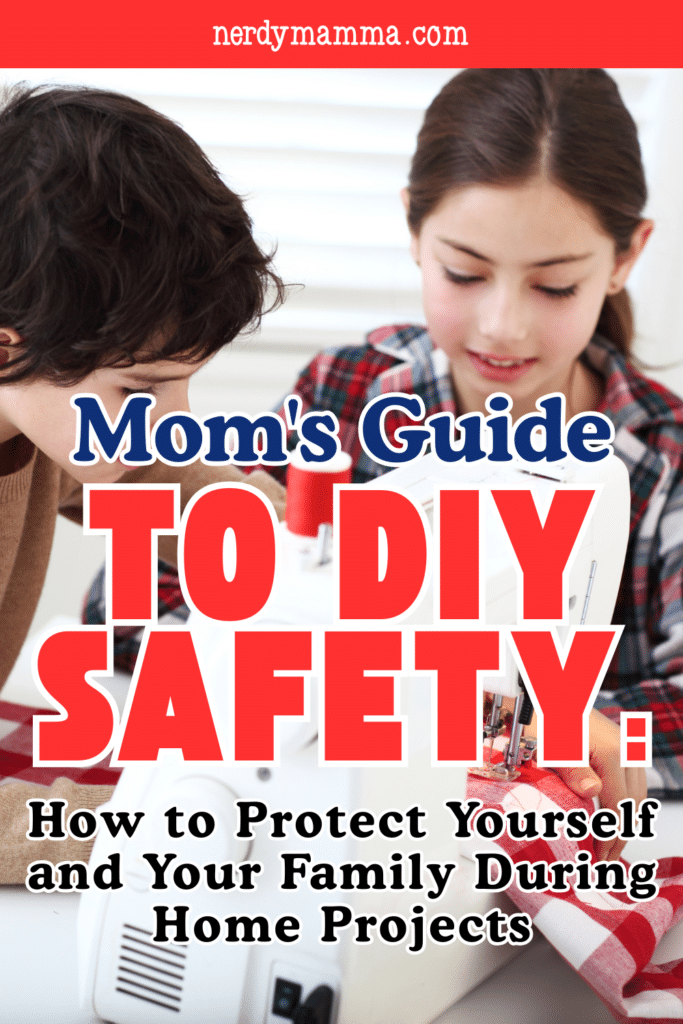
DIY projects can be a fun and fulfilling way to improve your home, unleash your creativity, and save money. Whether you’re tackling a weekend painting project, assembling furniture, or building a playhouse for the kids, it’s easy to get caught up in the excitement of making something by hand.
However, safety is an often-overlooked aspect of DIY that should never be compromised—especially when kids and pets are involved. As a mom, it’s crucial to prioritize both your safety and that of your family while taking on these home projects.
In this guide, we’ll walk you through the essential safety tips to ensure your DIY endeavors remain enjoyable and accident-free. We’ll discuss the importance of Personal Protective Equipment (PPE), the right tools, and strategies to keep your home safe for everyone involved.

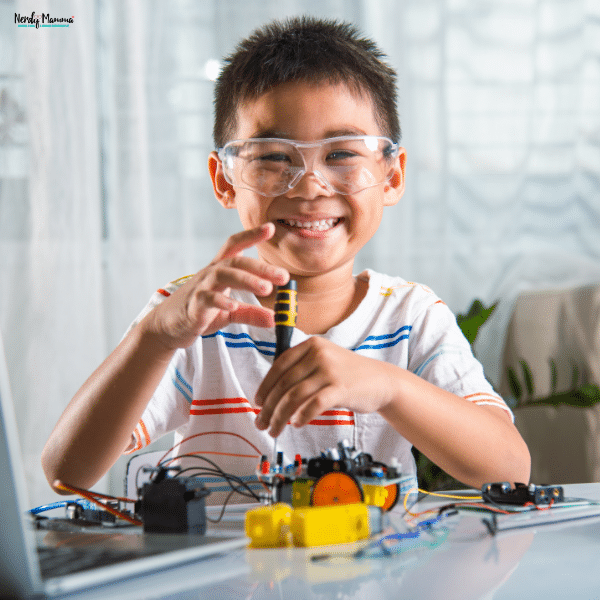
1. Always Wear the Right Personal Protective Equipment (PPE)
One of the most important steps in ensuring safety during DIY projects is wearing the proper PPE. It’s easy to skip this step when you’re feeling rushed or overconfident, but even simple tasks like sanding or cutting wood can lead to injuries if you don’t take the right precautions.
Here’s a breakdown of the basic PPE every DIY mom should have on hand:
- Safety Glasses: Protect your eyes from flying debris, sawdust, or paint splashes. Eye injuries are common in DIY projects, and they can lead to permanent damage. A good pair of safety glasses will shield your eyes without obstructing your vision.
- Hearing Protection: Noise levels in some DIY projects (like using a power saw or drill) can reach dangerous levels, leading to long-term hearing damage. Invest in earplugs or noise-canceling earmuffs to protect your ears while working with loud tools.
- Gloves: Wearing gloves helps protect your hands from splinters, sharp edges, and burns. Depending on the task, choose gloves that offer flexibility and grip while providing adequate protection. For example, use heavy-duty gloves when handling tools and light fabric gloves for painting.
- Respirators and Dust Masks: Dust can be a major concern, particularly when working with wood or chemicals. A simple dust mask can help protect you from inhaling harmful particles. In more intense situations, such as sanding or painting, a respirator will provide more effective protection.
- Steel-toed Boots: If you’re working with heavy materials or tools, steel-toed boots are essential for protecting your feet from falling objects or sharp items on the floor. They’re particularly important when working in areas with lots of debris or while using power tools.
These items might seem like small investments, but they can go a long way in preventing serious injuries. Always check that your PPE is in good condition before beginning a project. For reliable options, companies like safetysourcellc.com provide high-quality safety gear that ensures you’re fully protected during your DIY endeavors.
2. Understand the Tools You’re Using
Many DIY projects require the use of various power tools. While these tools can make your work easier and more efficient, they also come with risks if not used properly.
Before you start using any tool, take the time to read the user manual and understand how to operate it safely. Never skip safety instructions, and always double-check that the tool is in proper working condition before using it.
Here are a few safety tips for handling power tools:
- Use the Right Tool for the Job: Using the wrong tool can lead to accidents. Always ensure you’re using the proper tool for your project. If you’re unsure, ask for advice at your local hardware store or consult online guides.
- Keep Tools Clean and Well-Maintained: Clean your tools regularly and make sure they’re in good working condition. A tool that’s clogged with dust or oil can malfunction, leading to injuries. Lubricate parts as needed and replace any worn-out components.
- Check for Faults: Before using any tool, check for faults such as loose wires, cracks, or missing safety guards. If something feels off, stop immediately and have it inspected or repaired.
- Unplug Tools When Not in Use: Always unplug power tools when you’re not using them, especially when changing bits or blades. This simple precaution prevents accidents from occurring when you’re handling tools.
3. Keep the Work Area Organized and Well-Lit
A cluttered work environment is one of the easiest ways to increase the risk of accidents. Keep your workspace tidy, organized, and well-lit. This will not only help you avoid tripping or slipping, but it will also make your projects more efficient.
- Clear Clutter: Before starting, clear away any unnecessary items from your workspace. Tools and materials should be neatly stored and easily accessible. If you have kids running around, make sure any dangerous tools are securely put away when not in use.
- Proper Lighting: Working in a poorly lit area can lead to accidents. Invest in adequate lighting, such as overhead lights and task lamps, so you can clearly see your work. If you’re working outdoors, try to plan your project during daylight hours, or use portable work lights if necessary.
- Secure Loose Items: Make sure that everything you’re using is secured. For instance, if you’re cutting or drilling, ensure that materials are properly clamped down to prevent them from shifting. This will help you avoid slipping or making inaccurate cuts.
4. Child and Pet Safety
As a mom, your family’s safety is your top priority. During DIY projects, it’s important to take extra precautions when young children or pets are nearby. While it’s not always possible to keep them out of the room, there are a few steps you can take to ensure their safety:
- Establish a Safety Zone: Set up a designated area where kids and pets are not allowed. Make sure this area is clear of tools and materials, and keep the door to your workspace closed if possible.
- Use Childproofing Tools: If you’re working in areas where children might be present, childproofing devices like safety locks, gates, and tool covers can help reduce the risk of accidents.
- Explain Safety Rules: If your kids are old enough to understand, explain the safety rules to them. Teach them the importance of staying away from sharp tools, hot surfaces, and hazardous materials.
5. Clean Up After Each Project
Once the project is complete, take the time to clean up thoroughly. Not only does cleaning up reduce the risk of accidents, but it also helps keep your tools and materials in good condition for future use.
- Dispose of Waste Properly: Dispose of any paint, chemicals, or other hazardous materials safely. Follow local regulations for proper disposal to ensure you’re not putting anyone at risk.
- Store Tools Safely: Put tools away after each use, making sure they are properly cleaned and stored in a safe location. This prevents tools from getting damaged or becoming a danger to curious hands.
- Keep the Area Dry: Water or spilled liquids on the floor can cause slipping hazards. Always wipe down surfaces and clean up any spills immediately.
Conclusion
DIY projects can be incredibly rewarding, but safety should always come first. By taking the time to equip yourself with the proper PPE, use tools safely, and keep your work area organized, you can ensure that your projects are not only successful but safe.
Whether you’re tackling a weekend project or an ambitious home improvement task, don’t forget to prioritize your well-being and the safety of your family.
Remember, The Safety Source LLC provides a wide variety of safety products, including PPE and cleaning supplies, to help keep you safe during your DIY projects. So, equip yourself with the best tools, follow these safety tips, and enjoy the satisfaction of creating something amazing with your own hands.