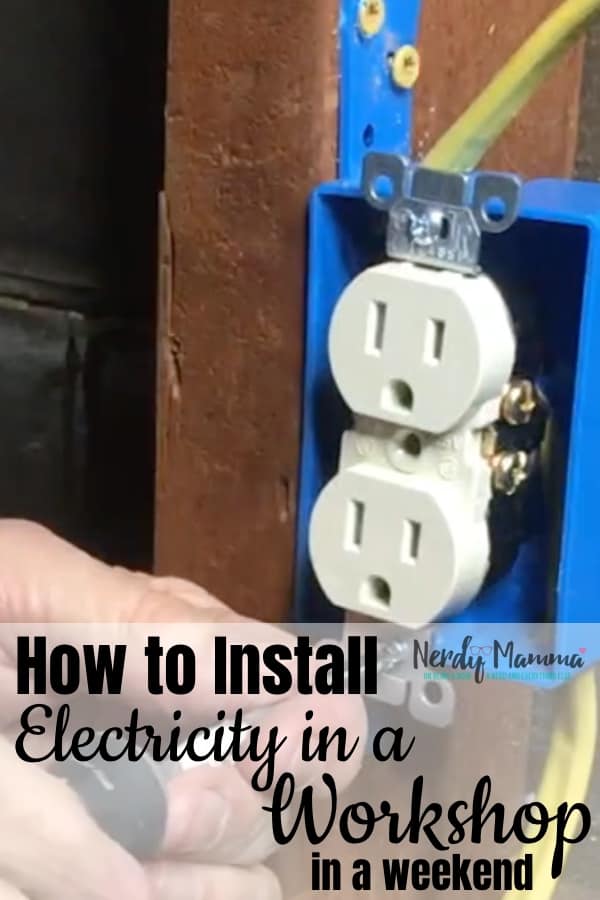
(Inside: I had no electricity in my workshop–none. But we remedied that quick. This is How to Install Electricity in a Workshop (in one weekend).)
First, turn off the power. Safety first, right!
Then, let me be clear: This is not me telling you to go do your electric work if you’ve never done any and you’re not sure what you’re doing–you could get hurt. No, this is me showing you what I was able to do in my workshop and How to Install Electricity in a Workshop in 1 Weekend–at my house with my tools and stuff.
Meaning: You should call a professional if this is not something you are comfortable with.
That being said, I had a blast.
I really needed more outlets (I only had one) and I needed a breaker box (we didn’t have one–we had a fuse box super far away and it was not as safe. Heck, the building wasn’t even grounded.
So, we went from basically NO electricity in our workshop to 6 plugs, 3 lights and a breaker box in one weekend.
This is how we did that.
Be sure to check out the video that details How to Install Electricity in a Workshop (in one weekend) that I put out on my YouTube Channel–and be sure to subscribe and hit the bell so that you can be notified when a new video comes out!
What I Used to Install Electricity in a Workshop (in one weekend)
Paid links:
- 100-Feet of Romex Wire
- 6 Outlets
- Plastic Blue Outlet Boxes
- 6 Outlet Kits
- 6 Outlet Covers
- Phillips Head Screwdriver
- Flat Head Screwdriver
- So many screws
- Scrap Wood (the same width as your wall you plan to put up)
- Wire Nuts (like 10 at least)
- 3 Light Switches
- 2-foot long copper pipe
- Painter’s Tape
- Marker
- 1 2-foot long piece of scrap wood to mount the breaker box
- 1 breaker box
- 2 breakers (that are the same brand as the breaker box–that’s a big mistake I made)
- Drill
- 1-inch Forstner Bit
- String
- Level
- Speed Square
- Wire Stays (little nail and plastic doohickies that keep the wire snug against the stud)
- Clamp
- Junction box
How to Install Electricity in a Workshop (in one weekend)
- First, we turned off the power to the building. Safety first, right?
- We then started by removing the “cover” we had over the single outlet in the building. It was a 1950’s outlet, so it was falling apart. This is where the power came into the building and it was the ONLY location with live power.
- We looked at where we would be able to tie in and determined that the best place for our breaker box was above this old outlet where the power came into the building.
- Then, I cut the scrap wood to fit between the studs and secured it with a couple of screws.
- I then mounted the breaker box to the piece of scrap wood. I used the speed square to make sure the box was straight on the wall–important if you want it to look good, you know.
- After that was up, I strung a piece of wire from the old outlet box where the power comes to the building over to the breaker box–but we DID NOT connect it. We didn’t want to be dealing with lines that might be live as we did all the other wiring, so we just left this dangling.
- Then, while my husband and dad went to the store to get the right breakers (because I am a stooge and bought the wrong ones for the breaker box), I placed a screw into a stud about 1/2 way, then tied a string to it.
- I then used a level to mark where that string should sit and be level across the wall. I actually did this on two walls, just videoed one though.
- Using the drill, I placed a hole below the string on each stud between the breaker box and the locations where I wanted the outlets to be located.
- To get the outlet boxes ready to accept wire, I used the flat head screwdriver to knock out the holes on the top and bottom of the boxes.
- With the scrap wood (the piece that was as thick as the wall material we were planning on using) to help me find the right location on the stud, I clamped the outlet boxes where I wanted them to be.
- With the drill I pre-drilled holes and screwed the outlet boxes in place.
- I then strung a wire from the breaker box to the outlets on each side of the wall.
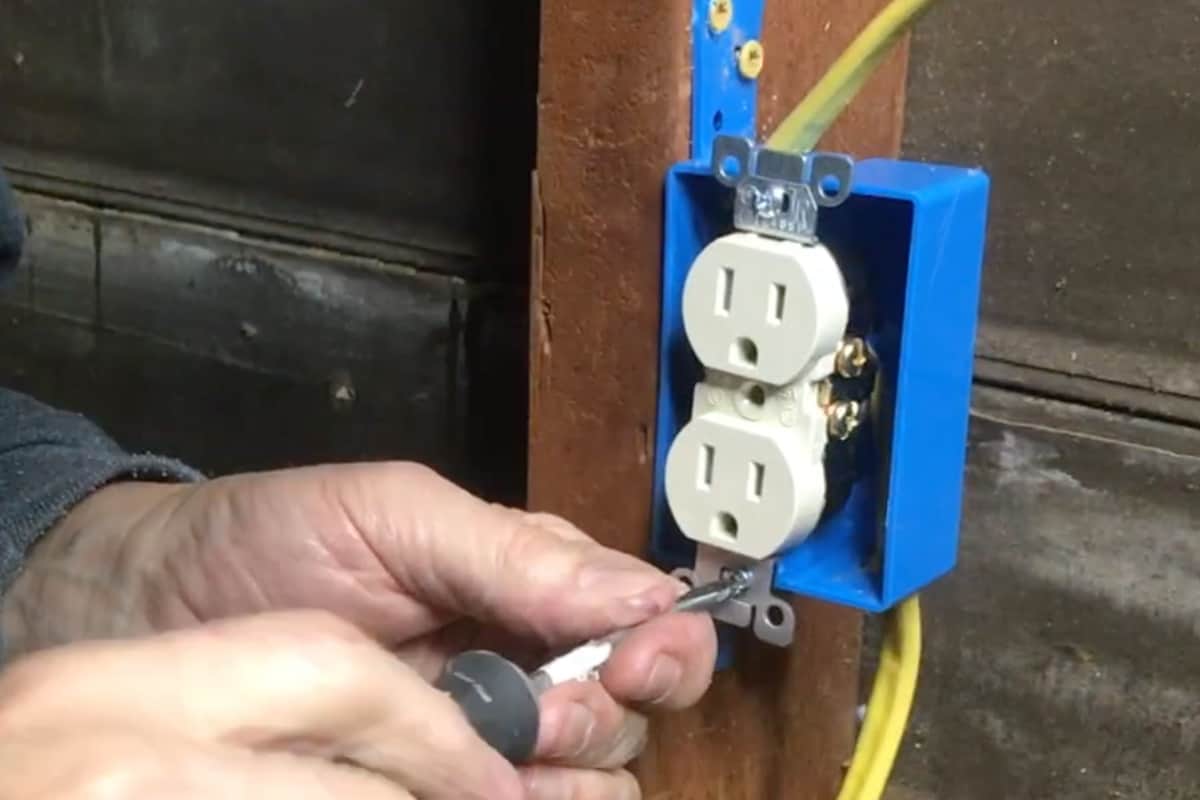
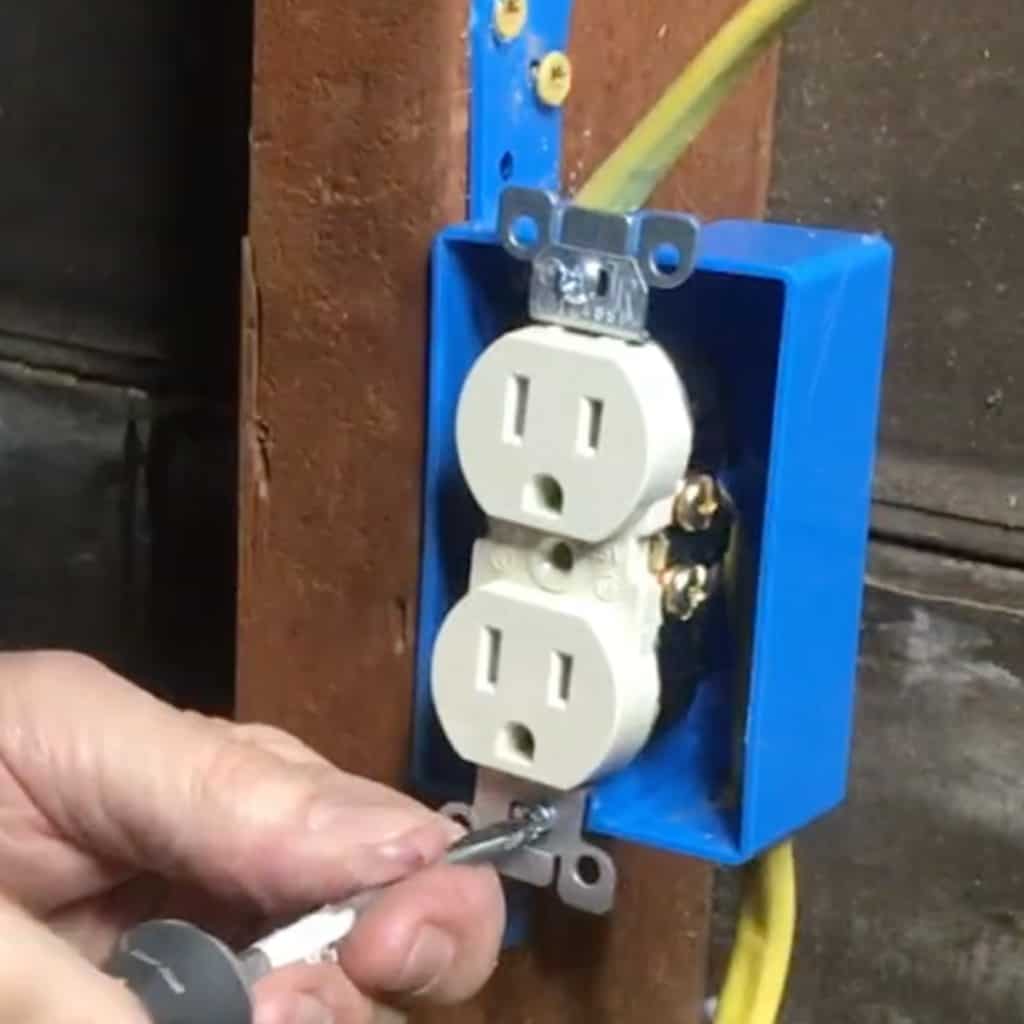
- Then I wired the boxes in, putting the ground wire on the green screw, white wires on the silver and black wire on the gold screws (see, I know what I’m doing! LOL!).
- Then I screwed the outlet assembly in place and put the cover on.
- Once those were in place, we removed the old light switches and wires then replaced them with the new light switches and wires.
- After that, we connected another electric wire from the breaker box to the lights in a junction box with wire nuts.
- Once those were in place, we finally connected the line from the power into the building to the breaker box
- After checking our connections one last time, we turned the power back on!
And that was it. We did spend some time putting in insulation and then installing walls and pegboard, but I will show those in their own video.
If you loved this, be sure to pin and subscribe to my YouTube Channel so you get all the updates!
Need More NerdyMamma “How To” Info? Check Out These:
How to Make a Live Edge Charcuterie Tray

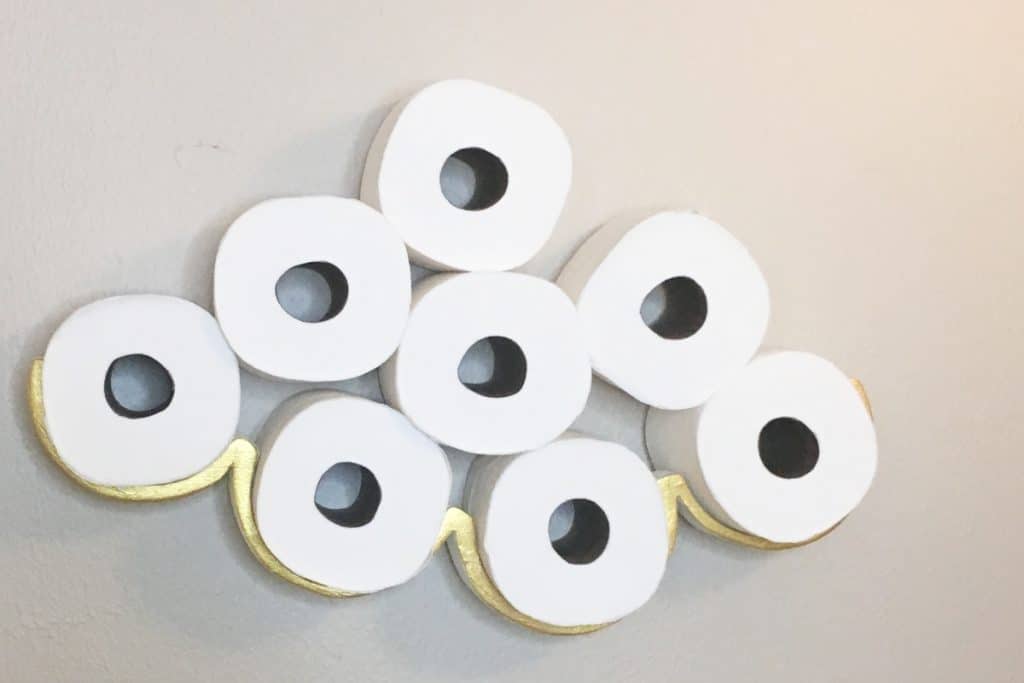
How to Make a Cloud Toilet Paper Holder
How to Make a Small Wine Butler from Scrap Wood