

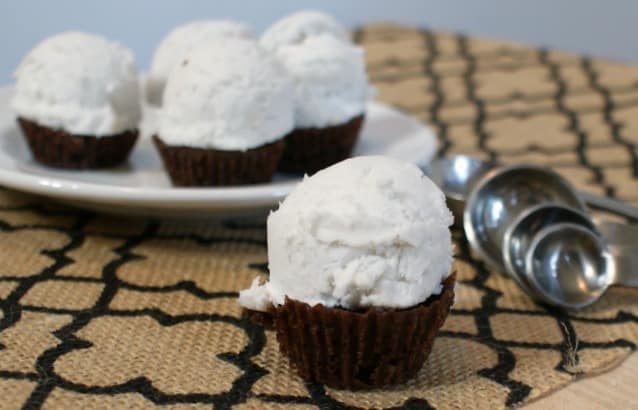
Some days I’m a normal person with normal appetites. Other days I’m RAVENOUS for something tiny, delicious and a little crazy. Today was one of those days. I had to have me some Mini-Brownie Ice Cream Cupcakes. Mostly because they’re BROWNIES. But then they’re ICE CREAM. How could I resist? We all know I just couldn’t. Wouldn’t be prudent.
Mini-Brownie Ice Cream Cupcakes
Brownie Cups (because these are literally “cup” cakes–the cake is shaped like a cup! LOL!)
- 1 3/4 cup flour
- 1 cup granulated sugar
- 2 tspn vanilla
- 1 tspn white vinegar
- 1/3 cup oil
- 1 cup water
- 1 tspn baking soda
- 1/2 tspn salt
- 1 cup vegan chocolate chips
Ice Cream
- 2 cans coconut milk
- 1/2 cup powdered sugar
- 2 tspn vanilla extract
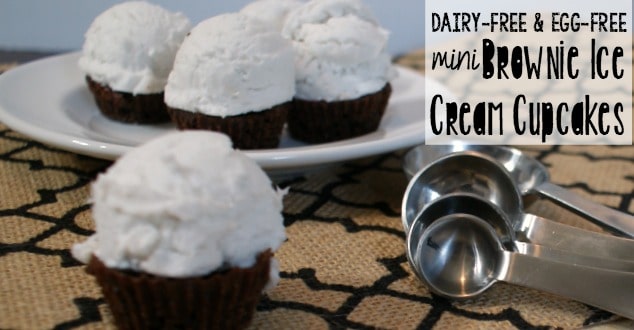
Mini-Brownie Ice Cream Cupcakes
- To make the ice cream, open your coconut milk cans and scoop the thick cream part into a bowl, trying to get as little of the coconut water as possible. Discard coconut water or just set aside for pineapple-infused coconut water, whatever.
- Add the powdered sugar and vanilla to the coconut cream.
- Mix on high 2-3 minutes with a hand mixer until it becomes stiff and fluffy.
- Place in a bowl and put in the freezer for approximately 2 hours. Or however long it takes to make the brownie cups. You can totally bet that’s what I did…these things were too good to wait!
- To make the mini-brownie cups, preheat oven to 350 degrees.
- Grease mini-muffin tin. Set aside.
- Mix all the dry ingredients together in a medium bowl except for the chocolate chips.
- Mix all the wet ingredients together in another medium bowl.
- Mix dry ingredients into wet ingredients in 1/3 cup increments. Or, if you’re impatient, like me, just dump everything together.
- Blend until batter is smooth.
- Place chocolate chips in a small bowl and microwave in 10-second increments, stirring every 10 seconds, until the chocolate is completely melted and smooth.
- Add melted chocolate chips to the batter and stir until mixed thoroughly.
- Pour the batter into the mini-muffin tin, but only fill about 1/3 full.
- Lean the tin side to side and front to back to kind of “swirl” the batter so it gets up on the sides of the tin.
- Place in the oven for 15-25 minutes or until a toothpick comes out clean, or you just don’t have the patience to wait any longer.
- Remove from heat and allow to cool for at least 10 minutes on a wire rack after removing from muffin tin. Or just burn your fingers as you “try” them. Sometimes, I just can’t wait…
- Remove ice cream from freezer.
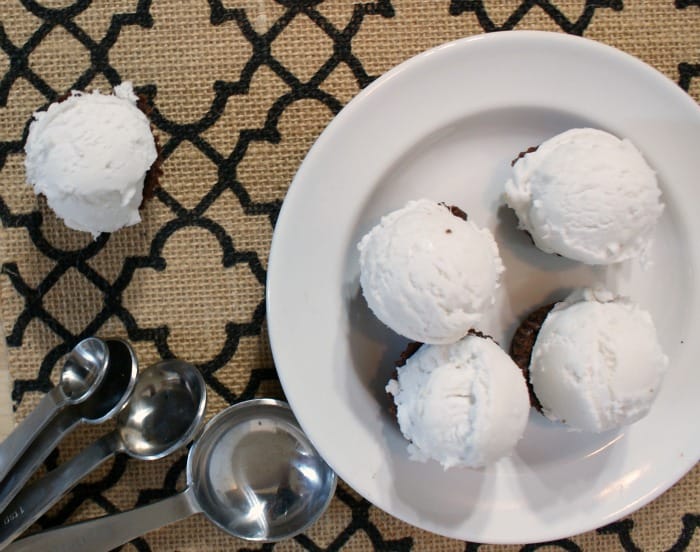
- Using a melon baller, scoop out a little scoop of ice cream and place in each brownie cup. Be careful not to smoosh too hard or you’ll crush the brownie and then you’ll have to eat it…so sad.
- Allow to melt for approximat–HAHA, just eat them all!
Yield: 48
Egg-Free & Dairy-Free Mini-Brownie Ice Cream Cupcakes
Prep Time:
20 minutes
Cook Time:
25 minutes
Total Time:
45 minutes
Today was one of those days. I had to have me some Mini-Brownie Ice Cream Cupcakes. Mostly because they're BROWNIES. But then they're ICE CREAM. How could I resist?
Ingredients
- Brownie Cups, because these are literally “cup” cakes–the cake is shaped like a cup! LOL!
- 1 3/4 cup flour
- 1 cup granulated sugar
- 2 tspn vanilla
- 1 tspn white vinegar
- 1/3 cup oil
- 1 cup water
- 1 tspn baking soda
- 1/2 tspn salt
- 1 cup vegan chocolate chips
- Ice Cream
- 2 cans coconut milk
- 1/2 cup powdered sugar
- 2 tspn vanilla extract
Instructions
- To make the ice cream, open your coconut milk cans and scoop the thick cream part into a bowl, trying to get as little of the coconut water as possible. Discard coconut water or just set aside for pineapple-infused coconut water, whatever.
- Add the powdered sugar and vanilla to the coconut cream.
- Mix on high 2-3 minutes with a hand mixer until it becomes stiff and fluffy.
- Place in a bowl and put in the freezer for approximately 2 hours. Or however long it takes to make the brownie cups. You can totally bet that’s what I did…these things were too good to wait!
- To make the mini-brownie cups, preheat oven to 350 degrees.
- Grease mini-muffin tin. Set aside.
- Mix all the dry ingredients together in a medium bowl except for the chocolate chips.
- Mix all the wet ingredients together in another medium bowl.
- Mix dry ingredients into wet ingredients in 1/3 cup increments. Or, if you’re impatient, like me, just dump everything together.
- Blend until batter is smooth.
- Place chocolate chips in a small bowl and microwave in 10-second increments, stirring every 10 seconds, until the chocolate is completely melted and smooth.
- Add melted chocolate chips to the batter and stir until mixed thoroughly.
- Pour the batter into the mini-muffin tin, but only fill about 1/3 full.
- Lean the tin side to side and front to back to kind of “swirl” the batter so it gets up on the sides of the tin.
- Place in the oven for 15-25 minutes or until a toothpick comes out clean, or you just don’t have the patience to wait any longer.
- Remove from heat and allow to cool for at least 10 minutes on a wire rack after removing from muffin tin. Or just burn your fingers as you “try” them. Sometimes, I just can’t wait…
- Remove ice cream from freezer.
- Using a melon baller, scoop out a little scoop of ice cream and place in each brownie cup. Be careful not to smoosh too hard or you’ll crush the brownie and then you’ll have to eat it…so sad.
- Allow to melt for approximat–HAHA, just eat them all!