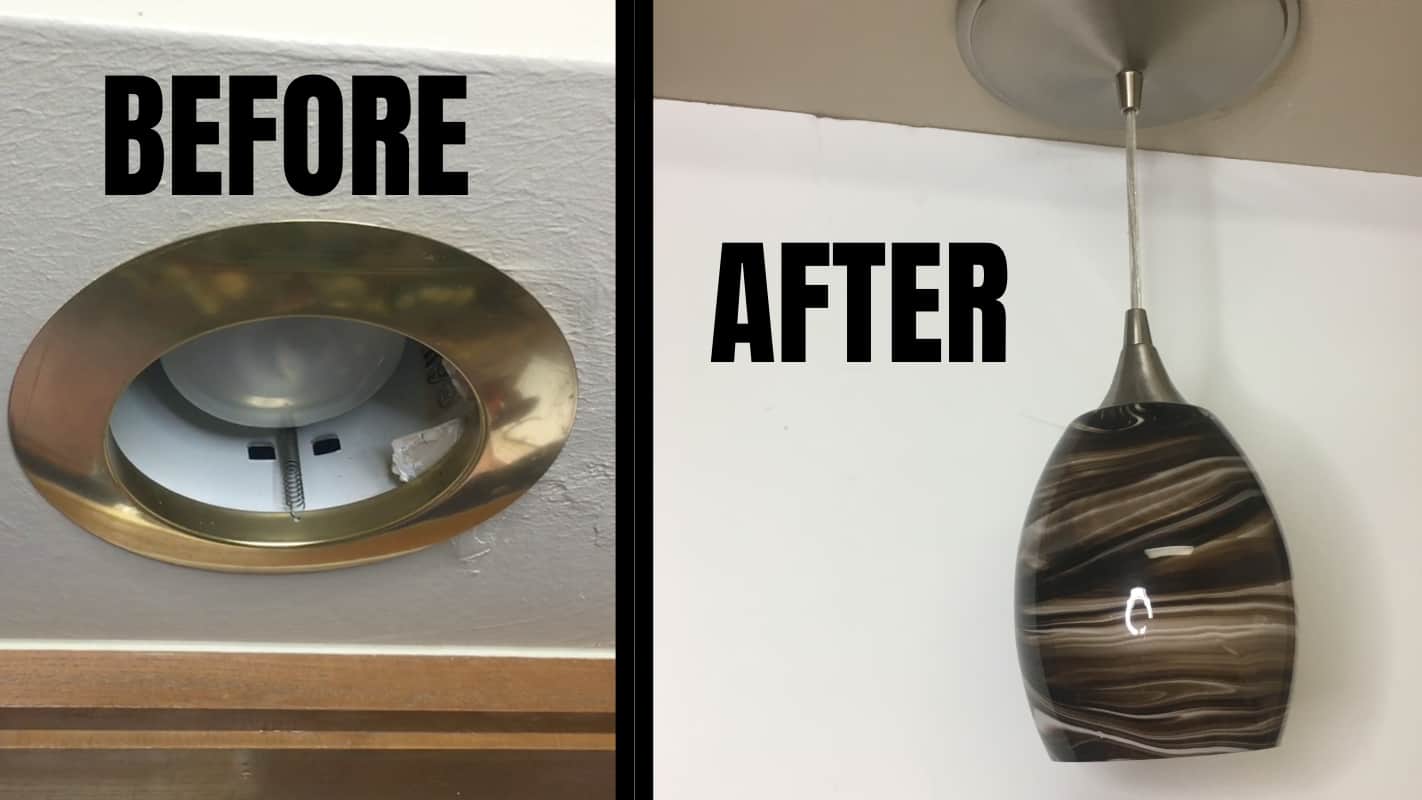
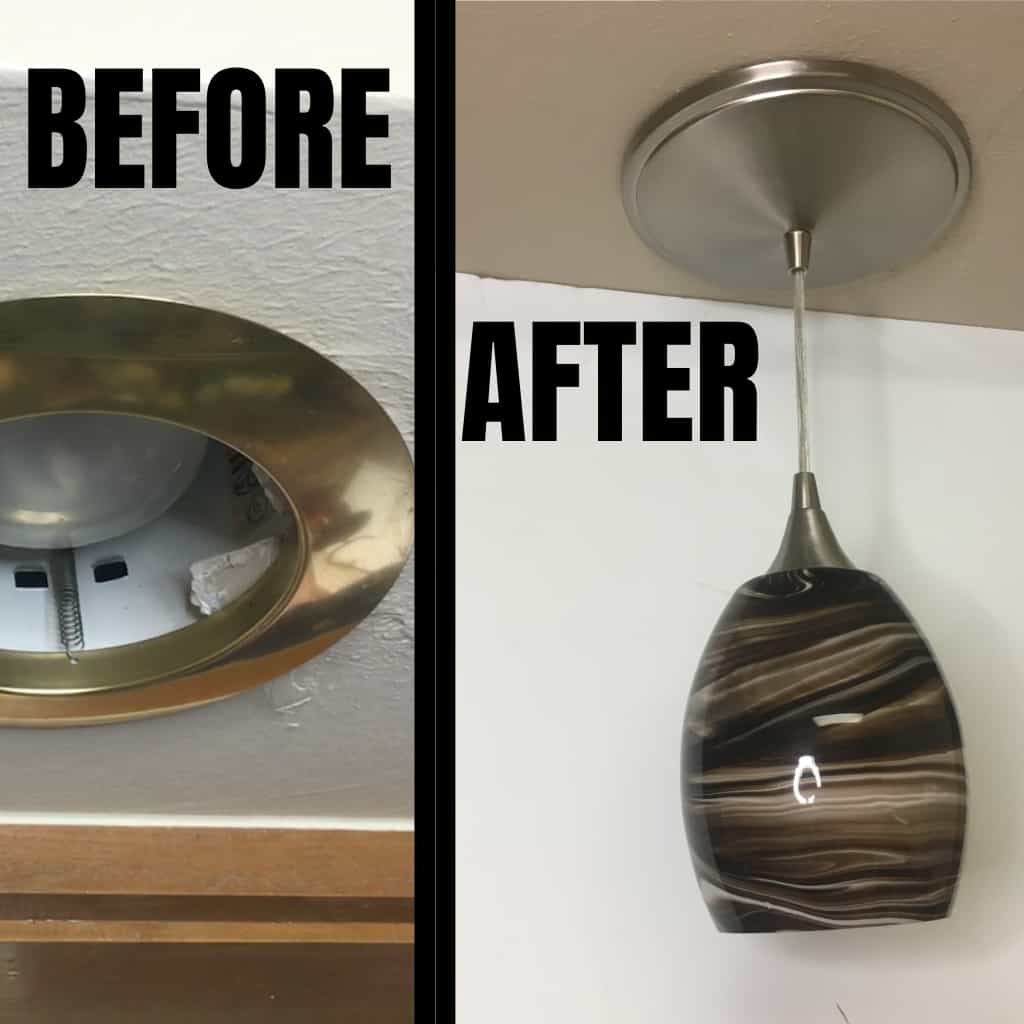
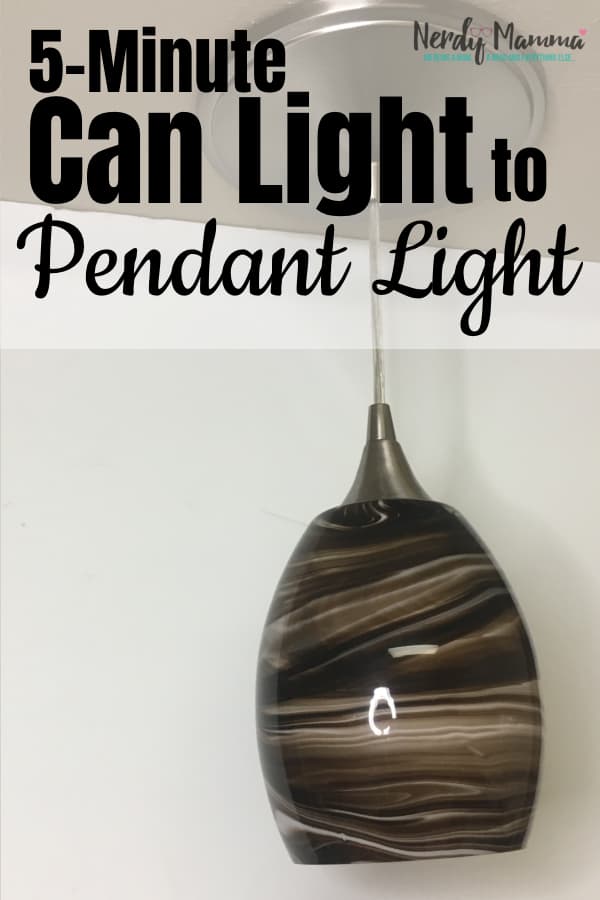
(Inside: This project is so simple, I kind of felt dumb posting about it–but I didn’t know, so maybe you don’t either. This is the 5-Minute Can Light to Pendant Light Install–so easy, you’ll want to do every can light in your house.)
When we bought our house, there were more than just a few items that made my lip curl.
One of the most prominent things that made me sooooo squicked-out was the weirdly-broken-sadly-not-updated-odd-looking can light over my kitchen sink.
So, 6 months ago, I bought a kit I found at the local hardware store to “fix” it. But, being me, I was kind of afraid to mess it up–and it was going to be SO HARD that I literally put it off for, well, 6 months.
But, after the required amount of time, I finally opened the kit and OMG!
It’s so easy, I feel like a dunce.
Here’s the 5-Minute Can Light to Pendant Light Install–it’ll probably take you longer to read this than it would to just do it yourself. LOL!

Here’s the quick video I did for the 5-Minute Can Light to Pendant Light Install–you’re gonna love it.
Supplies for Your Can Light to Pendant Light Install
- Portfolio Recessed Light Conversion Kit
- Glass Pendant Light Shade (just the glass part)
I found all of these things at my local hardware store in the lighting department, so you should be able to, too. If you have trouble, just ask–I promise there’s one on the shelf…they’re too handy not to be.

How to Do Your Can Light to Pendant Light Install
- Turn off power at your breaker box (just in case).
- Remove light bulb from can light fixture.
- Remove the “pretty” ring, if possible–mine was connected by springs, so I had to reach inside and unhook both springs. This step may be completely unnecessary, but I found great relief in throwing away that hideous old thing.
- Screw-in the “light bulb” end of the kit into the light bulb receiver in your can light fixture.
- Do a dry fit to figure out how long you want the dangly cord to be between the ceiling and the actual light.
- Unscrew (and try not to drop) the tiny screw in the little junction part of the kit until it’s loose enough for the cord to move through the space.
- Pull the cord up into the little junction portion of the kit to the length you want.
- Tighten-down the tiny screw (good luck–that thing is not cooperative) until the cord will no longer shift–the shade for your light may be heavy, so make sure that the cord will not move with that weight.
- Push all the cord up into the can light fixture and affix the cover by screwing down the little nob thing.
- Unscrew the part that holds-on the shade.
- Put the shade on then re-screw together the part that holds-on the shade.
- Install your lightbulb.
- Turn the power back on at the breaker box.
- Flip the switch and watch it glow!
If you loved this 5-Minute Can Light to Pendant Light Install, please first subscribe to my YouTube Channel–that will let me know you definitely want to see more videos like this in the future. Then, be sure to pin the video or this post, that way you can find it again.

