
This shop has been compensated by Collective Bias, Inc. and its advertiser. All opinions are mine alone. #DymoandDone #CollectiveBias

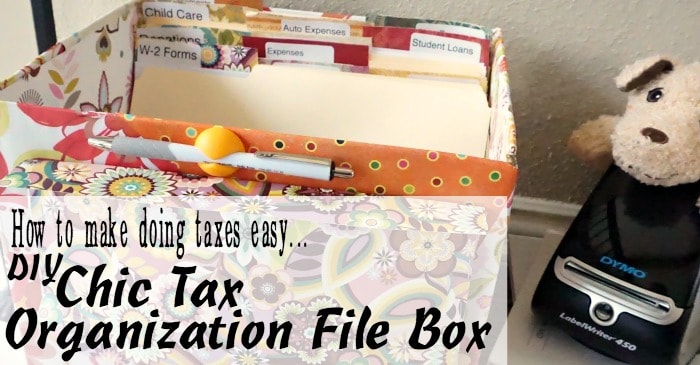
It happens to me every year. I’m just bumping along, having a good time–and then it’s suddenly “go time” for taxes and I’m behind the 8-ball. Not this year, though. Nope. I snagged a DYMO LabelWriter® 450 Value Pack and made a plan for How to Make Doing Taxes Easy by making a DIY Chic Tax Organization File Box. This is me. On top of things. Heh.
So, I don’t just do MY taxes, I help my mom do the taxes for her business, my dad’s business, our shared business (the blog) and then she helps me with mine and then, before we know it, there’s just a whole schlew of taxation-goin-on! And this year, even though I’ve made my Chic Tax Organization File Box in years past, this year, I was able to drop the hassle of sheet labels by printing just what I needed when I needed with the DYMO LabelWriter AND totally eliminate the need for messy ink and toner (the DYMO LabelWriter totally does its printing using thermal printing technology, which is awesome).
Because I use my Tax Organization File Box throughout the months leading-up to actually DOING all our taxes, I really reduce the amount of time and effort (and stress) I used to face before I started doing this. I mean, before I had kids, a house, a husband and 2 cars (yeah, before ALL that), taxes pretty much had me in tears every year because I just couldn’t find anything I needed. Now, I just pick-up my box and everything is there. Saves me So. Much. Time. And sanity. Heh.
Kind of like the DYMO LabelWriter. I see so much crazy potential for this thing. I need to come up with more ideas for using it–because it’s quite awesome. You can make custom labels from over 60 styles and layouts…and you can print labels and graphics with 600 x 300 dpi resolution. So, you can basically print anything, (address, file folder, barcode labels, name badges, EVERYTHING) all from your PC or Mac®. Which rocks. I mean, I could totally label the world…but, I’ll start with my Tax Organization File Box.
What You Need to Make Your Chic Tax Organization File Box
- 1 Box (make sure the files fit before going with it)
- 5-10 Pages of Scrapbook Paper (or fabric–that’s what I did it with last year)
- Decoupage Glue
- 1 paintbrush
- DYMO LabelWriter® 450 Value Pack
- 5-10 3-Tab Files
- Scissors
- Optional Awesomeness:
- Cord Drop
- 2 Pens
- 10-15 Paperclips
- 5-10 Binderclips
- 2-4 Rubberbands
- 1 Holepunch
- 1 Tiny Stapler
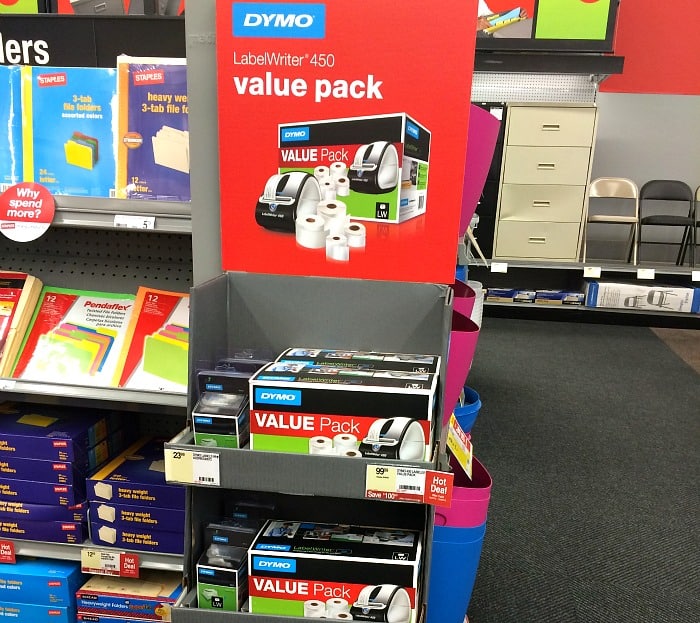
I got everything (like I do every year) at Staples (with the exception of the scrapbook paper, decoupage glue and paintbrush, which I had in my closet). Staples is also where I got my DYMO LabelWriter® 450 Value Pack…and really took my Chic Tax Organization File Box to a whole new level.
How to Put Together Your Chic Tax Organization File Box
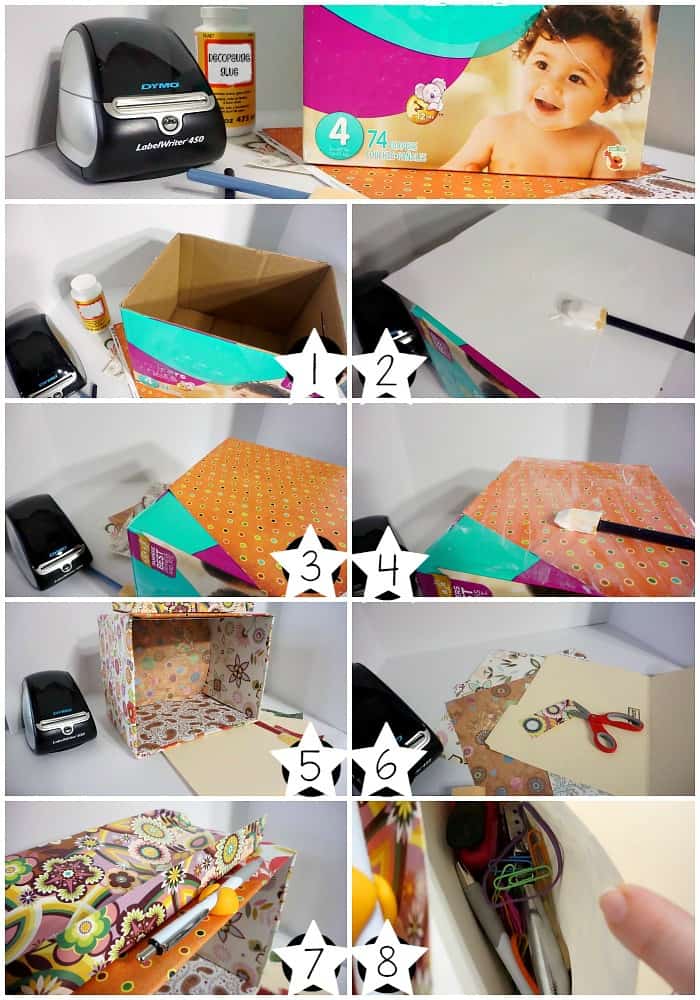
- Trim off the flaps on your box. They’ll just get in your way.
- Spread a thin layer of decoupage glue on the back side of one sheet of scrapbook paper.
- Place that sticky paper onto your box at a funky angle and fold over the corners carefully.
- Spread a thin layer of decoupage glue over the face of the paper you just stuck on the box.
- Repeat steps 2-4 until every side of the box is covered. You can even repeat for the inside of the box–I did and it was lovely!
- Set box aside and allow to dry for at least an hour.
- If you’re just super-industrious like I am (and determined to have EVERYTHING you need for doing your taxes in one place), go ahead and take one of your whole pieces of scrapbook paper and fold it in almost-halves, making a kind of bottom and a flap at the top.
- Staple the sides together to make a quick envelope, leaving the top flap open.
- Decoupage glue that pouch you just made onto the side of your box.
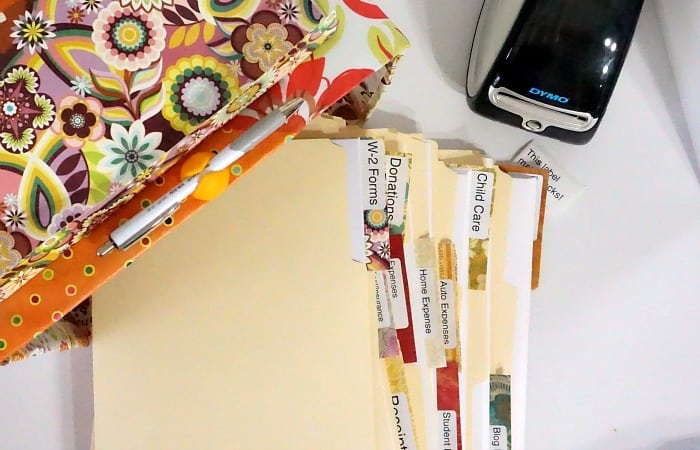
- While that’s drying, cut out little slips of scrapbook paper.
- Decoupage glue those onto the tabs of your files.
- Set files aside and allow to dry for at least 20 minutes.
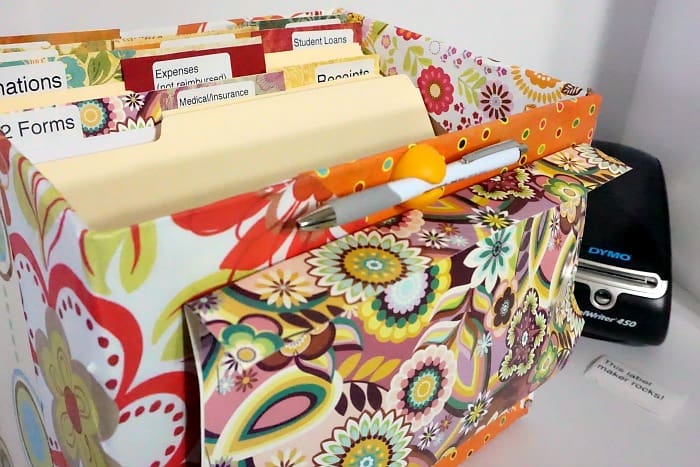
- While THAT’s drying, pull our your handy-dandy DYMO LabelWriter and make your labels. I made my typical:
- W-2 Forms
- Receipts
- Expenses Not Reimbursed
- Childcare Expenses
- Medical/Insurance
- Auto Expenses
- Blog Expenses
- Donations
- Student Loans
- Home Expenses
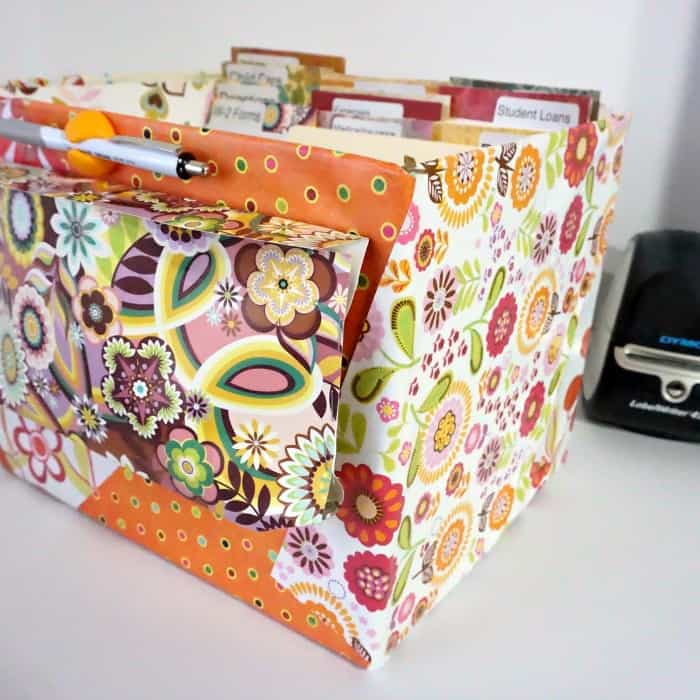
- After everything has dried, assemble your whole organization station by putting your labels on your files, dropping your optional tools into your pouch, attaching the cable drop to the side of the box and putting a pen in it, putting your files in the box and just generally being excited to get your tax docs organized BEFORE you’re actually knee-deep in it! LOL!
Totally THE solution for all of a person’s labeling, filing and mailing needs, the LabelWriter® 450 can save you time, money, and stress, and the hassle of printing sheet labels on a desktop printer. In fact, right now, you can get the DYMO LabelWriter® 450 Value Pack free when you purchase 4 LabelWriter label rolls! DYMO can help just about anyone save time in preparing for taxes, and stop procrastinating. LOL!
So, do you have any fun tips for making taxes easy (other than having someone else do it for you! LOL!)? I would love to hear what you think, so hit me up with a comment below! And be sure to let me know if you have any ideas for using the DYMO LabelWriter! I’m excited to play with my new “toy” and need ideas…heh.