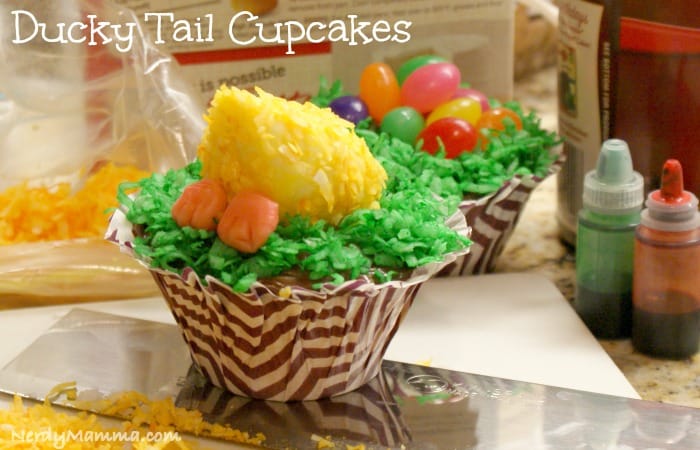
Ducky Tail Cupcakes Ingredients
You can buy ready-to-use White Modeling Chocolate, or you can make your own, which is what I did. The Modeling Chocolate is not difficult to make, but you probably want to put it together a day or so before you’re ready to create the cupcakes–it needs to sit overnight before sculpting into Ducky Tails. I found a great recipe for White Modeling Chocolate at Craftsy.com. If you decide to make your own Modeling Chocolate, it might be easier to tint it yellow during the mixing process, than to add color during the kneading process (step 5, below).
Paid links:
- White Modeling Chocolate, 1 pound (make your own or buy it ready-to-use)
- Cake Mix, 1 box
- Cake Frosting, Chocolate
- Coconut, 14 oz. bag
- Muffin Cups
- Food coloring liquid, green and yellow
- Food coloring gel, yellow and red
- Karo Syrup, 1/2 cup, room temperature
Creating the Ducky Tail Cupcakes
- Remove the Karo Syrup from your refrigerator to achieve room temperature.
- Preheat oven and bake the cupcakes according to the cake mix package directions. If you use the stand-up Muffin Cups, like I did, place them on a baking sheet before filling, and leave the baking sheet underneath them until the cupcakes are completely cooled.
- Put half the coconut in a zipper-style sandwich bag, add five drops green food coloring, zip the bag closed and shake until coloring is evenly distributed throughout the coconut. If the coconut is not a dark enough green, add more food coloring and repeat the shaking process. Set aside.
- Chop the remaining coconut into smaller pieces. Keep in mind that you don’t want the coconut pieces to be too small, just smaller than the green-tinted coconut you’re going to use for grass on top of the cupcakes. Put the chopped coconut in a zipper-style sandwich bag, add three drops liquid (not gel) yellow food coloring, zip the bag closed and shake until coloring is evenly distributed throughout the coconut. If the coconut is not bright yellow, add another drop of liquid yellow food coloring and shake. Repeat this process, one drop of yellow food coloring at a time, until the desired color is achieved. (Be careful to add the yellow food coloring one drop at a time–if too much yellow coloring is added, it will begin to look orange).
- Knead, mix, or heat White Modeling Chocolate according to package or recipe directions, then add a few drops yellow food coloring gel. Mix until color is consistent.
- Roll 12 balls of yellow-tinted white chocolate (approximately 1 and 1/2 times the size of a ping pong ball) between your hands, until the chocolate balls are smooth and sort of egg shaped. Don’t worry if they’re not perfectly smooth or perfectly shaped–duckies aren’t either! Pinch the small end of the ducky body between your thumb and forefinger to shape the ducky tail.
- Take about 3/4 cup of the yellow-tinted chocolate, and add one drop of red food coloring gel. Knead to mix until orange color is consistent. If the chocolate doesn’t look orange enough, add another drop of red food coloring gel and knead again.
- Using the orange-tinted chocolate, shape 24 ducky feet, about the size of the first joint of your index finger. The ducky feet should be a little smaller on the end that will be placed “up”. Use a toothpick, pressed into the wide end of the ducky foot, to mark the space between the toes (two marks for each ducky foot).
- When cupcakes are completely cooled, remove the tops, using a serrated knife and a sawing motion.
- Frost cupcakes with chocolate cake frosting.
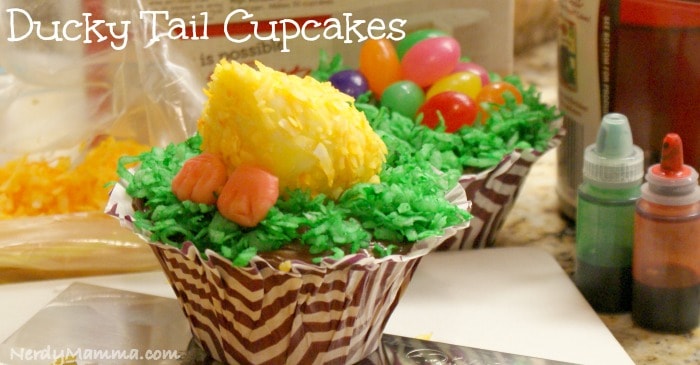
- Top chocolate frosting with green-tinted coconut.
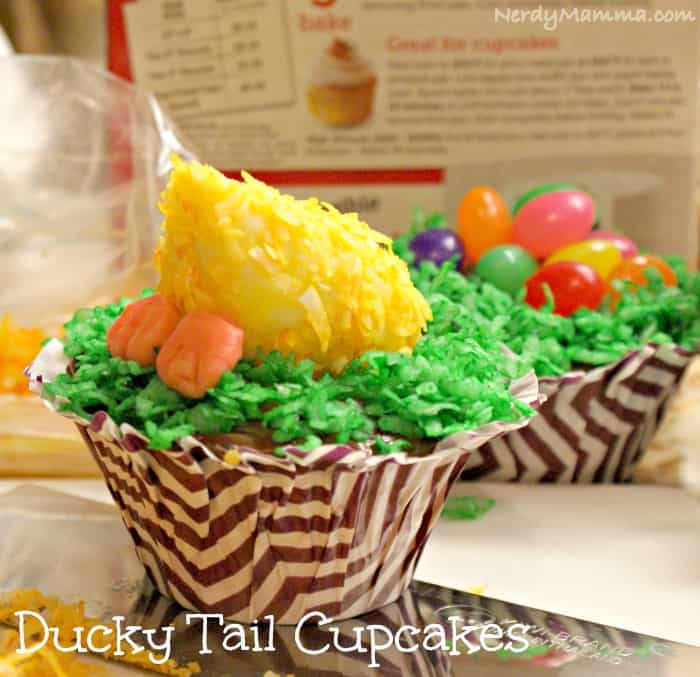
- Take one yellow ducky body of white chocolate (shaped in step 6 above), and brush with Karo syrup. If the Karo does not spread easily, add a few drops of water and stir until well mixed. Then roll the ducky body in the yellow, chopped coconut, being careful not to mash the ducky tail. This gives the ducky a “fuzzy” appearance. Set the ducky body on top of the first cupcake.
- Take one ducky foot of orange-tinted white chocolate (shaped in step 8 above), and set the ducky foot to the left and below the ducky tail.
- Take another ducky foot of white chocolate (shaped in step 8 above), and set the ducky foot to the right and below the ducky tail.
- Voilà (wä-ˈlä) !! You’ve created a Ducky Tail Cupcake! Repeat steps 12 through 14 until all cupcakes are complete and ENJOY!
In case you don’t have time to make these adorable Ducky Tail Cupcakes right now, go ahead and pin it, so you can get back to it in a flash!
Since You Love These Ducky Tail Cupcakes, You’ll also Need to Check Out These Other Easter Ideas:
Unicorn Easter Eggs

Easter Bunny Hot Cocoa Bombs
Bunny Bottoms Up Easter Cake